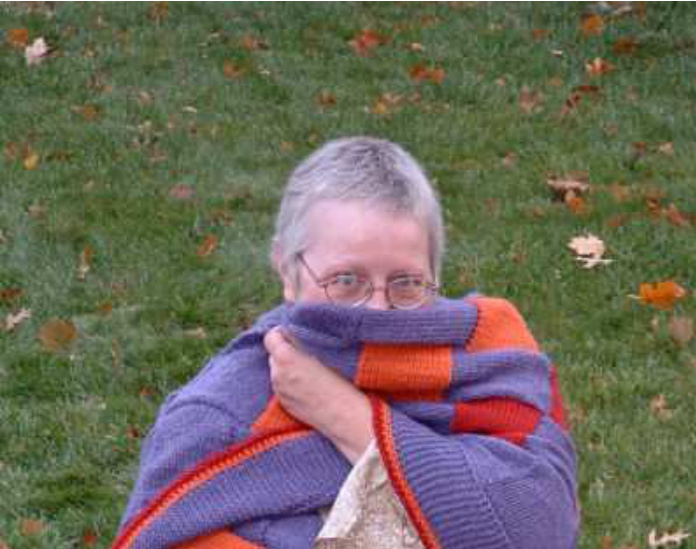
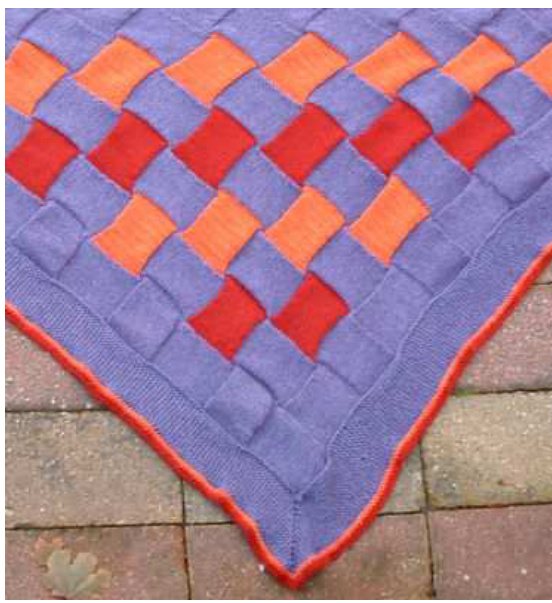
Sunset Tiles
by Robbyn Kenyon
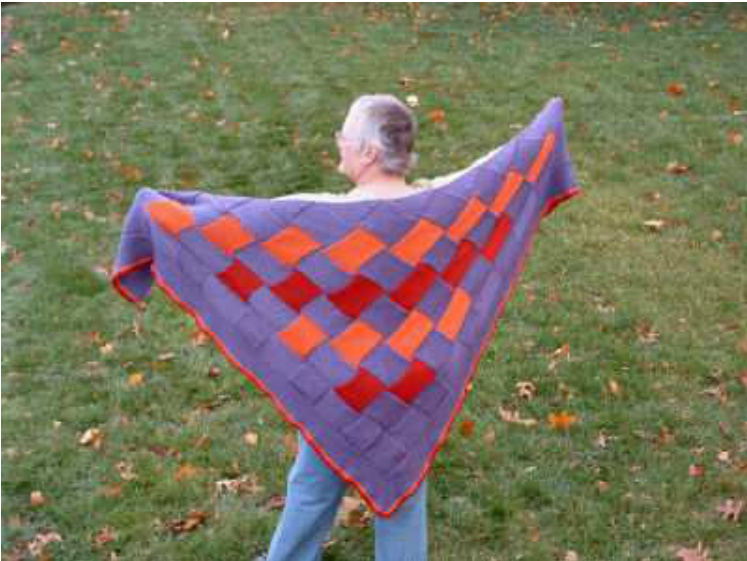
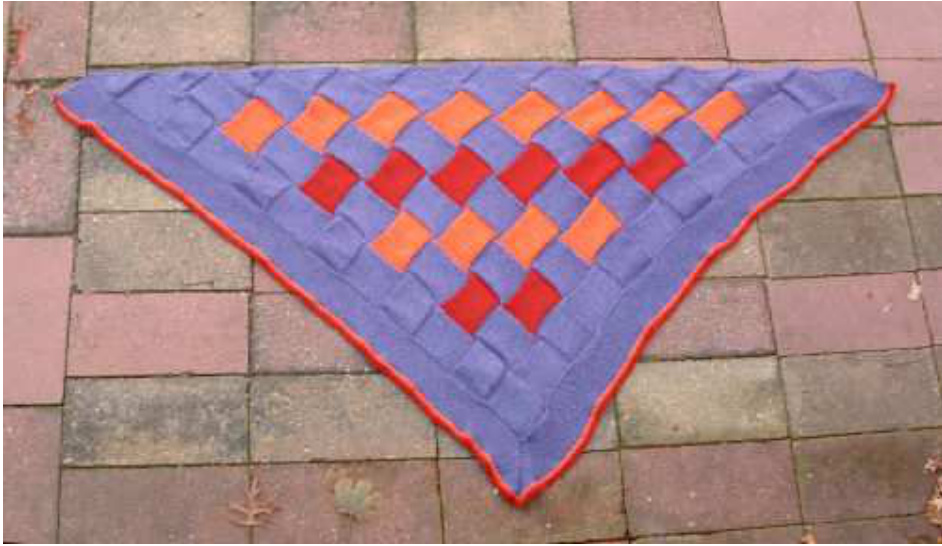
Concept This is an entrelac shawl intended for warmth rather than laciness. The body is done in stockinette blocks in three different colors and is worked from the top down beginning with the standard triangles transitioning to the standard blocks. On each tier, one block less is worked than the tier before and the shawl is worked down to the point, the final tier - one block. Stitches are picked up around the edges and the border is knitted on in garter stitch using the main color. The edging is crocheted in the contrast colors. This particular shawl is big because I want to use it like a coat. Coats make me feel restricted and confined; shawls are much better, not to mention having many more options as to how to wear the garment :) At this size, it will also make a reasonable throw as well - wide enough (when turned sideways) to snuggle under :) Worked in worsted weight wool on size 8 US $\left(5\:\mathrm{mm}\right)$ needles, it's about $83^{\circ}$ wide and $45^{\circ}$ top the top edge to the point. It wouldn't be difficult to down-size if you prefer something a bit smaller. Simply start with fewer triangles and work fewer blocks. Alternatively, DK weight yarn and size 5 or 6 needles would also reduce the size - if not the work :) A good familiarity with entrelac is necessary to work the shawl. This tutorial, All Aboard the Entrelac Express may help if you're new to this technique. Materials Worsted weight yarn in three colors: 1000 yards MC (main color), 250 yards CC1 (contrast color 1), 200 yards CC2 (contrast color 2). I used Berocco Ultra Alpaca in Lavender Mix for the main color. The two contrast colors are anonymous wools from a bargain bin. You may remember that the orange yarn was a yucky mustard color when I initially brought it home :) I can recommend the Ultra Alpaca - it was lovely to work with, soft and comfortable and knits up very nicely. There was also not a single knot in (5) 215-yard skeins. Size 8 US ( $5\;\mathrm{mm})$ circular needles in both 60” and $32^{\bullet}$ lengths I used Knitpicks Options interchangeable needles and simply switched the cables once the width of the piece had sufficiently narrowed. Size8US $\left(5\:\mathrm{mm}\right)$ straight needles - you only need one and a double point with a point protector on the end does a dandy job :) Size 8/H ( $5.00\;\mathrm{mm})$ crochet hook The usual peripheral asortment: Tapestry neede, stitch markers if you like ‘em, scissor, etc. Gauge - 4 stitches/inch (not really pertinent and only noted for the curious) Measurements Across top - 83 inches Top edge to point - 45 inches Terms K - Knit P - Purl K2togB - Knit two together through the back loop P2tog - Purl two together. S1 wyif - Slip one stitch purlwise with yarn in front
Pattern With MC and 60" circular, cast on 180 stitches. First triangle: P2, turn. K2, turn. P3, turn. K3, turn. P4, turn. K4, turn. Continue like this, picking up an additional stitch on each purl row until your row consists of P15. Do not turn. The first triangle is complete. Create the next triangle the same way and continue creating triangles until you have 12 all together. Bind off last triangle. Do not break yarn - 1 stitch remains on needle. Tier A With front of work facing you, pick up 14 stitches down the side of the triangle. Turn and purl back. Now, turn and K14. Then, K2togB, combining the last knit stitch with the first stitch on the following triangle. Turn and P15. Continue in this fashion until all of the stitches have been assimilated. Once you have executed your last K2togB, don't turn. Pick up 15 stitches along the side of the triangle (remember on the first block of the row, you had one stitch left over from the bind-off) and proceed as before. You will have 11 blocks on this tier. Bind this last block off purlwise. Tier B Pick up 14 stitches purlwise down the side of the triangle. Turn and knit back. Now turn and Pi4. Then P2tog, combining the last stitch of the block with the first stitch on the following triangle. Turn and K15. Continue in this fashion until all of the stitches have been assimilated. Break MC and join CC1. Repeat instructions for Tier B block for 8 more blocks. Cut CC1 and rejoin MC. Do the last block and bind off knitwise.
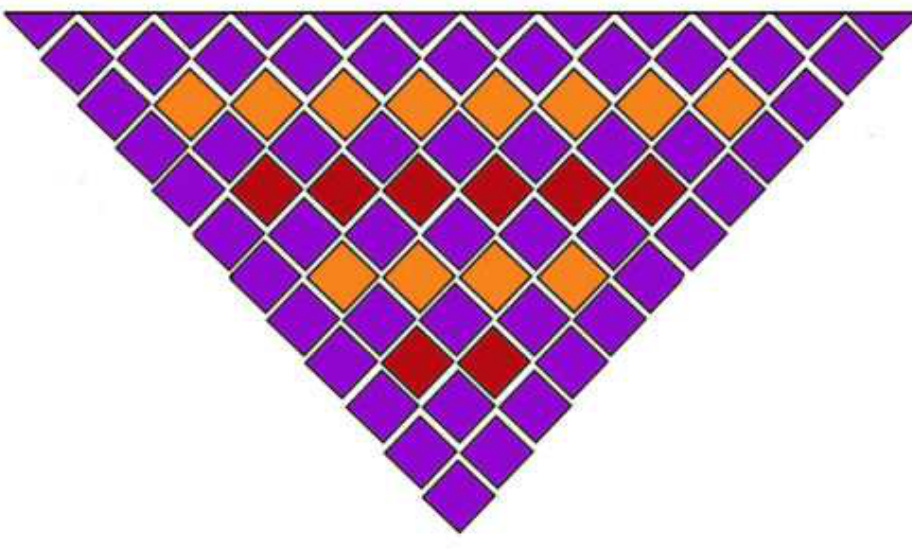
Color Diagram Alternate tier one and tier two using diagram for color placement. Hints: Tier one blocks will always be entirely MC. Tier two block will always begin and end with MC with the blocks between knit in either CC1 or CC2. The first block of any tier will only require picking up 14 stitches because of the remaining stitch after binding offthe last block of the previous tier. All other blocks require picking up 15 stitches. Switch over to the 32" circular when the 60" gets too long to be convenient. When you finish the last block - the point block - bind off Border With right side facing and beginning at upper left of shawl with $60^{\circ}$ circular, attach MC. Pick up 15 stitches in each block - every stitch in the bound off blocks and every other stitch in the selvedge edge blocks. Don't make yourself crazy - the border is plain garter stitch and the number of rows doesn't matter so long as the stitches are evenly placed and each side of the shawl is graced with approximately the same number :) At the top right, when you've finished picking up the stitches, cast on 15 more. K14, K2togB combining the last cast on stitch with the first picked up stitch on the shawl. S11 wyif, K14. 1. S11 wyif, K13, K2togB. 2. S1 wyif, K14. Repeat rows 1 and 2 until you have knit up all the stitches on the right-hand side of the shawl and have reached the point. Beginning from the outside edge: Sl1 wyif, K13. Turn, K14. Sll wyif, K12. Turn, K13. S1 wyif, K11. Turn, K12. Continue this way, working one less stitch each iteration until you do: Sl1 wyif, K1. Turn, K2. This is the first half of the miter that will get you around the point. Now you want to work your way back out and to do that you simply reverse the process: Sl1 wyif, K2. Turn, K3. Sl1 wyif, K3. Turn, K4. Continue on this way until you are back to 15 stitches and then begin incorporating the picked-up stitches up the left-hand side of the shawl as before: 1. Sl1 wyif, K13, K2togB. 2. S1 wyif, K14. ..untilyou have come all the way up the left-hand side and incorporated all the pick-up stitches. Bind off.
Edging
Attach CC1 to upper right corner of shawl and, with right side facing, chain 1 and then single crochet down the side (one sc in each stitch), three stitches in center stitch on point, and up the left. Cut CC1. Return to the upper right corner and attach CC2. Chain 2 and then half double crochet in each single crochet down the side, three hdcs in center stitch of point, and hdc in each sc up the left side. Cut CC2. Weave in the ends and block or not as you choose. Ilike the slightly three-dimensional look of the entrelac, so I didn't block this one :) As always, please use yarns and colors that please you :) Also please, please feel free to contact me if you have any questions. I have found entrelac very simple to do but very difficult to describe and while I hope very much that this is clear, I am aware that it could possibly be better. And also, as always - have a good time!