Blythe Raglan X-Long Sleeve Sweater
@ By Kimberly Kwon
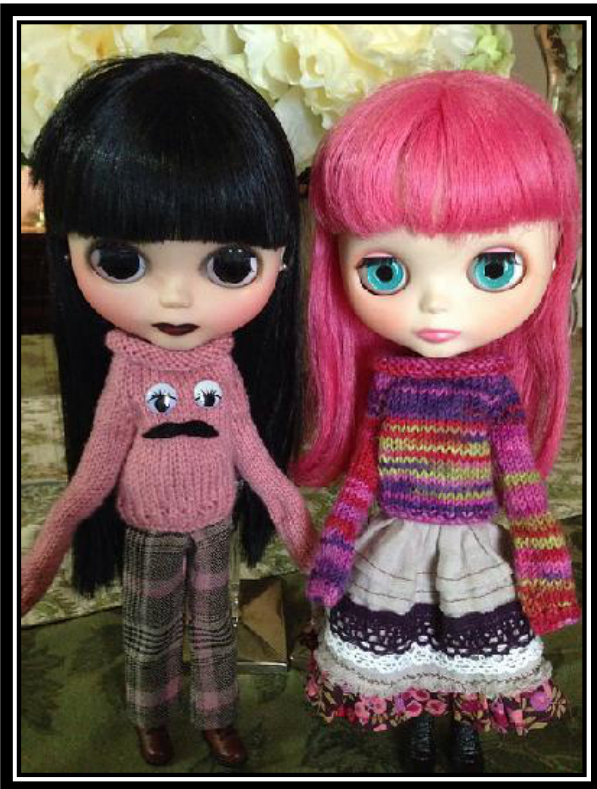
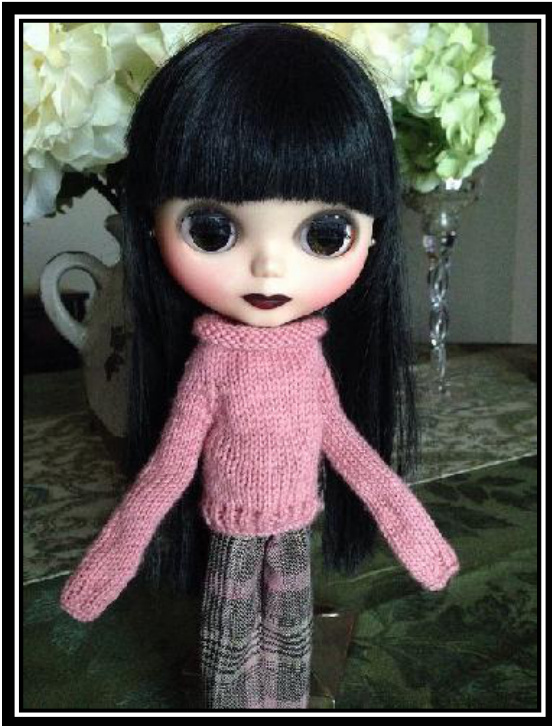
This is my own pattern for this popular style of sweater for Blythe dolls. It was inspired by the Monster Sweater for Blythe by Jane Pierrepont. My version is knit with fingering weight yarn and constructed as a top down raglan sweater. This sweater is knit flat in one piece, seamed in the back, with a rolled up collar and bottom edge. The sleeves are knit in the round. The pattern includes different options for the ribbing pattern for the bottom edge of the sweater, as well as different sleeve lengths. Becauseyou knit this sweater withUS Size 2 needles, no blocking is needed. The stretchy collar and bottom edge allows you to slip on the sweater onyour Blythe doll without any need for snaps or velcro. You will put the top of the sweater through your doll's legs and slip it up to the neck, placing the arms through the sleeves. Feel free to embellish the sweater with diferent designs using buttons, felt or iron on appliqués. Looks great in solid colors, variegated and self striping yarns.
Materials:
Fingering weight yarn (approximately 40-50 yards) US Size 2 needles or double pointed needles (DPNs) 4 stitchmarkers Two small stitch holders to hold 13 stitches each (sleeves). You can also use two small cable needles or scrap yarn to hold the 13 stitches.
Abbreviations:
PM: place marker P: Purl K: Knit KFB: Increase by knitting in front and back of the same stitch. K2tog: Knit 2 stitches together P2tog: Purl 2 stitches together Sts: stitches DPNs: double pointed needles
Body of Sweater:
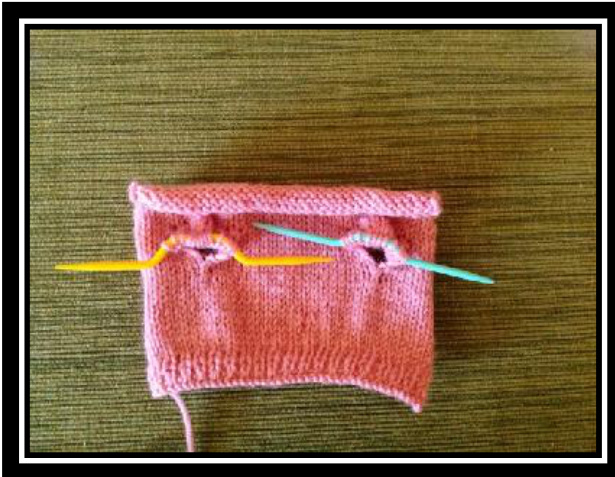
Cast on 36 stitches Row 1 - Row 10: Stockinette stitch for 10 rows. Knit one row, purl the next row Row 11: KFB, knit 34, KFB (38 sts) Row 12: Purl Row 13: KFB, knit 36, KFB (40 sts) Row 14: Purl Row 15: KFB, knit 38, KFB (42 sts) Row 16: P7, PM, P7, PM, P14, PM, P7, PM, P7 (7-7-14-7-7) Row 17: Knit across next row KFB one stitch before and after each marker. (8-9-16-9-8) (50 stitches) Row 18: Purl Row 19: Knit across next row KFB one stitch before and after each marker. (9-11-18-11-9) (58 stitches) Row 20: Purl Row 21: Knit across next row KFB one stitch before and after each marker. (10-13-20-13-10) (66 sts) Row 22: Purl Divide stitches for the sleeves: Row 23: K 10 sts, place next 13 stitches on a stitch holder, K20, place next 13 stitches on a stitch holder, K 10 (40 sts on working needles; 26 sleeve stitches in stitch holders) Row 24: P9, P2tog, P18, P2tog, P9 (38 sts) Row 25: K9, KFB, K18, KFB, K9 (40 sts) Row 26:Purl
Row 27 to Row 36: Stockinette stitch for these 10 rows (knit one row, purl the next) Row 37 - Row 39: Work your choice of a rib pattern for these three rows. Here are some options: · Three rows of moss stitch (k1, p1 first row; p1, k1 second row; k1, p1 third row) Three rows of k1, p1 rib (k1, p1 all three rows) Three rows of k2, p2 rib (k2, p2 all three rows) Row 40: Bind off.
Sleeves:
I like working the sleeves with DPNs but you can easily work them with a circular needle using the magic loop method. Divide the 13 sleeve stitches onto your needles in half (6-7). Pick up two stitches from the armpit area of the sleeve, put one picked up stitch on each needle (7-8). Join your 15 stitches to knit in the round, knitting from the back of the sweater to the front of the sweater. You will be beginning and ending your round in the armpit area. Round 1: K13, k2tog (14 sts) Round 2 - Round 33: Knit these 32 rounds - slightly less than 4 inches of sleeve length from armpit. Round 34 - Round 36: Work your choice of a rib pattern with these three rounds Round 37: Bind off
Repeat for second sleeve. The full length of your finished sleeve will be approximately 5 inches, measured from the top shoulder to the end of the sleeve. Want a Shorter Sleeve? If you want a regular sized sleeve, work 15 rounds (instead of 32 rounds for the extra-long version), then 3 rounds of a rib pattern, before binding off.
Finishing:
Seam the entire back of the sweater, including the rolled collar area. Put the top of the sweater through your doll's legs and slip it up to the neck, placing the arms through the sleeves. Fold the collar in half after you have put the sweater on your Blythe. The stretchy collar and bottom edge allows you to slip on the sweater on your Blythe doll without any need for snaps or velcro.
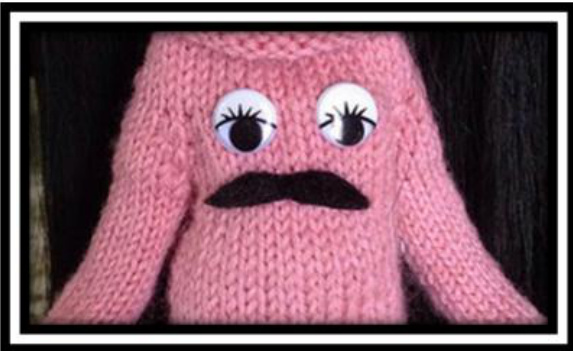
Make your sweater whimsical by adding on fun buttons, goggly eyes, felt teeth, flowers or hearts, or any small iron on appliqués. The possibilities are endless.
About the Designer:
You can find Kimberly and her other designs on Ravelry as kkhymn, You can also follow her on her blog, Kkhymn's Corner, at http://kkhymn.wordpress.com


