Little Lanterns
Blog http://itsybitsyspidercrochet.blogspot.com/
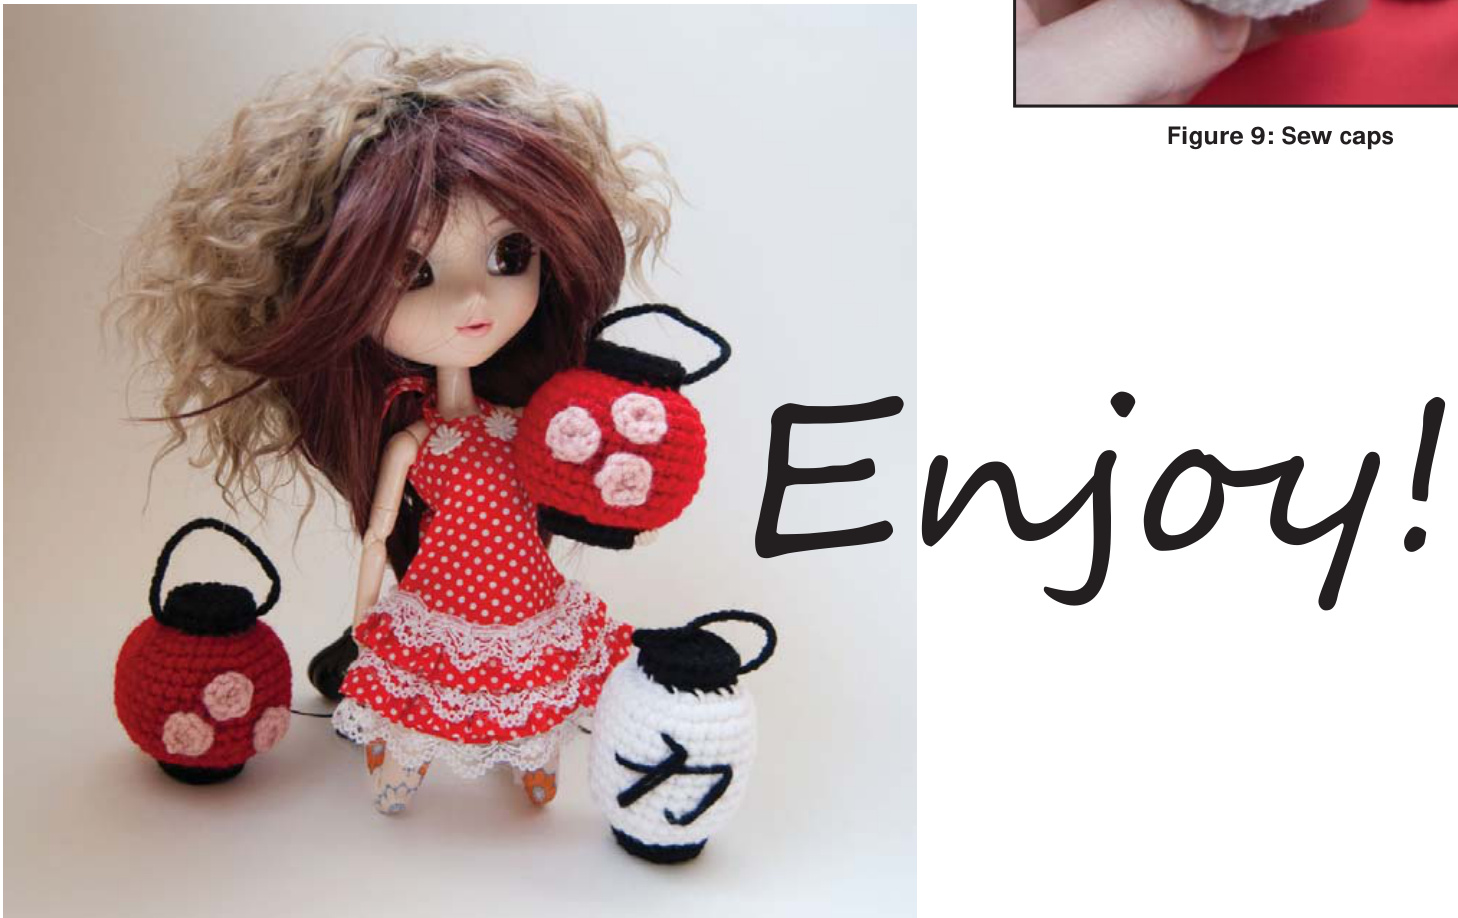
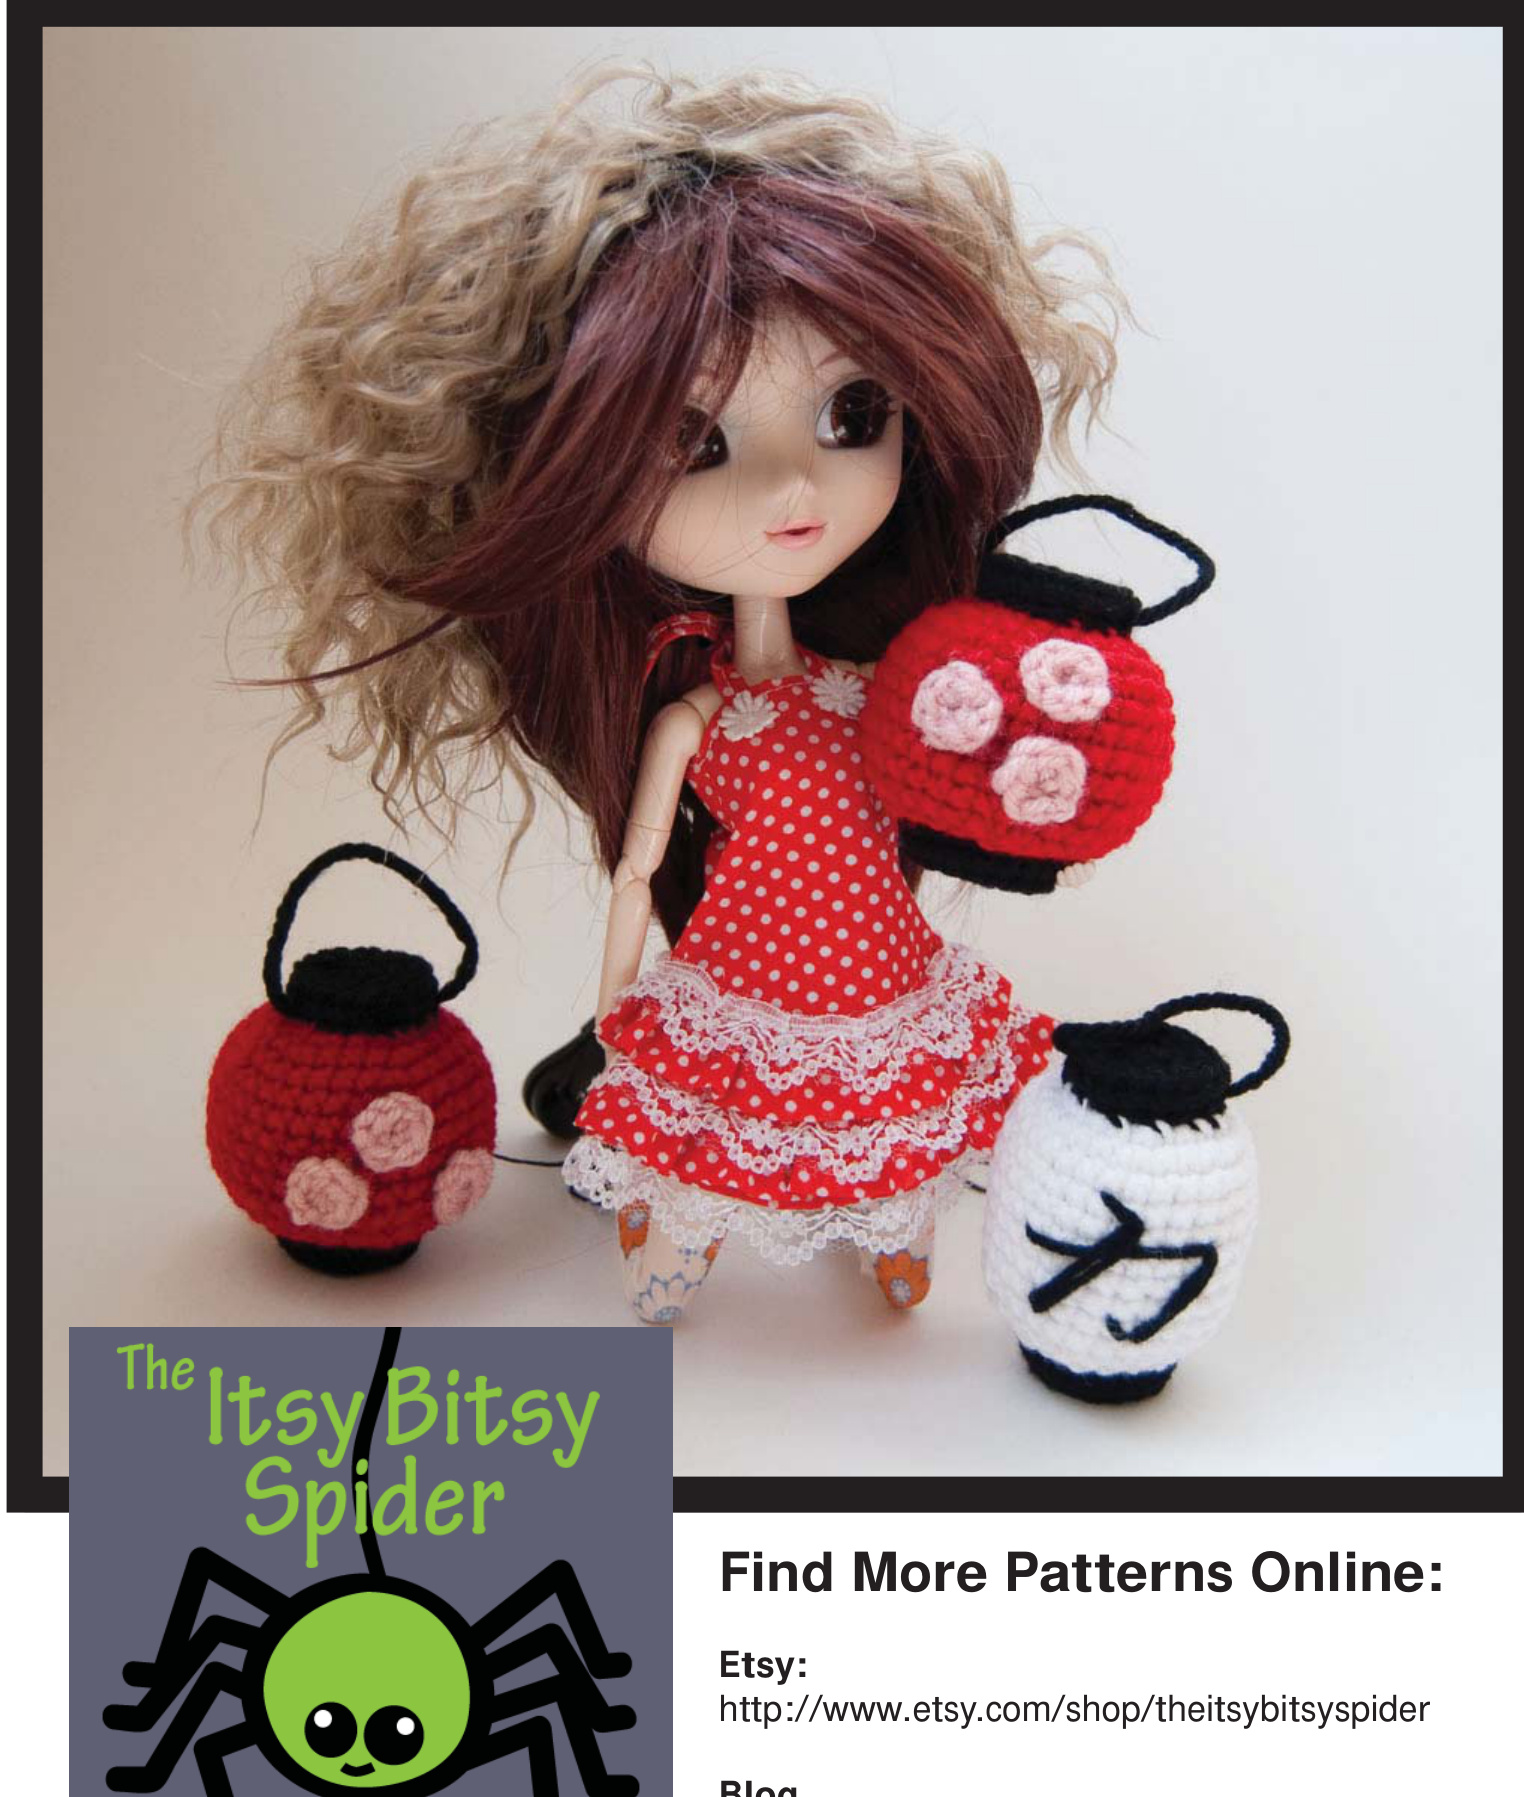
Little Lanterns
These little amigurumi lanterns are based on the paper lanterns seen so often in Japan. The round red lantern is decorated with three cherry blossoms and the tall white lantern features the kanji character for "strength." The lanterns were designed to be just the right size for many collectible dolls, including Blythe and Pullip. A finer weight yarn and smaller gauge crochet hook can be substituted to make the lanterns for smaller Lati or Pukipuki dolls. In addition to being a fun introduction to amigurumi crochet techniques, this pattern shows you how to make two important basic amigurumi shapes -- the sphere and the elongated sphere. Once mastered, these two shapes can be expanded to create many different amigurumi characters!
MATERIALS
Worsted weight acrylic yarn in red, black, white, and pink Fiber fill Size e (3.5 mm) crochet hook (or size needed for selected yarn) Yarnneedle Stitch marker
STITCHES AND ABBREVIATIONS USED IN THIS PATTERN:
CH chain stitch SC single crochet DECR decrease ST stitch STS stitches MM move marker FO finish off For the project shown in the photographs, I used Red Heart Super Saver Economy in: White #0311 Cherry Red #0319 Black #0312 The cherry blossoms were made with Vanna's Choice in Pink (#860-101) Note: When determining whether to use buttons or other small embellishments, keep in mind the age of the intended recipient. Doll eyes and other decorations may pose a choking hazard for children under three. A safer alternative for the very young is to sew eyes and any other decorations using embroidery thread or yarn.
PART 1: LANTERN CAPS (MAKE TWO FOR EACH LANTERN)
The lantern caps are made the same for both the red and the white lanterns. Make two caps for each lantern (one for the top and one for the bottom). Use black yarn for lantern caps. You may also want to use a stitch marker to help keep track of yourrounds. Round 1: CH 2. 6 SC in second chain from hook. Place stitch marker in the last SC to mark the end of the round. Round 2: 2 SC in each ST around (12 SC). MM Round 3: \*2 SC in first ST and 1 SC in each of the next ST. Repeat from \* around (18 SC). MM. Round 4: Working in back loops only, SC in each ST around (18 SC). FO, leaving a tail for sewing.
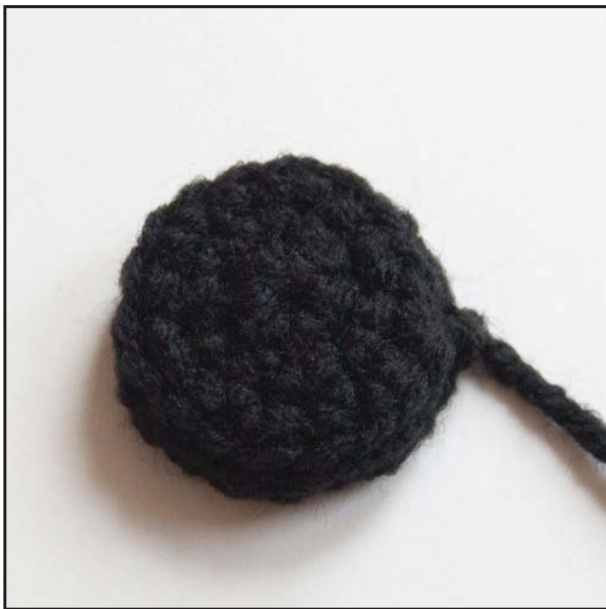
Figure 1: Lantern cap
PART 2: CHERRY BLOSSOMS (MAKE 3)
The cherry blossom, or "sakura" in Japanese, are an enduring metaphor for the ephemeral nature of life. They are often used in Japanese design and fine art. Use pink yarn. Round 1: CH 2. 6 SC in second chain from hook. FO, leaving a tail for sewing.
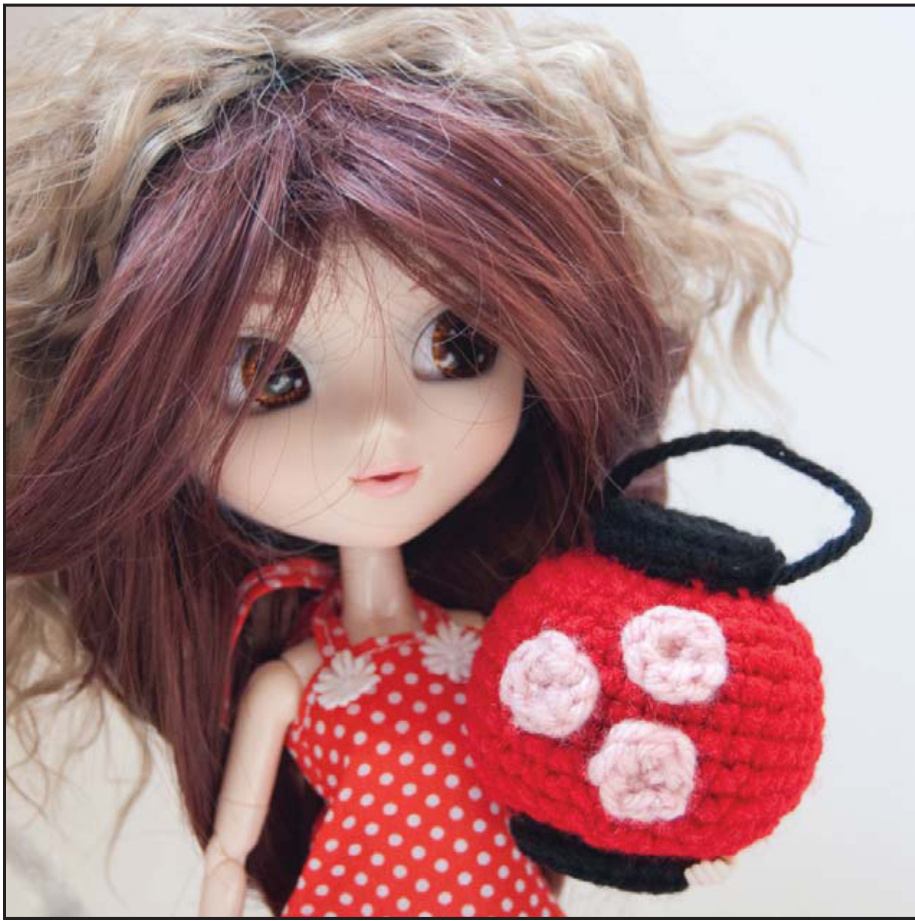
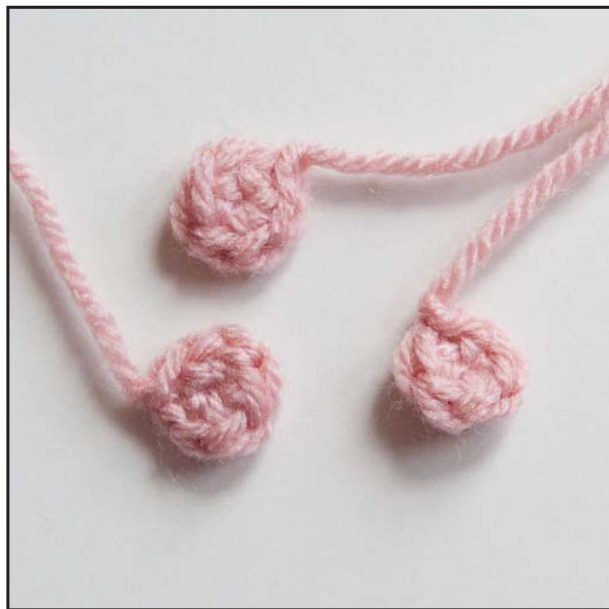
Figure 2: Cherry blossoms
PART 3: RED LANTERN BODY
The red lantern is a simple sphere, worked in a tight spiral. Use red yarn. You may also want to use a stitch marker to help keep track of your rounds. Round 1: CH 2. 6 SC in second chain from hook. Place stitch marker in the last SC to mark the end of the round. Round 2: 2 SC in each ST around (12 SC). MM. Round 3: \*2 SC in first ST and 1 SC in each of the next ST. Repeat from \* around (18 SC). MM. Round 4: \*2 SC in first ST and 1 SC in each of the next two STS. Repeat from \* around (24 SC). MM. Round 5: \*2 SC in first ST and 1 SC in each of the next three STS. Repeat from \* around (30 SC). MM. Round 6: \*2 SC in first ST and 1 SC in each of the next four STS. Repeat from \* around (36 SC). MM. Rounds 7-12: SC in each ST around (36 SC). MM. Round 13: \*DECR across first two SC STS and SC in each of the next four STS. Repeat from \* around (30 SC). MM. Round 14: \*DECR across first two SC STS and SC in each of the next three STS. Repeat from \* around (24 SC). MM. Round 15: \*DECR across first two SC STS and SC in each of the next two STS. Repeat from \* around (18 SC). MM. Note: Stop here and stuff the piece firmly. Round 16: \*DECR across first two SC STS and SC in next ST. Repeat from \* around (12 SC). MM. Round 17: DECR across two SC STS around (6 SC). FO, leaving short tail.
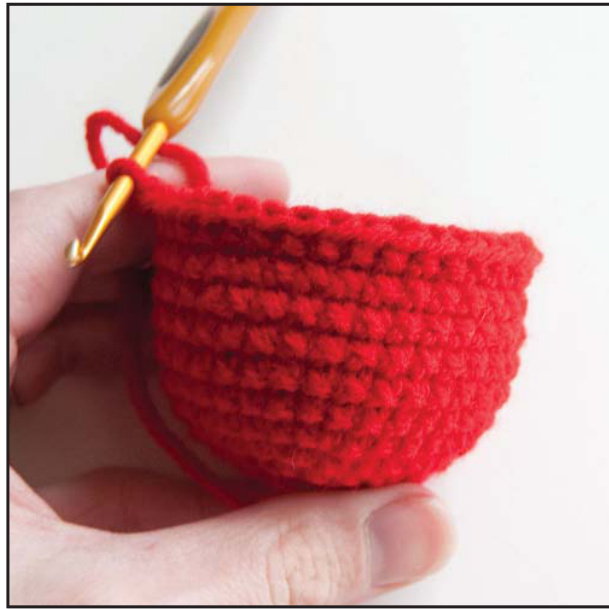
Figure 3: Red lantern after round 12
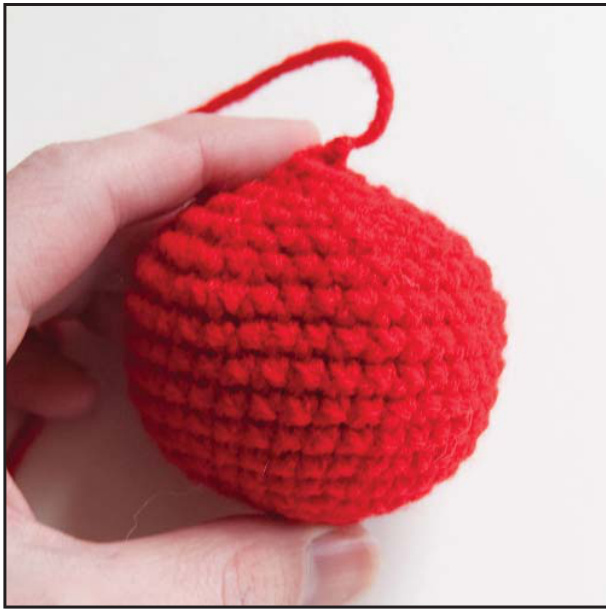
Figure 4: Finished red lantern body
PART 4: WHITE LANTERN BODY
The white lantern is an elongated sphere, worked in a tight spiral. Use white yarn. You may also want to use a stitch marker to help keep track of your rounds. Round 1: CH 2. 6 SC in second chain from hook. Place stitch marker in the last SC to mark the end Of the round. Round 2: 2 SC in each ST around (12 SC). MM. Round 3: \*2 SC in first ST and 1 SC in each of the next ST. Repeat from \* around (18 SC). MM Round 4: \*2 SC in first ST and 1 SC in each of the next two STS. Repeat from \* around (24 SC). MM. Round 5: \*2 SC in first ST and 1 SC in each of the next three STS. Repeat from \* around (30 SC). MM. Rounds 6-13: SC in each ST around (30 SC). MM. Round 14: \*DECR across first two SC STS and SC in each of the next four STS. Repeat from \* around (30 SC). MM. Round 15: \*DECR across first two SC STS and SC in each of the next three STS. Repeat from \* around (24 SC). MM. Round 16: \*DECR across first two SC STS and SC in each of the next two STS. Repeat from \* around (18 SC). MM. Note: Stop here and stuff the piece firmly. Round 17: \*DECR across first two SC STS and SC in next ST. Repeat from \* around (12 SC). MM. Round 18: DECR across two SC STS around (6 SC). FO leaving short tail.
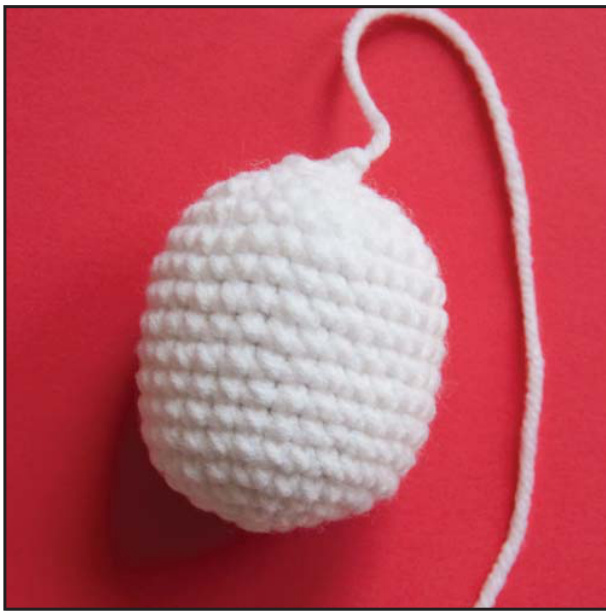
Figure 5: Finished white lantern body
PART 5: RED LANTERN FINISHING
Collect two lantern caps, the cherry blossoms, and the red sphere to finish the red lantern. 1. Begin by stitching the cherry blossoms in place on the face of the lantern (see Figure 6). TIP 1: If you sew through the centers of the flowers, leaving the outside edges to curl up a little, the flowers getaprettythree-dimensionallook. TIP 2: Make your knots at either the top or bottom of the red sphere. You will then cover them up using the lantern caps. 2. Sew the first cap onto the bottom of the lantern. Knot off yarn and hide the end under the cap. 3. Sew the second cap onto the top of the lantern. After stitching all the way around, sew through the cap, leaving a loop for the handle.
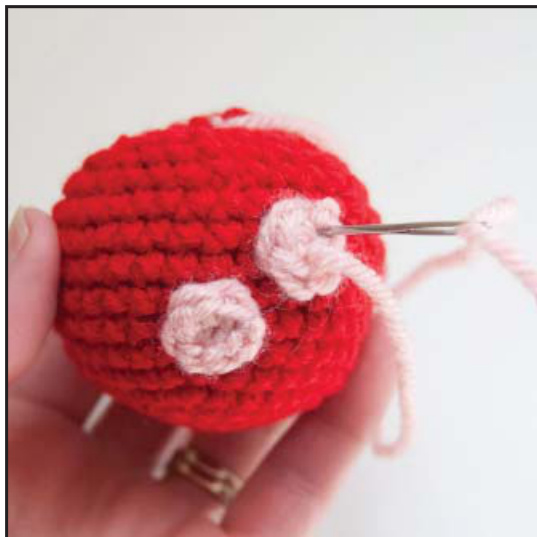
Figure 6: Stitch cherry blossoms in place
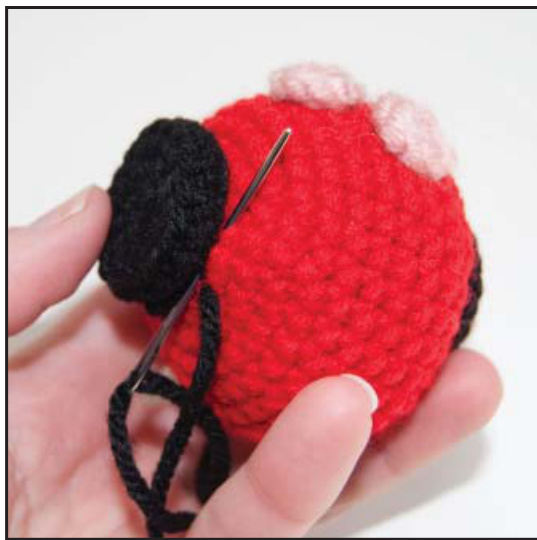
Figure 7: Sew caps
PART 6: WHITE LANTERN FINISHING
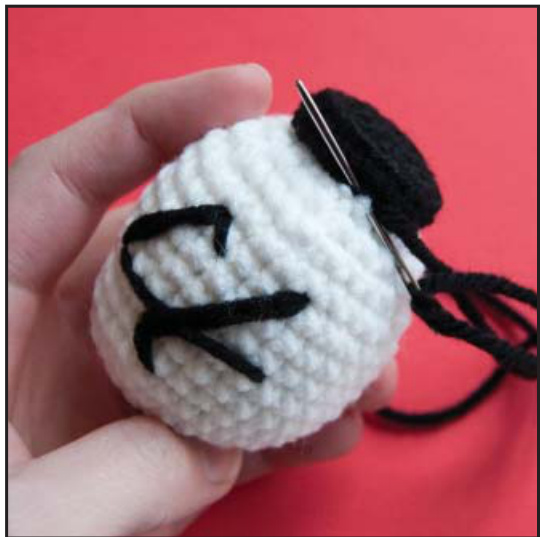
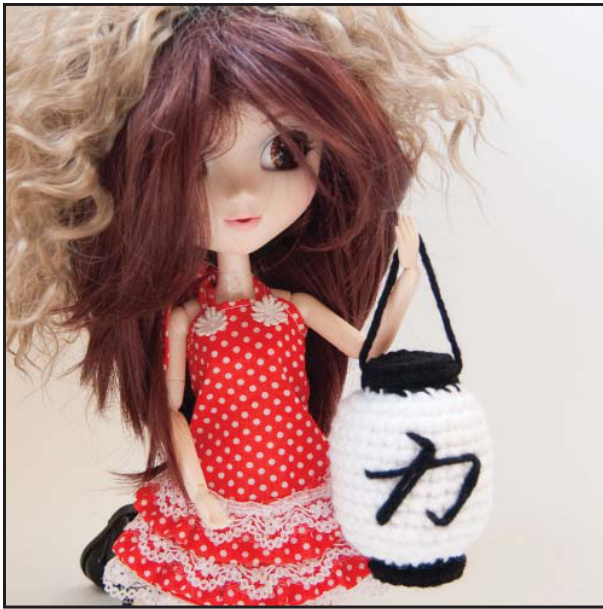
Collect two lantern caps and the white sphere to finish the white lantern. You will also need a length of black yarn. 1. Embroider the kanji character for "strength" (shown below) on the face of the lantern.
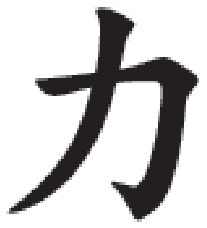
TIP: You could also do a design or other characters instead of "strength." 2. Sew the first cap onto the bottom of the lantern. Knot off yarn and hide the end under the cap. 3. Sew the second cap onto the top of the lantern. After stitching all the way around, sew through the cap, leaving a loop for the handle.
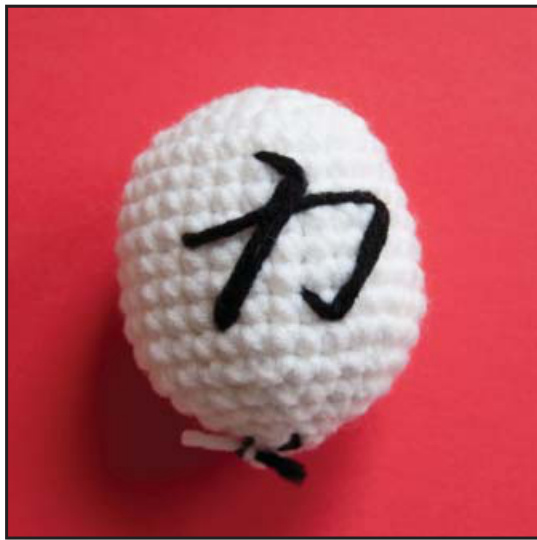
Figure 8: Embroidered lantern