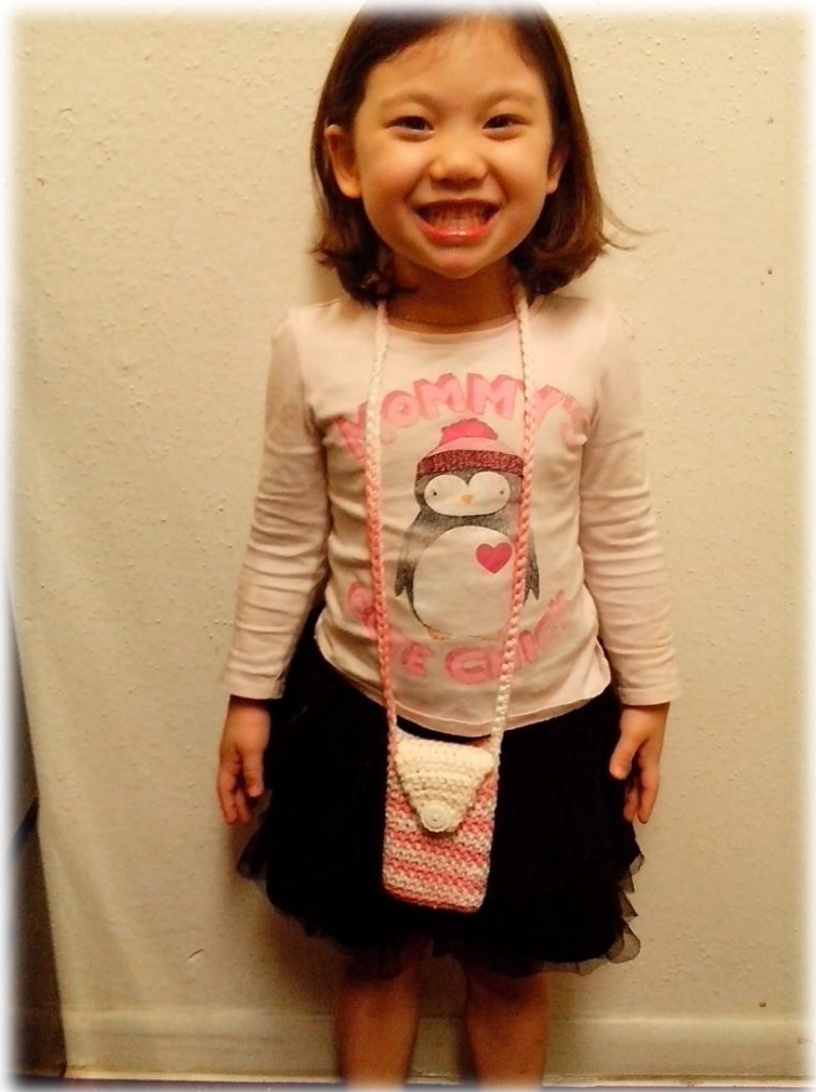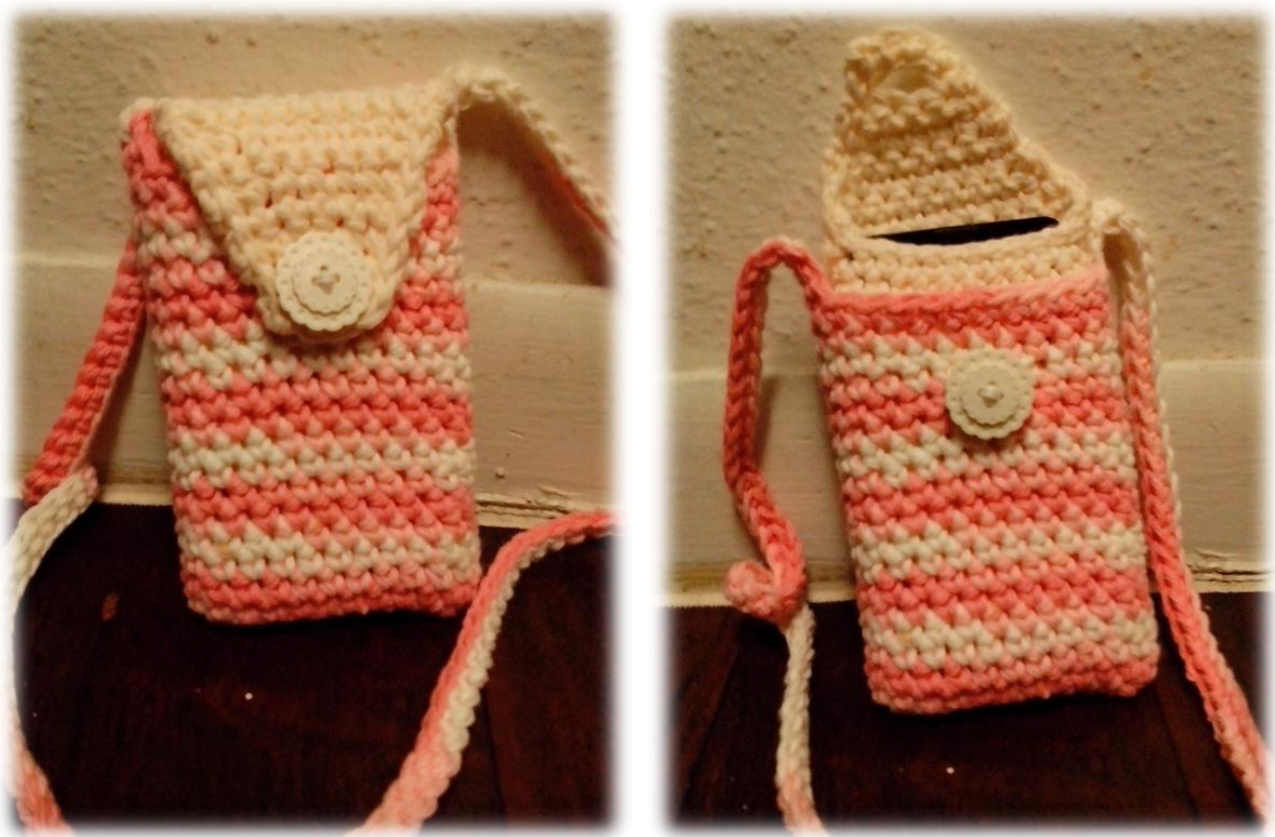
Cellphone Lanyard Crochet Pattern
I created this cellphone lanyard to securely hold my phone and also have space for my ID, debit card and even a bit of cash or giftcards. Materials: H (5mm) hook 1 stitch marker 2 skeins of Sugar'n Cream in two different colors Darning needle Scissors 1 button to fit button hole Abbreviations: ch - chain chs -chains Sc - single crochet sc2tog - single crochet decrease (single crochet two stitches together) slst - slip stitch Holder with lanyard - Rnd 1: ch11, 2sc in 2nd ch from hook, sc in next 8 ch, 4 sc in last ch, work on opposite side, sc in next 8 sts, 2 sc in last ch. Do not join, work in continuous rounds and mark your 1st st. \* On the opposite side crochet over your tail so you don't have to weave it in later. \* Rnd 2: sc in each st. Continue round 2 (19) times or until you've reached your desired length. Finishing - \*worked in continuous rounds as well\* Rnd 1: sc in next two sts, ch100, skip 10 sts, sc in next two sts. Rnd 2: sc in all previous sc and in 1o0chs, slst to 1st sc, fasten off and weave in ends. Insert with flap - Rnd 1: ch11, sc in 2nd ch from hook, sc in next 8 ch, 2 sc in last ch, work on opposite side, sc in next 8 sts, 1 sc in last ch. Do not join, work in continuous rounds and mark your 1st st. \* On the opposite side crochet over your tail so you don't have to weave it in later. \* Rnd 2: sc in each st. Continue round 2 (19) times or until you've reached your desired length. Row 1: sc in the next 2 sts, ss in the next st, ch1 turn. Row 2: sc in next 12 sts, ch1 turn. Row 3: sc2tog, sc in next 8 sts, sc2tog, ch1 turn. Row 4: sc in next 10 sts, ch1 turn. Row 5: sc2tog, sc in next 6 sts, sc2tog, ch1 turn. Row 6: sc in next 8 sts, ch1 turn. Row 7: sc2tog, sc in next 4 sts, sc2tog, ch1 turn. Row 8: sc in next 6 sts, ch1 turn. Row 9: sc2tog, sc in next 2 sts, sc2tog, ch1 turn. Row 10: sc in 1st st, ch1 and skip 2 sts, sc in last st, ch1 turn. Row 11: sc in 1st and last st and 2chs, ch1 turn. shing: slst around flap and opening, join to 1st slst. fasten off and weave in ends Sew a button on the front of the holder. Make sure you're sewing onto just the holder and not through to the insert or else that space will be rendered useless. I use the insert with flap for my phone and the space in front of it for my ID and debit card. The flap ensures nothing falls out. Hope you enjoy this as much as I do!