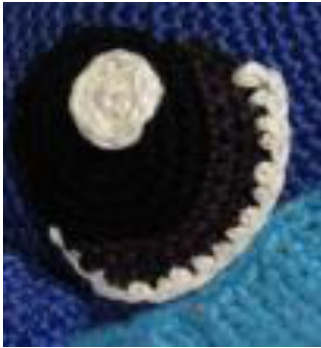
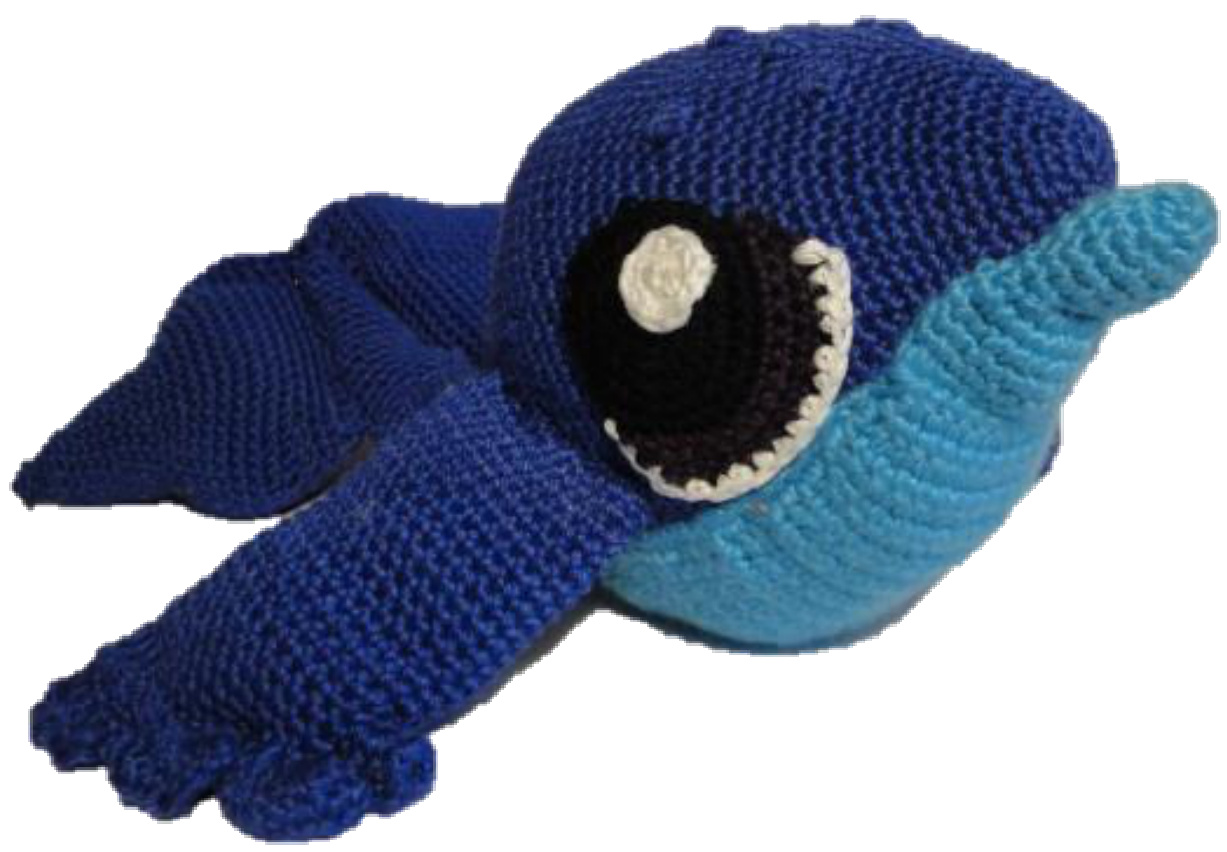
Pearl the whale
Pattern part 2
Materials
- see part 1
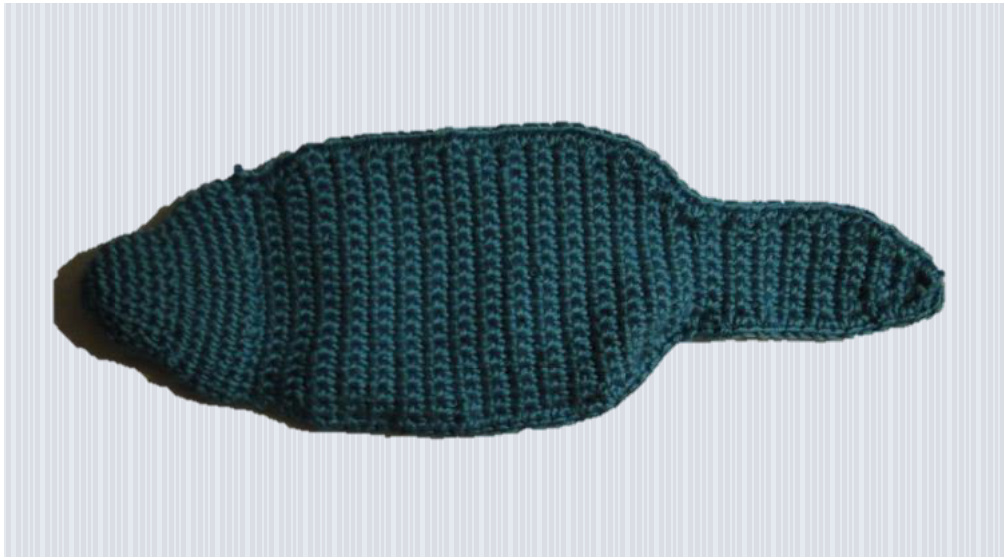
Belly
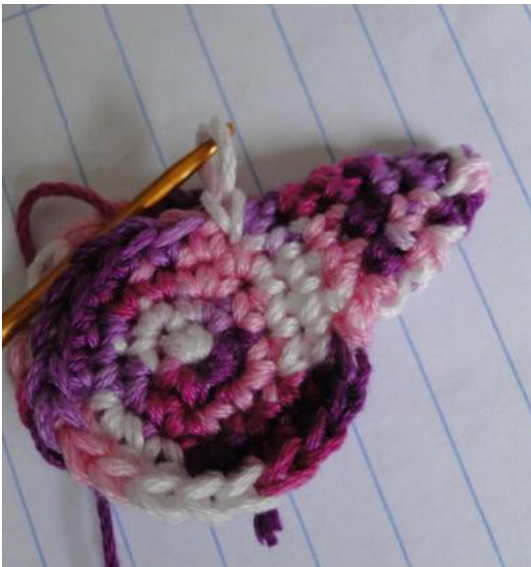
Color light blue R1. 6 sc in magic ring (6) R2. \*2sc in st\* repeat 6x (12) R3. \*2sc in st, sc\* repeat 6x (18) R4-8. 18sc R9. \*2sc in v\* repeat 18x (36) R10-12. 36sC R13. \*min, 4sc\* repeat 6x (30) fill up light. This part is the lower lip off the whale. <see photo A> R14. Fold lower lip together. Crochet together with 15sc. <photo B.> Crochet from here in rows. Turn with a 1 chain at the end of every row. I don't mention that you need to turn. This speaks for itself. R15.1 ch, 15sc (15) R16.1 ch, 15sc (15) AmiFan -Nederland
Photos
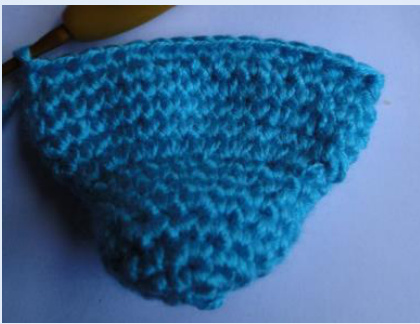
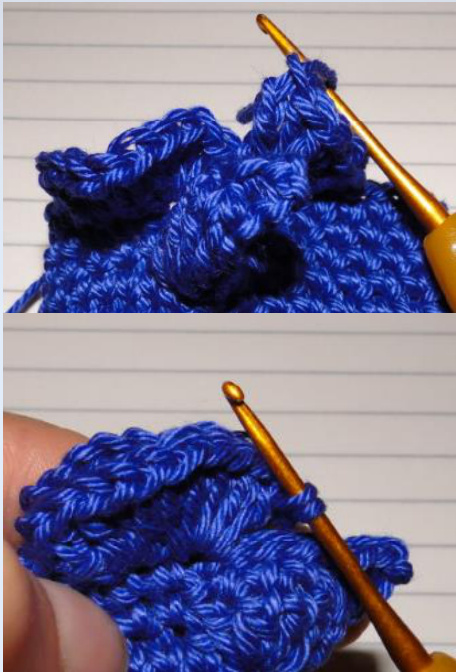
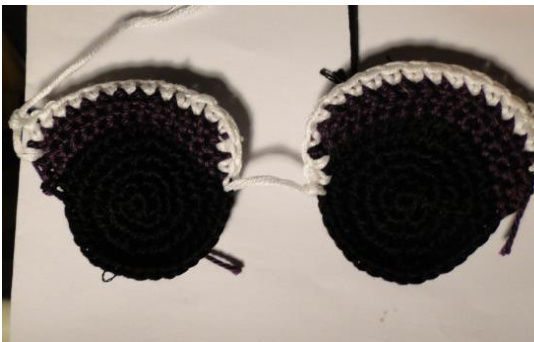
A. Fill the lower lip light with filling. Sew a thread of the same color in a row 8 against each other.
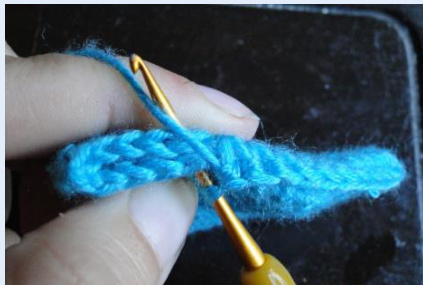
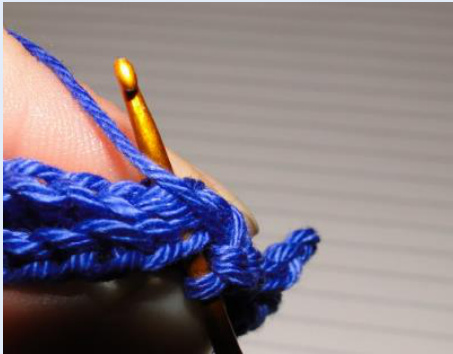
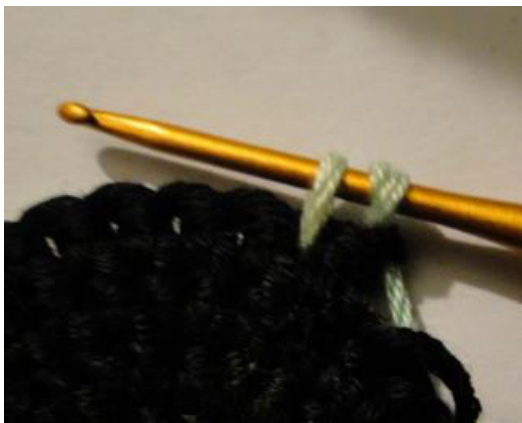
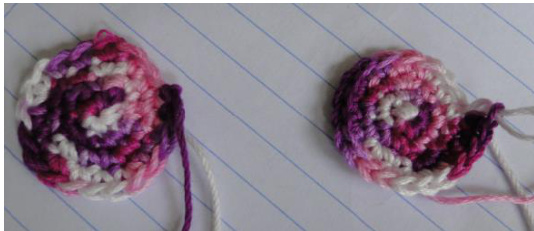
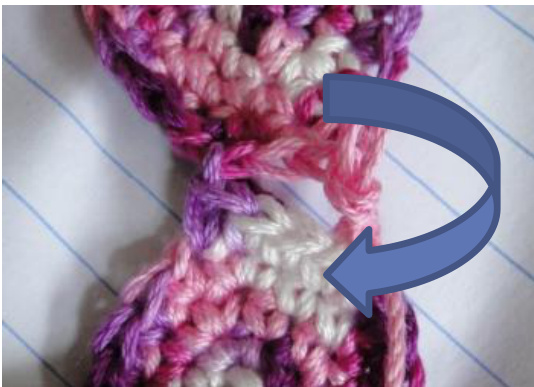
B. Crochet together row 14 With 15sc.
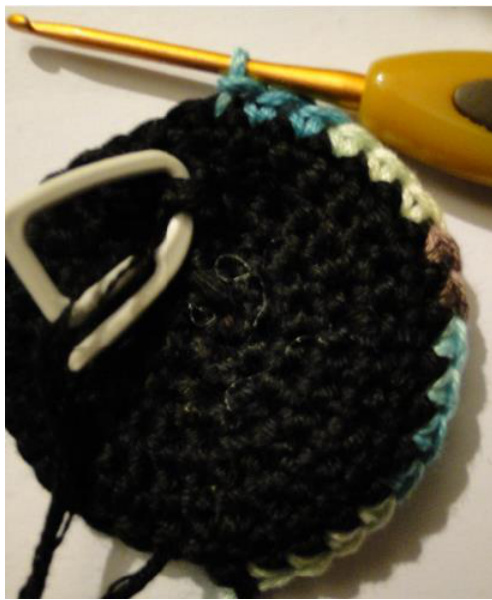
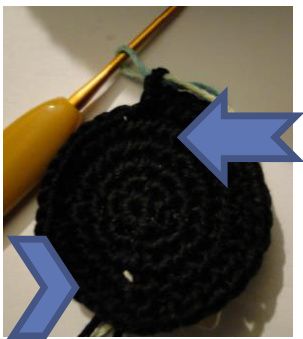
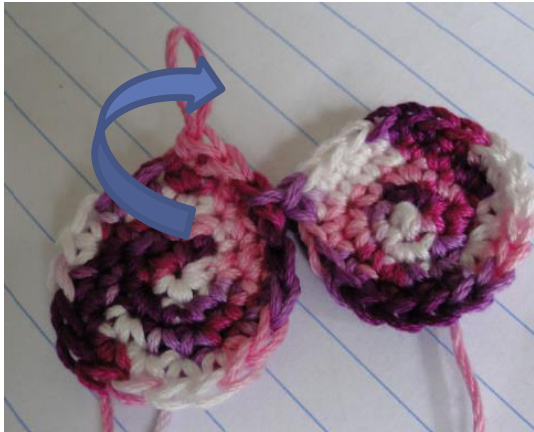
C. Crochet around sc. Starting point. R17. 1 ch, 3sc in next st, 13sc, 3sc ir next st (19) R18-38. 1k, 19sc. R39. 1ch, 2st tog, 15sc, 2st tog (17) R40-41. 1ch, 17sc R42. 1ch, 2st tog, 13sc, 2st tog (15) R43. 1ch, 15sc R44. 1ch, 2st tog, 11sc, 2st tog (13) R45. 1ch, 2st tog, 9sc, 2st tog (11) R46. 1ch, 2st tog, 7sc, 2st tog (9) R47. 1ch, 2st tog, 5sc, 2st tog (7) R48-57. 1ch ,7sc (7) R58. 1ch, 2st tog, 3sc, 2st tog (5) R59. 1 ch, 5sc (5) R60. 1ch, 2st tog, sc, 2st tog (3) R61. 1ch, 2st tog, sc (2) End off.
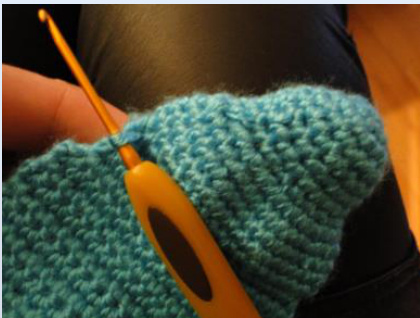
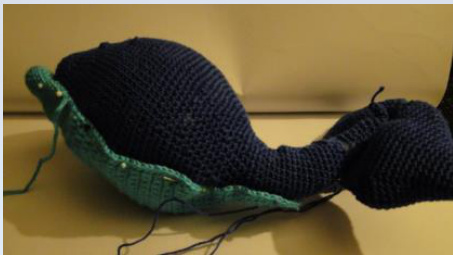
Crochet a sc around the belly. Start on row 14. <photo C for starting point> Sew belly on under part of body. Make sure the lip protrudes outside the blue of body piece. <photo D >
Fins of the whale (2x)
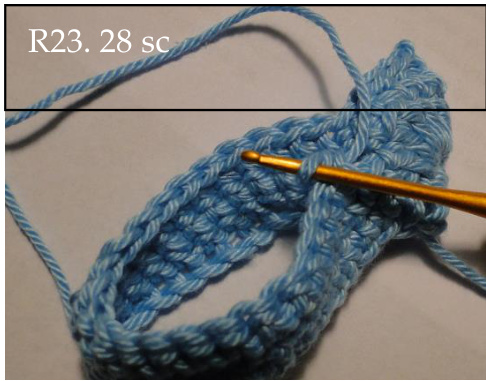
Use the same color as the body R1. Chain of 30, crochet with slip stich in chain number 1. Now you have a ring. R2-20. 30sc Attention. This part is difficult! repeat 2x, 28sc < photo E + down under >
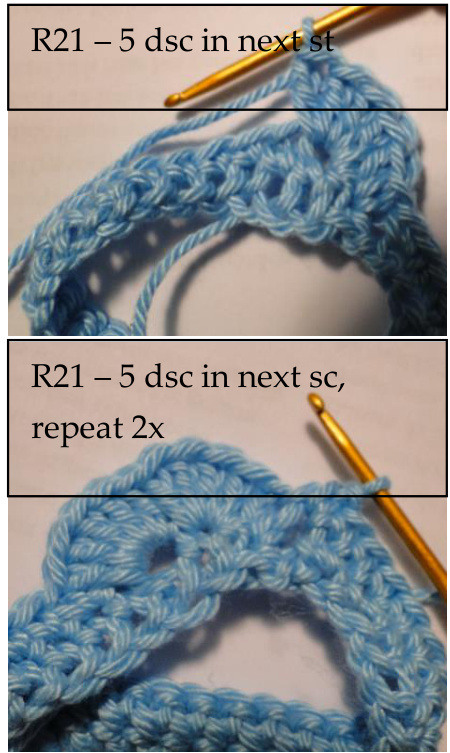
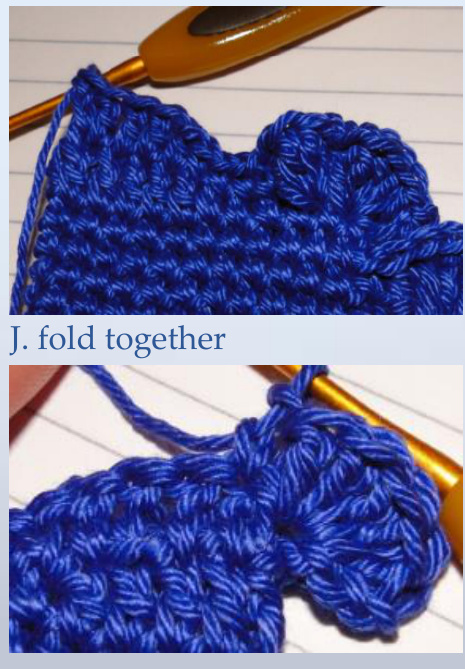
R22. Fold the whole double, so that the five dsc against the other five dsc come to lie. < photo F + next page. >

Photos
D. Sew belly on body.
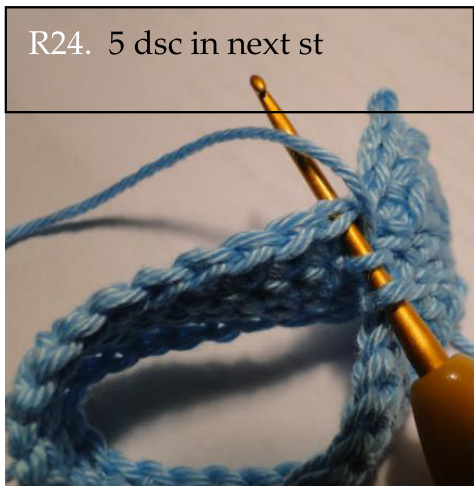
E. 5 double crochet in next st.
F. Fold together, turn, 5slip stich on next 5dsc.

Crochet al dst together with sc. R23. 1 ch, turn, 5 slip stich on the dsc, 28sc

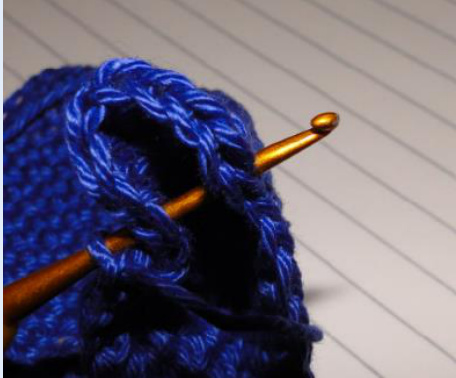
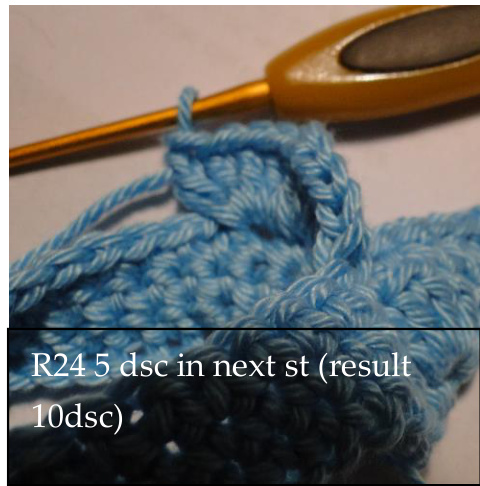
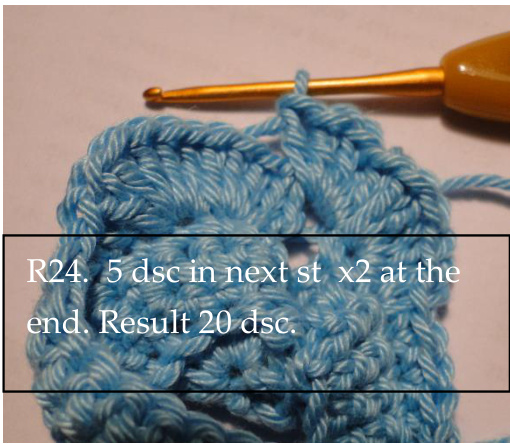
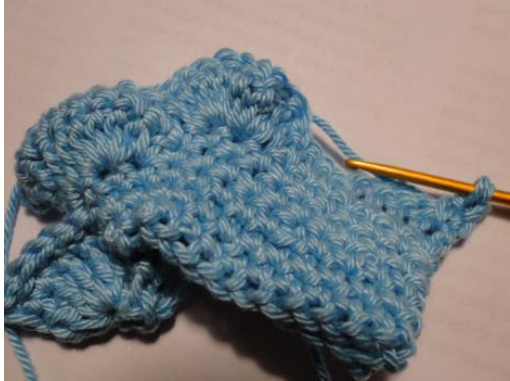
R24. 5 dsc in next st, 5 dsc om next st, 24sc, 5 dsc in next st, 5 dsc om next st. < photo G and downunder >
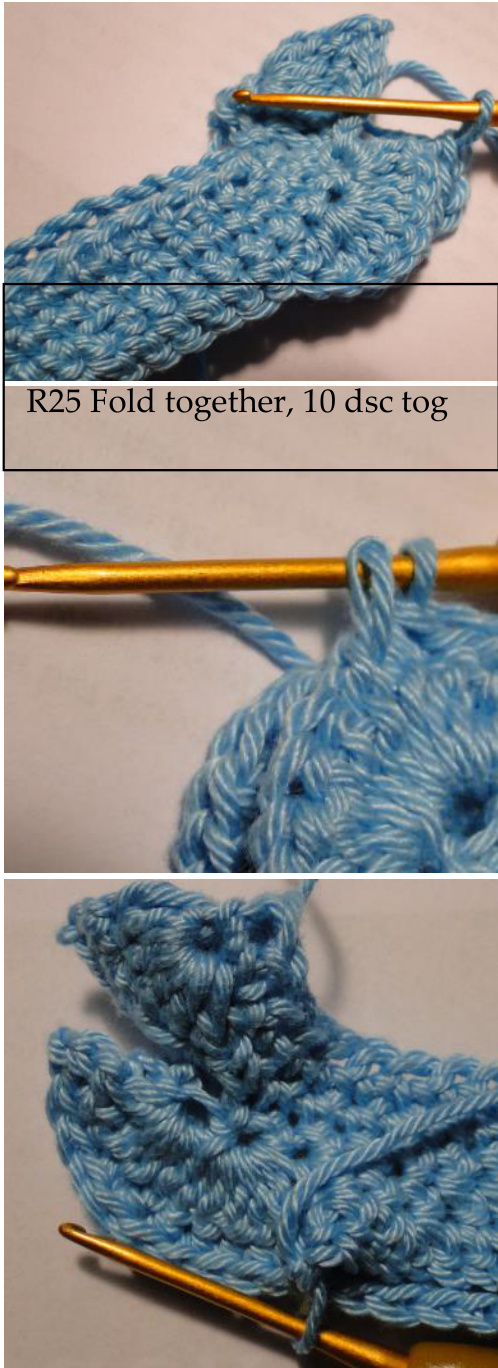
R25. Fold together, 10 dsc tog <photo H - next under.> ,22sc
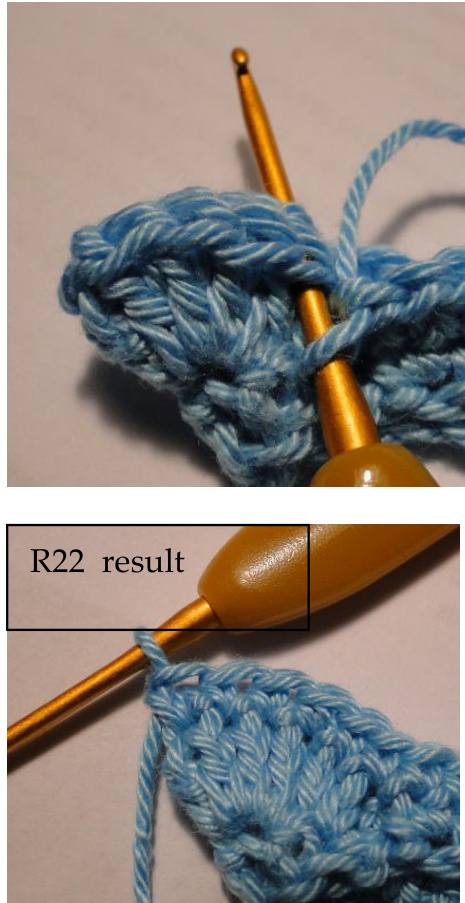
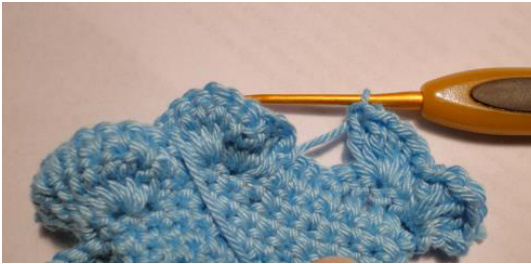
R26. 24sc R27. 6sc, 10dsc, 6sc < photo I and next >
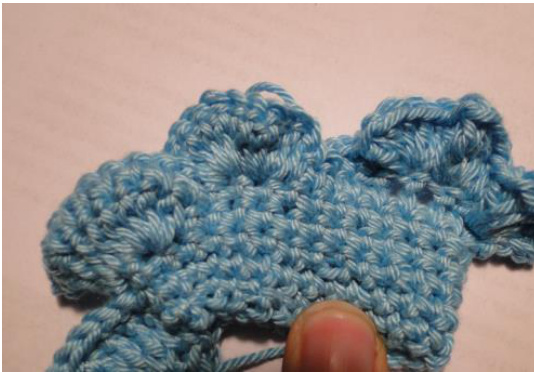
R28. Fold together, chain of 2 (=1e dsc), 4 dsc in next st, 5 dsc in next st, 4v, 5 dsc in each next st.
R29. Chain of 2, turn, \*5 dsc in st, sc\* repeat 3x, 2sc, 1 slip stich and end off.
Make 2!

Photos
G. double crochets.
H. Dsc together
I. 10 dsc.
Fill them up light. Not too thick! But sturdy enough that the whale can support it. Close the bottom (sewing or crochet this close with slip stich) and let the thread long enough to sew the fins to the body...
Eyes
Attention!!
Difference in row 9 in lef and right eye. White part starts in changing color to green/black. You can start at that point, that is easier.
Two rounds of white
R1. 5v in magic ring R2. \*2sc in st\* repeat 5x (10) Sew on eye.
R1. 5sc in magic circle. (5) R2. \*2sc in st\* repeat 5x (10) R3. \* 2sc in st\* repeat 10x (20) R4. \*2sc in st, sc\* repeat 10x (30) R5. \*2sc in st, 5sc\* repeat 5x (35)
R7. Chain of 1, 15sc green, turn
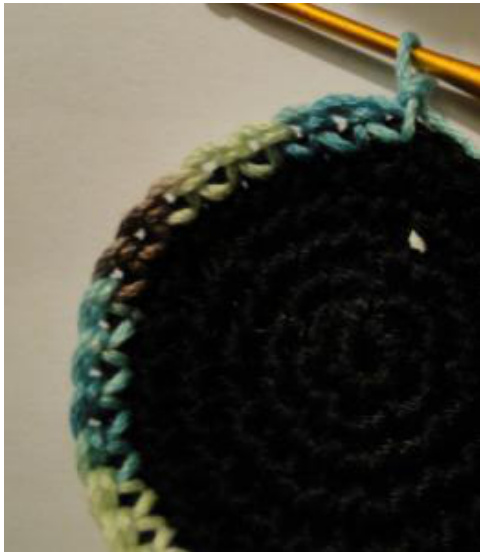
Photo of row 6.
R6. 15sc, 1slip stich, change color - green or purple. Crochet in rows further, So 1chain, turn, 15sc, 1slipstich R8. Chain of 1, 2st tog, 11sc, 2st tog (green). R9. Change color to white. Chain of 1, turn , 16 sc in each st. End off
Starfish
You can trim a starfish on his back. I chose a variegated thread in the color purple/pink/white. With crochet hook 2.0
Make 2x.
R1. 5sc in magic circle R2. \*2sc in st\* repeat 5x (10) R3. \*2sc in st, sc\* repeat 5x (15) R4. \*2sc in st, 2sc\* repeat 5x (20)
Haak punten
Put the two circles together with the backs under. Crochet 4 sc in each st on circle 1, 4 sc on circle 2, slip stich in 1e sc on circle 1.
Crochet a star point on these 8sc. R1-2. 8sc R3. \*2st tog, 2sc\* repeat (6) R4. \*2st tog, sc\* repeat (4) End off and repeat this 5 times.
Adjacent to every other point
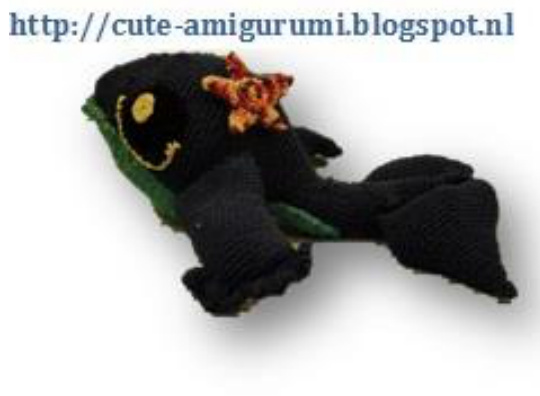
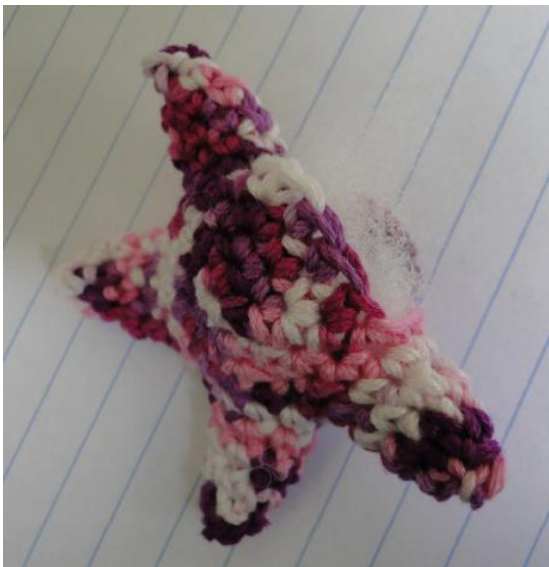
At the last be careful, first light fill With filling. Put all the parts in the right spot to each other. Confirm your eyes against the body to to the side of the head. Just below the puff stiches. The Starfish can as decoration on the back. And ready is Pearl.
It is allowed to make a link to this pattern. This pattern may not be sold. Of course you may sell the made whale, based on this pattern. This pattern and other patterns can be found on Raverly where my name is AmifanDutch or Ami fan Designs. I have a blog: http://cuteamigurumi.blogspot.nl Do you have any questions or feedback about this pattern, feel free to contact me amifan01@gmail.com


