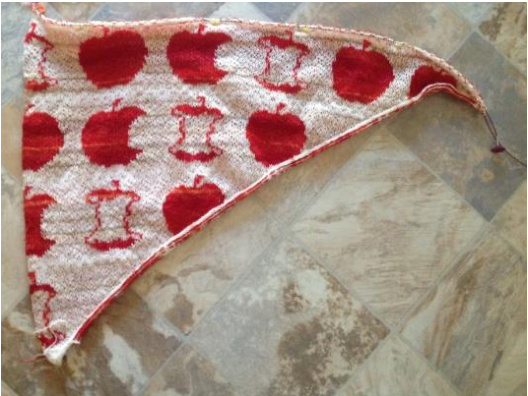
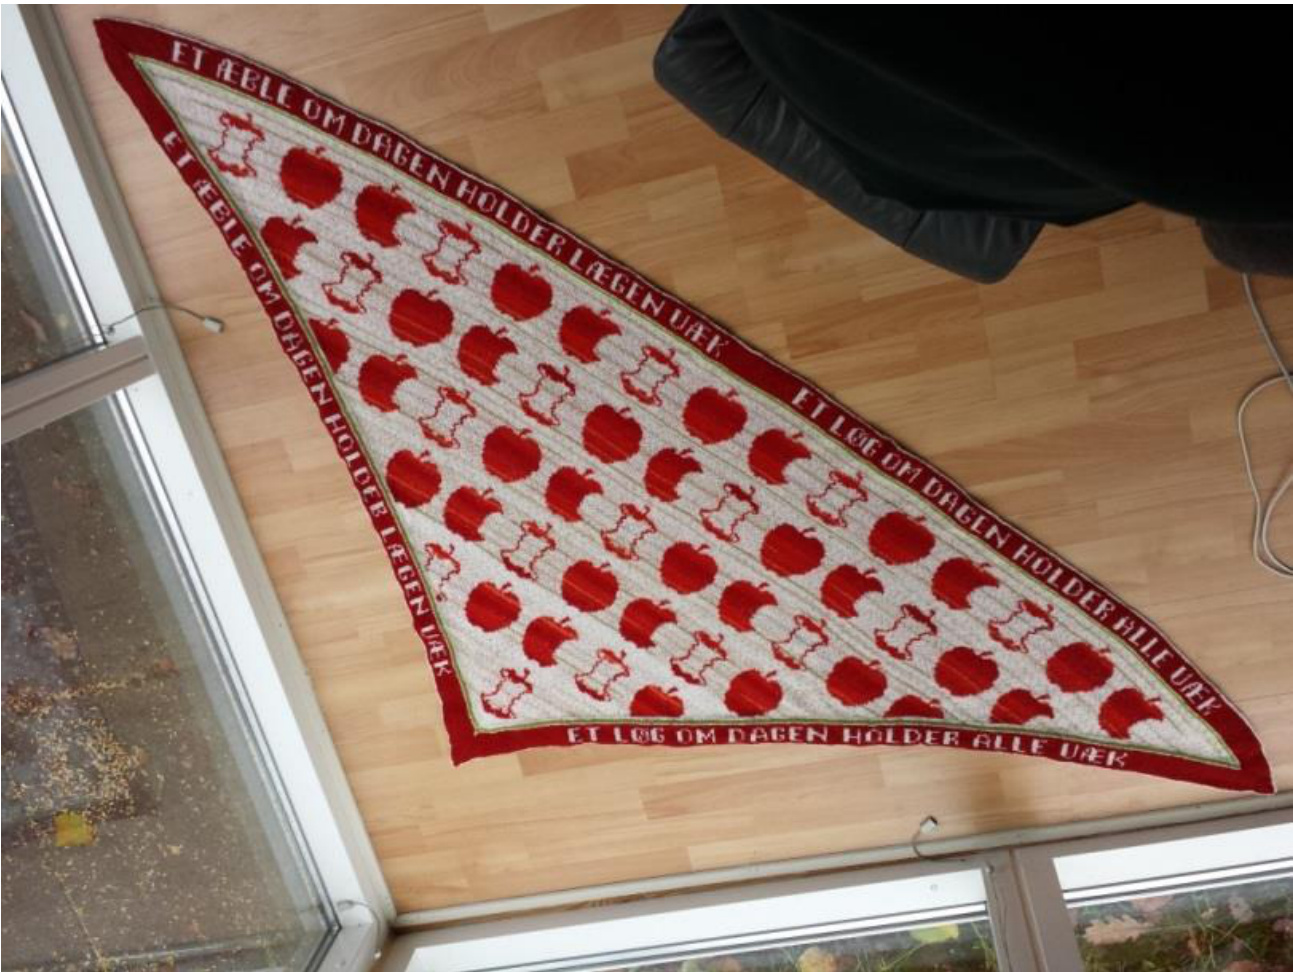
Knit a Fair Isle shawl on circular needles.
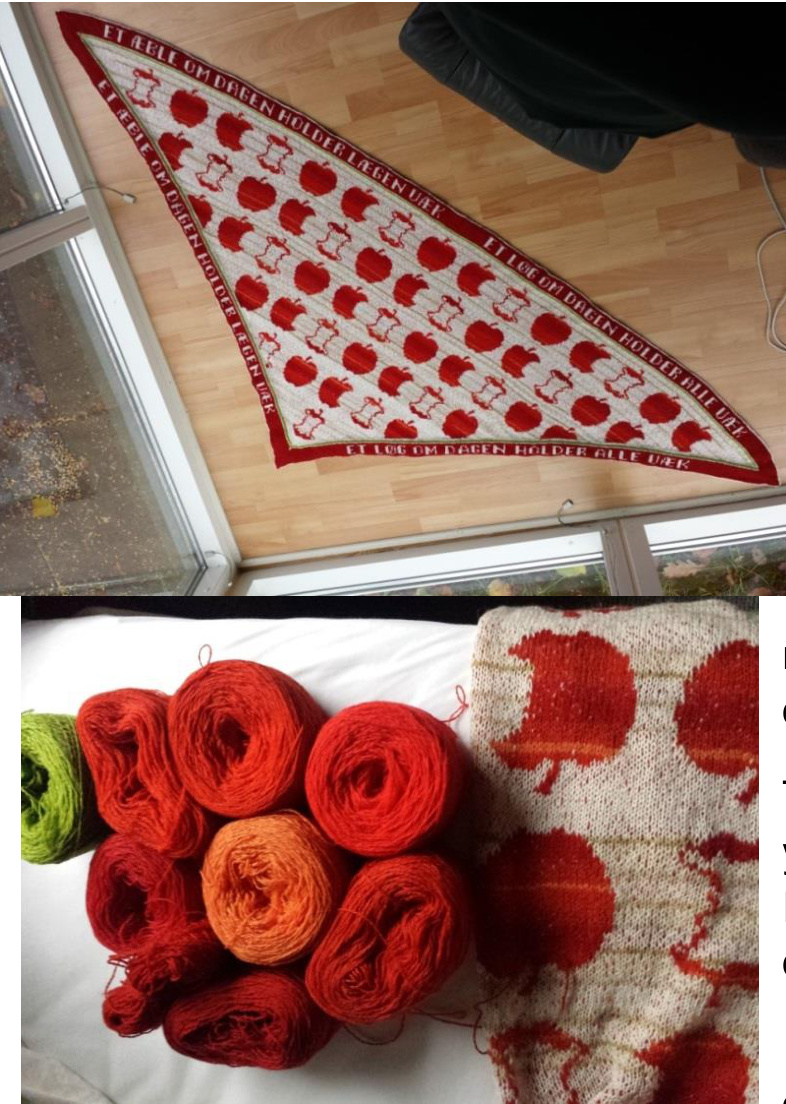
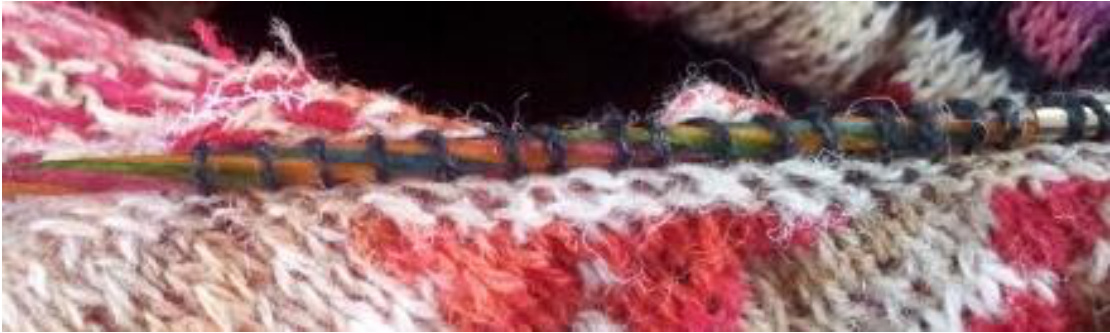
500-600g Supersoft or similar quality in different colors. 6-8 for base color and 6-8 for the pattern. (Use your left overs in corresponding shades.) Circular needles US 4/3,5mm 40-150cm. Alternatively 5 needles for the start, or knit with Magic Loop. The colors can be knitted in order of their shade. When you knit, you should try to avoid being to methodical and therefore vary the iumber of rounds you knit, both with the :olored thread and the base color. To ease this process you can wind two balls of yarn - one colored and one base color. Remember to vary the length of the different colors in each ball. I wind two small balls of yarn (walnut size) with different length - 50cm to 100cm pieces - of the different shades. These small balls of yarn I use for the beginning of the pattern. Here you only need short lengths of the different shades to get a nice shift in colors. The next balls of yarn (clementine ball size) have longer pieces yarn to make the color change - 1m to 3m pieces. The next set of yarn balls (tennis ball) have 4m to 9m pieces of yarn. For the long rounds of the shawl I wind 5m to minimum 12m lengths of yarn in the balls. When knitting a larger pattern it may be more aesthetically pleasing, when the color changes in the different shades are spaced further apart - meaning longer pieces of yarn from the beginning. The different yarns are spliced together as you go. This way there are no loose ends to weave, like there is when tying knots. id the ends of the two pieces of yarn you wish to splice together.
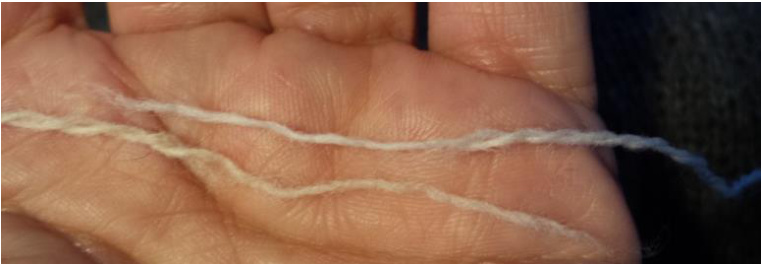
Nip of the last 2-3cm of the threads in each piece of yarn. Now overlap the two ends of the yarn and with a lightly moist palm roll the ends together between you palms until they are one.
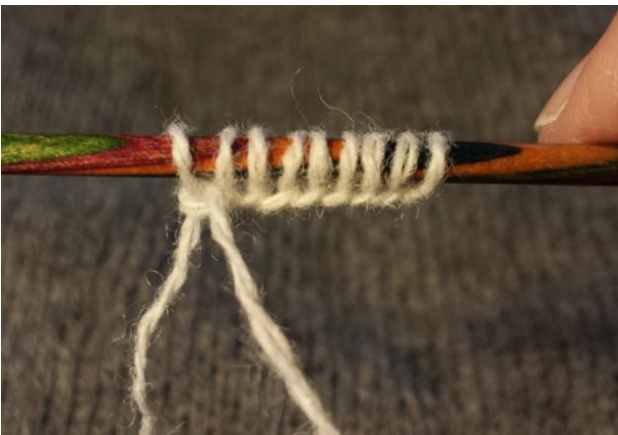
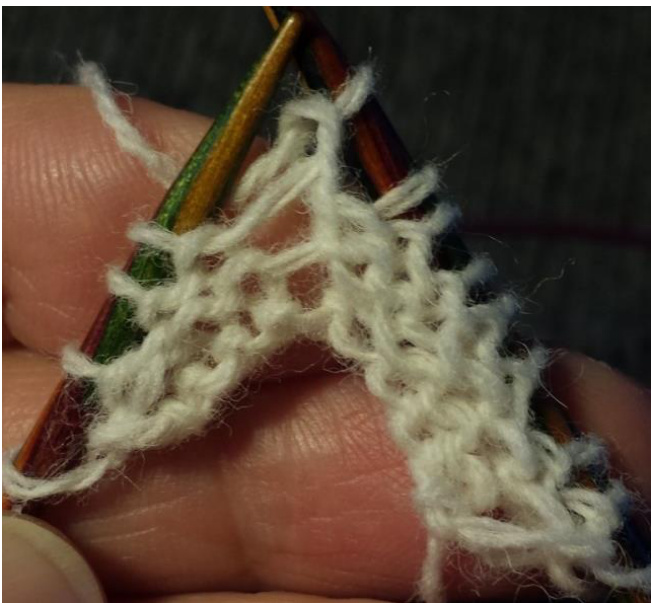
You can now continue knitting. Cast on 9 stiches.
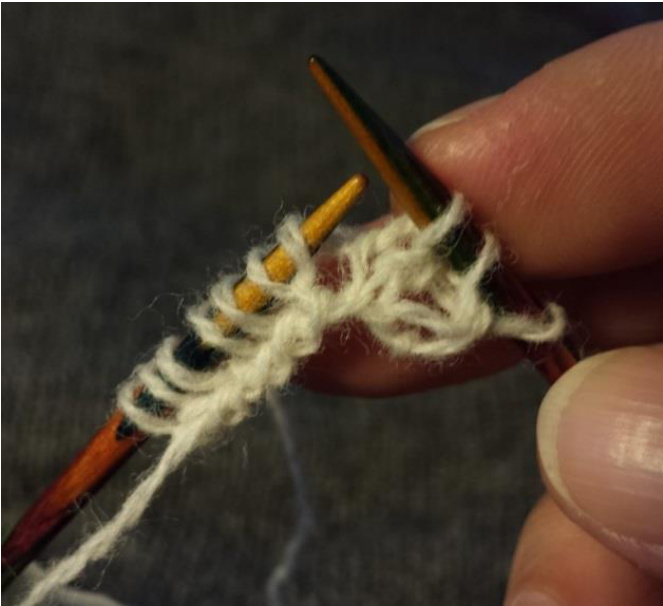
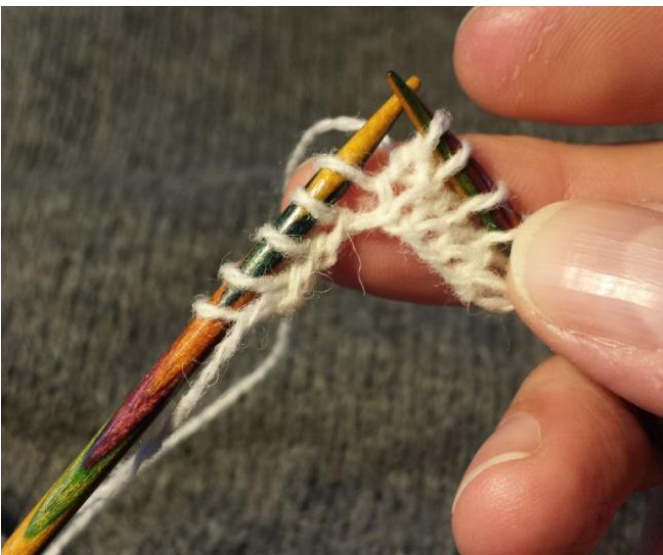
Knit 4, make 1 right knit 1, make 1 left knit 4. On the back side purl and twist similar to the front side..

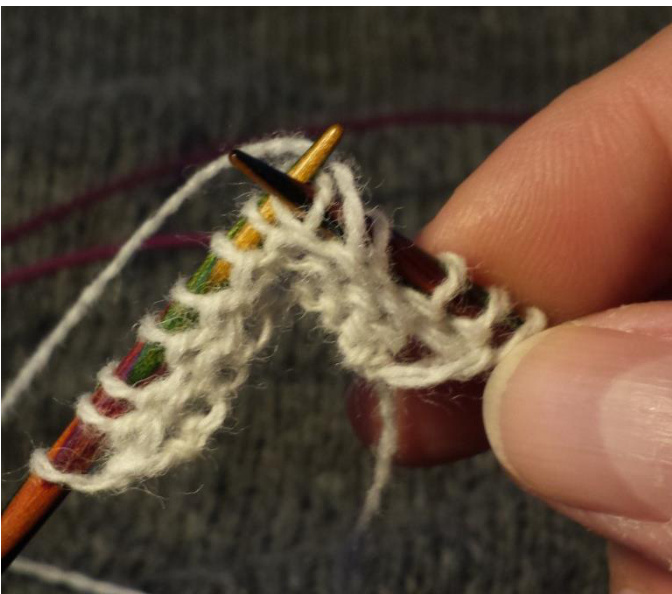
If your pattern start at the very beginning, you have to knit with two colors even on backside. After knitting 10 to 40 rows; Cast on 5 stitches. That makes 11 stitches to steek and cut: Increase, knit 2 stitches in base color, 7 in stripes and 2 in base color, increase. Knit in stockinette an increase on every row/round after and before those 4 stitches. The increase should be twisted at left and right making a nice row along the Borderstitches.

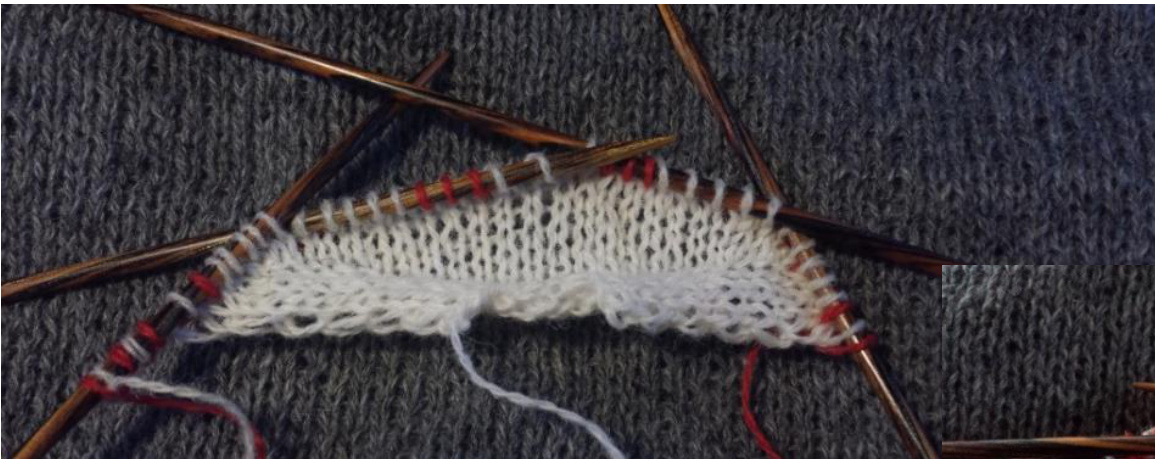
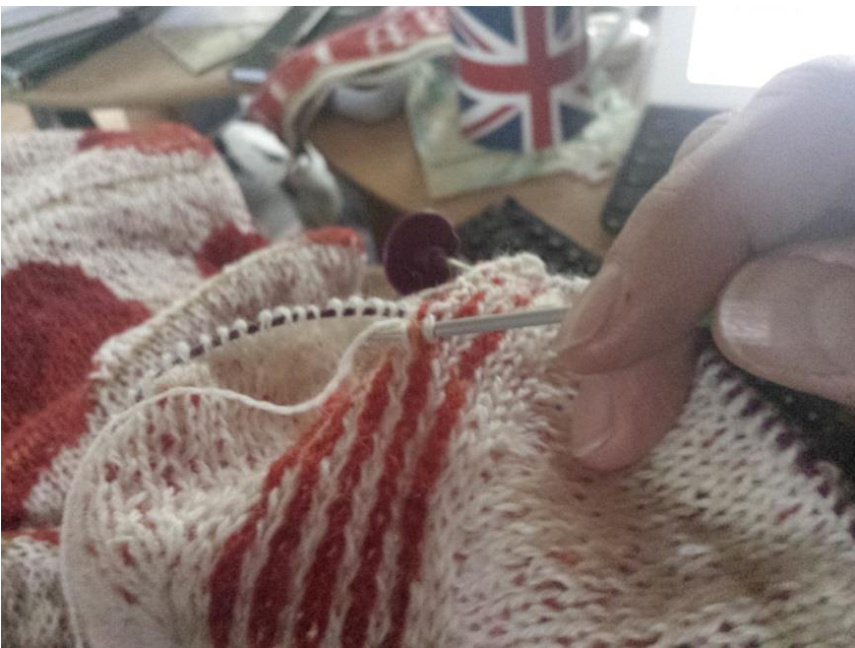
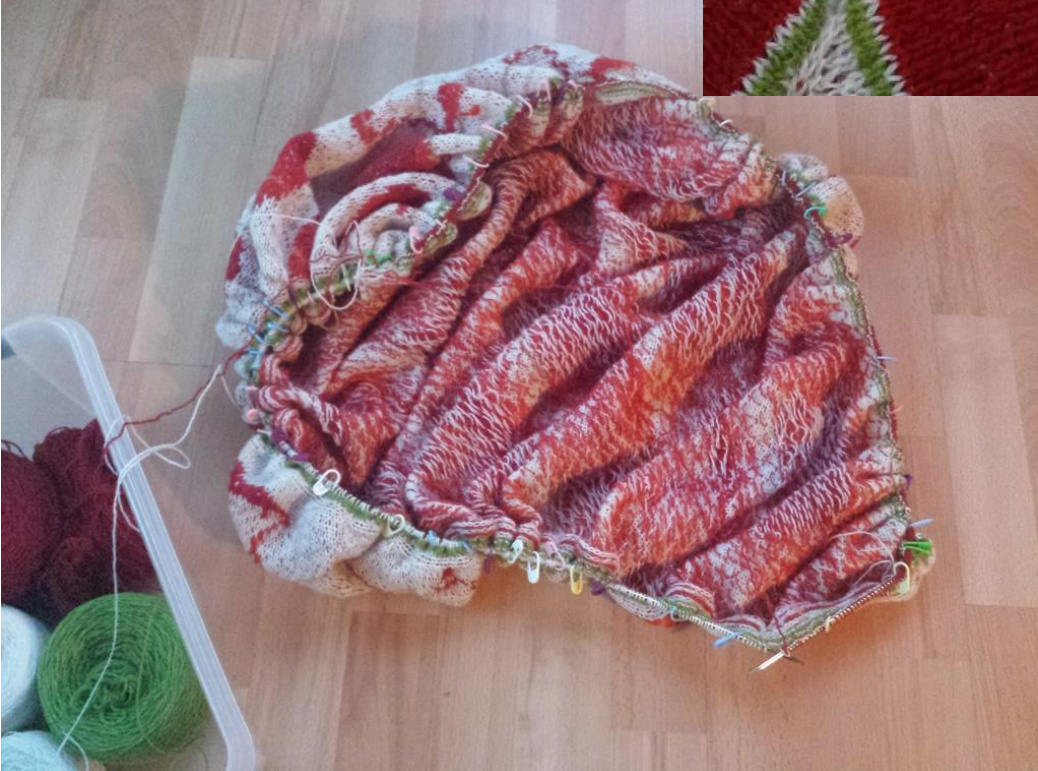
Now put your stitches on either 4 needles or a circular needle. Continue knitting until you have stitches enough to chance for a circular needle.
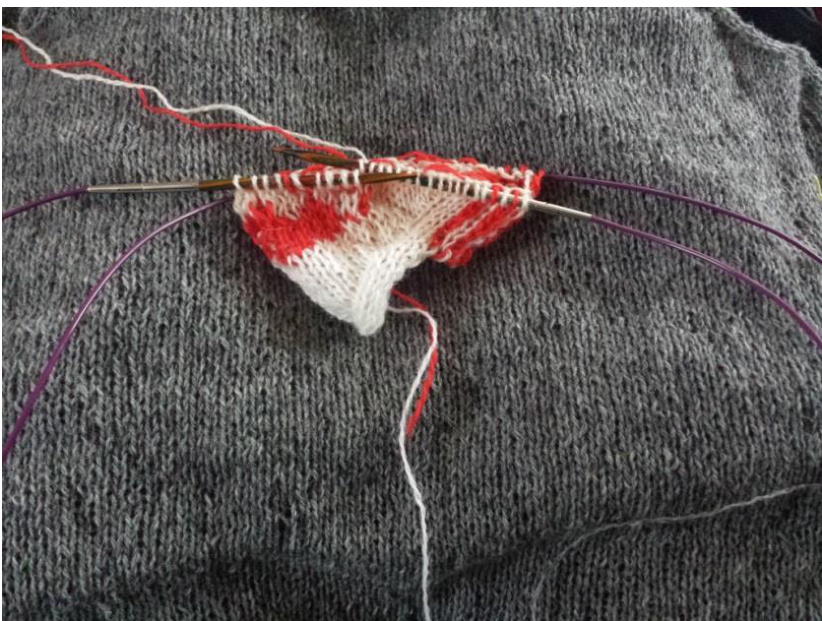
OR knit using Magic Loop with a long circular needle My favorite technique
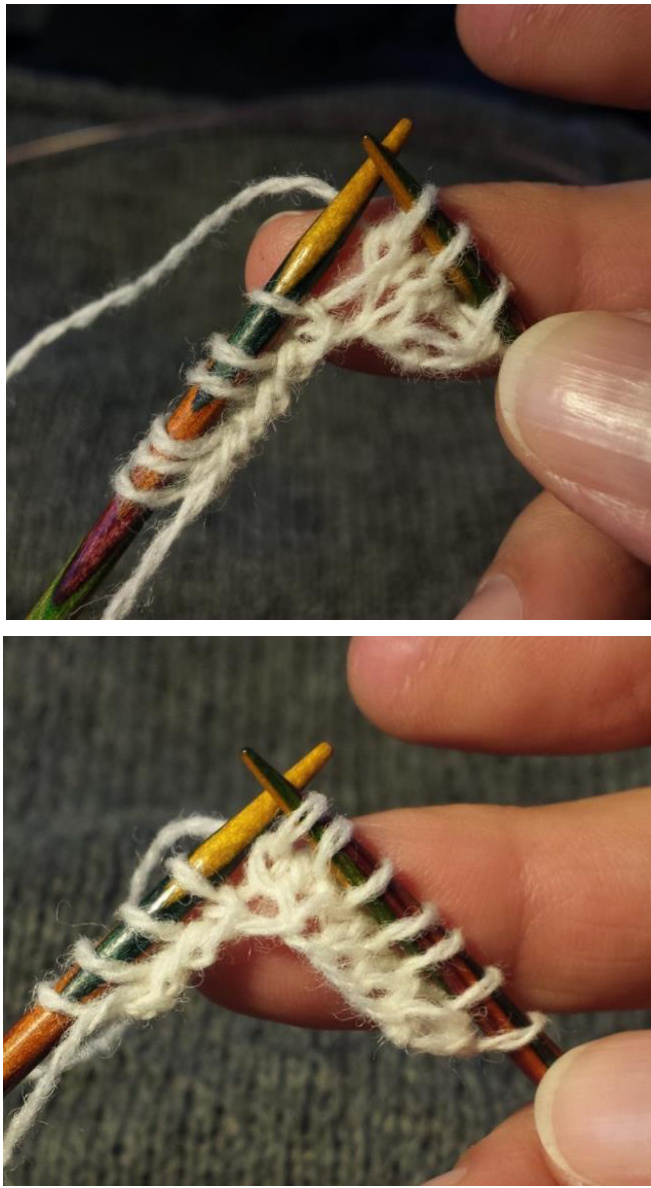
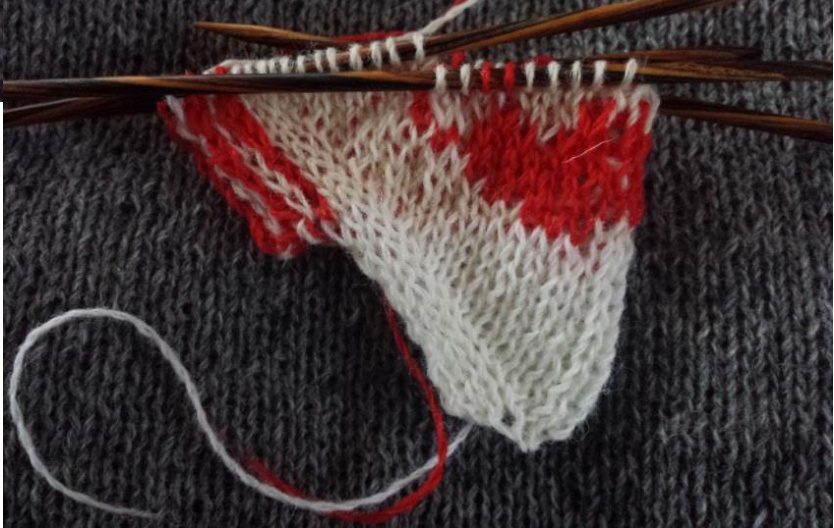
Continue knitting, increasing in base color after and before the two stitches in base color. At the same time knit the pattern in the new stitches.
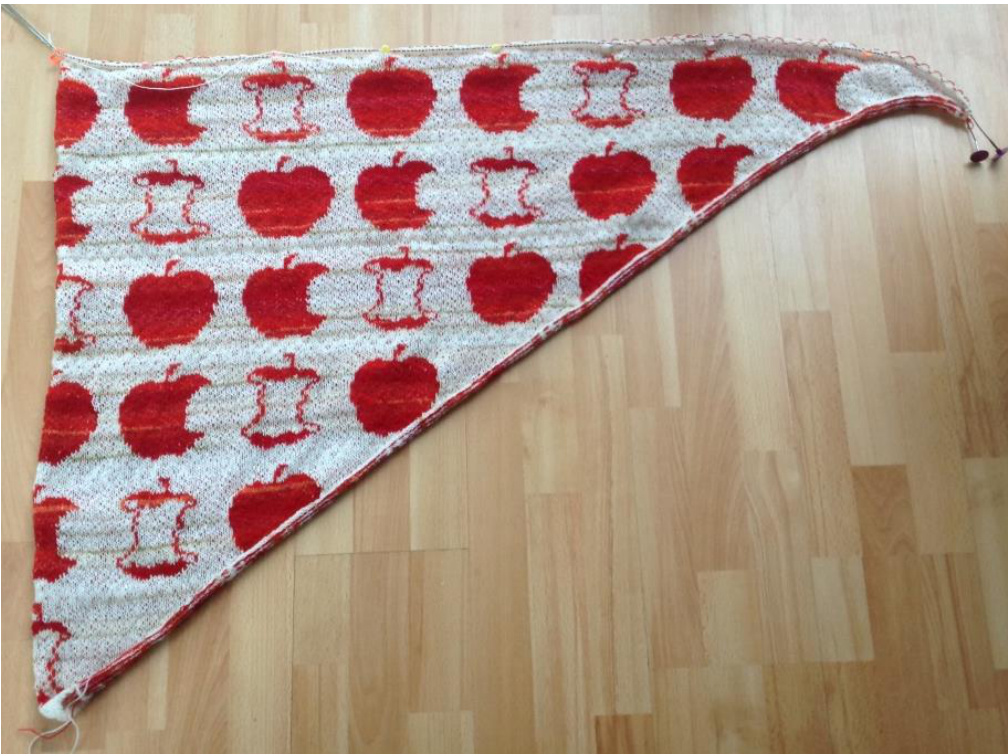
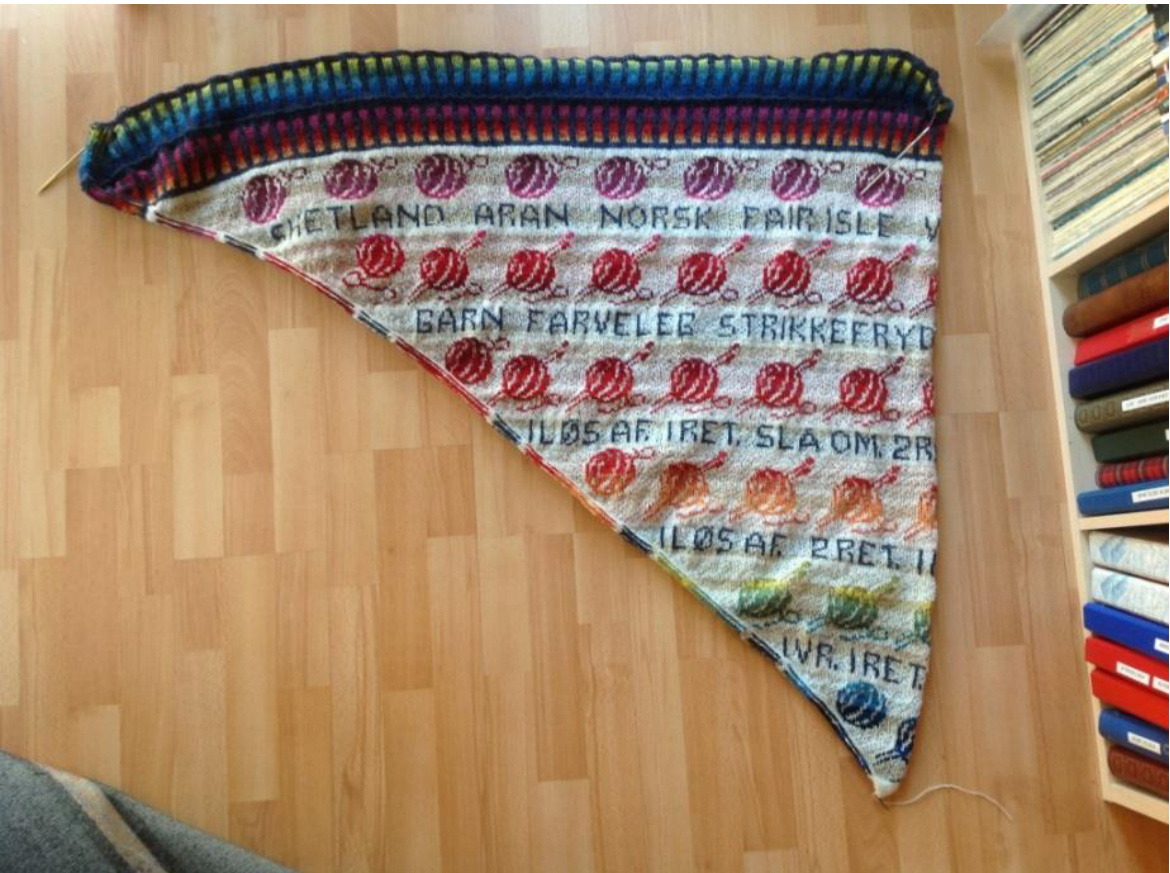
rcular needles when needed as the number of stitches increase: When you reach the end of the pattern/ the desired size stop knitting!
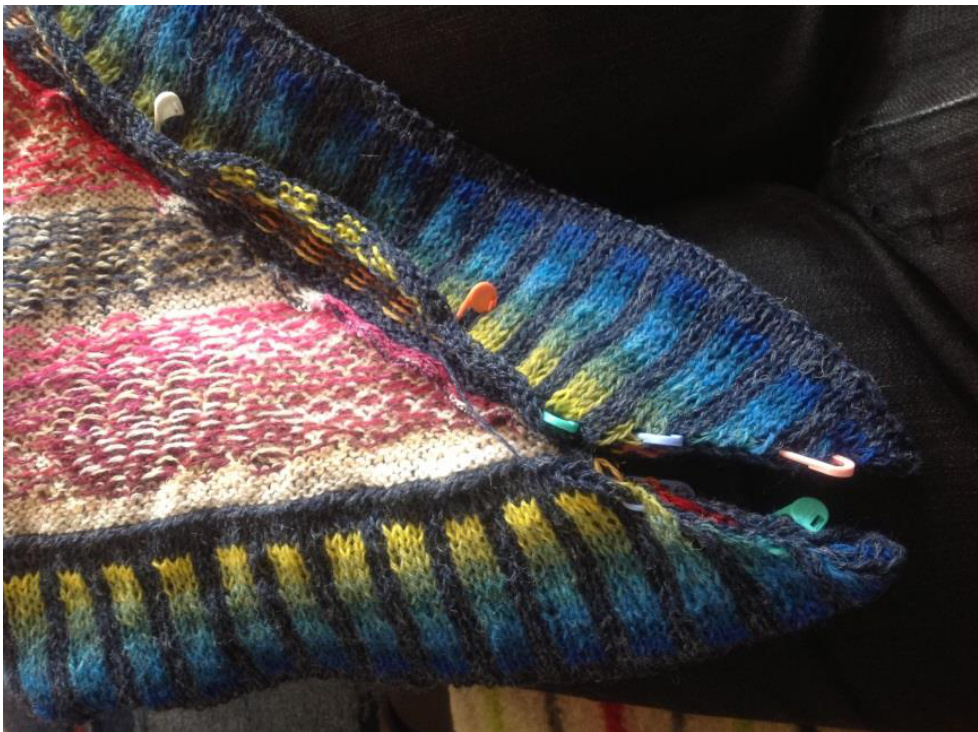
Now you have to decide which type of corners you want.
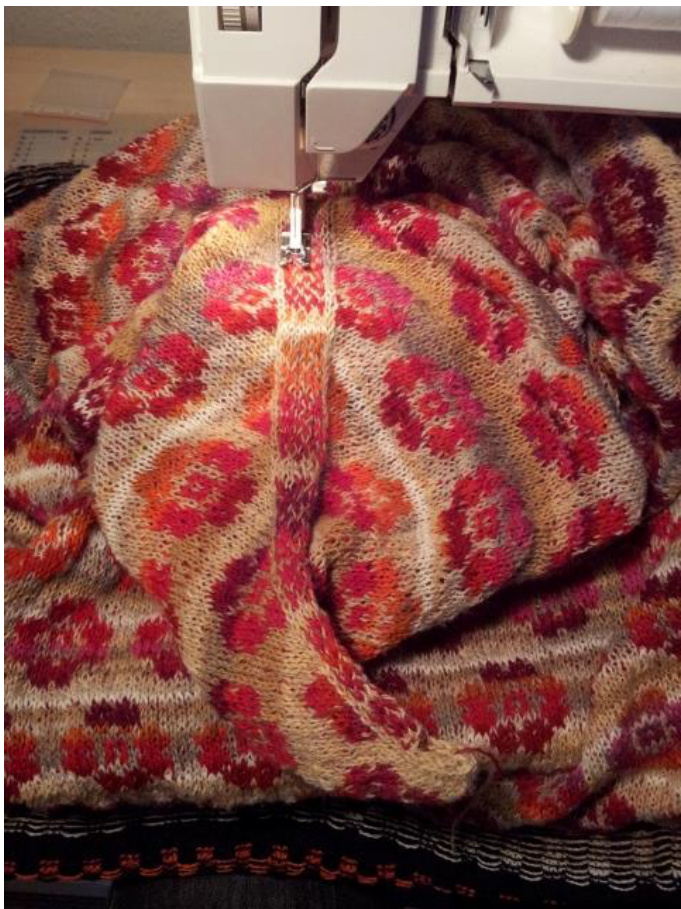
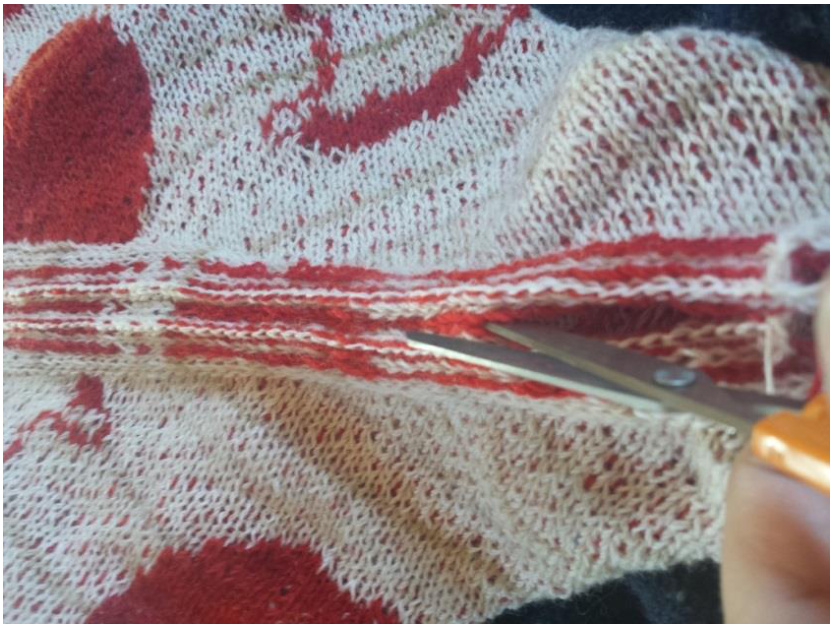
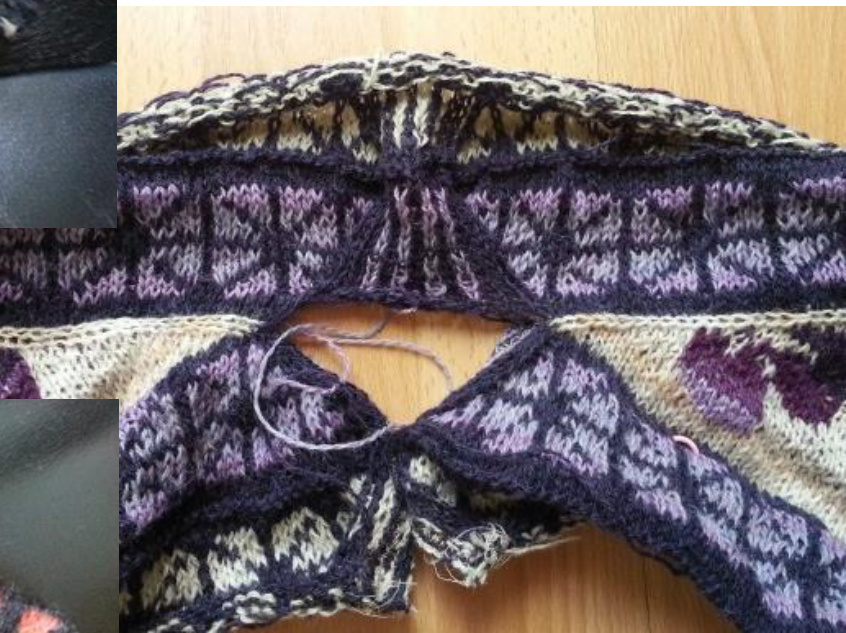
Either you continue and knit the upper border now, or you steek and cut and knit the Border all-in-one; the hole edge round. I have chosen to knit the border all-in-one. That's why I have to sew or steek and cut now, and knit the border next. You can sew a zig zag on sewing machine or

Annesindfald.blogspot.dk crochet steek. I sew 2 seams in zig zag. Because the prime 10-40 rows where knitted f/b, there is space to sew all the way down.
The chrochet steeks is another solution. You can find plenty tutorials via Google.
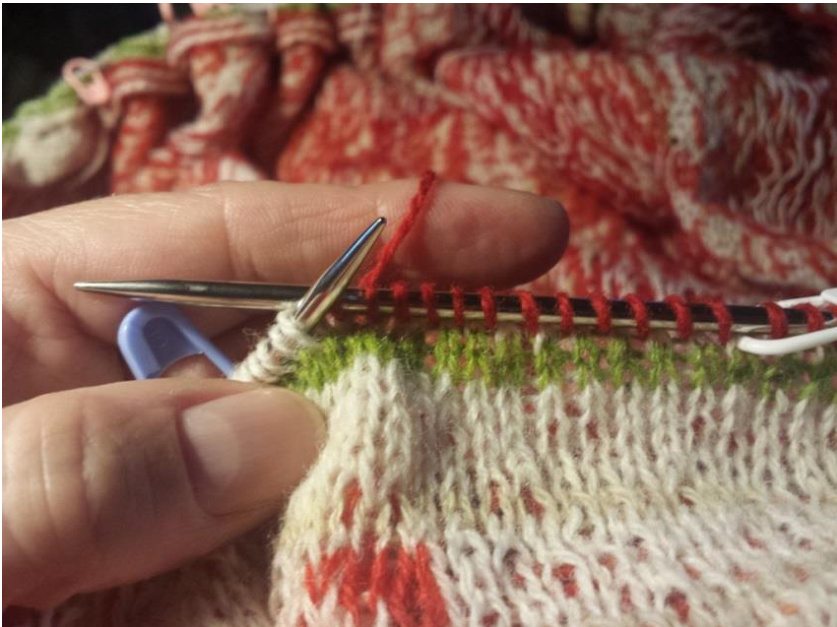
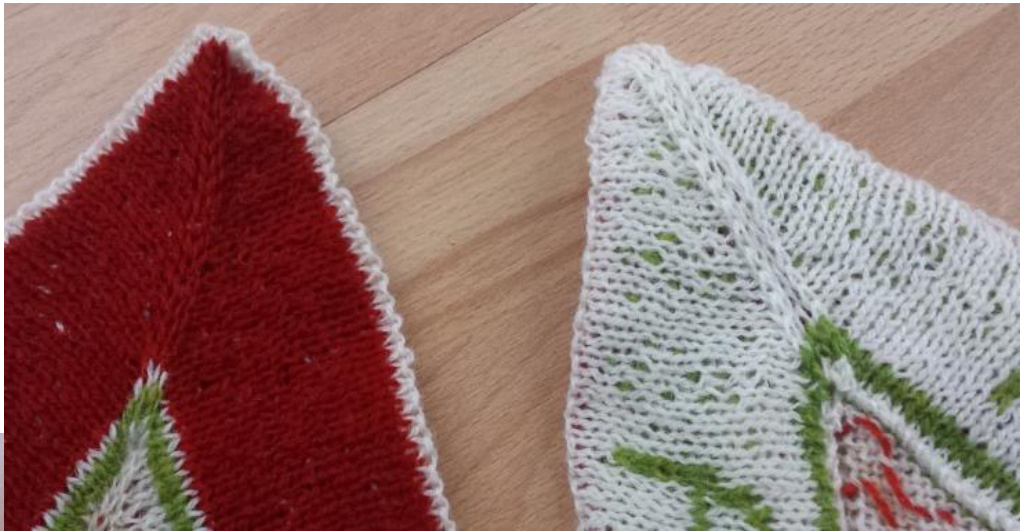
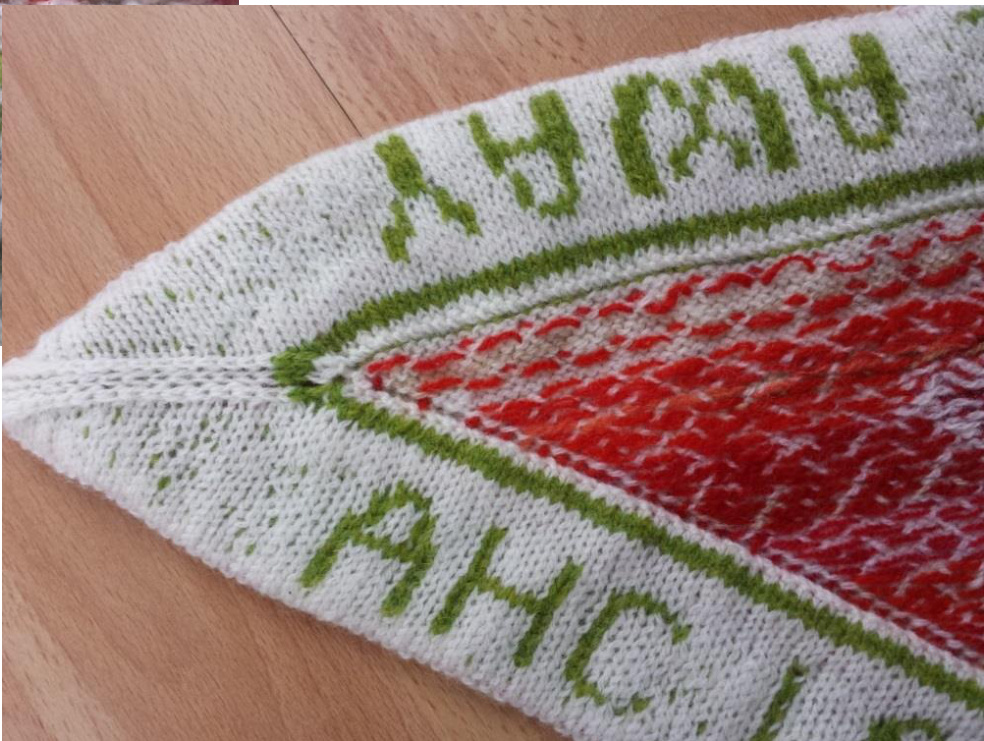
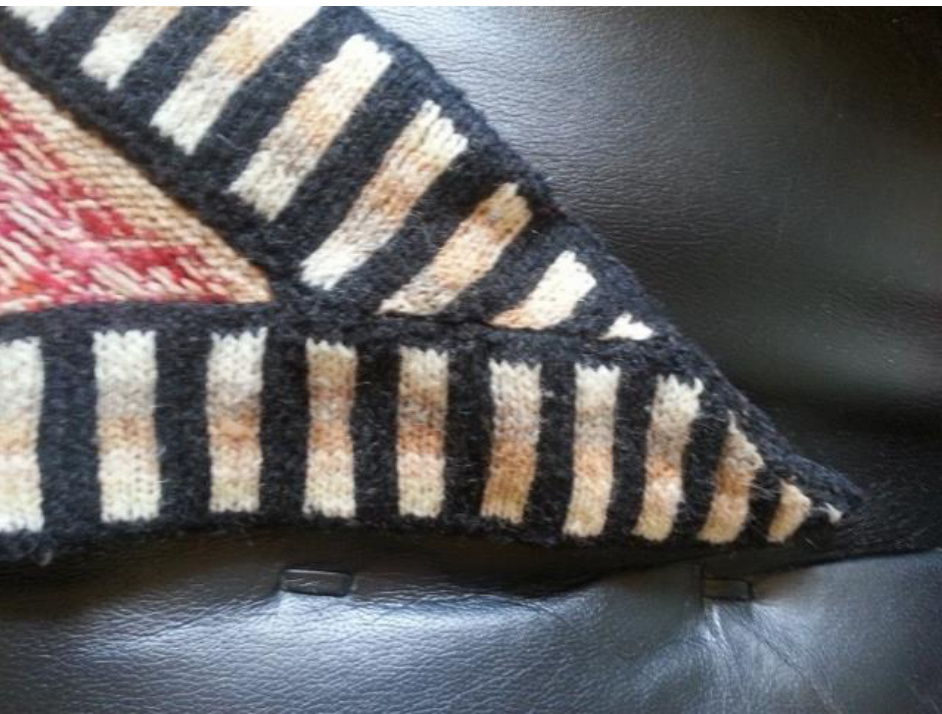
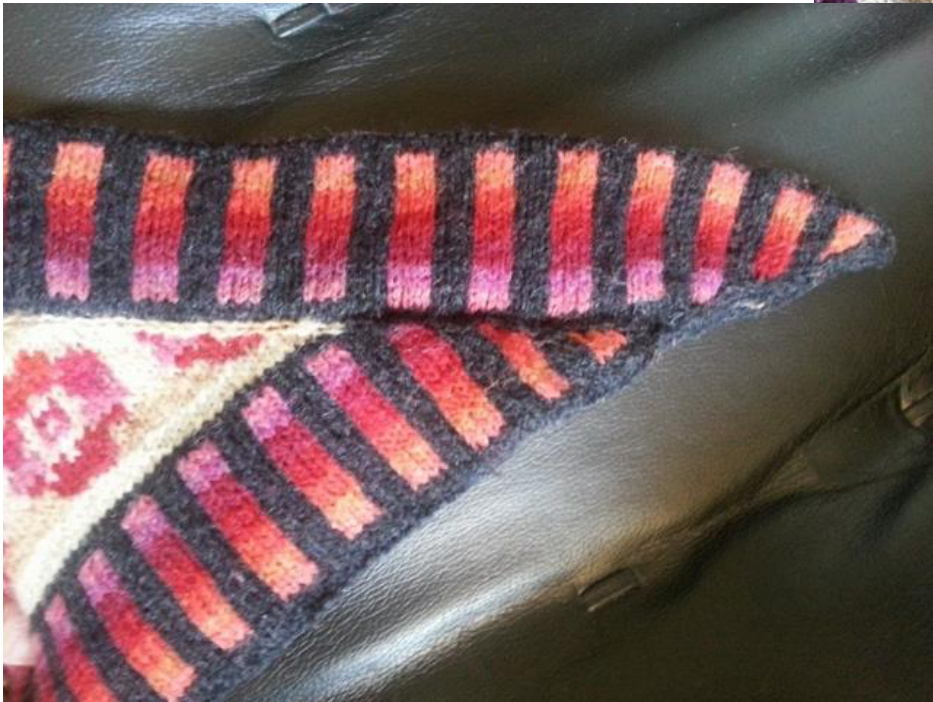
By knitting the border all-in-one, with the same in/decreases at the corners, you can avoid the heavy seams from the steeks at the upper corners. Knit from the right upper corner to the left, turn round the corner, place a marker for increases, pick up stitches for every row all the way down to the bottom corner , place a marker for increases, and pick up stitches in every row to all the way up to the right corner.
I pick up stiches between the two base color stitches next to my increases. I like the "frame" around the shawl. On 2. row of the border increase 1 stitch after every 7 stitches down the sides of the shawl. This prevents the border being too tight.
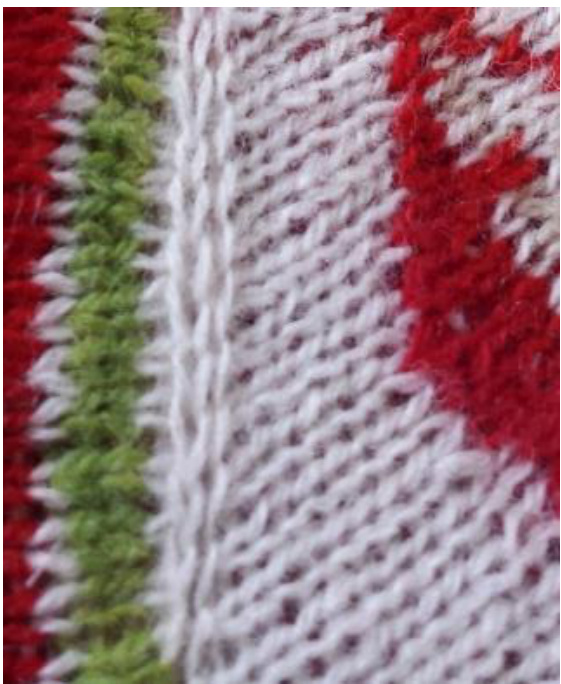
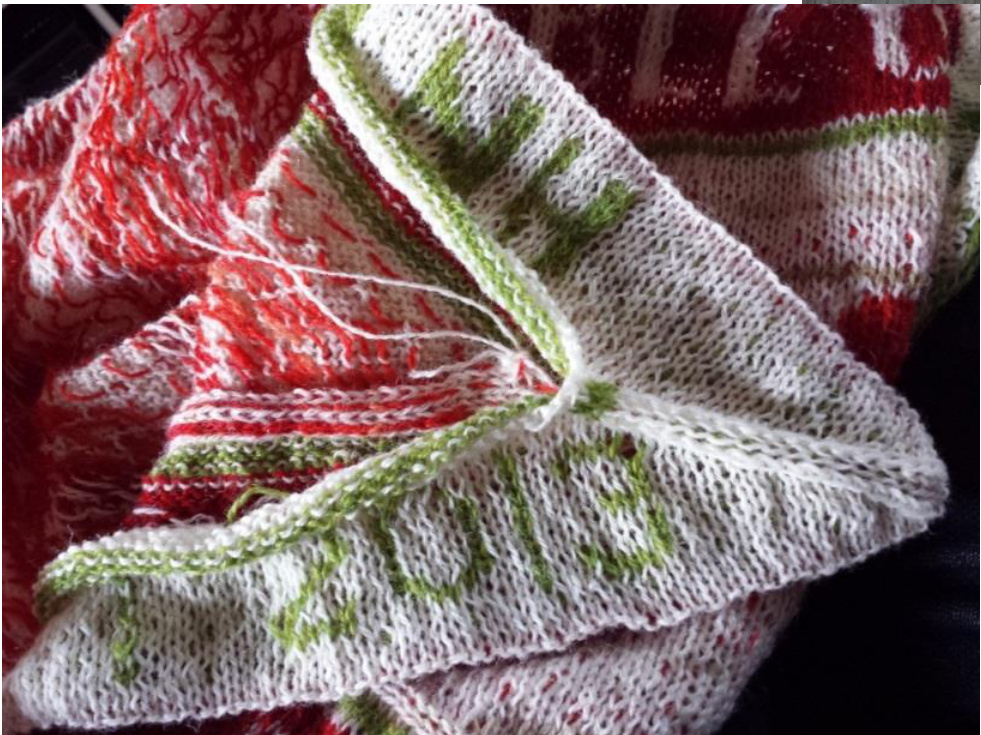
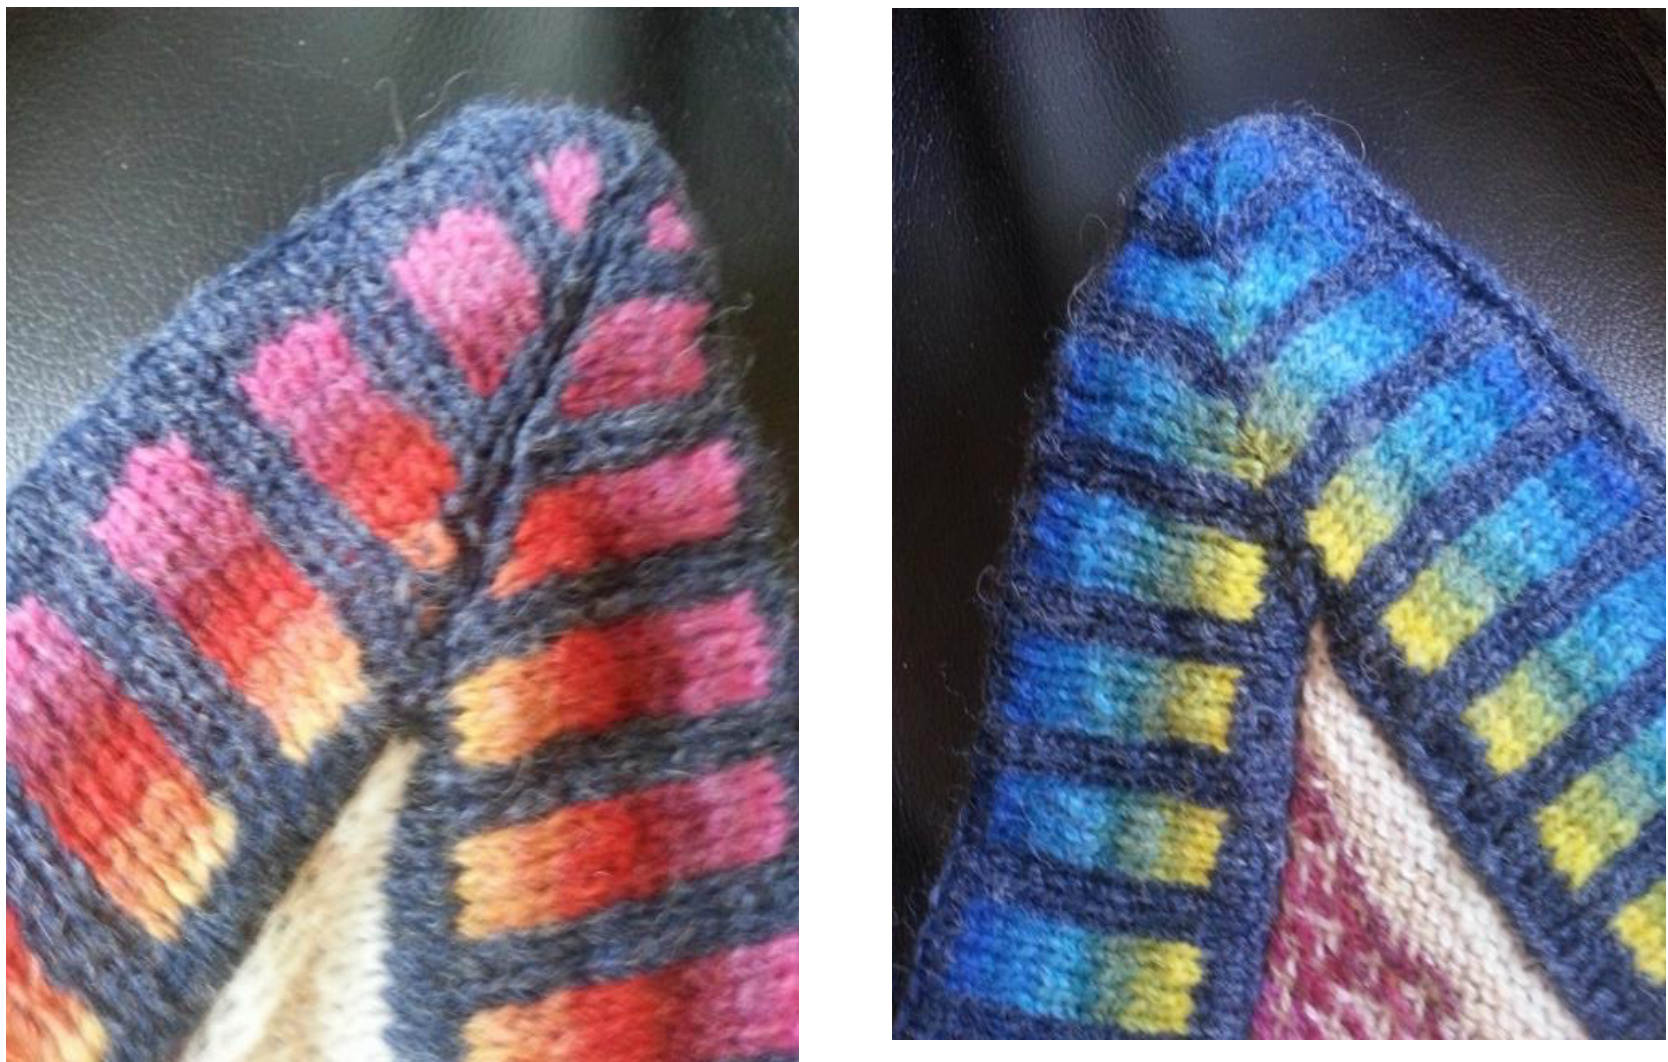
After knitting the front side of the border, increasing at the three corners, purl one row, and knit the backside of the border while decreasing at the corners.
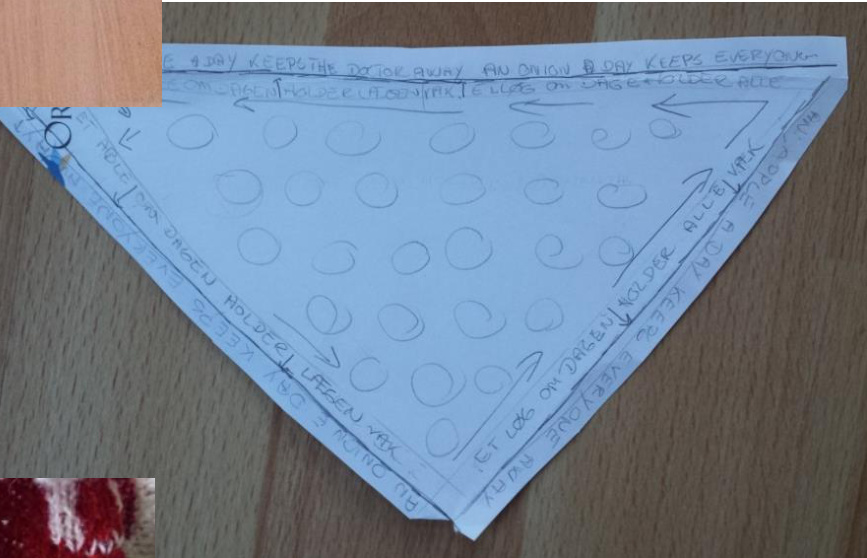
To place the pattern correct a low-tech paint can be very useful! To a simple pattern it looks good to knit symmetrical at the corners.
The large number of stitches can be worked on a 150cm circular needle. Knit the patterns for the borders or create your own special border.
Once the border is finish bind off the stiches.
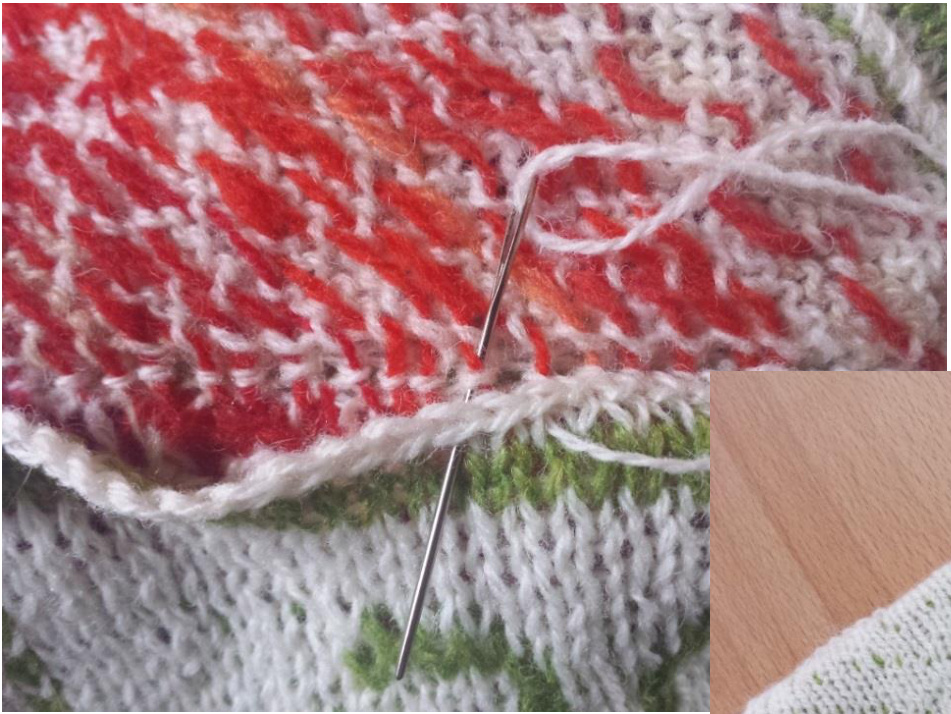
For a beautiful result be careful with this last part of the work. Along the top border I sew stich by stitch, while down the sides I pass by every 8 stitch to match the increases on the 2. row. By knitting 3 corners all-in-one you have 3 equal corners with no bulky steeks and sewing.
When all finished I machinewash, program Wool, centrifuges, and place the shawl flat out for drying. I choose to Dry tumble for 5-10 minutes; it makes the shawl so nice and soft.
If you knit the upper border before you steek and cut:
When the shawl has the desired size/the pattern is done, you continue on with the top border. Knit the pattern of the border. Continue increasing for every round as usual.
of the backside corresponding to the increases on the front side of the border Purl one round to create a sharp edge. Knit the pattern of the backside of the border. NB. Now you have to decrease on every round When the border is all finished, bind off with contrast color. Sew or crochet steeks and cut down the striped line.
Corner 1
Pick up stitches from the purl row of the border at the upper left corner down and up to the purl row at the right corner. Cast on 9 stitches for cutting line. When the border is finished, bind off. Now steek and cut.
Knit the border pattern increasing similarly to the upper border. Purl one row. Continue the border pattern on the backside and decrease similar to the upper border.
Sew the border to the backside along the line of pick up stitches. One by one at the top border and passby every 8stitch to match the number of stitches before increasing on the second row down between the corners.
Corner 2
Pick up stitches from the first row of the border-pattern at the upper left corner to the first row at the right corner. Cast on 9 stitches for cutting line. Knit the border pattern increasing similar to the upper border. You can make your corners symmetrical by knitting similar to the upper border. Purl one row. Continue the border pattern on the backside and decrease similar to the upper border. Once the border is finish, bind off. Steek and cut. Sew the border to the backside along the line of pick up stitches. One by one at the top border and passbyevery8stitch to match the number of stitches before increasing on the second row down between the corners.