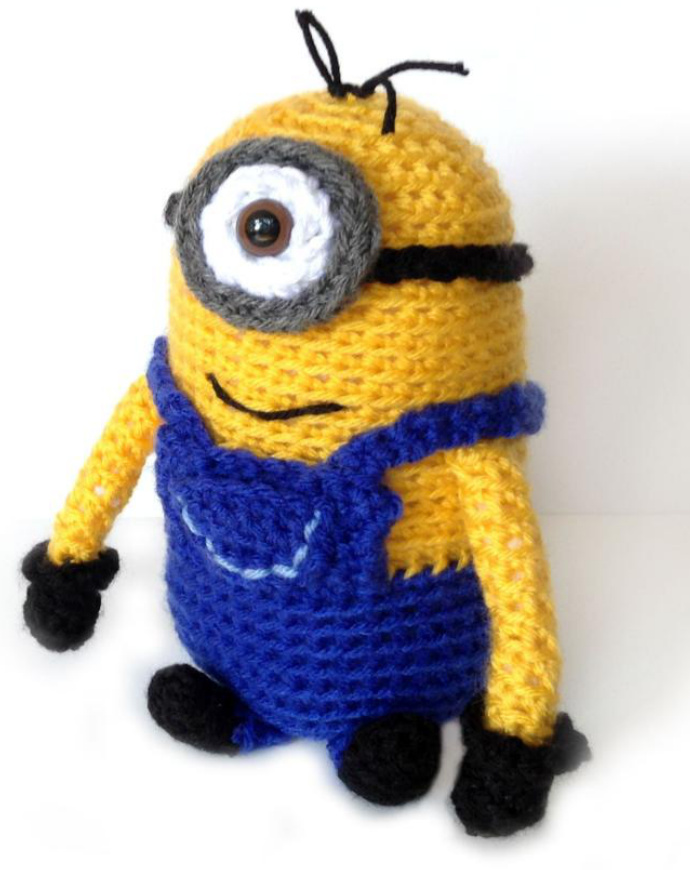
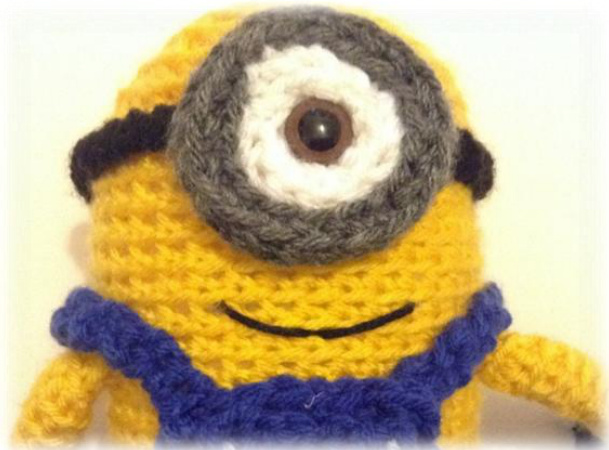
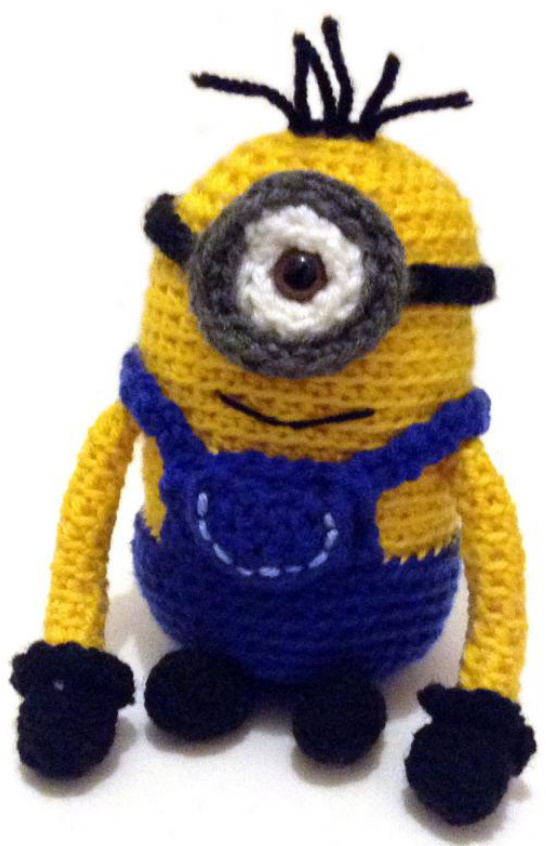
MINION (one-eyed) by Despicable Me
An Amination pattern
Before you start
This pattern contains the necessary instructions to crochet a one-eyed Minion from the animated movie series Despicable Me. Gauge is not important in this project. This pattern refers to crocheting on the back loops, unless otherwise indicated. You'll be instructed to crochet first the body from top to bottom, while attaching the eye and arms as you go. You'll then add the pants and legs.

This crochet paftern is based on the one-eyed Minioncharacterfromthe animafed movie series "Despicable Me”and is meant for personal,noncommercial,use only! Now, are you ready to crochet this mini Cyclops?
Material list
65m (71 yards) worsted weight (10ply) yarn in YELLOW 20m (22 yards) worsted weight (10ply) yarn in BLUE 10m (11 yards) worsted weight (10ply) yarn in BLACK 8m (9 yards) worsted weight (10ply) yarn in WHITE 8m (9 yards) worsted weight (10ply) yarn in GREY A piece of LIGHT BLUE yarn One 12mm brown safety eye 4-5 handfuls of polyester stuffing
You will also need
5.0mm crochet hook Tapestry needle Stitch marker Scissors
Skills required
This is an intermediate-to-difficult pattern. In order to crochet the Minion, you'll need to knowhowto: Start your piece with a magic ring or sloppy slip knot Single crochet (increase and decrease) Slip stitch Double crochet Half double crochet Make colour changes Introduce a new piece of yarn into your item Finish off your piece with tail Attach(sew) pieces together
One video, a thousand photos!
This pattern does not include crochet instructions or photo tutorials for the basic skills required. In case you do not feel confident, I recommend watching (as many times as you feel like!) some of the numerous video-tutorials that are available on the internet. Don't know where to begin? Check out this helpful tutorial links by FreshStitches and AdrialysHC! http://www.freshstitches.com/crochet-video-tutorial-help/ http://adrialyshc.blogspot.gr/p/video-tutorials.html And of course, feel free to ask me about anything you may need (carfis11 on Ravelry)!
Abbreviations
Ch: chain Sc: single crochet Sc twice next st: increase Sc2tog: single crochet 2 stitches together (decrease) Sl: slip stitch Dc: double crochet Hdc: half double crochet Rnd: round St: stitch(es)
Eye
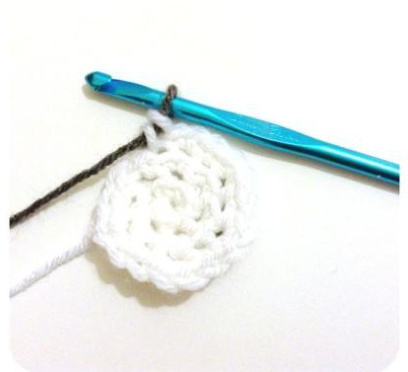
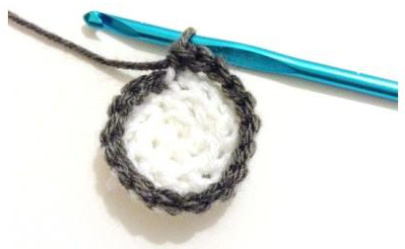
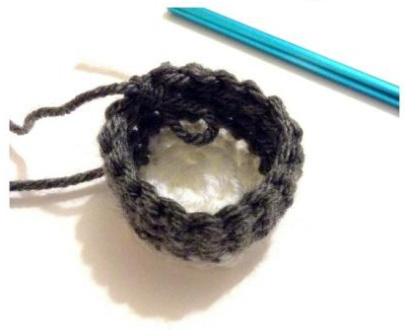
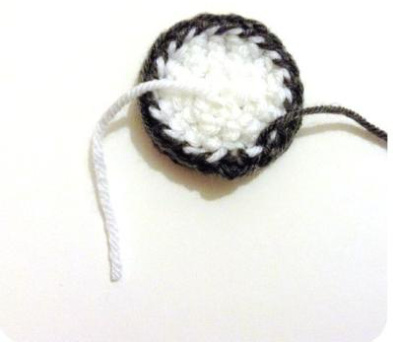
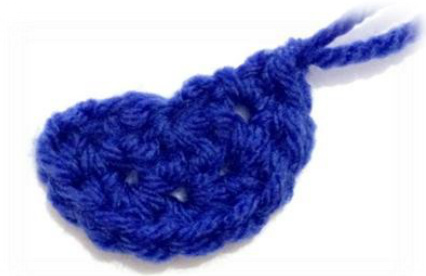
Crochet in WHITE Ch 2 Rnd 1. sc 6 in 2nd chain from hook (6 st) Rnd 2. [sc twice in next st] \* 6 times (12 st) Rnd 3. [sc twice in next st, sc next st] \* 6 times (18 st) Crochet through the FRONT LOOPS only with GREY yarn Rnd 4. sc each st (18 st) Resume crocheting through the BACK LOOPS Rnd 5-7. sc each st (18 st)
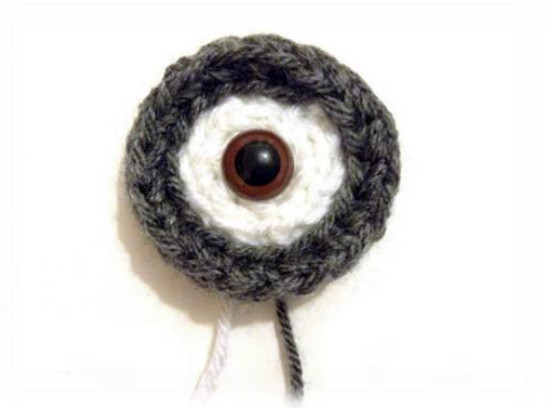
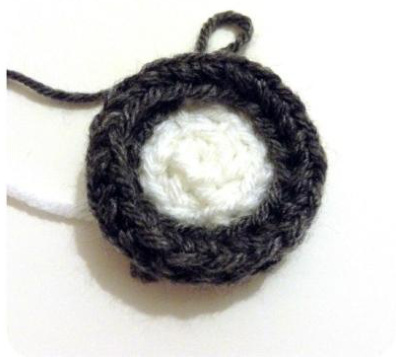
Fold the grey part outwards and whipstitch with the back loops of round 3, as shown below Fasten off with tail; you'll use it to attach the eye onto the head Crochet rnd 4 in grey and front loops only
Crochet rnd I-3 in white Crochet rnd S-7 in grey
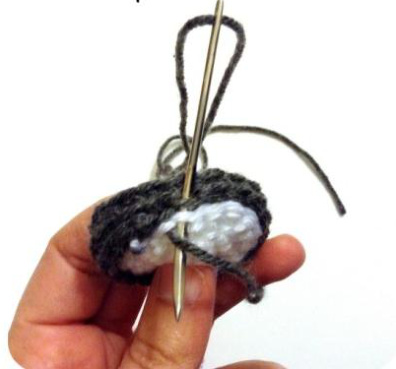
Fold +he grey rounds outwards Whipstitch with back loops of round 3 This is how it looks from behind!
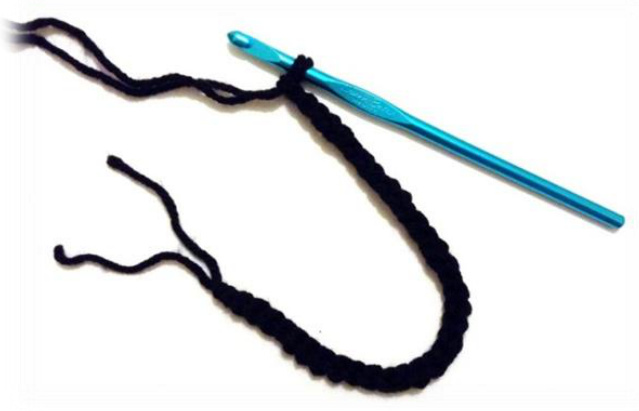
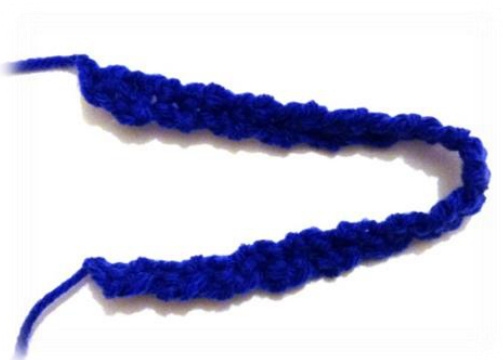
Strap
Crochet in BLACK, holding two strands together Leave a tail and ch 35 Fasten off with another tail; you'll use both tails to attach the strap to the eye
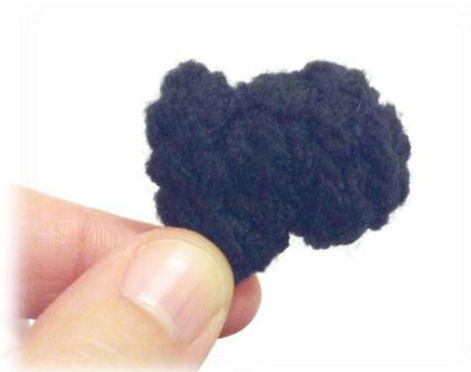
Hands
Make two Crochet in BLACK Ch 2 Rnd 1. sc 6 in 2nd chain from hook (6 st) Rnd 2. [sc twice in next st] \* 6 times (12 st) Rnd 3. [sc2tog, sc next 2 st] \* 3 times (9 st) Rnd 4. [sc2tog, sc next st] \* 3 times (6 st) Crochet through the FRONT LOOPS only Rnd 5. [sc twice in next st] \* 6 times (12 st) Stuff hand, fasten off yarn and hide tail inside
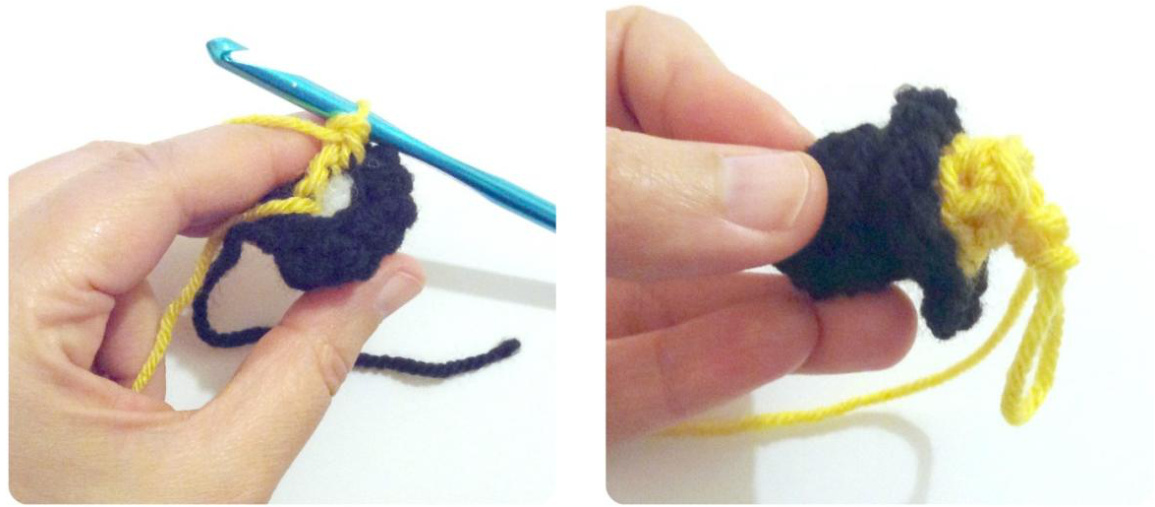
Arms
Make two Crochet in YELLOW Introduce yellow yarn into the BACK LOOPS of round 4 of hand Rnd 1-9. sc each st (6 st) Fasten off with tail; you'll use it to attach the arms to the body
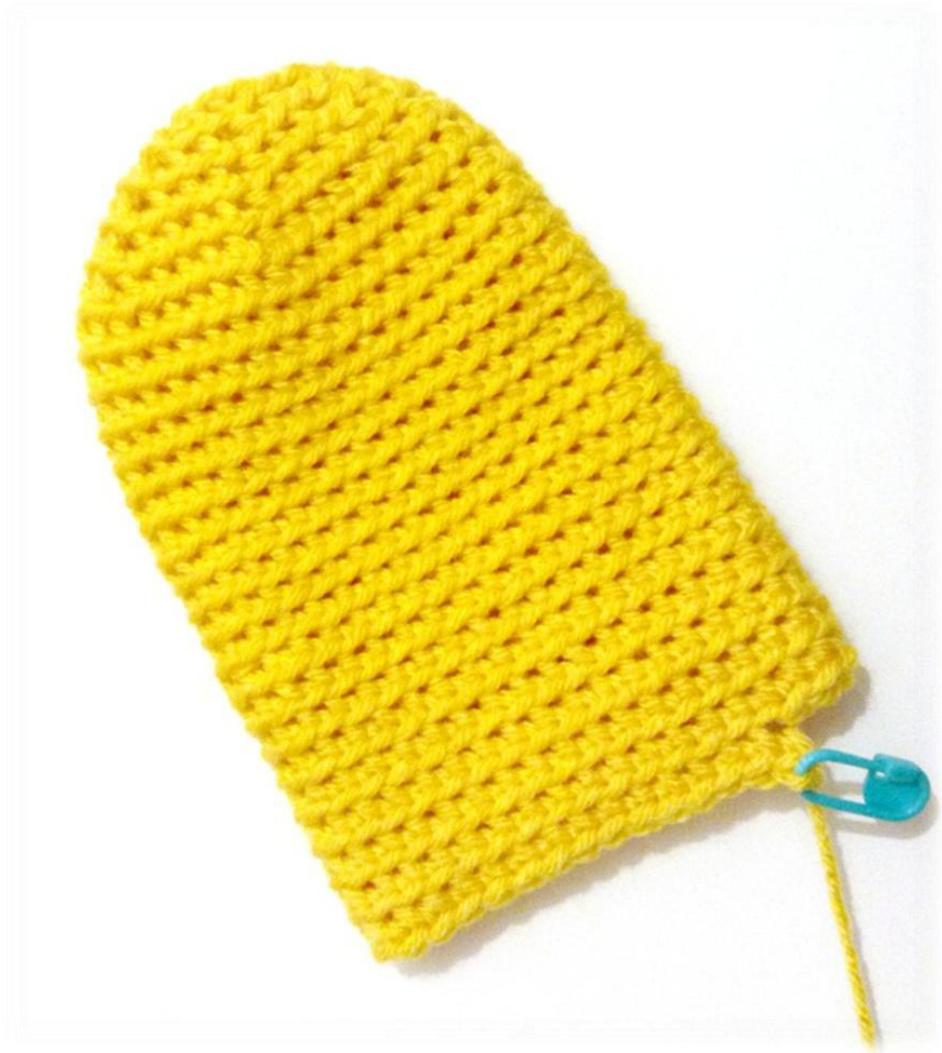
Head
Crochet in YELLOW You'll be crocheting from the top of the head to the bottom of the body Ch 2 Rnd 1. sc 6 in 2nd chain from hook (6 st) Rnd 2. [sc twice in next st] \* 6 times (12 st) Rnd 3. [sc twice in next st, sc next st] \* 6 times (18 st) Rnd 4. [sc twice in next st, sc next 2 st] \* 6 times (24 st) Rnd 5. [sc twice in next st, sc next 3 st] \* 6 times (30 st) Rnd 6. [sc twice in next st, sc next 4 st] \* 6 times (36 st) Rnd 7-26. sc each st (36 st) Remove hook (don't fasten off), secure the last stitch with a stitch marker It's time to attach the eye, strap and arms!
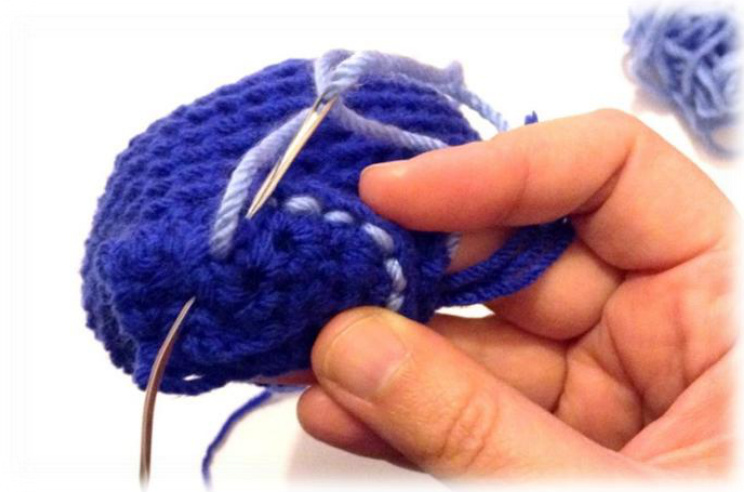
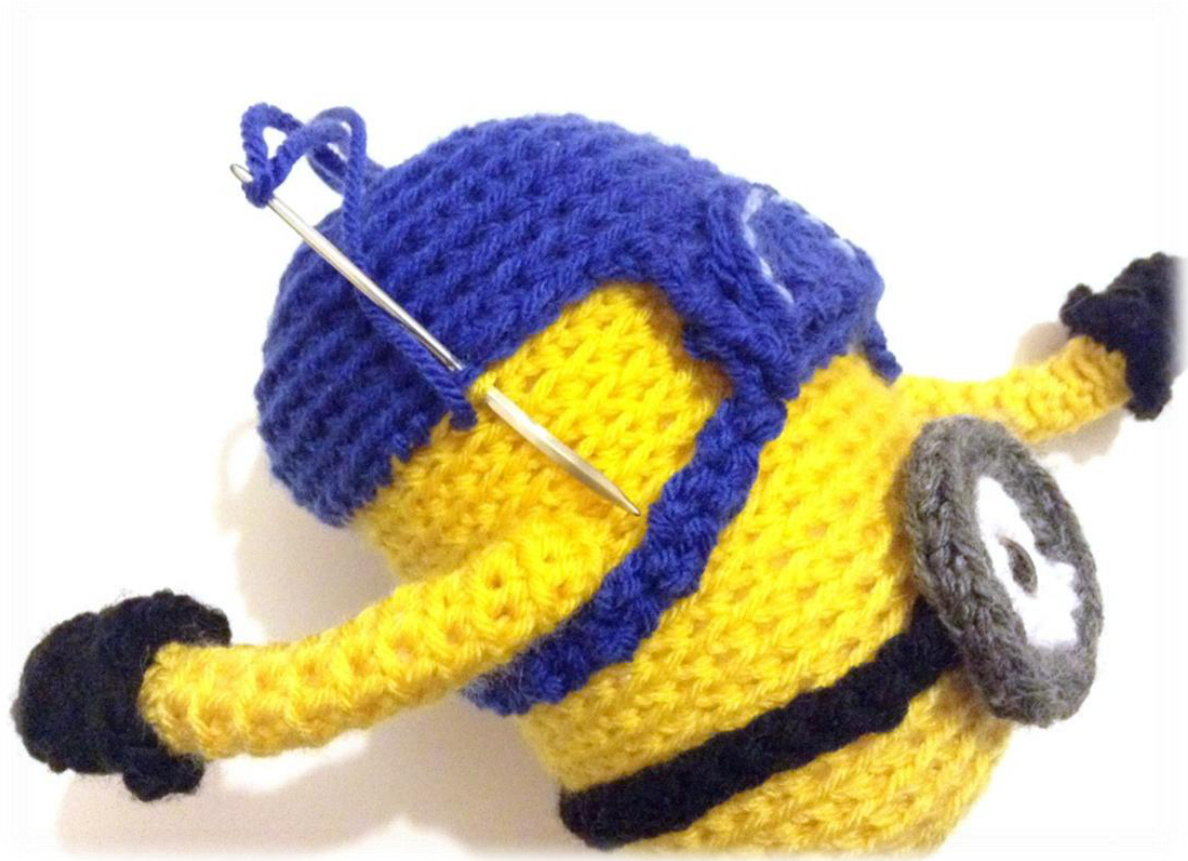
Assembly: Eye to head
Place the safety eye on the centre of the eye circle. You'll use the two tails to attach the strap ends on the eye, diametrically oppose
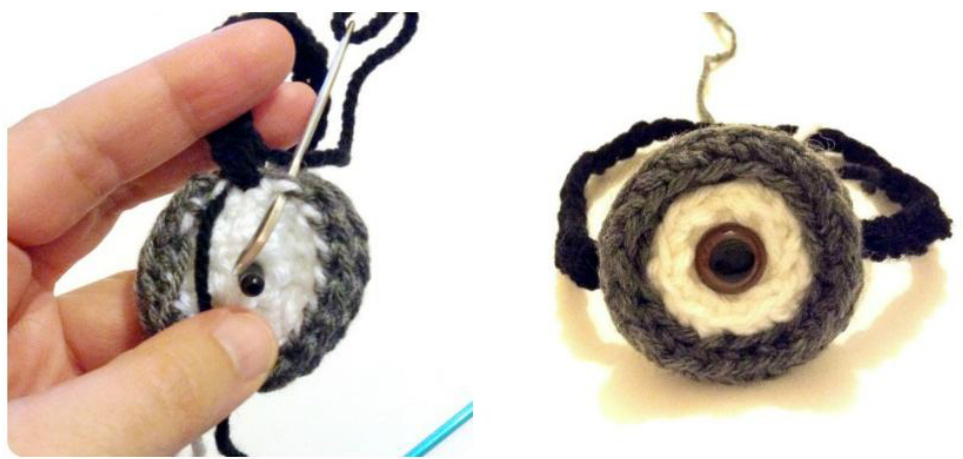
Then, place the eye on the head between rounds 5 and 12. Secure the safety eye in-between rounds 8 and 9. Use the grey tail to attach the eye all around.
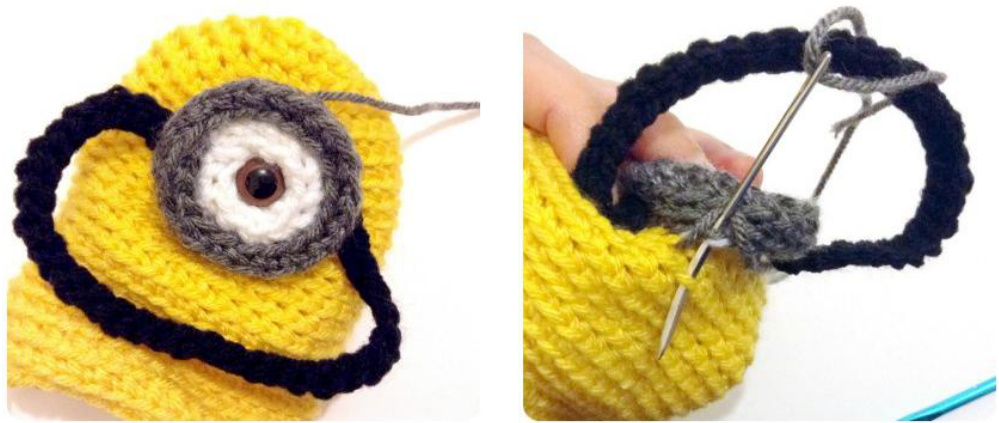
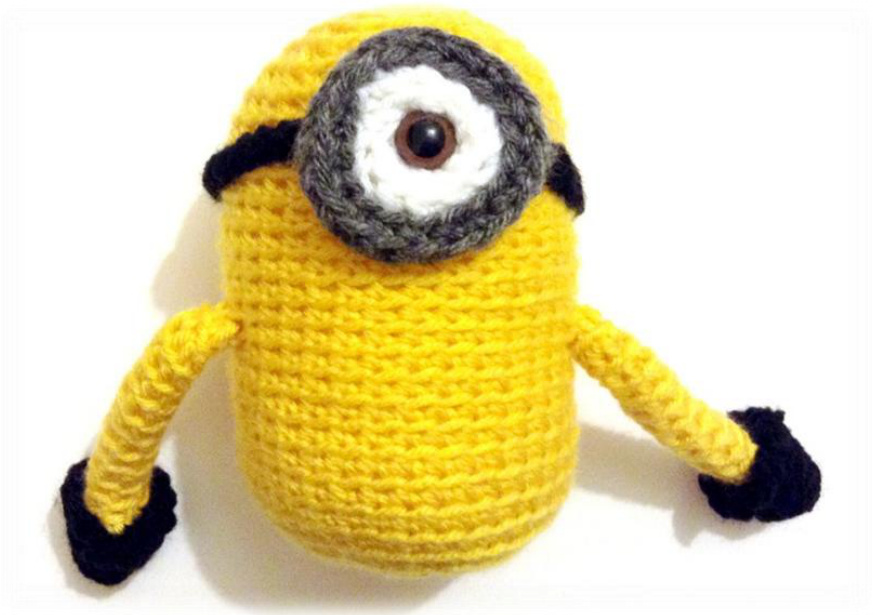
Now, the arms! Flatten your piece, slightly stuff and attach them to rounds 16-1'
At this point you can embroider the smile, 2-3 rounds below the eye. Note: I attached mine at the end, hence the photo. It's easier to hide the knot and tail, if the piece isnot“closed".
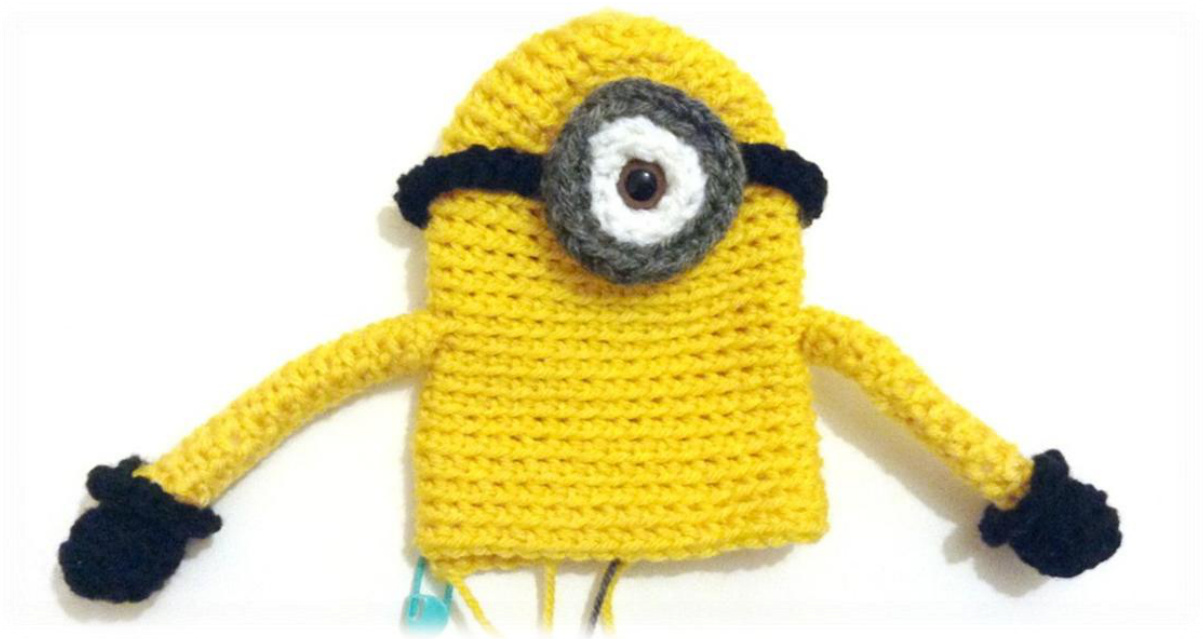
Grab your hook and resume crocheting!
Body
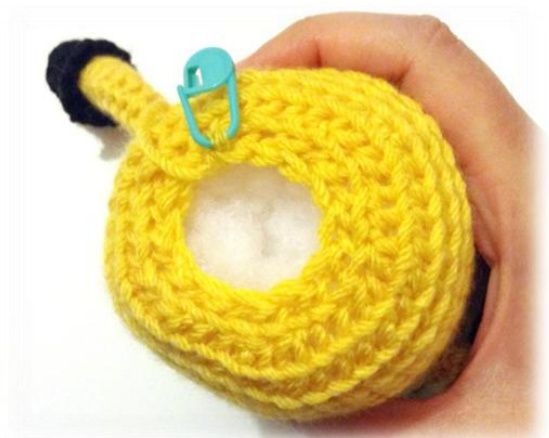
Crochet in YELLOW Rnd 27. [sc2tog, sc next st] \* 12 times (24 st) Stuff body Rnd 28. [sc2tog] \* 12 times (12 st) Rnd 29. [sc2tog] \* 6 times (6 st) Rnd 30. sc2tog next and 4th st together Fasten off, hide yarn tail inside
Overalls
Crochet in BLUE Ch 2 Rnd 1. sc 6 in 2nd chain from hook (6 st) Rnd 2. [sc twice in next st] \* 6 times (12 st) Rnd 3. [sc twice in next st] \* 12 times (24 st) Rnd 4. [sc twice in next st, sc next st] \* 12 times (36 st) Rnd 5. sc each st (36 st) Rnd 6. [sc twice in next st, sc next 5 st] \* 6 times (42 st) Rnd 7-11. sc each st (42 st)
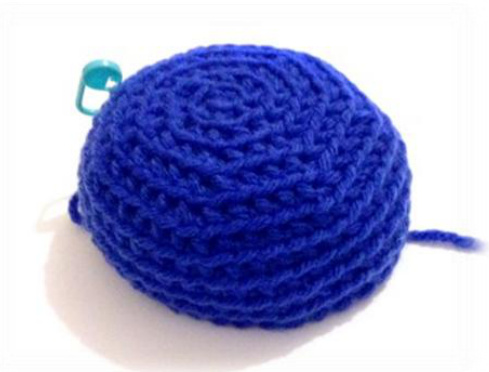
Fasten off with long tail; you'll use it to attach the pants to the body
Overall front patch
Crochet in BLUE Introduce blue yarn into overalls (the overall yarn tail shall go to the back of the minion) Row 1. Sc in next 8 st (8 st) Crochet in BOTH LOOPS Row 2-6. ch 1, turn, sc next 8 st (8 st) Fasten off
Front patch pocket
Crochet in BLUE Ch 3 Rnd 1. dc 5 in 2nd chain from hook (5 st, plus the chain of 3 st at the beginning of the rnd) Rnd 2. ch1, hdc in next st, hdc twice in next st \* 4 (9 st, plus the chain of 1 st at the beginning of the rnd) Fasten off

Overall braces
Make two, crochet in BLUE Leave a tail and ch 2 Row 1. turn, sc in next st (1 st) Crochet in BOTH LOOPS Row 2. ch 1, turn, sc next st (1 st) Repeat row 2 until you have braces of approximately 17cm (6.7in) each
Isten off with another tail; you'll use both tails to attach the braces on the overall
Assembly: Overalls to body
Place the pocket evenly on the front patch, the curved side facing down. Embroider, using a light blue piece of yarn. Use one of the brace tails to attach one end of the braces on the front patch. Repeat for the second brace.

Place the overalls on the Minion. Guide the braces over the arms and to the back, forming an 'X'. Use stitch markers where they should be attached and sew them using the brace tails. A little bit of each brace might be hidden inside the overalls.
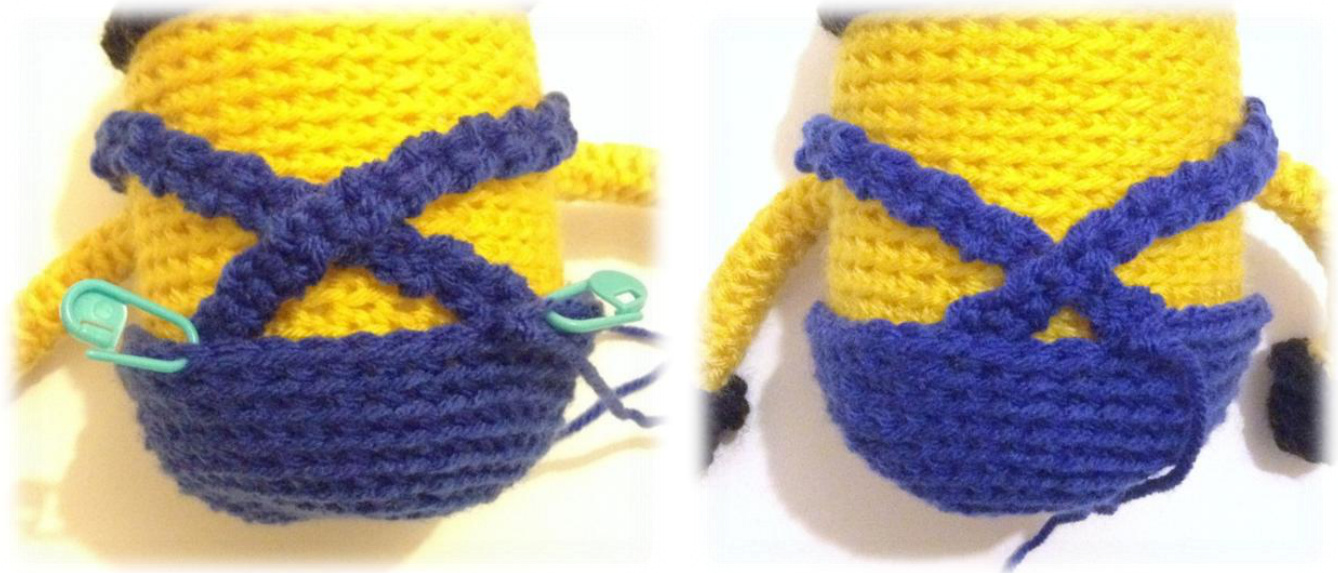
Using the overall tail, attach them all around. The overall comes up to about 5 rounds under the arms. I attached the front patch as well and hid all tails (from patch, pocket etc) in ther
Legs
Make two Crochet in BLACK Ch 2 Rnd 1. sc 6 in 2nd chain from hook (6 st) Rnd 2. [sc twice in next st, sc next st] \* 3 times (9 st) Rnd 3-5. sl next 5 st, sc next 4 st (9 st) Stuff and continue crocheting in BLUE Rnd 6. sc each st (9 st) Rnd 7. [sc2tog, sc next st] \* 3 times (6 st)
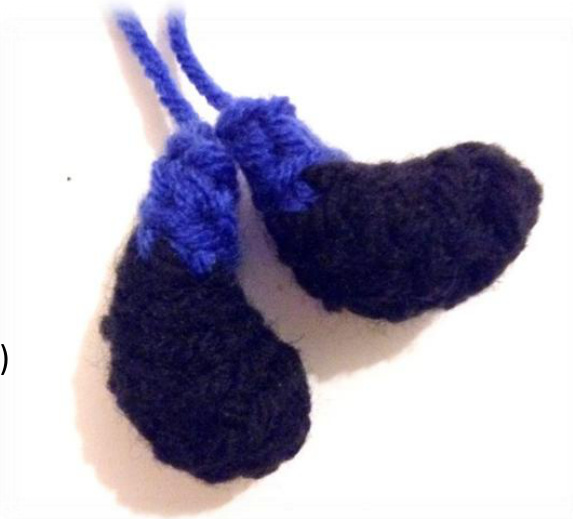
Fasten off with tail; you'll use it to attach legs on the body
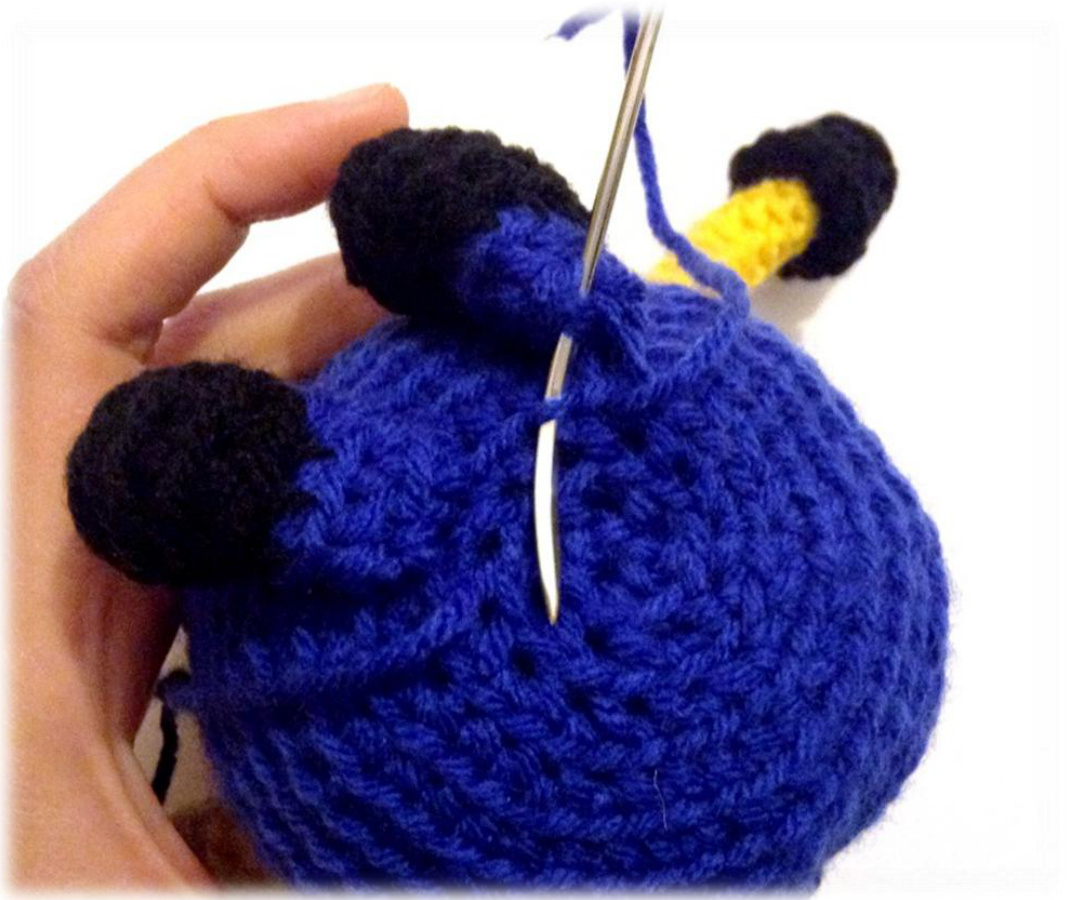
Assembly: Legs to body
Flatten the unstuffed part of the legs and attach them to rounds 3-4 of the overalls, so that your Minion can sit right.
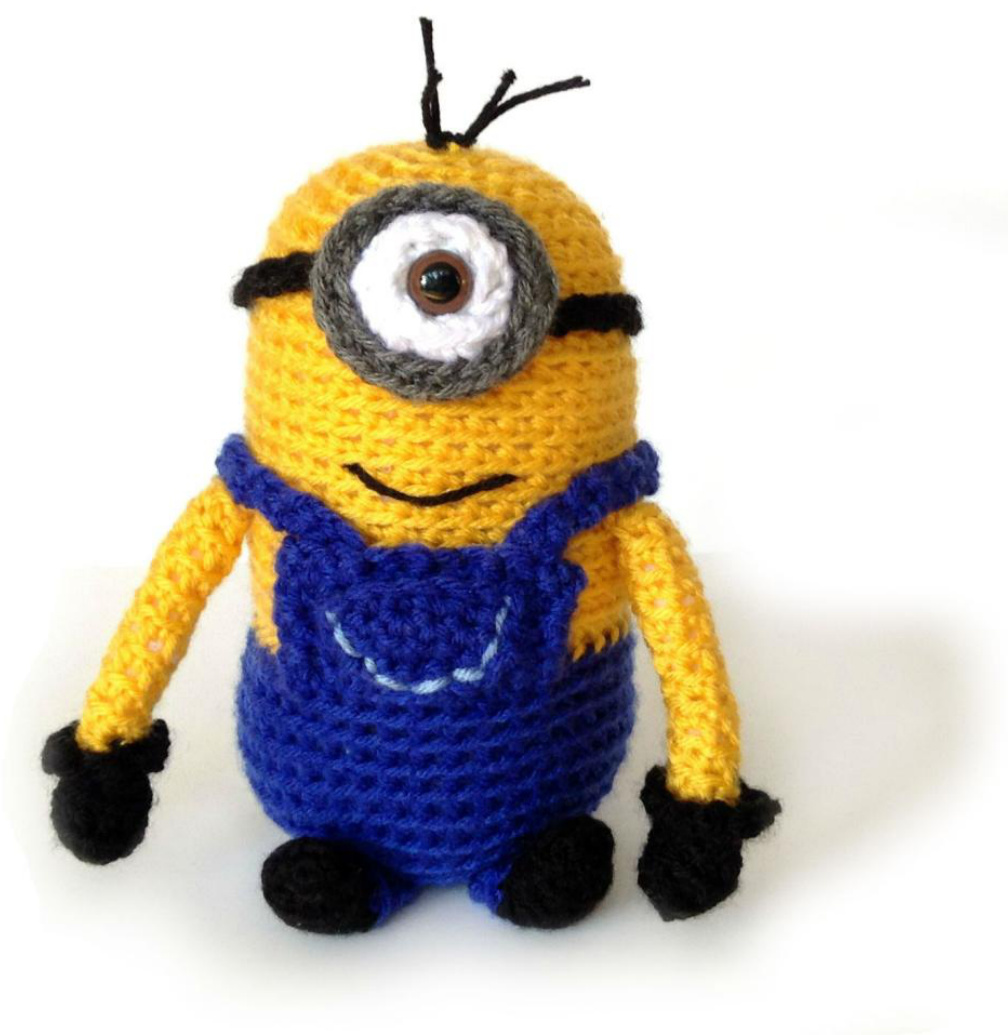
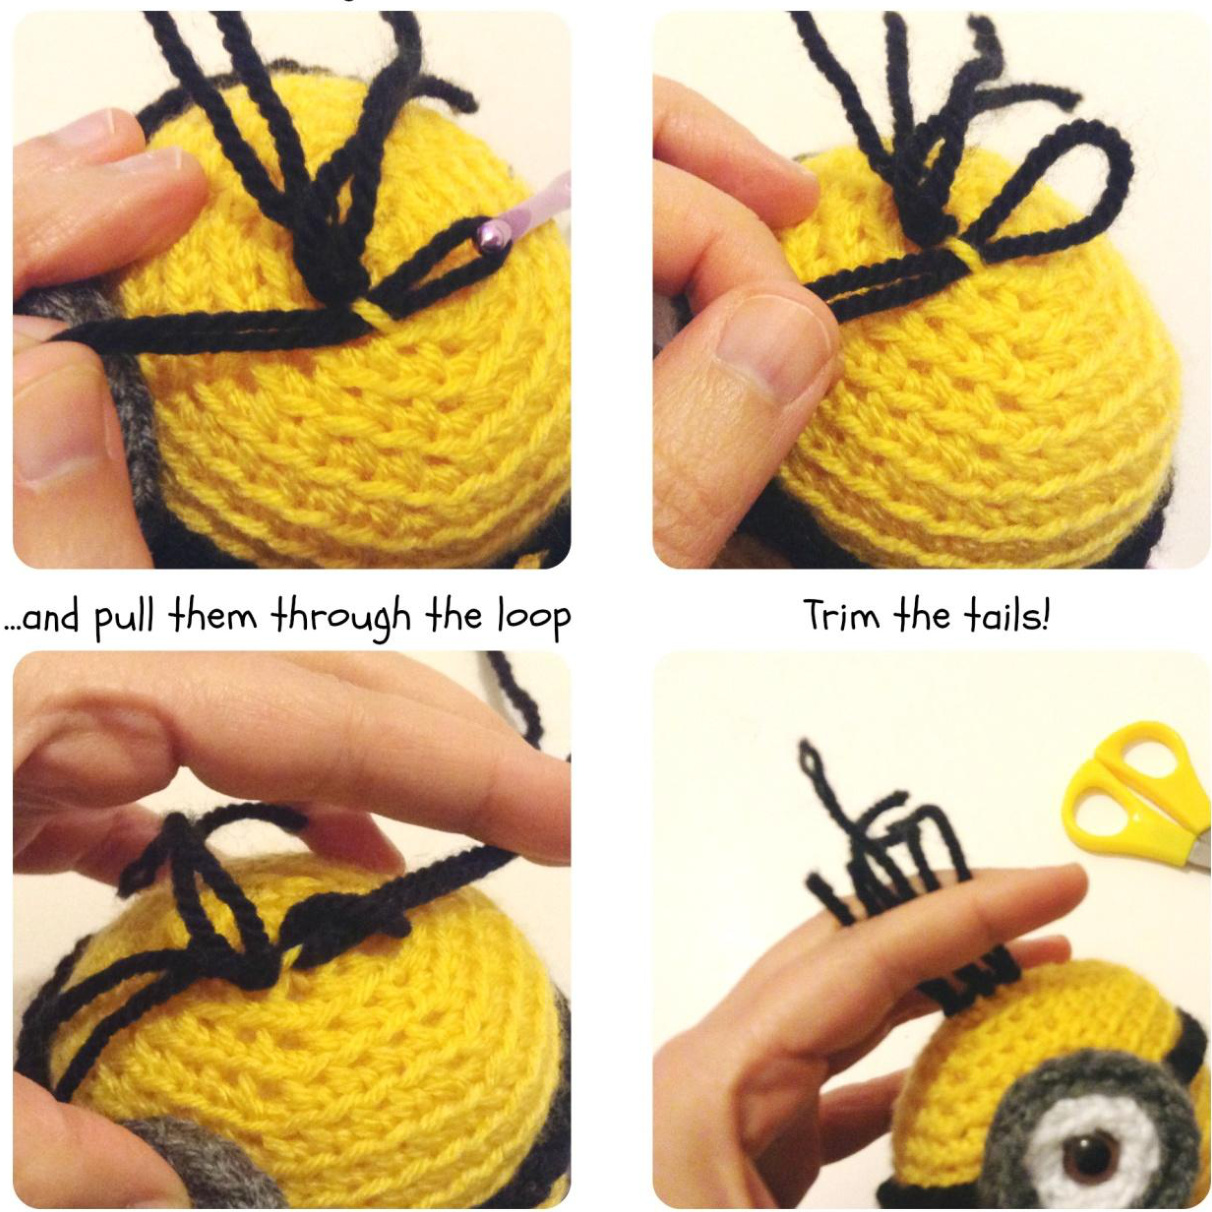
Adding hair
Use the method indicated below to add as much hair as you want. Fold piece of black yarn (6cm-2.5in) and pass the folded part through the stitch you want to attach it to, using a crochet hook. Remove the hook. Hold the two tails together and pass them through the loop. Pull tight to secure the yarn. If your yarn tails are uneven, give your Minion a haircut!
Pull a loop through a stitch
Hold the two yarn tails..
Phew! And now you are done!
Come and share your one-eyed Minion on Ravelry!