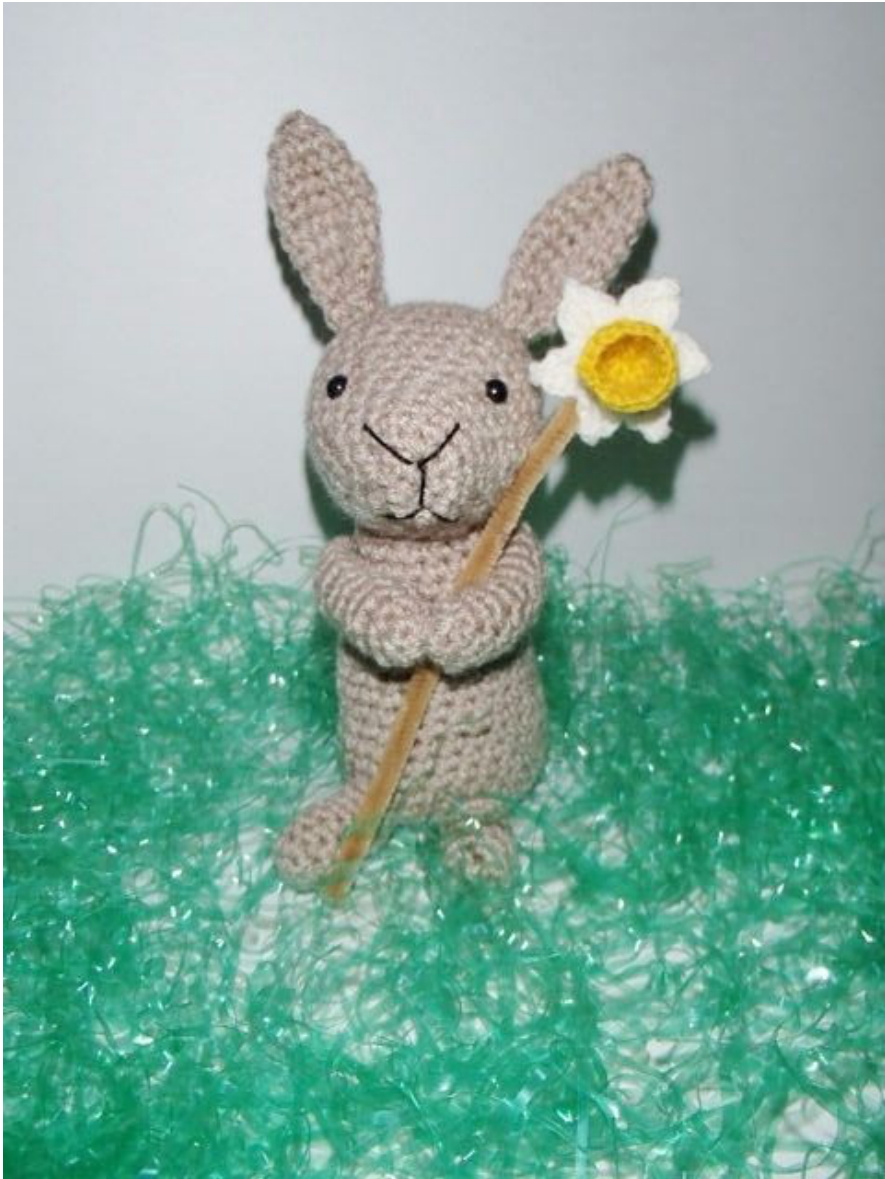
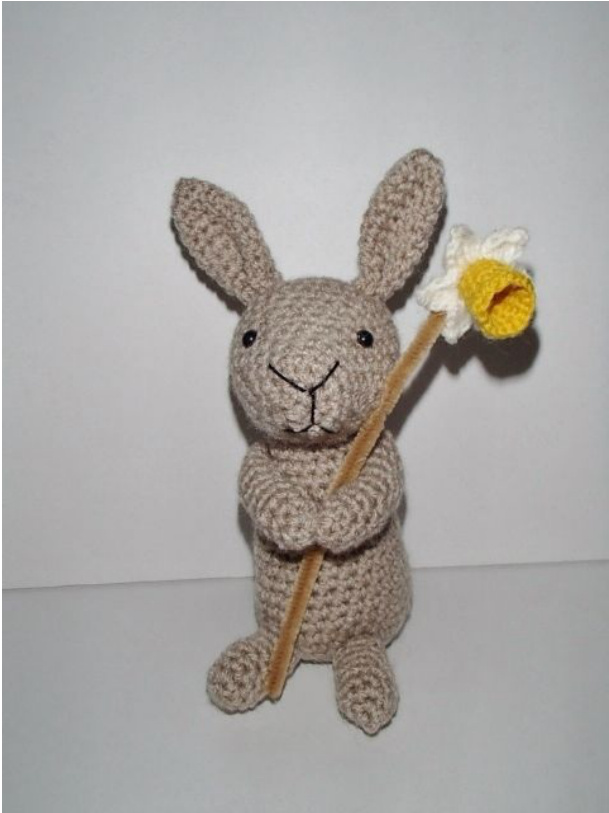
Spring Bunny
Amigurumi Pattern Designed By Sherry www.Chiwaluv.Etsy.com
ChiwaluvAmigurumiCritters ? 2012 Sherry Moore
Materials:
· DK weight yarn ( Want a bigger bunny? You may use acrylic 4 ply yarn if you desire, just adjust your hooks to accommodate the yarn you use, I use a hook 2 sizes smaller t the yarn calls for.) Tan White Yellow Crochet hook suitable for the yarn you use (I used an C and B USA Crochet hook ) · One pair of 4mm safety eyes, or embroider on with yarn. · scissors · Polyester fiber fill · Sewing needle for yarn \* Optional: Hot glue gun and sticks \* 1 Pipe cleaner Finished Size: Approximately 6-7 inches tall including ears. Your finished Bunny might finish in bigger or smaller than mine depending on your tension and the yarn you use. Abbreviation I use: 1. = Round ch = chain sc = single crochet dc = double crochet tr = treble crochet inc = increase (2sc in same stitch) dec = decrease (2sc worked together) sl st = slip stitch(es) FO = fasten off yarn, lv tail for sewing \* = repeat directions between \* and \* as many as indicated I start crochet by making a Magic ring as in Japanese style. It makes the starting hole tight and secure. You can start in which ever way you feel comfortable. IMPORTANT NOTE: Work in continuous spiral round; do not join rounds unless otherwise stated. Mark first stitch of each round ,moving marker as you progress. ChiwaluvAmigurumiCritters @ 2012 Sherry Moore
Spring Bunny
BODY: Make 1 with color choice I used Tan 1. Make a magic ring with 6 sc or ch-2 and work 6 sc in 2nd ch from hook 2. \*sc inc 1\*, repeat 6 times (12) 3. \* sc 1, sc inc 1 \* repeat 5 (6)times (18) 4. \* sc 2, sc inc 1 \* repeat 5 (6)times (24) 5. \* sc 3 sc inc 1 \* repeat 5 (6)times (30) 6-10. Sc around (30) 11. \*sc 12, dec \* repeat once (28) 12. \* sc 11, dec \* repeat once (26) 13-15. Sc around (26) 16. \*sc 11,dec \* repeat once (24) 17. sc around (24) Add Stuffing... 18. \* sc 10, dec \* repeat once (22) 19. \*sc 9, dec \* repeat once (20) 20-21. Sc around (20) I hot glue my head to the body, but you may sew them together if you rather HEAD: Make 1 with color choice Iused Tan 1. Make a magic ring with 6 sc or ch-2 and work 6 sc in 2nd ch from hook 2. \*sc inc 1\*, repeat 6 times (12) 3. \* sc 1, sc inc 1 \* repeat 5 (6)times (18) 4. \* sc 2, sc inc 1 \* repeat 5 (6)times (24) 5. \* sc 3 sc inc 1 \* repeat 5 (6)times (30) 6-7. sc around (30) 8. \* sc 4, sc inc 1 \* repeat 5 (6)times (36) 9-10. sc around (36) 11. \* sc 4, sc dec 1 \* repeat 5 (6)times (30) 12. sc around (30) 13. \* sc 3, sc dec 1 \* repeat 5 (6)times (24) 14. sc around (24) 15. \* sc 2, sc dec 1 \* repeat 5 (6)times (18) 16. sc around (18) Stuff firmly 17. \*sc 7, dec\* repeat once (16) 18. \* sc 6, dec \* repeat once (14) 19. \* sc 5, dec\* repeat once (12) 20. \*Sc 2 tog\* repeat around (6) FO, Close ChiwaluvAmigurumiCritters ? 2012 Sherry Moore EARS: make 2 with color choice Iused Tan 1. 6 sc in a magic ring. (6) 2. inc in all 6 st. (12) 3-11.12 Pinch bottom together stitch to hold , sew to top of head space ARMS : make 2 with color choice Iused Tan 1. Make a magic ring with 4 sc or ch-2 and work 4 sc in 2nd ch from hook 2. inc in all 4 sts (8) 3-12. sc around (8) FO,Lv tail of yarn, to sew to sides of rabbit FEET: make 2 with color choice I used Tan 1. 4 sc in a magic ring. (4) 2. inc in all 4 st. (8) 3-8. sc around. (8) fo Stuff , sew to front bottom of bunny
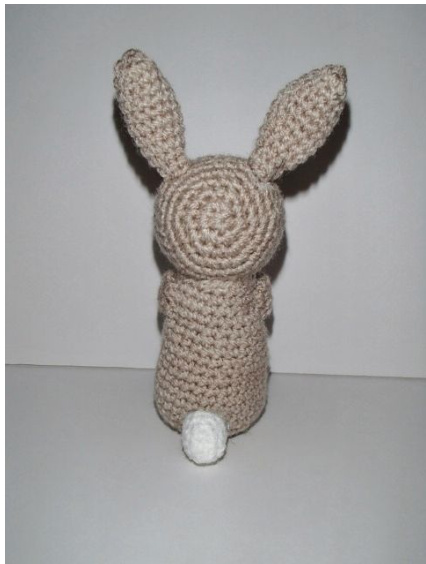
TAIL: make 1 with white yarn 1. 4 sc in a magic ring. (4) 2. inc in all 4 st. (8) 3-5. sc around. (8) Add a wee amount of stuffing Fo, Lv a tail of yarn , to sew to back bottom of rabbit ChiwaluvAmigurumiCritters @ 2012 Sherry Moore

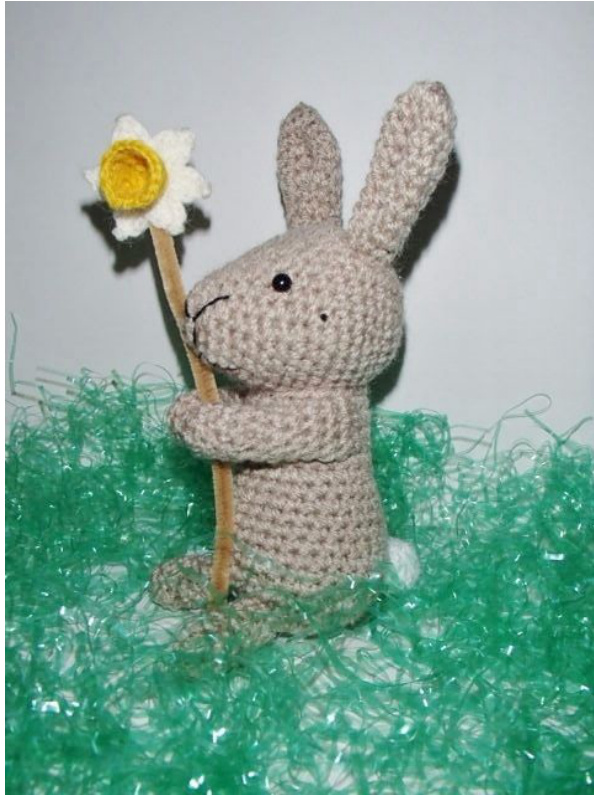
DAFFODIL: Make 1 with White yarn How to picot stitch = (ch 2, 1 sl st in the first ch) In white: fingering yarn and a size USA B crochet hook 1. Ch-8, sl st to join- \*ch-5, sl st into ring \* repeat for a total of six loops. 2. In first ch-5 space(1 sc, 1 hdc, 1 dc, 1 tr, 1 picot , 1 tr, 1 dc, 1 hdc, 1 sc) and in each ch-5 space. 3. Repeat row 2, 5 more times until there are six petals. 4. 1 sl st in the 1st ch on the first petal. FO, weave ends in. Flower Cup: Make 1 with DK yellow Yarn 1. Make a magic ring with 6 sc or ch-2 and work 6 sc in 2nd ch from hook 2. \*sc inc 1\*, repeat 6 times (12) 3-6. sc around (12) 7. \* sc 1, sc inc 1 \* repeat 5 (6)times (18) Fo, weave ends in. Stitch or hot glue flower cup to center of daffodil. Use a pipe cleaner snipped to 4 inches in length for stem. ChiwaluvAmigurumiCritters @ 2012 Sherry Moore
Following are my copyrignt terms: 1. The pattern cannot be shared and may only be used by the purchaser. 2. You may sell items made from my pattern, provided: - The items must be 100% handmade by the purchaser (no production-line allowed) - Any items for sale must state in the item description that they are based on my pattern (by 'Chiwaluv Amigurumi Critters) and preferably with a link to my website (http://chiwaluv.blogspot.com) - Any items you sell based on my patterns must feature only your own photograph of the item you have made to sell. You do not have permission to use my photographs to list your items. DO NOT Sell items on Etsy, we have our shop there, it is a conflict of interest. Thank you , we hope you enjoyed making this pattern, and it brings you and yours years of enjoyment, why not stop by and try Another? ChiwaluvAmigurumiCritters @ 2012 Sherry Moore


