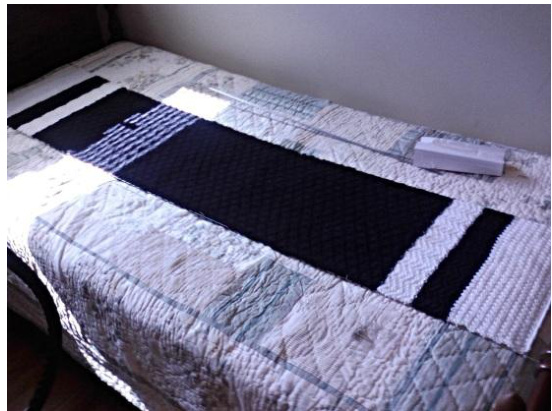
Nathan's Scarf
A few notes about the pattern; 1. Diamond Brocade is a "slow-go" pattern. You have to keep an eye on which row you're on at all times. It is very easy to get confused... perhaps using a stitch counter to indicate the row number may help. 2. The scarf gets very heavy, but it is also very warm. 3. I used Caron Simply Soft in White and Black, a worsted weight acrylic. On the skein it felt very soft, but it was a bit coarse to work with. The scarf is still quite soft though. A - Starting Out: 1. Knit Cast on 65 stitches. 2. (W)Knit one row. 3. (R)K1, \*P1, K1, \*repeat from \* to end
B - Rib & Ridge A:
- Knit this stitch For 6 inches - 9 instances total in white. 1. (W)Purl 2. (R)Knit 3. (W)K1, \*P1, K1, repeat from \* to end 4. (R)P1, \*K1, P1, repeat from \* to end Rib & Ridge looks like this (on the right side)
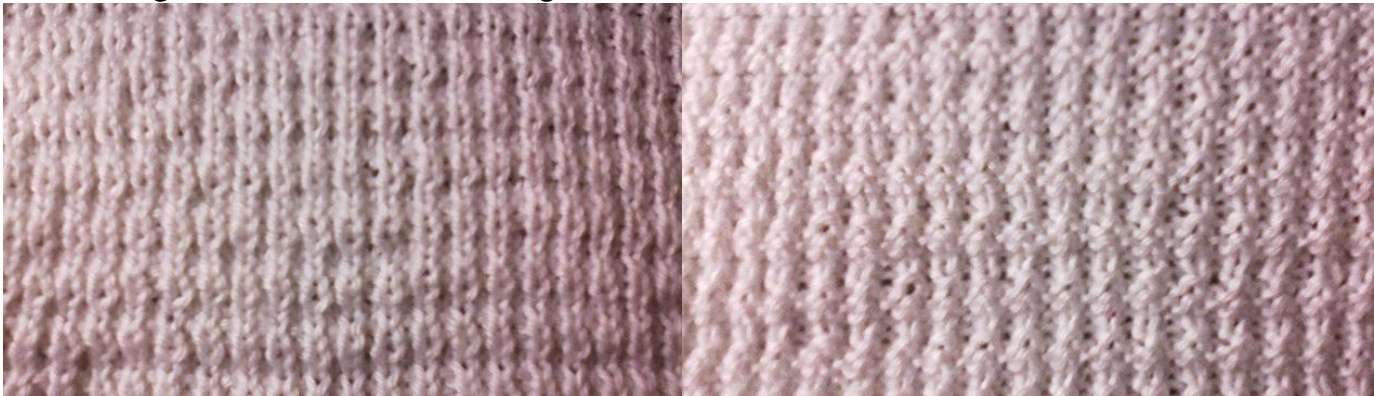
Rib & Ridge looks like this (on the wrong side)
C - Get to the Right Side!
- Purl one row (this sets up for the next stitch to start on the correct side)
D - Single Chevron A:
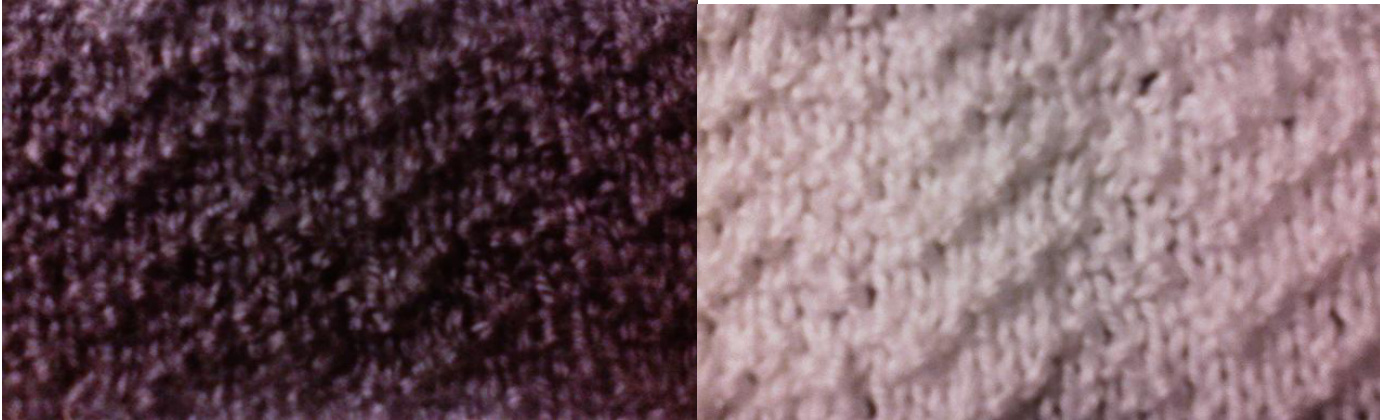
Here we want to use the chevron to "cradle" the following brocade stitch. - Knit this stitch in black for 3 inches - 5 instances - Knit this stitch in white for 3 inches - 5 instances 1. (R)\*P1, K3, repeat from \* to last stitch P1 2. (W)P1, \*P2, K1, P1, K1, P3, repeat from \* to end 3. (R)\*K2, P1, K3, P1, K1, repeat from \* to last stitch K1 4. (W)P1, \*K1, P5, K1, P1, repeat from \* to end Single Chevron looks like this (on the right side)
E - Diamond Brocade
- Knit this stitch for around 4 feet - approximately 38 instances 1. (R)K4, \*P1, K7, repeat from \* to last 5 stitches, P1, K4 2. (W)P3, \*K1, P1, K1, P5, repeat from \* to last 6 stitches, K1, P1, K1, P3 3. (R)K2, \*P1, K3, repeat from \* to last 3 stitches, P1, K2 4. (W)P1, \*K1, P5, K1, P1, repeat from \* to end 5. (R)\*P1, K7, repeat from \* to last stitch, P1 6. (W)Repeat row 4 7. (R)Repeat row 3 8. (W)Repeat row 2 Diamond Brocade looks like this (on the right side)
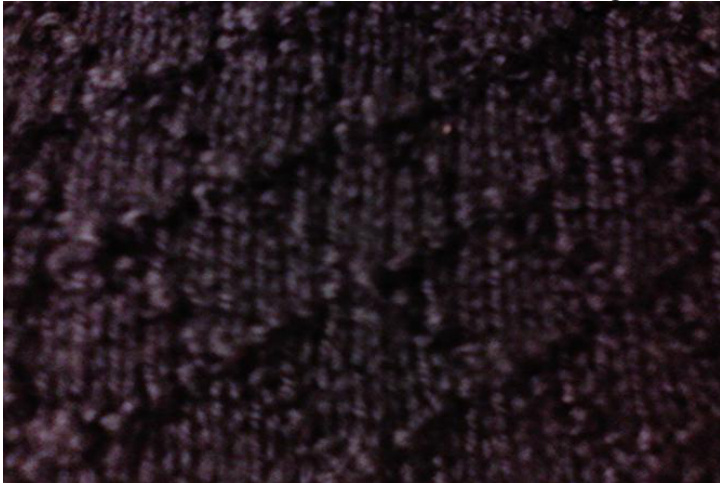
e's what the cradling looks like... crappy pic but if you squint you can see it ;-
F - Single Chevron - B
This chevron stitch is a bit different, as it needs to cradle the other side of the diamonds. - Knit this stitch in White for 3 inches - 5 instances - Knit this stitch in Black for 3 inches - 5 instances 1. (R)\*P1, K3, repeat from \* to last stitch, P1 2. (W)P1, \*K1, P5, K1, P1, repeat from \* to end 3. (R)\*K2, P1, K3, P1, K1, repeat from\* to last stitch, K1 4. (W)P1, \*P2, K1, P1, K1, P3, repeat from \* to end G - Get to the Wrong Side! - Knit one row (this sets up for the next stitch to start on the correct side)
H - Rib & Ridge B
This Rib & Ridge is also different from the first one. This one needs to be worked backward in order to keep the scarf symmetrical. - Knit this stitch for 6 inches - 9 instances 1. (W)K1, \*P1, K1, repeat from \* to end 2. (R)P1, \*K1, P1, repeat from \* to end 3. (W)Purl 4. (R)Knit
1 - Finish Up
1. (W)P1, \*K1, P1, repeat from \* to end 2. (R)Knit one row 3. Bind off Knitwise TaDa!