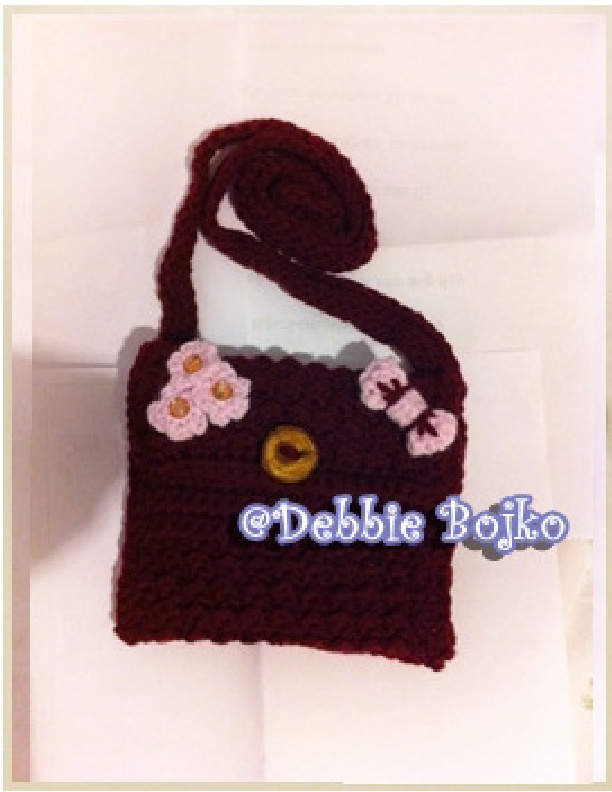
B's Handy Dandy Pouch
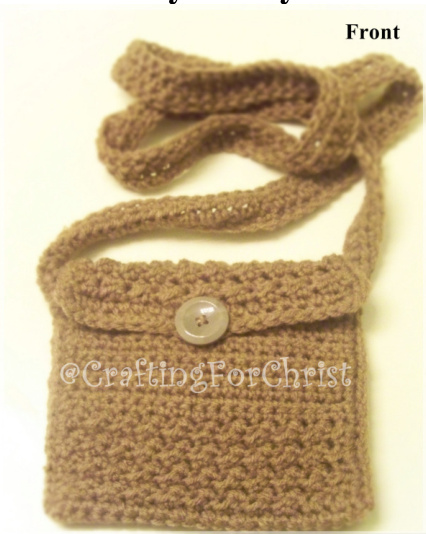
MATERIALS: Red Heart Super Saver : Brown or color of your choice. Crochet Hook (H) Yarn Needle Medium or Large Button Scissors. Stitch Marker (optionaD) Size of finished pouch: Approx 6 % inches wide by 6 % inches tall. Strap measures Approx 23 - 25 inches long after it is sewn onto pouch. \*Note: The strap is made long so the pouch can be worn over shoulders like a shoulder pouch or (mailbag) if you will. The Strap can be altered by adjusting how many chains you make in the beginning of the “"strap instructions". You can decide how long it should be for your particular taste.
Instructions for Pouch:
WMYMMYMMMMMMMMMMMYMYMMMYMMMMMYMMMMM Ch 21, Round 1: 1 sc in 2cnd ch from hook, 1 sc in each of next 8 ch, ch 3 (this is for the button Hole) sk next 2 ch, sc , 1 sc in the last 9 chs, ch1 , turn MossStitchSectionA: Round 2: \*1 hdc in next sc, 1 sl st in next sc\*, repeat \* to \* across, ( you should end with 1 hdc), ch 1 , turn. Round 3: \*1 sl st in next hdc, 1 hdc in next sl st\*, repeat \*to\* across, ( you should end with sl st), ch 1, turn Round 4:repeat round 2 Round 5: Repeat round 3 Round 6: Repeat round 2 Round 7: repeat round 3 Round 8: repeat round 2 Round 9: repeat round 3 SingleCrochetSectionA: Rounds 10-30: 1 sc in each st across, ch 1 , turn Moss Stitch Section B: Rounds 31- 38: repeat rounds 2-9 SingleCrochetSectionB: mmmmmmmmmmmmmmmmmmmmmmmmimmmmmmmmmmmmmmmmmmmmmmmmmmmmmmmmmmmmmn Rounds 39- 50, repeat round 10, at the end of round 50, ch 2. Round 51: 1 sc in each st around, putting 3 sc into each corner sp, repeat all around entire piece until you reach beg ch 2, sl st to join. FO, leaving a long tail to sew side together. BackPocketInstructions:
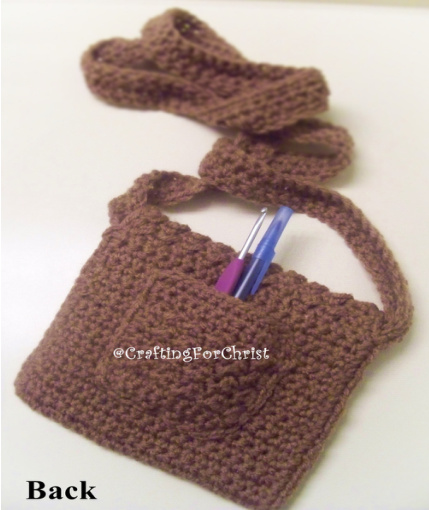
\*Tip\* You might want to make this and sew it on before you assemble Pouch(Optional) Ch 11, R1: 1 sc in 2cnd ch from hook, then 1 sc in each ch across, ch1 turn, (10 sc) R2:1 sc in each sc across, ch 1 turn R3:1 sl st in next sc, 1 hdc in next sc, repeat \* to \* across, Rnds 4-9 :Repeat rnd 3 Rnds 10- 11: Repeat rnd 2, at end of rnd 2, Ch 2 Rnd 12: 1 sc in each st around, putting 3 sc into each corner sp, sl st to beg ch 2. Now sew pouch in center of back just sewing down left side, bottom, and up right side, Do Not sew Top. AssemblyofPouch: mmmmmmmmmmmmmmmmmmmmmmmmmmmmmmmimmmmmmmmmmmmmmmmmmmmmmmmmmmmmmmmm.
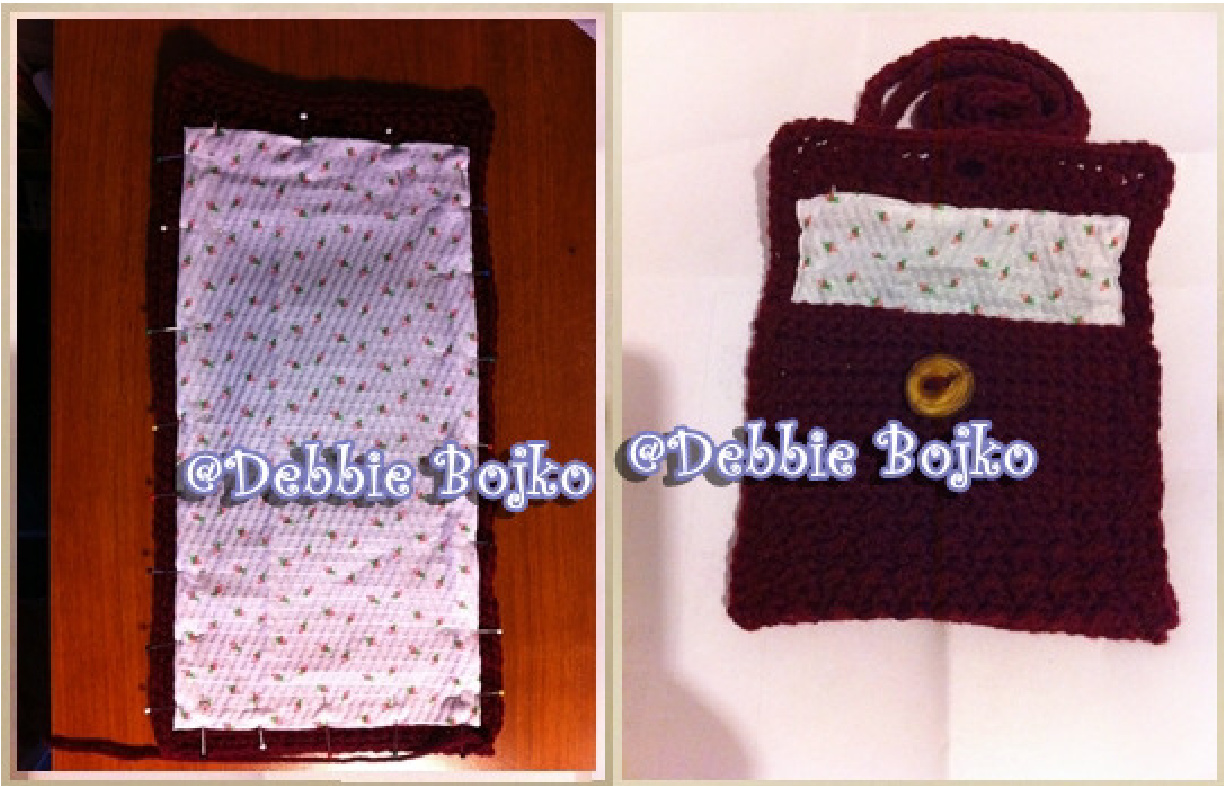
LINING THE POUCH (Optional)
Notes from the Pattern Tester Debbie :
"If you are going to line your pouch/ bag I would do it now before you start assembling/ sewing up the sides. Cut a piece of material the same size as your pouch, mine was 6"x 11", fold under all edges about 1/4- 3/8" on all edges making sure you do not cover up the buttonhole opening on front flap. Machine or hand sew all edges in place." (See Her Photos Below)
Assembly:
Thread tail through yarn needle and Fold last row 50 of the (Single Crochet Section B) upwards toward beg round 9 the last round of (Moss Stitch A) where you started this project. Line up sides evenly, and sew together left side, FO, Cut about 12 inches or so of yarn and sew together right sides, DO NOT sew top, leave it open. When it's done you should have Rows 1-9 from (Moss Stitch section A) for your flap. Then sew a button in center of pouch somewhere between round 47&48, then fold flap down toward button and wiggle button through the sp where you have you made your ch 3 from the beginning on the ttttttttttttttttttttttttttttttttt StrapsInstructions:
flap.
Ch around 100, Less or more, depending on how long you want your strap to be, Sc in 2cnd ch from hook and in each ch across, then ch 2, turn, 1 hdc in each sc across, ch 1, turn 1 sc in each hdc across, FO Weave in all ends. Sew Ends of strap to each side corner of the opening, under the flap. That's it,You'reDone! \*\*You may sell the item/s made with the pattern, but as always...Please Do not copy or sell the pattern itself.\*\* @Copyright 2013 Thank You! Special Thanks To Debbie Bojko For helping test this pattern and giving helping with finalizing with her helpful notes, Thank you! We'd Love For You To Visit Us On Ravelry @Crafting For Christ Designs & On Facebook @CraftingFor Christ DesignsPlease Share Pics Of Your Finished Item/s With Us!


