Geisha by La Fe Crochete
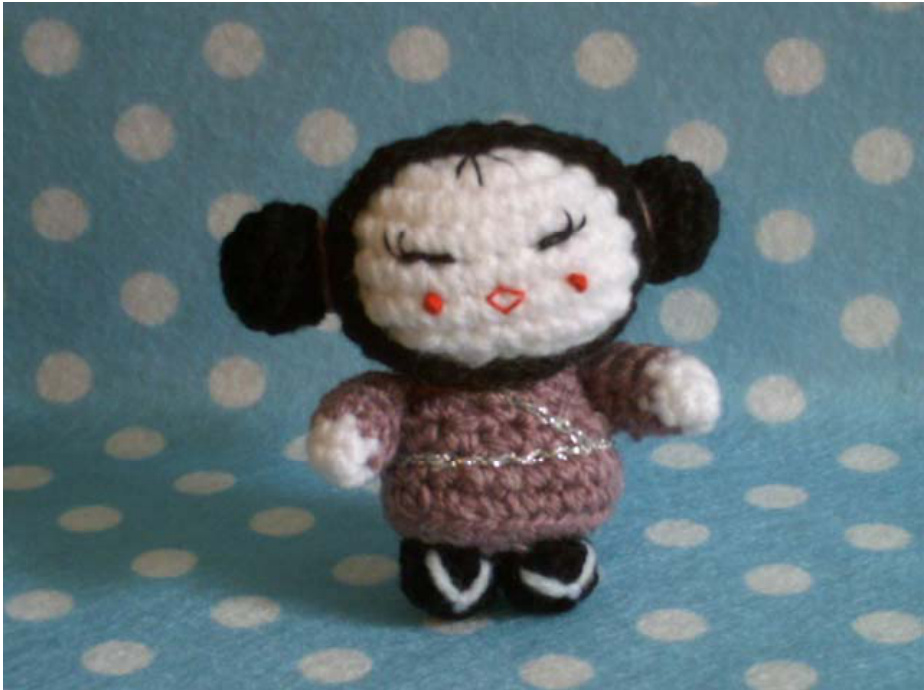
Geisha
You will need:
One crochet hook size 2.5mm Stitch marker or a paper clip (optional) to keep track of your stitches One yarn needle and one embroidery needle Fibrefill to stuff the doll Black yarn White yarn (small amount) Colour of your choice for the dress (small amount) Embroidery floss in black, white and red (two strands) Embroidery floss metallic grey Embroidery floss the colour of the dress
Yarn types:
DK or worsted yarn
Abbreviations:
CH - chain ST - stitch SL ST - slip stitch SC - single crochet HDC - half double crochet SC DEC - single crochet decrease (decrease over 2 stitches) BLO - back loops only
Pattern stitches
Single crochet Half double crochet
Skill level
Beginner to advanced beginner with knowledge of crocheting in the round, increasing, and decreasing. Head with white yarn Round 1 Start 6 sc in a magic ring (6) Round 2 2 sc in each sc around (12) Round 3 2 sc in each sc around (24) Round 4 sc in each sc around (24) Round 5 sc in each sc around (24) Round 6 \* sc in next 5 sc, 2 sc in next $\mathsf{s c}^{\star}$ repeat 4 times (28) Round 7 sc in each sc around (28) Round 8 \* sc in next 5 sc, sc dec\* repeat 4 times (24) Round 9 sc dec around (12) Stuff firmly Round 10 sc dec around (6) Sl st in next sc and fasten off, weave in the end yarn
Hair with black yarn
Round 1 Start 6 sc in a magic ring (6) Round 2 2 sc in each sc (12) Round 3 $^{\star}2$ sc in next sc, sc in next $\mathsf{s c}^{\star}$ repeat 6 times (18) Round 4 $^{\star}2$ sc in next sc, sc in next $^{2}\,{\mathsf{s c}}^{\star}$ repeat 6 times (24) Round 5 \* scin next 5 sc, 2 sc in next $\mathsf{s c}^{\star}$ repeat 4 times (28) Round 6 sc in each sc around (28) Round 7 hdc in each sc (28) Round 8 sc in each hdc (28) Sl st in next sc and fasten off, weave in the end yarn
Buns with black yarn
Round 1 Start 6 sc in a magic ring (6) Round 2 2 sc in each sc (12) Round 3 $^{\star}2$ sc in next sc, 1 sc in next $\mathsf{s c}^{\star}$ repeat 6 times (18) Round 4 \* sc in next sc, sc dec\* repeat 6 times (12) Stuff firmly Round 5 sc dec around (6) Sl st in next sc and fasten off, weave in the end yarn Make 2 Body with the colour of your choice Round 1 Start 6 sc in a magic ring (6) Round 2 2 sc in each sc around (12) Round 3 $^{\star}2$ sc in next sc, 1 sc in next $\mathsf{s c}^{\star}$ repeat 6 times (18) Round 4 $^{\star}2$ sc in next sc, sc in next $^{2}\,{\mathsf{s c}}^{\star}$ repeat 6 times (24) Round 5 sc in back loop only just for this round in each sc around (24) Round 6 sc in each sc around (24) Round 7 \* sc in next 2 sc, sc dec\* repeat 6 times (18) Round 8 \* sc in next sc, c dec\*repeat 6 times(12) Round 9 sc in each sc around (12) Round 10 sc in each sc around (12) Stuff firmly Sl st in next sc and fasten off, weave in the end yarn Arms with white yarn and the colour of the dress Start with white yarn Round 1 Start 4 sc in a magic ring (4) Round 2 \*sc in next sc, 2 sc in next $\mathsf{s c}^{\star}$ repeat twice (6) Change to the colour of the dress Round 3 sc in each sc around (6) Round 4 sc in each sc around (6) Round 5 sc in each sc around (6) Round 6 sc in each sc around (6) Stuff firmly Sl st in next sc and fasten off, weave in the end yarn Make 2 Feet with black yarn Round 1 Start 4 sc in a magic ring (4) Round 2 2 sc in each sc around (8) Round 3 sc in back loop only for this round in each sc around (8) Round 4 sc in each sc around (8) Stuff firmly Sl st in next sc and fasten off, weave in the end yarn Make 2
Little tip
For such a tiny doll, I find it easier to assemble the pieces together using matching colour threads instead of the yarn as the needle used is smaller. If you prefer you can fasten off and leave a long tail for sewing instead of weaving in the end yarns.
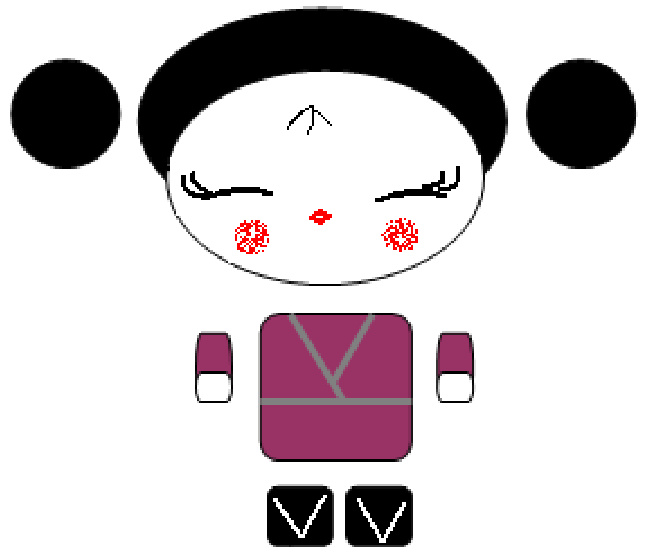
Getting the face of the little Geisha just right is very important, she needs that happy expression. Step 1, stuff the head firmly, and embroider the eyes with two strands of black thread. To help you place them right, draw the eyes with an air erasable pen. ? Make a straight stitch for each eye and go over it with a tiny stitch in the middle of it to give it an arch. Do the same with the eyelashes. Make sure the eyes match! ? Still using two strands of black thread, straight stitch the three little hairs. Now, with two strands of red thread, embroider the mouth and French knot the cheeks. If you prefer, you can use red or pink beads or small pieces of felt for the cheeks. For an even more blushing look, use a red or pink felt-tip pen for the cheeks. Now, squeeze the head into the hair cap, stuff the buns and sew them on with the tails of yarn left and with a few stitches around the haircap, secure the hair onto the head. Stuff the body firmly and with metallic thread, chain stitch the kimono details. Now, attach head to body with the tail of yarn left. Stuff the legs and embroider the little shoes details with two strands of white thread, making a V stitch. Attach feet to body using one strand of black thread. Stuff the arms and sew them onto body using one strand of thread the colour of the dress. Finishing touch: don't forget to tie little bows around her buns.


