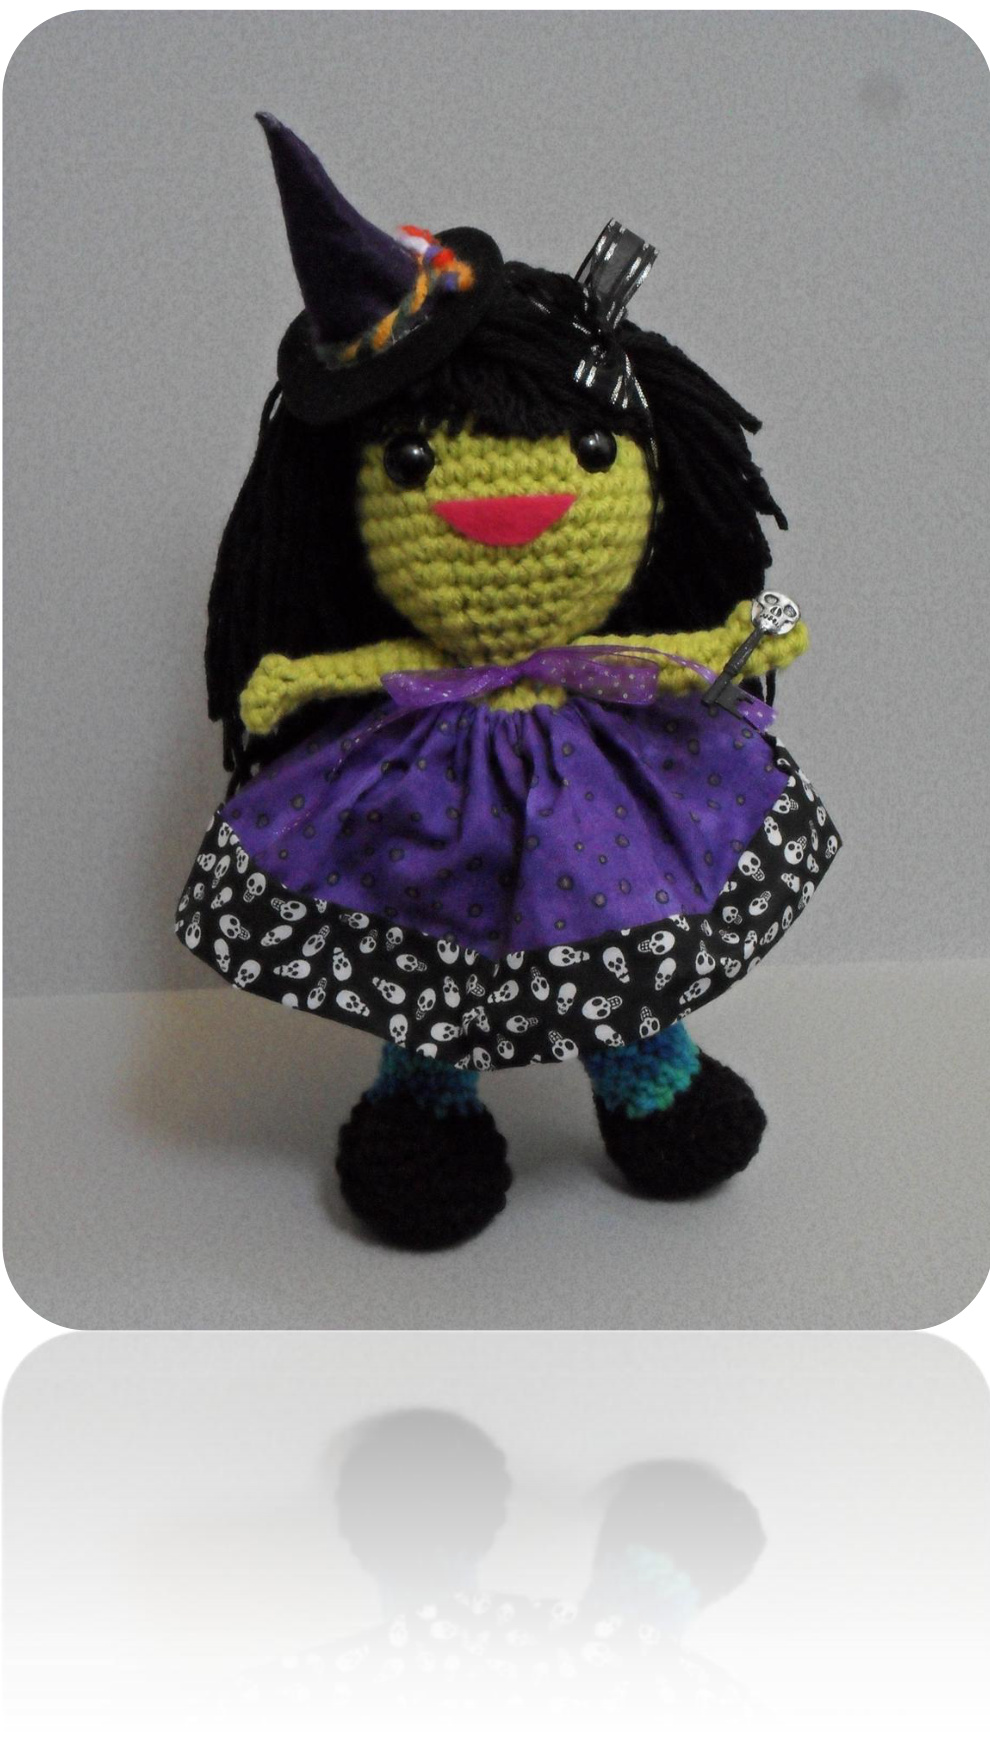
Witch Chick
Supplies:
1 skein any medium worsted weight yarn in Lime Green color 1 skein any medium worsted weight yarn in Black color 1 skein any medium worsted weight yarn in Variegated color 1 set of 15 mm safety plastic eyes or 1 PR of black buttons Optional: black embroidery thread to make a pair of eyes if not using safetyeyes Pink embroidery thread to shape mouth. Polyester fiberfill 1 Stitch marker 1 weaving needle Holiday colored ribbon Optional: Fabric Tac if adding Gems to decorate ears. Piece of pink felt to use for mouth instead of embroidering mouth 3X3 inch (8cmX8cm) purple felt for top of hat 3X3 inch (8cmX8cm) black felt for brim of hat 1 Straw decorative broom or decorative scrapbook item for décor (this pattern used a skeleton key) This pattern has photo references. Need to know the basic stitches, seen in Abbreviations section. Notes: After making numerous dolls, I found that crochet hook E/4 (3.5 mm) yields the tightest stitches. The basic rule is to work stitches tightly so stuffing does not show. With this type of doll, Amigurumi, work in the round but do not join. I use a stitch marker to indicate the beginning of the next row as the work progresses. Refer to photos to see the progression of this project. You may use the adjustable ring method to start your round shaping. I still use ch 2, 6 sc in the second ch (or indicated # of stitches noted in pattern) to start shaping a ball. There is no right or wrong, mostly, preference. sl st: slip stitch inc: 2 single crochet stitches in 1 sc dec: decrease or in this pattern, 2 sctog is acceptable [1 : work directions inside brackets as many times as indicated. st(s): stitches tc: triple crochet (reference from About.com) (Only used to make the thumb) 1. Yarn over hook twice, then insert hook into next stitch. 2. Yarn over hook and draw yarn through stitch - (there are four loops on the hook). Loop yarn over hook and draw through two loops, (there are now three loops remaining onthe hook). 4. Yarn over hook and draw through two loops. 5. Again, loop yarn over hook and draw through the last two loops on the hook (there is now oneloopremaining.) 6. This completes one triple crochet.
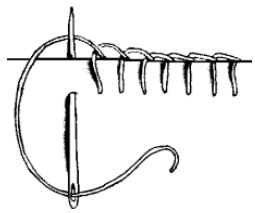
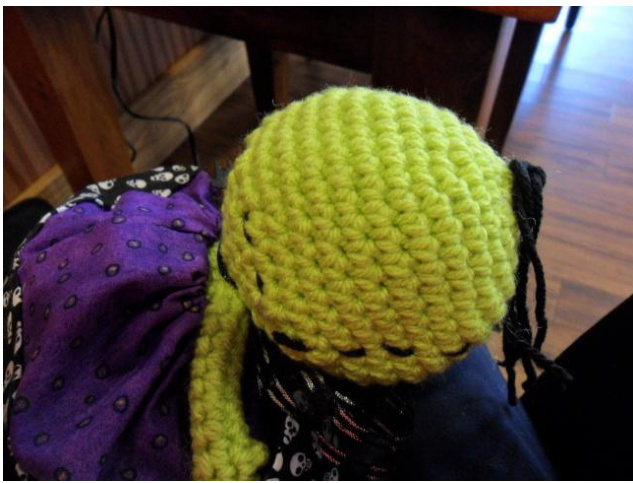
Blanket stitch: see diagram. Head: Make 1 in Lime Green. 1. Ch 2. 6 sc in the 2nd ch st. (6) 2. Place marker (PM). 2 sc in the next 2 sc. (12) 3. PM. [2 sc in the next sc, 1 sc in the next 1 sc] 6 times. (18) 4. PM. [2 sc in the next sc, 1 sc in the next 2 sc] 6 times. (24) 5. PM. [2 sc in the next sc, 1 sc in the next 3 sc] 6 times. (30) 6. PM. [2 sc in the next sc, 1 sc in the next 4 sc] 6 times. (36) 7. PM. [2 sc in the next sc, 1 sc in the next 5 sc] 6 times. (42) 8. PM. 1 sc in the next 42 sc (42) 9. PM. 1 sc in the next 42 sc (42) 10.PM. 1 sc in the next 42 sc (42) 11.PM. 1 sc in the next 42 sc (42) 12.PM. 1 sc in the next 42 sc (42) 13.PM. [Dec (2sctog) in the 1st sc and 1 sc in the next 5 sc] 6 times. (36) 14.PM. [Dec (2sctog) in the 1st sc and 1 sc in the next 4 sc] 6 times. (30) 15.PM. [Dec (2sctog) in the 1st sc and 1 sc in the next 3 sc] 6 times (24) 16.PM. [Dec (2sctog) in the 1st sc and 1 sc in the next 2 sc] 6 times (18) 17.PM. [Dec (2sctog) in the 1st sc and 1 sc in the next 1 sc] 6 times (12) Turn the head over and begin to place the eyes as seen in the photo beforestuffing and closinghead. Placement of the eyes (using safety eyes, buttons, or even embroidery) is at this point because it is extremely hard to do after you close the shape of the head. I usually place at row 7 at 6 sts apart.
Hair: Using Black.
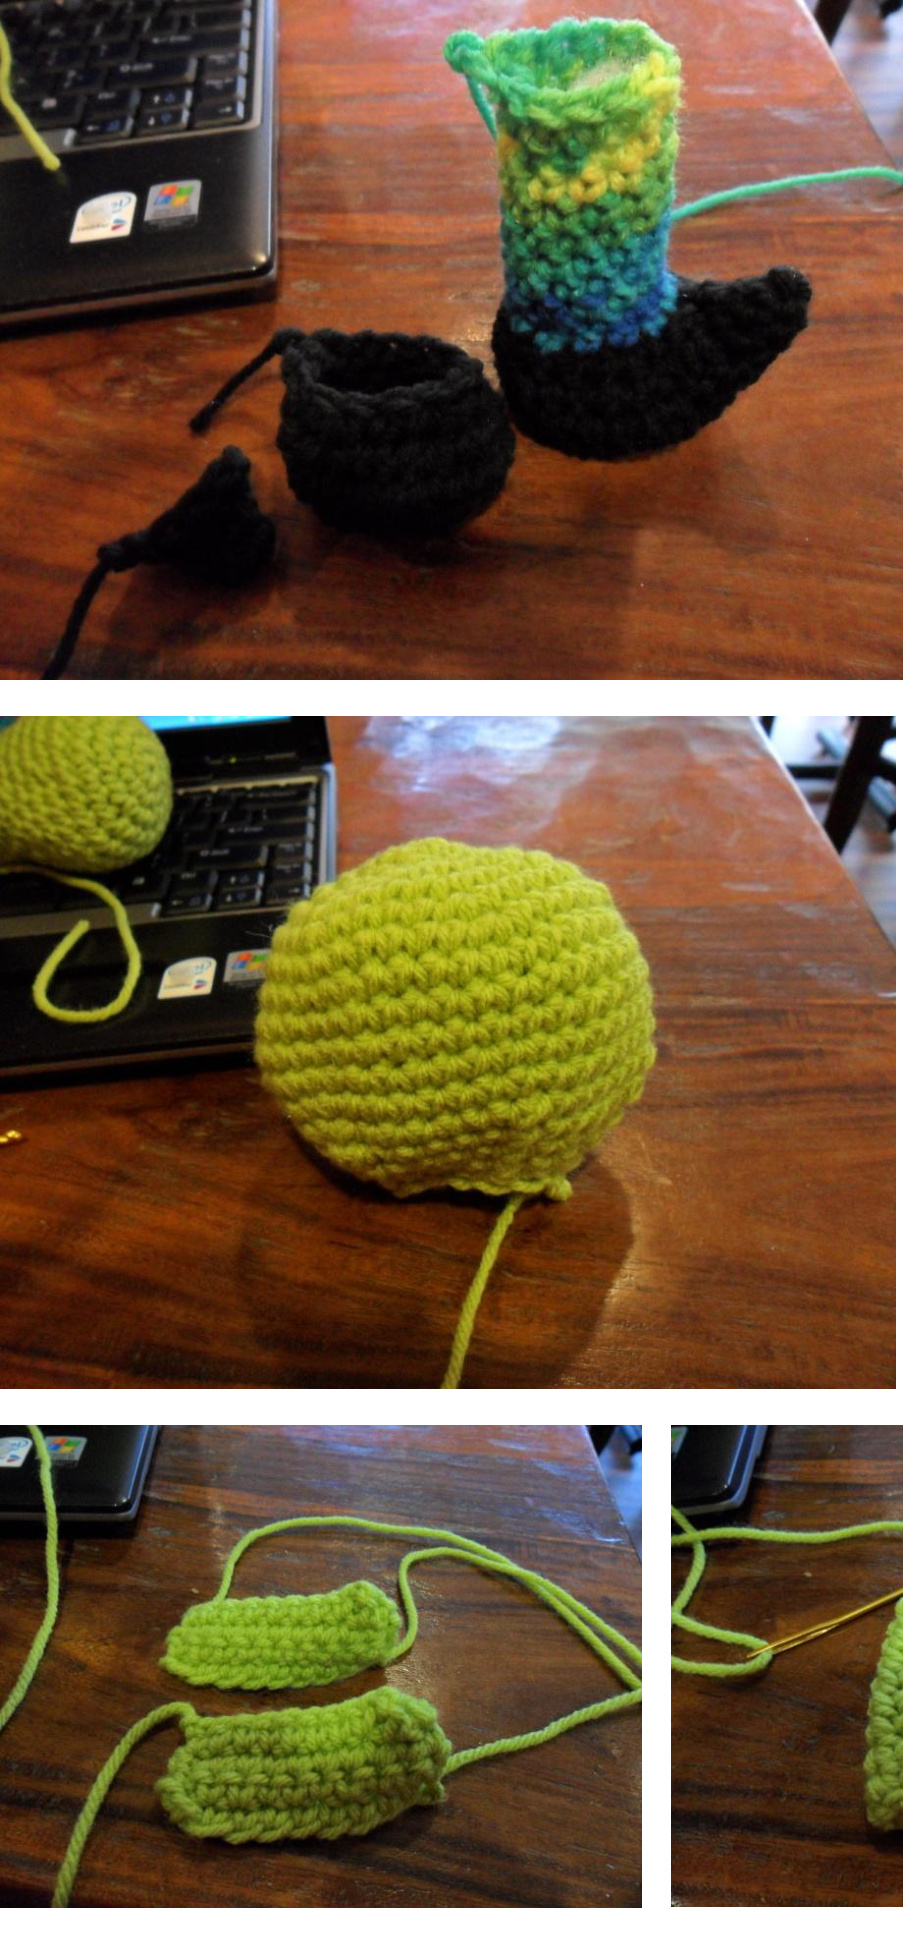
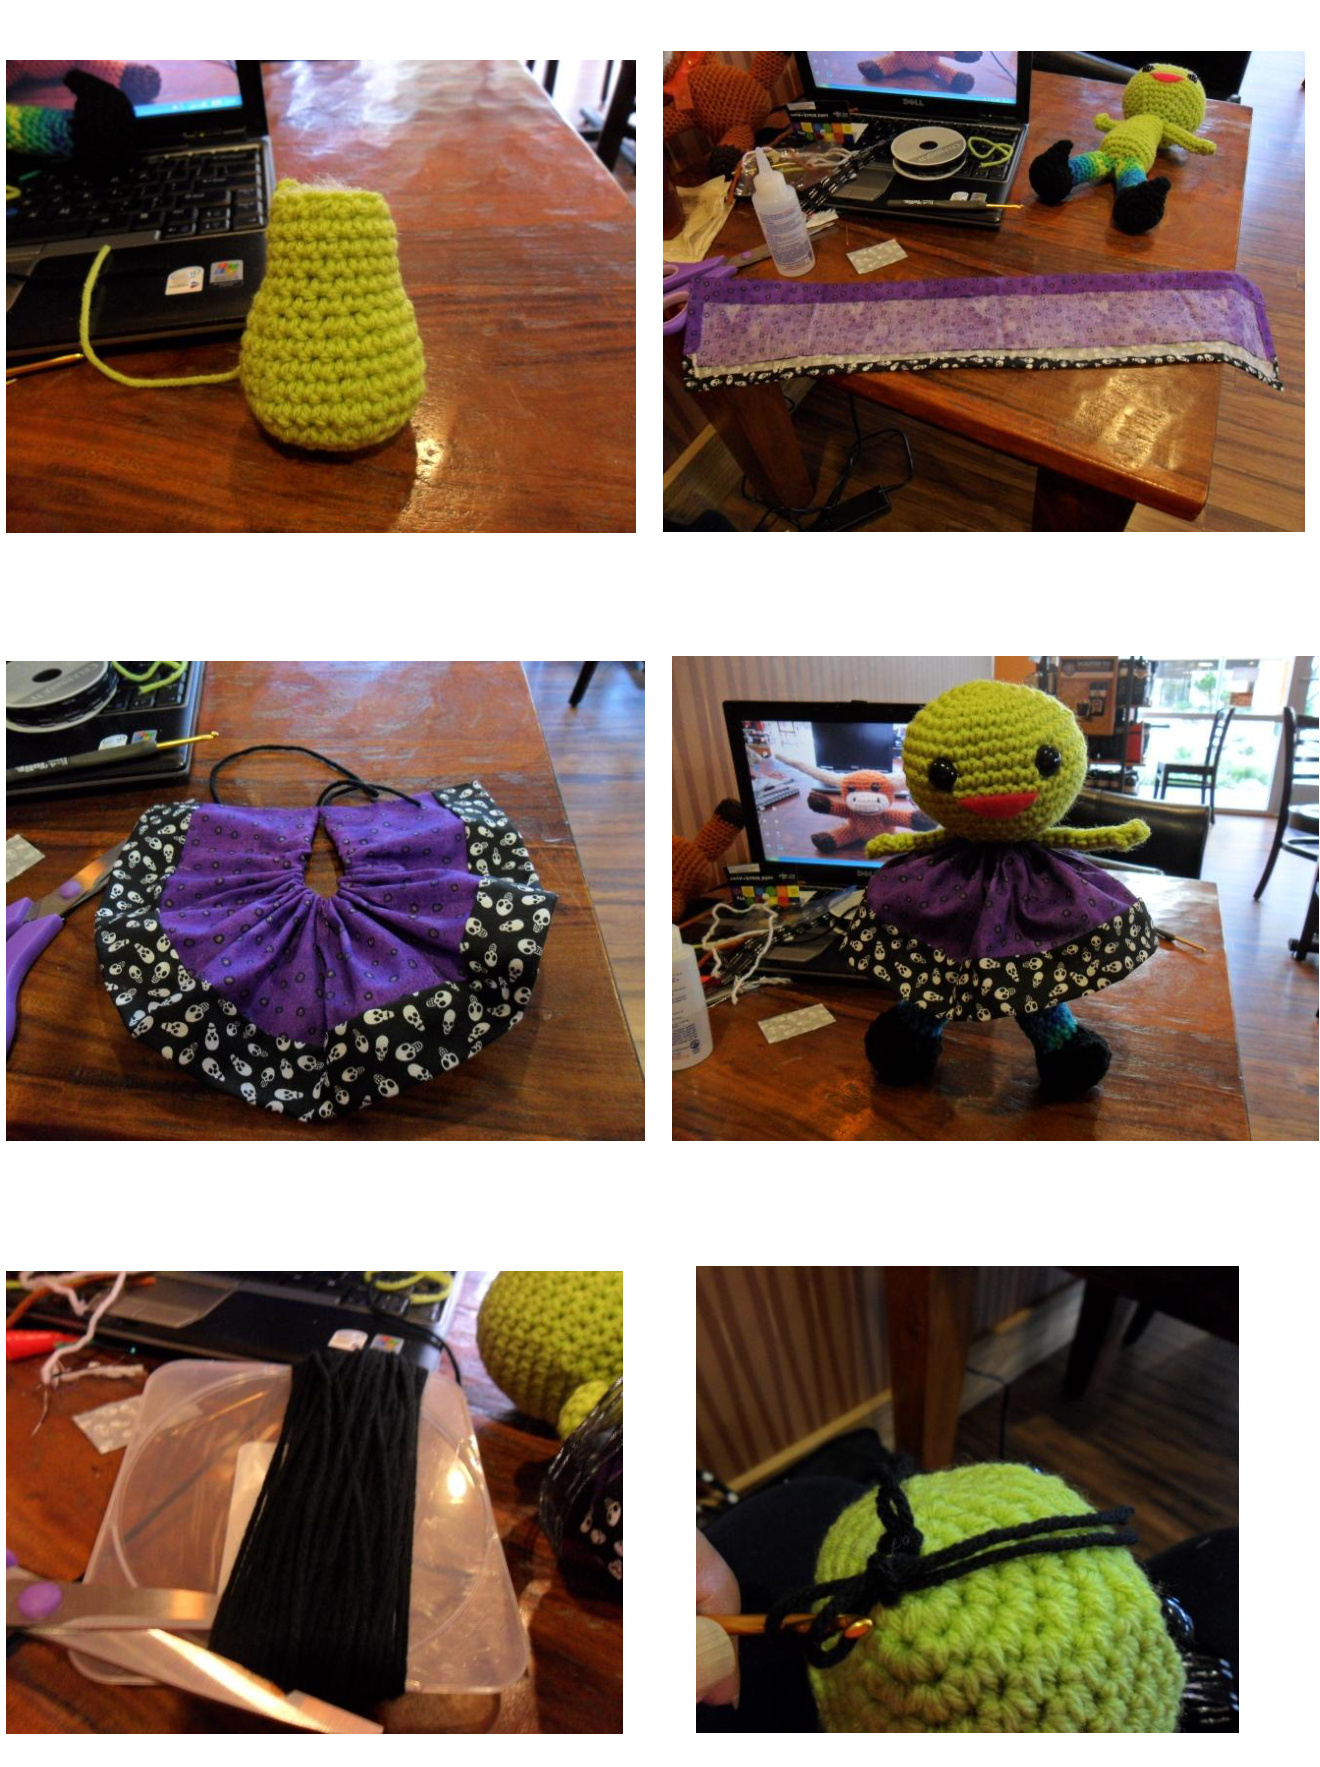
1. Depending on how long you want the length to be, the basic length in this pattern will be approximately 14 in (35cm) long. 2. This gives just enough length to pull up in a pony-tail or fix any type of hair-do you prefer. 3. Cut a piece of cardboard of 5X5in (13cmX13cm) or 6x6in (15cmX15cm) 4. Wrap the yarn around several times. 5. Cut the yarn on one end only. Trying to cut the yarn on a fat wrap is difficult 7. Use a separate scrap yarn and baste around the head to give a guideline to place the hair. 8. Starting at the center of the head, place the hook in the sc and pull the loop of yarn through. This makes the strand of hair. 9. Place the yarn on every st &row which does give great body and the unique looktothedoll. XThis may seem tedious but the labor of love is worth it! Once completed, place the last length of yarn and tie up in a pony. tail and double tie to hold in place, then add ribbon and any garnish on the hair for decor. \*Refer tophotos. Arms: Make 2 using Lime Green. 1. Start with keeping a 6 inch tail and ch 11. 1 sc in the 2nd ch and 1 sc in the next 9 sc. (10) Ch 1 & turn. 2. 1 sc in the next 10 sc (10) Ch 1 & turn. 3. 1 sc in the next 10 sc. (10) Ch 1 & turn. 4. 1 sc in the 1st sc, Triple crochet in the 2nd sc, 1 sc in the last 8 sc. (10) 5. Fasten off. Leave a long tail for weaving. To start weaving, sew up the sides making sure the Triple crochet is prominent for the thumb effect then weave the Lime Green yarn
6. Do the same for the other arm.
Body: Make 1. Beginning at the base using Lime Green. 1. Ch 2. 6 sc in 2nd ch. (6) 2. PM. (Inc in the 1 sc )6 times.(12) 3. PM. (Inc in the 1st sc and 1 sc in the next 2 sc) 6 times (18) 4. PM. (Inc in the 1st sc and 2 sc in the next 2 sc) 6 times (24) 5. PM. (Inc in the 1st sc and 3 sc in the next 2 sc) 6 times (30) 6. PM. Sc in the next sc. (30) 7. PM. Sc in the next sc. (30) 8. PM. [Dec or (2sctog), 1 sc in the next 3 sc] 6 times. (24) 9. PM. Sc in the next sc. (24) 10.PM. Sc in the next sc. (24) 11.PM. [Dec or (2sctog), 1 sc in the next 2 sc] 6 times. (18) 12.PM. Sc in the next sc. (18) 13.PM. Sc in the next sc. (18) 14.PM. [Dec or (2sctog), 1 sc in the next 1 sc] 6 times. (12) 15.PM. Sc in the next sc. (12) 16.PM. Sc in the next sc. (12) Start stuffing body with polyester fiberfill at this time. 17.Fasten off and leave a tail for sewing. Turn body the other way. Narrow side is the neck side.
Pointy Tips of shoes: Make 2 with Black.
1. Ch 2. 3sc in 2nd ch. (3) 2. PM. (Inc in the 1 sc )3 times.(6) 3. PM. (Inc in the 1 sc )6 times (12) 4. Fasten off and leave a tail for weaving. Shoes:Make 2 withBlack 1. Ch 2. 6 sc in the 2nd ch st. (6) 2. Place marker (PM). 2 sc in the next 2 sc. (12) 3. PM. [2 sc in the next sc, 1 sc in the next 1 sc] 6 times. (18) 4. PM. [2 sc in the next sc, 1 sc in the next 2 sc] 6 times. (24) 5. PM. 1 sc in the next 24 sc. (24) 6. PM. [Dec (2sctog) in the 1st sc and 1 sc in the next 2 sc] 6 times (18) 7. PM. [Dec (2sctog) in the 1st sc and 1 sc in the next 1 sc] 6 times (12) Change to Variegated yarn for stockings. 8. PM. 1 sc in the next 12 sc. (12) 9. PM. 1 sc in the next 12 sc. (12) 10.PM. 1 sc in the next 12 sc. (12) 11.PM. 1 sc in the next 12 sc. (12) 12.PM. 1 sc in the next 12 sc. (12) 13.PM. 1 sc in the next 12 sc. (12) 14.PM. 1 sc in the next 12 sc. (12) 15.PM. 1 sc in the next 12 sc. (12) 16.Fasten off and leave a tail for weaving.
Dress: Make 1.
Making so many dresses has been a treat. Use any bright fabric. Cut a strip measuring 5X18 inches (13cmX45cm) > Starting with the side, sew or Fabric Tac 14 in (1cm) down the edge and do the other side, too. > With the hem, sew or Fabric Tac % in (1cm) across. > With the top, sew or Fabric Tac % in (1.5cm) across. > With yarn or ribbon measuring 10 in (25cm), use the weaving needle to guide yarn or ribbon through and create a gather of fabric. >Place under dolls arms and tie securely in the back. 》Try to adjust the top of the dress under the neck. >Tack the back. > Place the decorative ribbon on the neck and make a bow. \* Optional: Crochet a dress of your choice.
Witch's Hat
Cut out a circle for the brim. Free hand is fun. Start big and then can shape. With the top part, cut another circle and shape a cone and either use Fabric tac to close or sew together. Fabric tac to the brim. AssemblyandEmbellishment: Add the arms to the top of the body. Add the head to the body. Add the pointy tips to the shoes. Add the legs to the body. Embellish by making a dress as seen in the photos. Add hat to head. Add the ready-made broom or make one out of raffia and tac to hand (or add any small scrapbook holiday item like the skeleton key for a different effect) Most important: Be Creative!
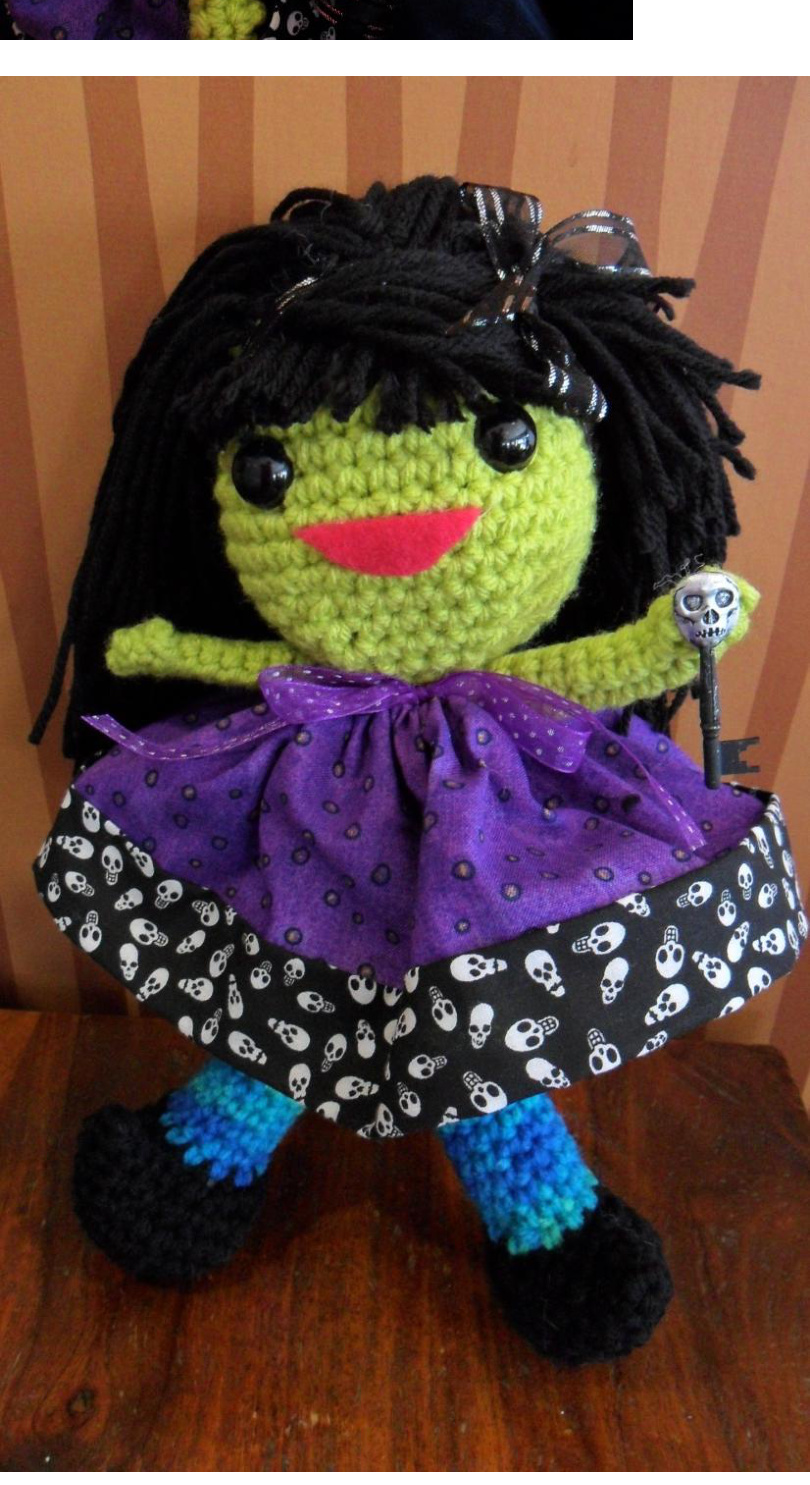
Thanks for making Witch Chick
For any questions regarding this pattern or to showcase your completed project, please notify me at pjcraftsinaustin@gmail.com All patterns are sold in good faith. Every effort has been made to ensure that all instructions are accurateandcomplete. Not responsible for human error, typographical mistakes, or variations in individual work Please do not copy, or redistribute this pattern or its photos in part or as a whole, or sell items made using it without permission. Protected by federal copyright laws. Warning: Be careful and mindful in making this pattern for infants, toddlers, and young children. Swallowing hazard for children 3 years and younger. Small pieces are in this project that a child can dislodge and there is potential for ingestion or aspirationinjuries. Copyright 2012 PJ Crafts in Austin http://www.pjcraftsinaustin.com; http://www.pjcraftsinaustin.blospot.co


