Brown dog and his bone
Materials:
Abbreviations:
Crochet hook: Size 10/1.20mm Stuffing: poly-fil and cotton Skin: Size 10 acrylic yarn (light brown) Tapestry needle Scissors Stitch marker Optional: Artist chalk for blushing Optional: Safety eyes or nose ch(s) - chain dec - decrease inc - increase sc - single crochet sc2tog - single crochet 2 stitches together sl - slip stitch st(s) - stitches I] - a group of stitches to be repeated This pattern is written in table format with notes because I find it easier to follow than other formats. Color changes by row are specified by columns, and color changes on the same row are noted.
Notes:
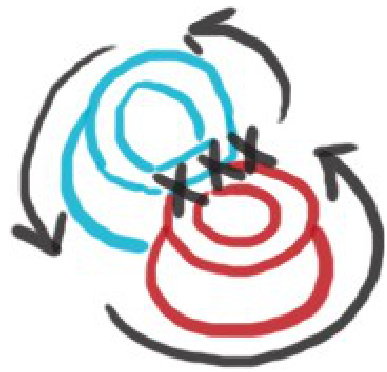
All rounds are worked in a continuous spiral. Do not join rounds unless directed. Use a stitch marker, safety pin, or an off-color thread to count your rounds. Use ordinary yarn instead of crochet thread to get a larger result. Gauge is not important but keep your stitches tight. You can substitute any color for the skin.
Skill level: Easy
Approx. Finished size: 2 inches
The Bone

Steps Step 1: Bone corner pattern Step 2: Follow the same pattern to form the other bone corner but join at row 5 with the first.
| Row | Stitches | Color | Notes |
| 1 | 6 | White | Magic loop |
| 2 | 12 | White | Inc 2sc each st |
| 3 | 12 | White | Sc all the way |
| 4 | 9 | White | [sc2tog, 2sc] |

Step 3: To join at row 5, join the bone halves in the middle with 3 scs. There should be 12sc total. Follow up with 2 more rows with scs all the way.
| Row | Stitches | Color | Notes |
| 5 | 12 | White | Join bone bumps together |
| 6 to 7 | 12 | White | Sc all t the way |
Fasten off and leave enough thread for sewing later.

Repeat steps 1 through 3 to create the other half of the bone. Just fasten off for the 2nd half of the bone. You only need a half to sew them together.
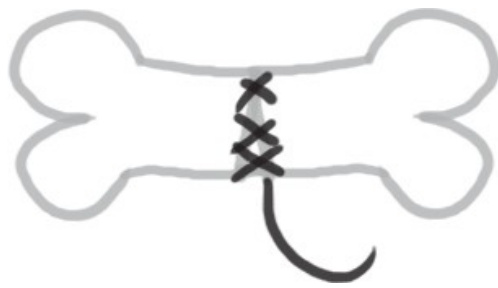
Do not cut off remaining thread after joining the two pieces together. This will be used to sew the bone on the puppy later. It isn't necessary to stuff the bone since the stitches are small
The Dog
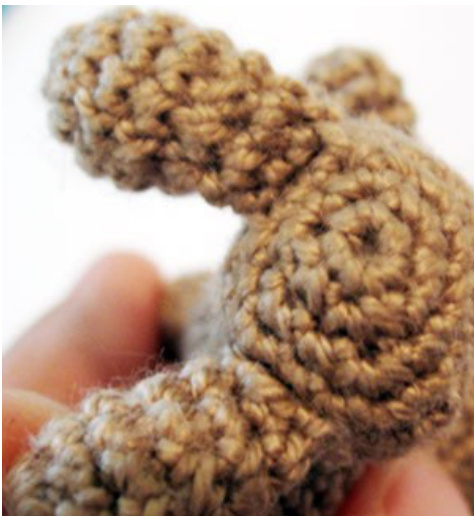
Limbs (Make 4)
| Row | ST | Color | Notes |
| 6 | Light brown | Magic loop | |
| 2 | 12 | Light brown | Inc 2sc each st |
| 3 to 4 | 12 | Light brown | Sc all the way (stuff here) |
| 5 | 8 | Light brown | [sc2tog, sc] |
| 6 | 9 | Light brown | SC |
Fasten off and leave enough thread for sewing. Muzzle (Make 2)
| Row | ST | Color | Notes |
| 1 | 6 | Light brown | Magic loop |
| 2 | 12 | Light brown | Inc 2sc each st |
| 3 | 12 | Light brown | Sc all the way |
Fasten off and leave enough thread for sewing. Head (Make 1)
| Row | ST | Color | Notes |
| 6 | Light brown | Magic loop | |
| 2 | 12 | Light brown | Inc 2sc each st |
| 3 | 18 | Light brown | [inc 2sc, sc] |
| 4 | 24 | Light brown | [inc 2sc, 2sc] |
| 5 | 30 | Light brown | [inc 2sc, 3sc] |
| 6 | 30 | Light brown | Sc all the way |
| 7 | 36 | Light brown | [inc 2sc, 4sc] |
| 8 to 12 | 36 | Light brown | Sc all the way |
| 13 | 30 | Light brown | [sc2tog, 4sc] |
| 14 | 30 | Light brown | Sc all the way (stuff here) |
| 15 | 24 | Light brown | [sc2tog, 3sc] |
| 16 | 18 | Light brown | [sc2tog, 2sc] |
Fasten off and leave enough thread for sewing. Floppy ears (Make 2) Same as limb pattern but do not stuff.
| Row | ST | Color | Notes |
| 1 | 6 | Light brown | Magic loop |
| 2 | 12 | Light brown | Inc 2sc each st |
| 3 to 4 | 12 | Light brown | Sc all the way |
| 5 | 8 | Light brown | [sc2tog, sc] |
| 6 | 9 | Light brown | SC |
| 6 | Light brown | Magic loop |
Fasten off and leave enough thread for sewing. Torso (Make 1)
| Row | ST | Color | Notes |
| 1 | 6 | Light brown | Magic loop |
| 2 | 12 | Light brown | Inc 2sc each st |
| 3 | 18 | Light brown | [inc 2sc, sc] |
| 4 | 24 | Light brown | [inc 2sc, 2sc] |
| 5 to 6 | 24 | Light brown | Sc all the way |
| 7 | 18 | Light brown | [sc2tog, 2sc] (stuff here) |
| 8 to 9 | 18 | Light brown | Sc all the way |
| 10 | 12 | Light brown | [sc2tog, sc] |
Fasten off
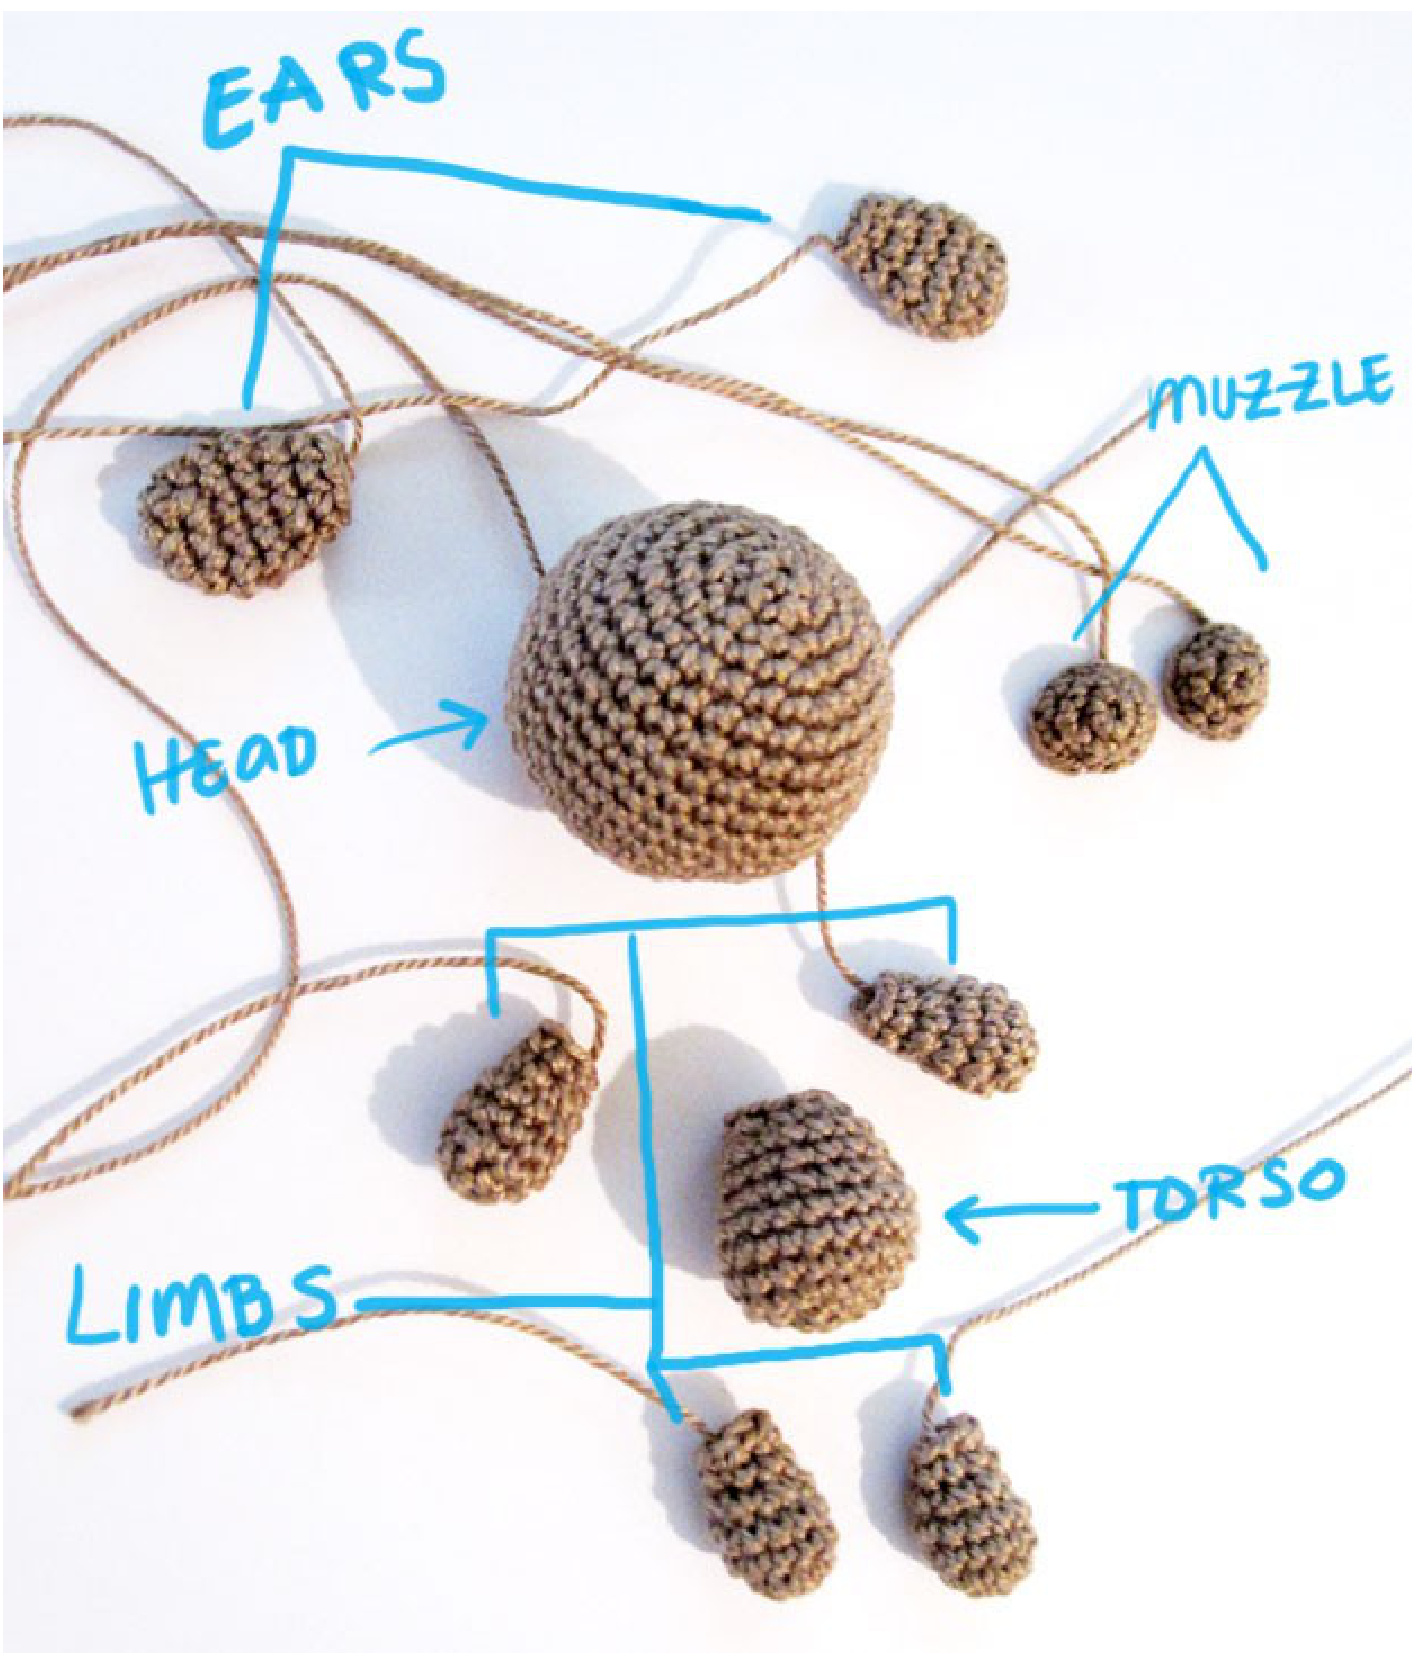
Assembly
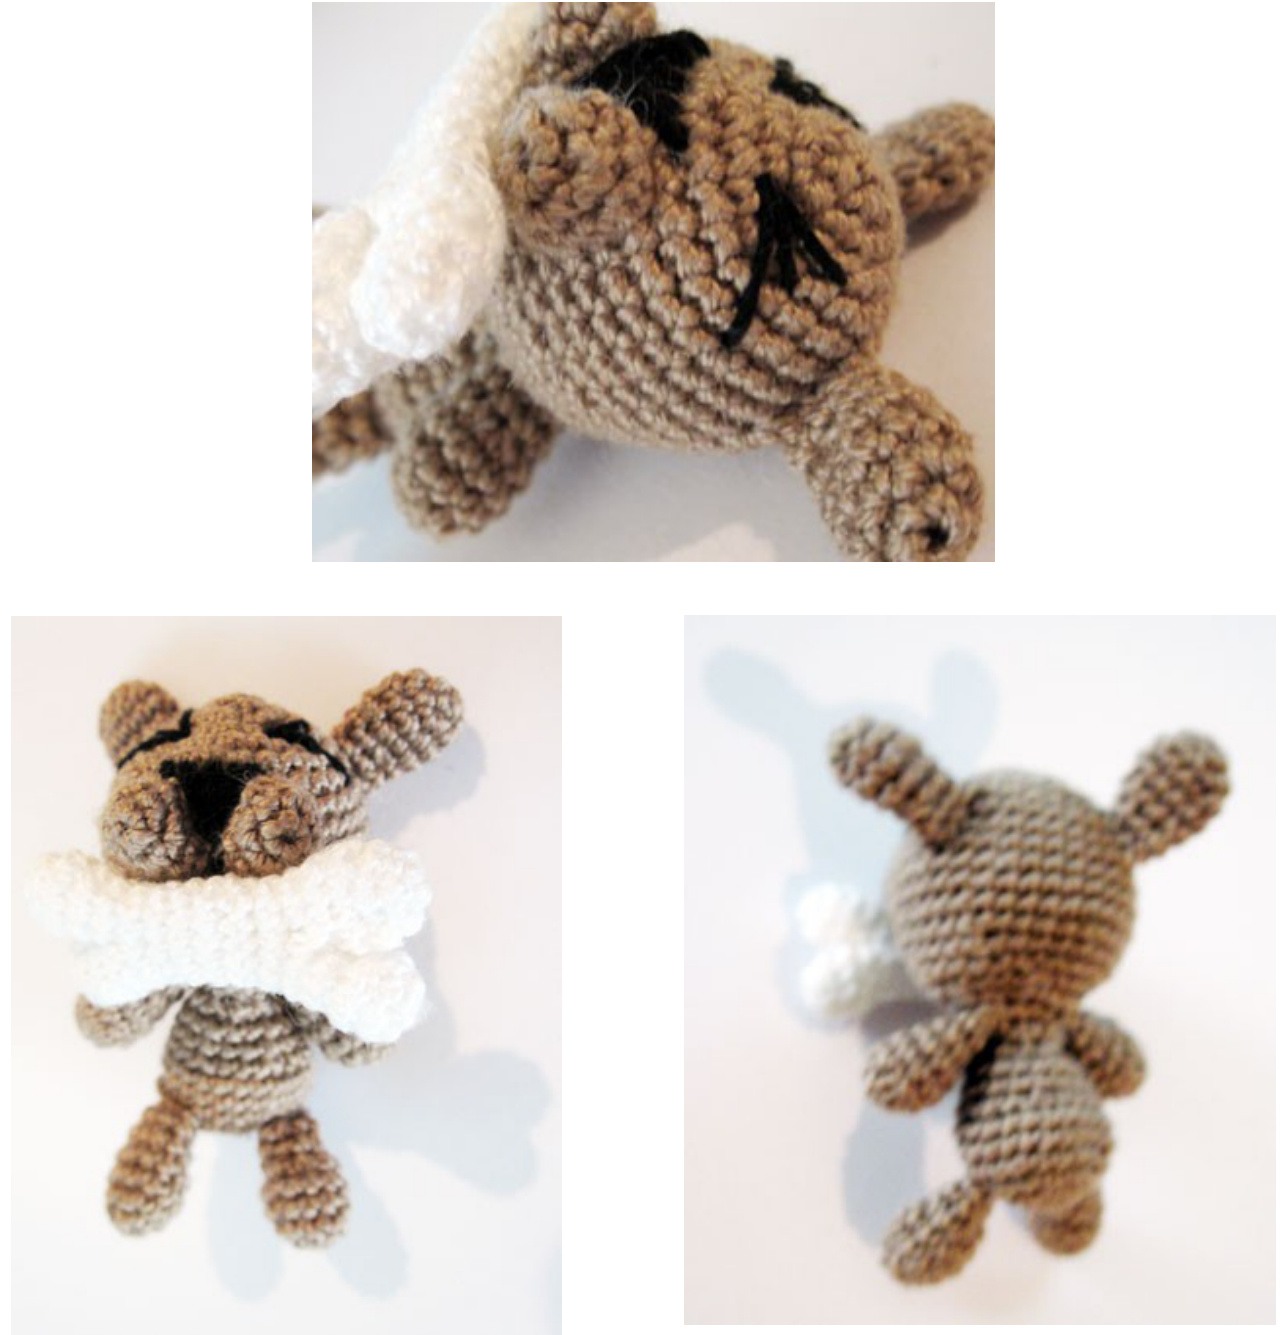
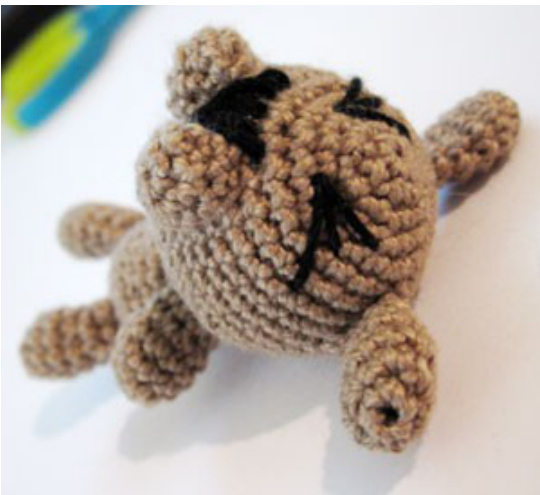
It isn't necessary to be symmetrical when assembling the parts. Some distortion allows this pattern to have the illusion of a squirming dog happy to have his bone. Use these images as a guideline when assembling the parts.
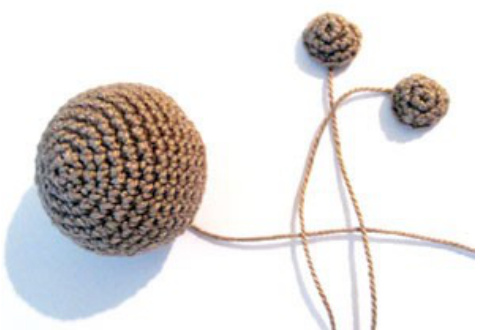
Start by attaching the muzzle to the head. Use a tapestry needle or your crochet hook to pull the thread through when attaching each muzzle.
I used black size 10 acrylic thread for the facial details but you can use embroidery thread as an alternative. Start by sewing in the nose. Just keep adding on layers of thread to create a puffier looking nose.
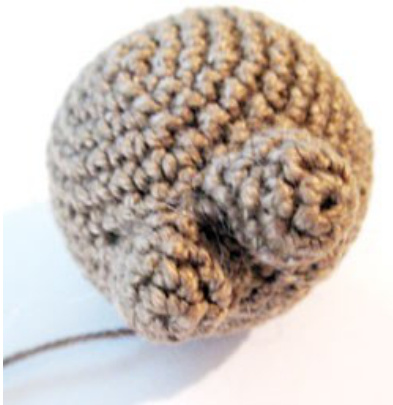
Just sew each muzzle directly on to the head.
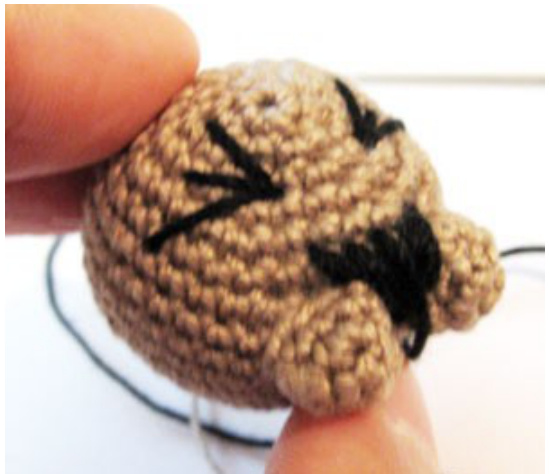
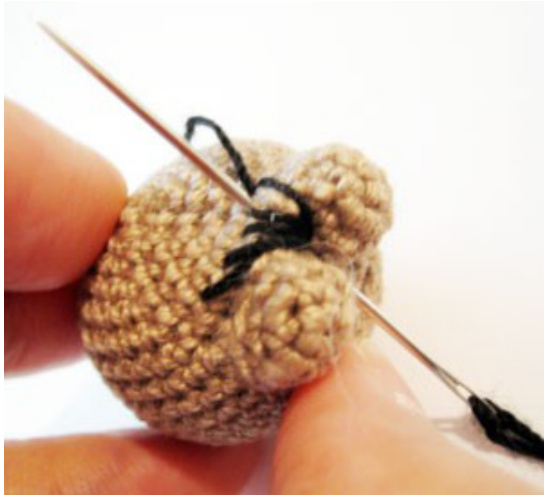
Next, sew on his eyes. The eyes made using a basic stitch similar to a cross stitch. Don't worry about making the eyes aligned based on the pattern. Some discrepancy looks good on this pattern.
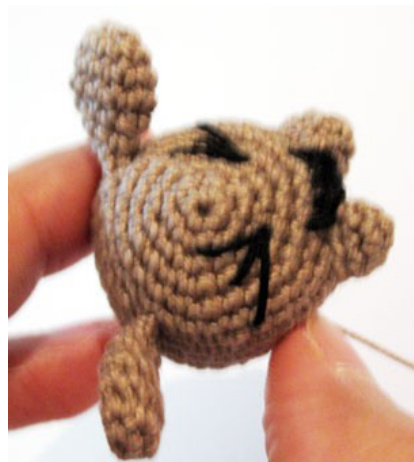
Use the embroidered eyes to eyeball where you want to place his ears. I chose to sew them on the side so that his ears swing out in excitement.

Sew the head on to the torso.
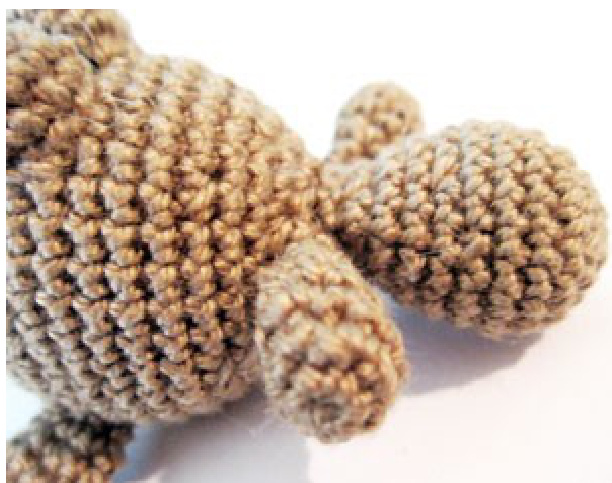
Sew the arms at the bottom of the head.
Sew the legs on row 4 of the torso. They should be about 3 to 4 stitches apart.
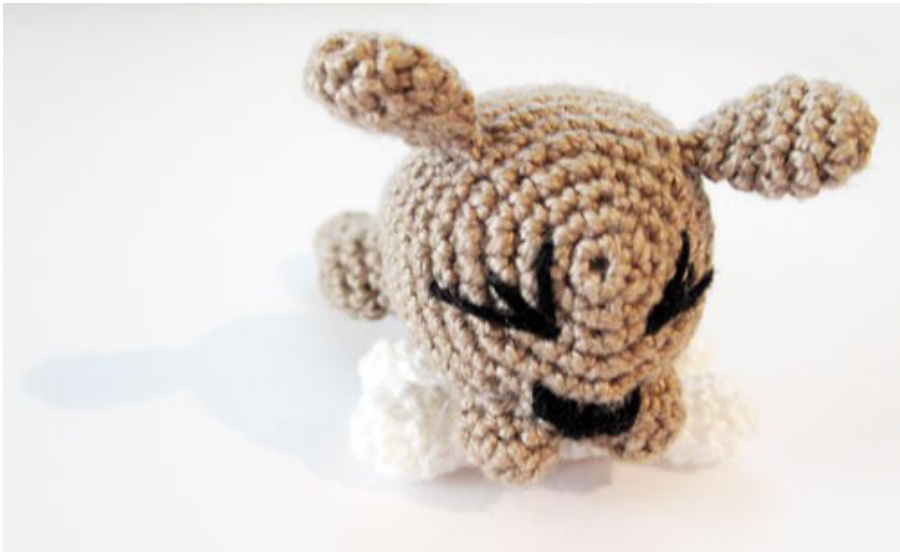
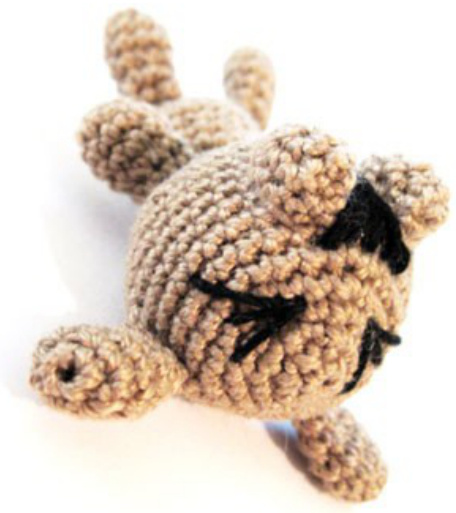
Dog is finished and looking forward to his bone!
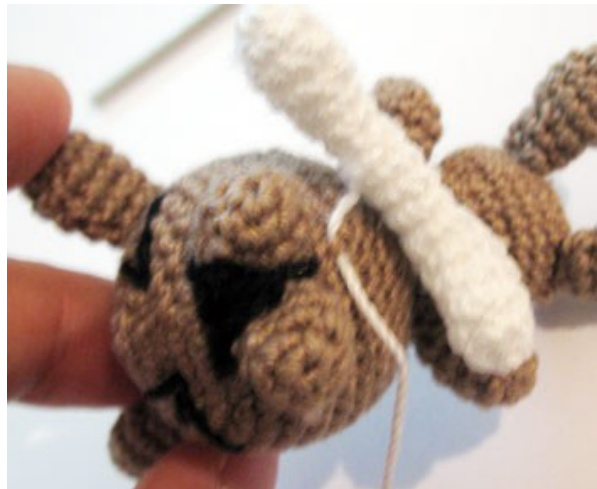
Using a tapestry needle or your crochet hook, attach the bone just below the muzzle.
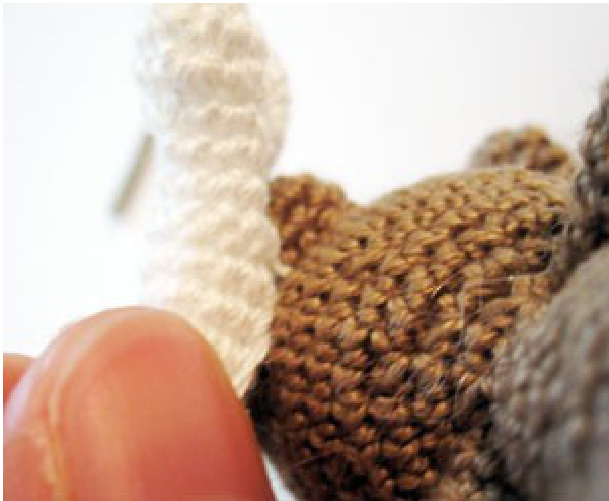
Keep sewing the bone under his muzzle until you get a secure fit.

Dog is very happy now that he is with his bone.
References
It isn't necessary but here's supplemental material that may aid you while working on this pattern: Different methods of fastening off amigurumi at http://www.planetjune.com/blog/amigurumihelp/fastening-off/ Joining amigurumi pieces together at http://www.planetjune.com/blog/joining-amigurumi/ Instead of sc2tog, you can use an invisible decrease if you see gaps in your work - http://www.planetjune.com/blog/amigurumi-help/invisible-decrease/ See http://www.hookandneedles.com/2008/03/22/amigurumi-tutorial-1/ for an extensive list of tutorials and videos for amigurumi.