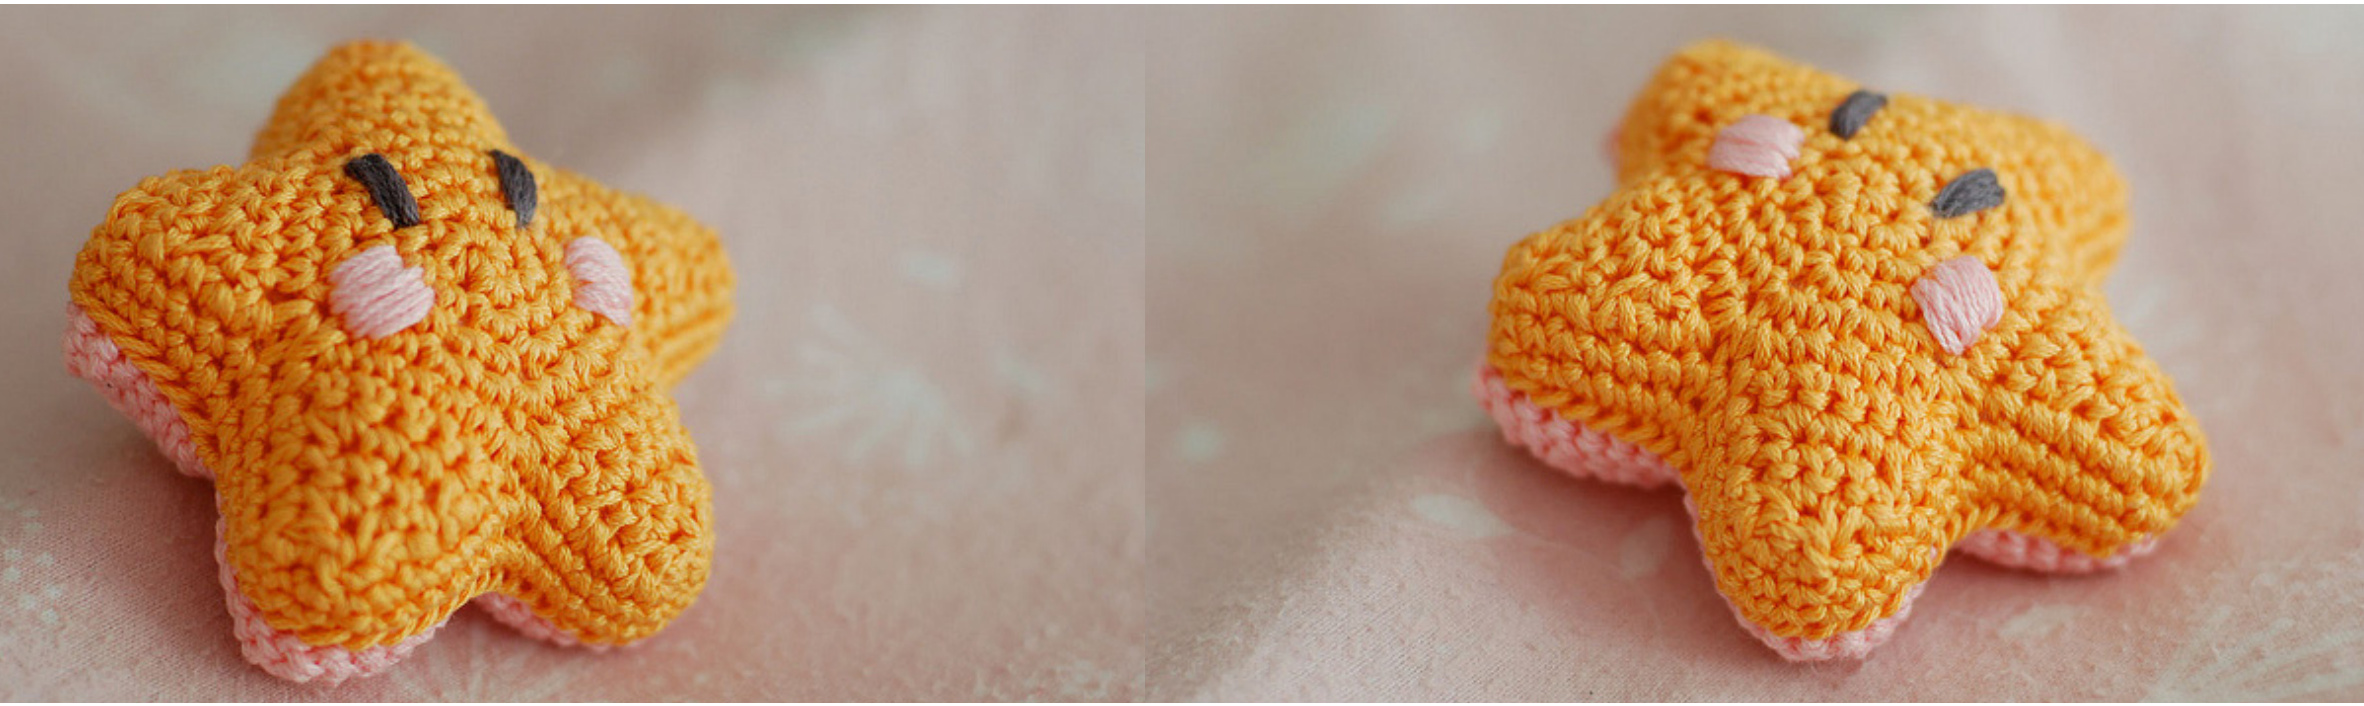
Bashful Starfish
There's a LOT of crochet star patterns out there, and several great free ones at that. Inspired by friends, Christmas and a crochet exhibition that I'm participating in, this is my take on the the crochet star adapted to be one of the cutest of the little sea creatures... Skill Level: Easy (Advanced Beginner) Finished Measurements: 10cm across, 5cm in height (3.9" x 1.9') Tools & Materials: 3 x Worsted weight cotton: Colour A: Orange (20yds/18.5m) Colour B: Pink (20yds/18.5m) Colour C: Charcoal (2yds/1.8m) 3.0mm Crochet Hook Tapestry Needle Polyester Fibrefill Optional Tools & Materials: 1 stitch marker Gauge: 5 round gauge circle = 4cm (1.6") Pattern is written in US terminology
Instructions:
1. With colour B, create a magic loop, then sc 5 into loop (5) 2. Working in the round: pm, 2sc in each st around to marker (10) 3. pull magic loop tight, pm, (sc, 2sc in next st) 5 times (15) 4. pm, (1sc in next 2sts, 2sc in next st) 5 times (20) 5. pm, (1sc in next 3sts, 2sc in next st) 5 times (25) 6. pm, (1sc in next 4sts, 2sc in next st) 5 times (30) 7. ch1, sc in next 6 st, ch1, turn (6) 8. sc in all 6 st, ch1, turn (6) 9. sc2tog, sc in next 2 st, sc2tog, ch1, turn (4) 10. sc in all 4 st, ch1, turn (4) 11. (sc2tog) twice, ch1, turn (2) 12. sc2tog, bind off (1) 13. Attach yarn to next free st on base circle to the left (or right for left handers) of previous point, ch1, sc in same st. sc in next 5 st, ch1, turn (6) and repeat steps 8 to 12. 14. Repeat step 13 three more times. At the end of the fifth point, do not bind off, rather ch1, and sc around entire star perimeter (76) 15. ch1, sc in each st evenly around, (approximately 13sc in each valley plus 2sc in each star point) slst in last st, bind off (76) 16. With colour A, repeat steps 1 through 15.
Bashful Starfish
17. Using colour A, thread tapestry needle. Starting at the top of a point, sew wrong sides of each star together by stitching through the front loops only of each side. Ensure all loose ends are tucked in side stars as you go. 18. When only one 'valley' remains, stuff star well, then continue sewing both sides together till end. Weave in ends, and finish manipulating star into the desired shape - pressing into the middle of the bottom to give it a slightly concave look. 19. Thread tapestry needle with colour C, and embroider in eyes vertically. 20. Thread tapestry needle with colour B, embroider in cheeks horizontally. 21. Be delighted!

Tip & Tricks: If you're feeling rich, stuffing the star front and back with the same yarn you used to crochet it will help disguise any errors/ differences in gauge/tension. For the example and instructions, the starfish face is placed on the top of the starfish. For a little added realism, position the face on the starfish's underside and try using a stronger pink/colour for the cheeks.

Please Be Aware: Stuffing this star with pvc pellets would mean it would double as a paperweight. BUT would also render the project no longer safe for children. Yarns used for the example are all Tahki Yarns Cotton Classic. Colours used were: A:3541B: 3446,& C: 3019 Please don't replicate/reprint this pattern, nor claim it as your own. Rather, link back to vintagenettles.net, or to the ravelry pattern download page. Thankyou! If you would like to make and sell finished products made from this pattern, please contact Nett @ nett@vintagenettles.net Copyright @ Nett Faggotter 2010


