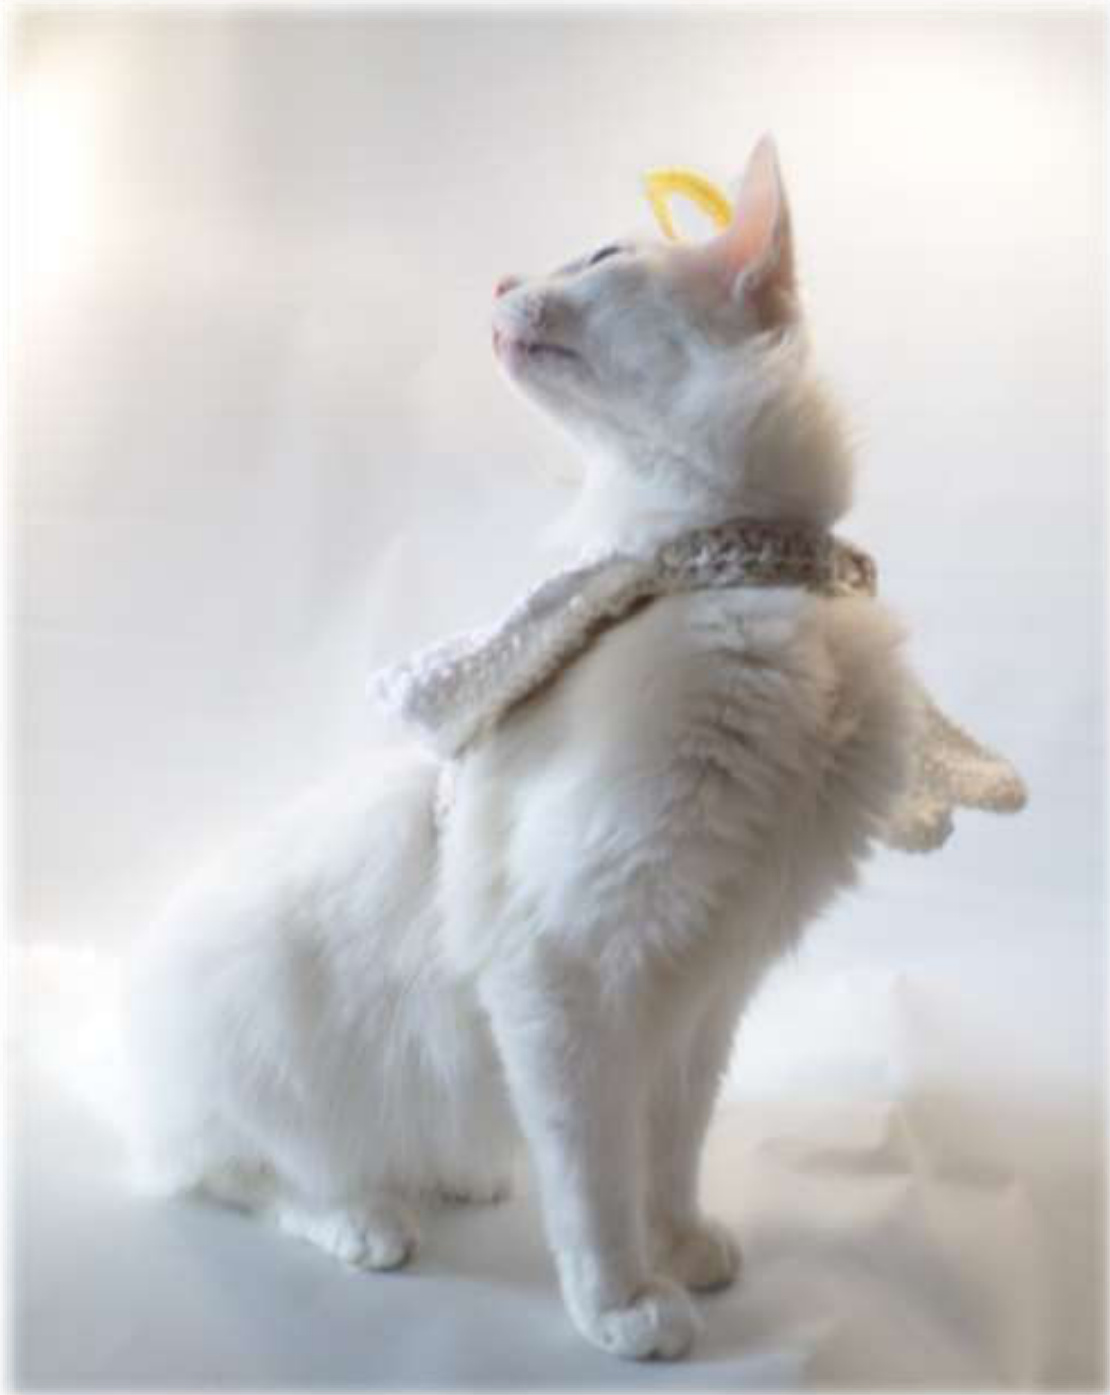
Kitty Angel Wings More Holiday Pet Torture brought to you by Jenna Wingate Make these wings and attach them to the simple vest included in this pattern or to any of the free pet sweaters.
American Crochet Terms
Materials #4 Medium Weight Yarn in: - White - Color to match your cat - Yellow or Gold for Halo G/7 4.50mm crochet hook 2 Velcro tabs or (2) 3/8"-1/2" buttons 2 12inch pipe cleaners (white) Measuring Tape Tapestry Needle Sharp Needle and thread
Size:
Wings are 6.5 x 5.5 inches each Vest is 6x6 inches Straps are adjustable to fit your cat Make wings larger or smaller by going up or down on hook size. Stitches Used Ch chain Dc double crochet Slst slip stitch Hdc half double crochet Sc single crochet Sc3tog single crochet 3 together FLO Front loop only FO Finish Off Gauge 11hdc = 3inches 8 rows = 3 inches Gauge is not super important if you are comfortable with adjusting your work to the measurements required.
Measurements you will need
COLLAR: circumference of cat's neck + 1 inch BELT: circumference of cat's middle\* + 1 inch \*There will be about 5.5 to 6 inches between the collar and the belt, so keep that in mind when you are measuring the 'middle' of the cat. May not be exactly the middle- may be ribcage or belly, depending on the size of the cat. The first picture on the next page will give you an idea of where it comes on a 6month old kitten (about 6lbs).
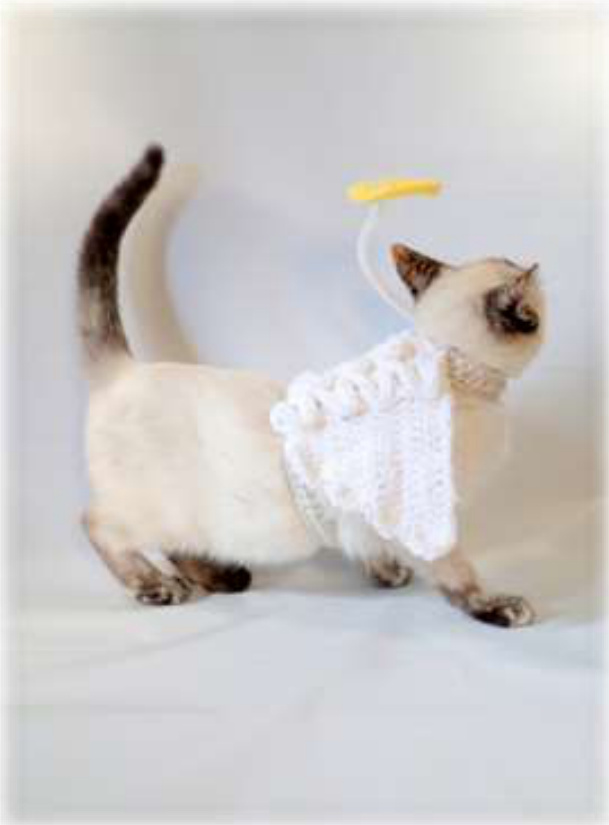
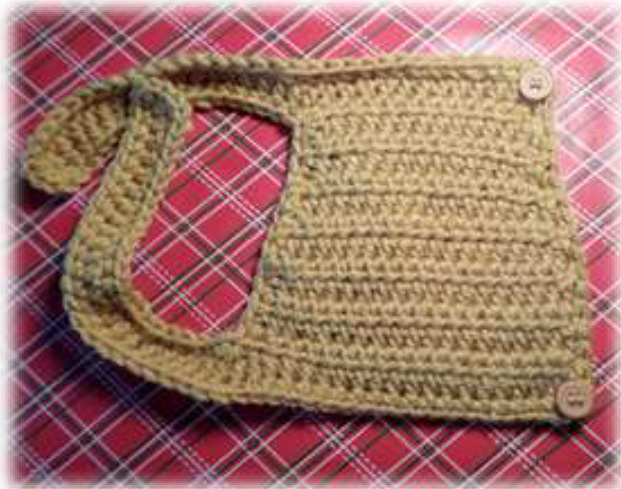
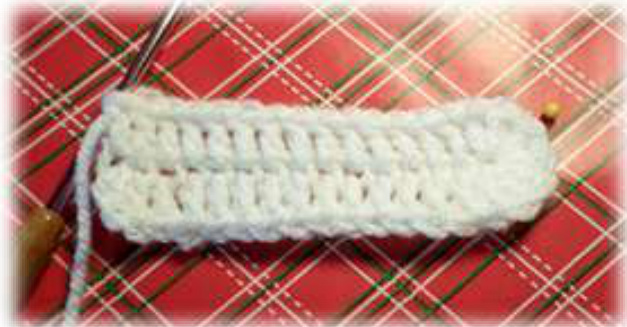
Bunny the Siamese Mix Kitten wasn't feelingvery angelic Vest Use any color you like. I chose a color that blended in with the cat, though that particular cat didn't really want to be an angel. 1. (Right side of fabric) Using your measuring tape as a guide, chain loosely to equal COLLAR measurement. (See page 1). Ch1 more for turning chain. Hdc in the 2nd chain from the hook and in each chain across. Ch1, turn. (stitch counts vary) 2. Hdc in the first 12 stitches. Ch1, turn. (12) 3. 2hdc in the first stitch, hdc in the next 10, 2hdc in the last stitch. Ch1, turn. (14) 4. Hdc in each stitch across. Ch1, turn. 5. 2hdc in the first stitch, hdc in the next 12, 2hdc in the last stitch. Ch1, turn. (16) 6. Hdc in each stitch across. Ch1, turn. 7. 2hdc in the first stitch, hdc in the next 14, 2hdc in the last. Ch1, turn. (18) 8. - 13. Hdc in each stitch across. Ch1, turn. 14. Hdc in each stitch across. Ch until width at bottom of vest + your chain = ‘Belt' measurement. Ch 1 more for turning chain. 15. (Right Side) Hdc in 2nd chain from hook and in each chain across. Hdc in each stitch from row 14. Ch1, do not turn. (stitch counts vary) 16. Sc completely around the vest and straps. Place 2sc twice at the ends of the straps to turn the curves. Sc3tog on the inner corners where he straps meet the vest. Continue to sc all the way around and join with a slst to the beginning sc. FO and sew in ends. Sew your Velcro dots or buttons\* to the ends of the straps and the edge of the vest as pictured. There is no need to make buttonholes if you choose buttons small enough to pass between 2 of the hdc's. \*Buttons are a choking hazard, so it is best not to leave the wings for your animal to play with or allow them to wear it unsupervised.
Wings Ch3 counts as a dc throughout.
Left Wing
1st feather (longest) Ch17. Dc in the 4th chain from the hook and in the next 12. 7dc in the last chain. Rotate to work along the bottom of the chain, dc in the next 14. Ch3, turn. (1st feather made)
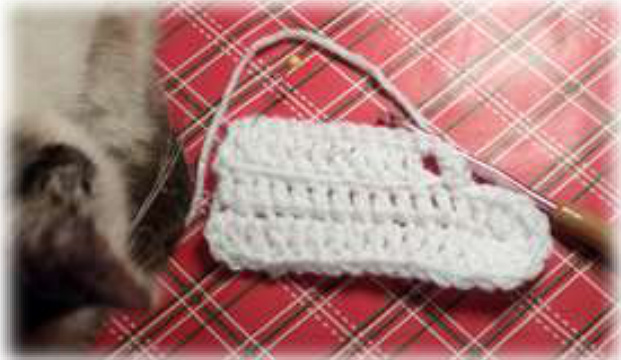
2nd feather (Wrong side of fabric) Dc FLO in 10. Ch3, slst in the next. Turn. (Right side of fabric) 7dc in the top of the last dc made. Dc in the next 10. Ch3, turn.

3rd feather (Wrong side) Dc FLO in 7. Ch3, slst in next. Turn. (Right side) 7dc in the top of the last dc made. Dc in the next 6. Ch3, turn.
4th feather (Wrong side) Dc FLO in 4. Ch3, slst in the next. Turn. (Right side) 7dc in the top of the last dc made. Dc in the next 4. Base for row 1 of tiny feathers Rotate to work along the flat ends of the feathers just made. Ch4 (counts as dc + ch1). Dc again in the same place. Working into where each row meets, (dc, ch1, dc) across for a total of 9 V-stitches. Ch1, do not turn.
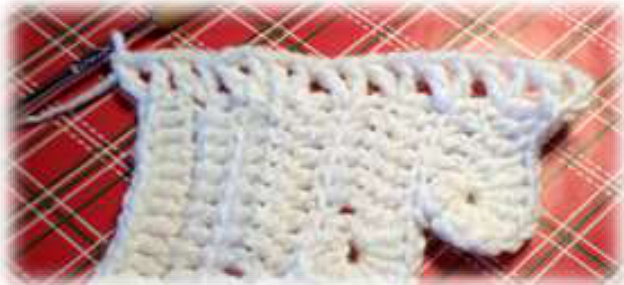
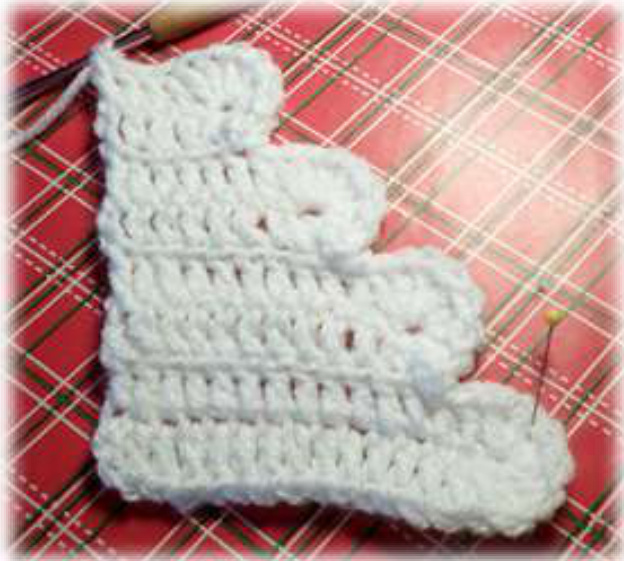
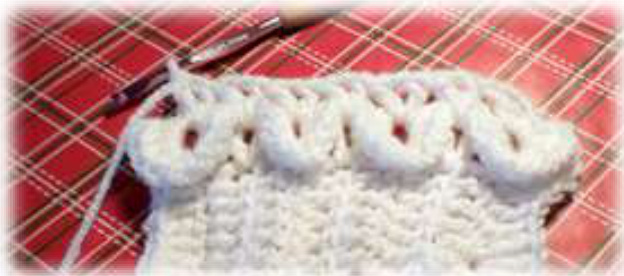
Crocodile stitch row
This is all worked from the Right Side of the fabric. You will rotate your work clockwise or counterclockwise to be angled the correct way. Slst backwards into the last ch1 space of the first V-stitch to begin. Place 5hdc around the first leg of the 2nd vstitch. Ch1. Rotate your work to be at the correct angle and place 5hdc around the 2"d leg of the same V-stitch.
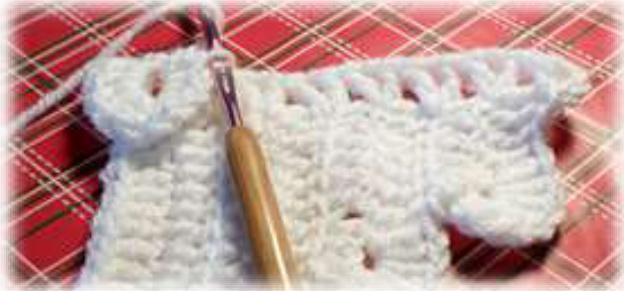
Repeat the crocodile stitch around the 4th, 6th, and 8th V-stitch, skipping the V-stitches in between. You will have a total of 4 Crocodile stitches. Slst to the Ch1 space of the last (9th) Vstitch. Ch1. Do not turn. Base for row 2 of tiny feathers Slst over to the ch1 space of the previous Vstitch. Ch4 + dc in that first V-st. (Dc, ch1, dc) in the next V-st while at the same time crocheting over where the crocodile stitches meet to secure it to the fabric. (Dc, ch1, dc) in the next V-st.
Repeat the above 2 steps twice more for a total of 7 V-stitches. The last Ch1 is unworked. Ch1, do not turn.
Crocodile stitch row
Slst backwards into the last ch1 space of the first V-stitch to begin. Place 5hdc around the first leg of the 2nd vstitch. Ch1. Rotate your work to be at the correct angle and place 5hdc around the 2nd leg of the same V-stitch. Repeat the above around the 4"h, and 6th, and 8th V-stitch, skipping the V-stitches in between. Slst to the Ch1 space of the last (9th) Vstitch. Ch1. Do not turn.
Trim
Slst over to the ch1 space. Ch1. 2hdc in the ch1 space of the V-st. 2hdc in the ch1 space of the next V-st, while at the same time crocheting over where the crocodile stitches meet to secure it to the fabric. 2hdc in the next Vst. Repeat the 2 above steps once more. 5hdc around the outer leg of the last V-st. Slst to the edge of the previous row of crocodile stitches. FO, leaving a very long tail for sewing.
Right Wing
1st Feather (shortest) Ch8. Dc in the 4th chain from hook and in the next 3. 7dc in the last chain. Rotate to work along the bottom of the chain, dc in the next 5. Ch3, turn. (1st feather made)
2nd feather
(Wrong side of fabric) Dc FLO in 7. Ch3, slst in the same stitch. Turn. (Right side of fabric) 7dc in the top of the last dc made. Dc in the next 7. Ch3, turn. 3rd feather (Wrong side) Dc FLO in 10. Ch3, slst in the same stitch. Turn. (Right side) 7dc in the top of the last dc made. Dc in the next 10. Ch3, turn.
4th feather
(Wrong side) Dc FLO in 13. Ch3, slst in the same stitch. Turn. (Right side) 7dc in the top of the last dc made. Dc in the next 13.
Tiny Feathers
Follow the same instructions as for the Left Wing to make the two rows of crocodile stitches.
Trim
Slst down the leg of the V-stitch and over to the edge of the previous row of crocodile stitches (same spot you ended the Left Wing). 5hdc around the leg of the last V-st you just slst'd along. 2hdc in the ch1 space of the V-st. 2hdc in the ch1 space of the next V-st, while at the same time crocheting over where the crocodile stitches meet to secure it to the fabric. 2hdc in the next Vst. Repeat the 2 above steps once more. FO, leaving a very long tail for sewing.
Halo
Take one pipe cleaner and form a loop on one end, twisting securely. Leave the long stem to attach to the vest later. Join desired color of yarn next to the stem and sc around the halo. Try to crochet with your stitches tightly together or push them together as you go so the pipe cleaner is completely hidden. When back around to the stem, FO Sew the tail to the beginning stitch to close.
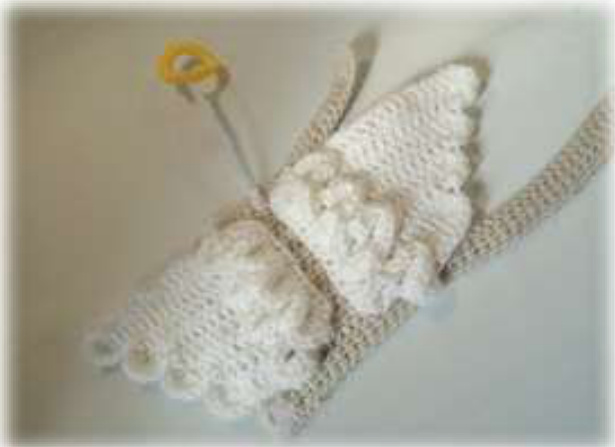
Assembling the Vest Position the wings about 1 inch apart, the long feathers at the top (collar) end. Use the remaining tails to sew the long straight edge to the vest. Use the remainder of the tail to tack the wing to the vest underneath the tiny feathers, too.
Repeat for second wing.
(Optional) Use the second pipe cleaner to stiffed the top edge of the long feathers. Weave the pipe cleaner through the stitches at the top of the vest even with the top of the wings so that about 1 inch of pipe cleaner is inside the vest and the rest sticks out to either side. Fold the ends over a little so they won't be pokey. Use lengths of matching yarn to sew the top edge of the wing to the pipe cleaner. Fold the end of the halo stem over a little, again so it won't be pokey. With matching yarn, sew it to the top of the vest between the wings, whip-stitching many times until it is held securely. Secure all ends. Dress cat, bend halo to hover over their head and laugh.
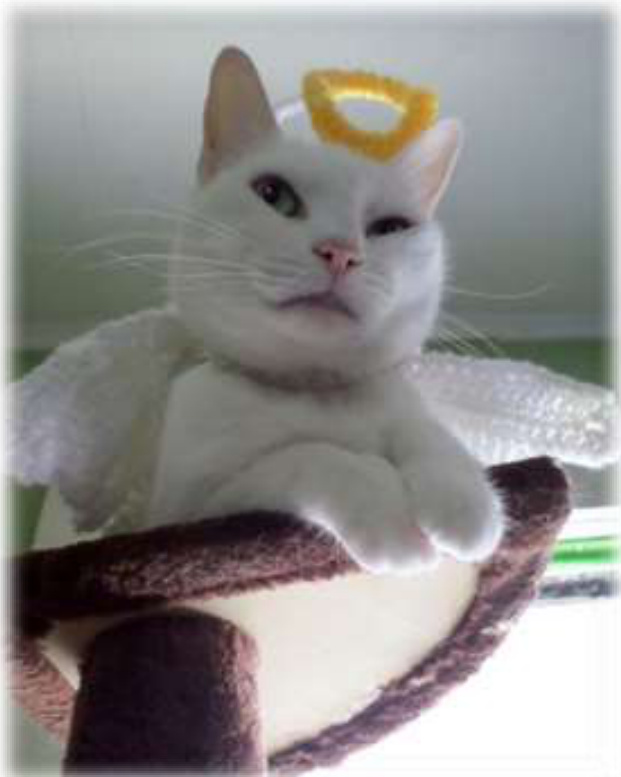
Special thanks to my kitty models Mouse, Bunny, and Titus.
Merry Christmas from Jenna and the Critters!
I hope you all had a great year and will have another! Once again I have made this silly pet accessory. Maybe your cat or dog will love it more than mine. At the very least it's fun and easy to make and hilarious to see who will wear it the longest! Be sure to drop by and sign up for the NEWSLETTER! This is the only place that I give out coupons- and they are always great coupons! Find me here: JennaWingateDesigns.com JennaWingateDesignsonFaceBook Ravelry Pattern Store Etsy Patterns and More Instagram EMAIL
Pattern Usage:
This pattern is intended for pampering and fun. Please do not use this pattern for profit. Please do not reproduce it or use any images. If you are involved in a charity, please write to me to learn about special concessions. Include details of your charity and event. Thanks for your honesty! This pattern has only been tested by me. If you find any errors, please let me know. If you need help, please EMAIL ONLY.


