O Tannenbaum - A Christmas tree hat pattern for crochet
Below, you will find a recipe for making your own Christmas tree hat. If you require step by step directions in a pattern, you might want to give this one a pass, but if you are already able to make changes to a pattern on the fly, you should be just fine.
Materials needed:
Fingering weight yarn - approx. 300 yards 4.0 mm (G) hook Beads and/or buttons for ornaments and the star Yarn scraps or polyfiber fill to stuff the top of the cone (optional) To start off, I measured the circumference of my head (23") and divided by 3.14 to find the diameter (7.3"). Next, I decided how tall I wanted the hat to be (8.5"). Using these measurements, I created a paper template of my hat, first by drawing a triangle, and then by sketching more of a Hershey kiss shape on top of it. Like so:
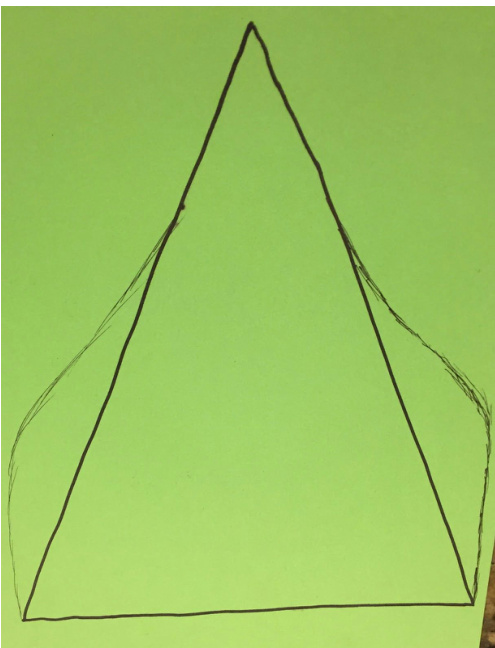
You could skip the triangle part, but it helped me keep things symmetrical. I recommend checking your hat against the template every 1-2 rows to make sure that you are keeping a nice cone shape. I have provided the increases I made row by row, but if you are making a different size, the template will help you stay on track. Popcorn stitch: 5 dc in same stitch, draw up loop and remove hook, insert hook into top of 1st dc, pull drawn up loop through and pull tight Rnd 1: sc 5 into a magic loop and join with sl st in first sc Rnd 2: ch 2 (does not count as first hdc), hdc 1, 2 hdc around, join with sl st in first hdc Rnd 3: ch 3 (counts as first dc), 4 dc in same stitch, draw up loop and remove hook, insert hook into top of 1st dc, pull drawn up loop through and pull tight (first popcorn stitch made), ch 1, skip stitch, popcorn stitch around, join with sl st in top of first popcorn st Rnd 4: ch 2, hdc around, join with sl st Rnd 5: ch 2, hdc 2, 2 hdc around, join with sl st Rnd 6: ch 2, hdc 2, 2 hdc around, join with sl st Rnd 7: repeat rnd 3 Rnd 8: ch 2, hdc around, join with sl st Rnd 9: ch 2, hdc 4, 2 hdc around, join with sl st Rnd 10: ch 2, hdc 4, 2 hdc around, join with sl st Rnd 11-22: repeat rnds 7-10 Rnd 23: repeat rnd 3 Rnd 24-26: hdc around Rnd 27: repeat rnd 3 Rnd 28-30: ch 2, hdc around, join with sl st Rnd 31: repeat rnd 3 Rnd 32: ch 2, hdc around, join with sl st Rnd 33: ch2, hdc 5, 2 hdc, join with sl st Rnd 34: ch2, hdc 5, 2 hdc, join with sl st Rnd 35: repeat rnd 3 Rnd 36-38: ch 2, hdc around, join with sl st Rnd 39: repeat rnd 3 Rnd 40: ch2, hdc around, join with sl st Rnd 41-42: ch 3, fpdc, bpdc around to create ribbing
Ornaments and the star:
I used glass beads for my ornaments, but buttons, sequins, or even pom poms could make cute ornaments. If using beads, you can bead as you go, crocheting a bead into each popcorn stitch, or every other popcorn stitch. There are tons of tutorials online for this method, or you could do what I did, which would work for buttons as well. Using a beading needle and the yarn I made the hat with, I sewed the beads on after the hat was already completed, floating the strands on the inside of the hat. For the star, I used snowflake buttons, but a crocheted star is another possibility.
Stuffing the cone:
Depending on how stiff your yarn is, you might be able to skip this step. My hat was pretty floppy without it. Find which round the empty space ends and your head begins and crochet a flat circle to fit that round. Stuff with yarn scraps or polyfiber fill and seal up the cone with the circle. Ta da! You now have a Christmas tree hat and are ready to spread Christmas cheer.


