Garter Ruffles Scarf Alison Moreton
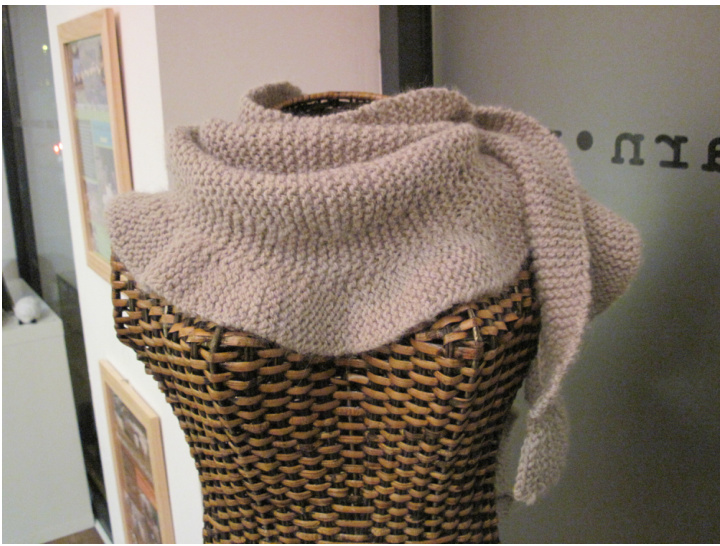
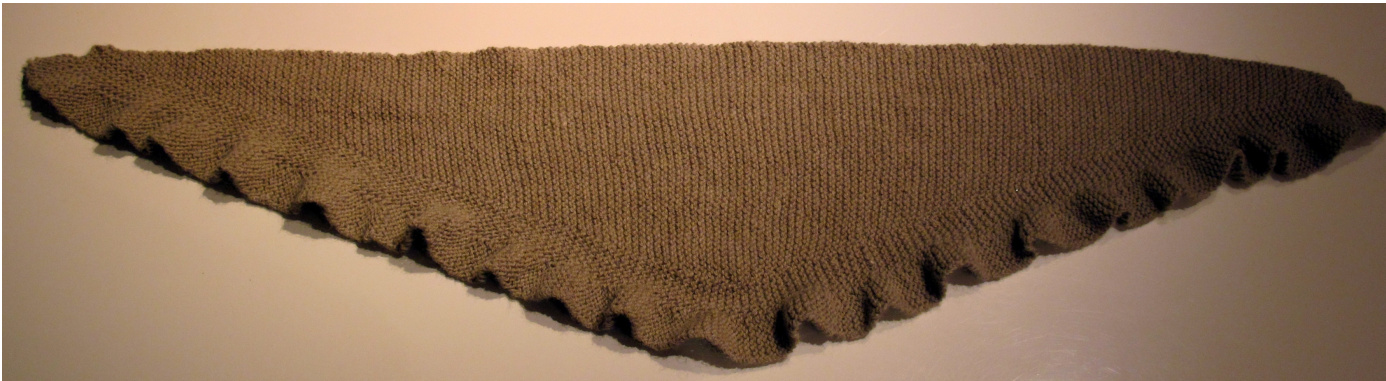
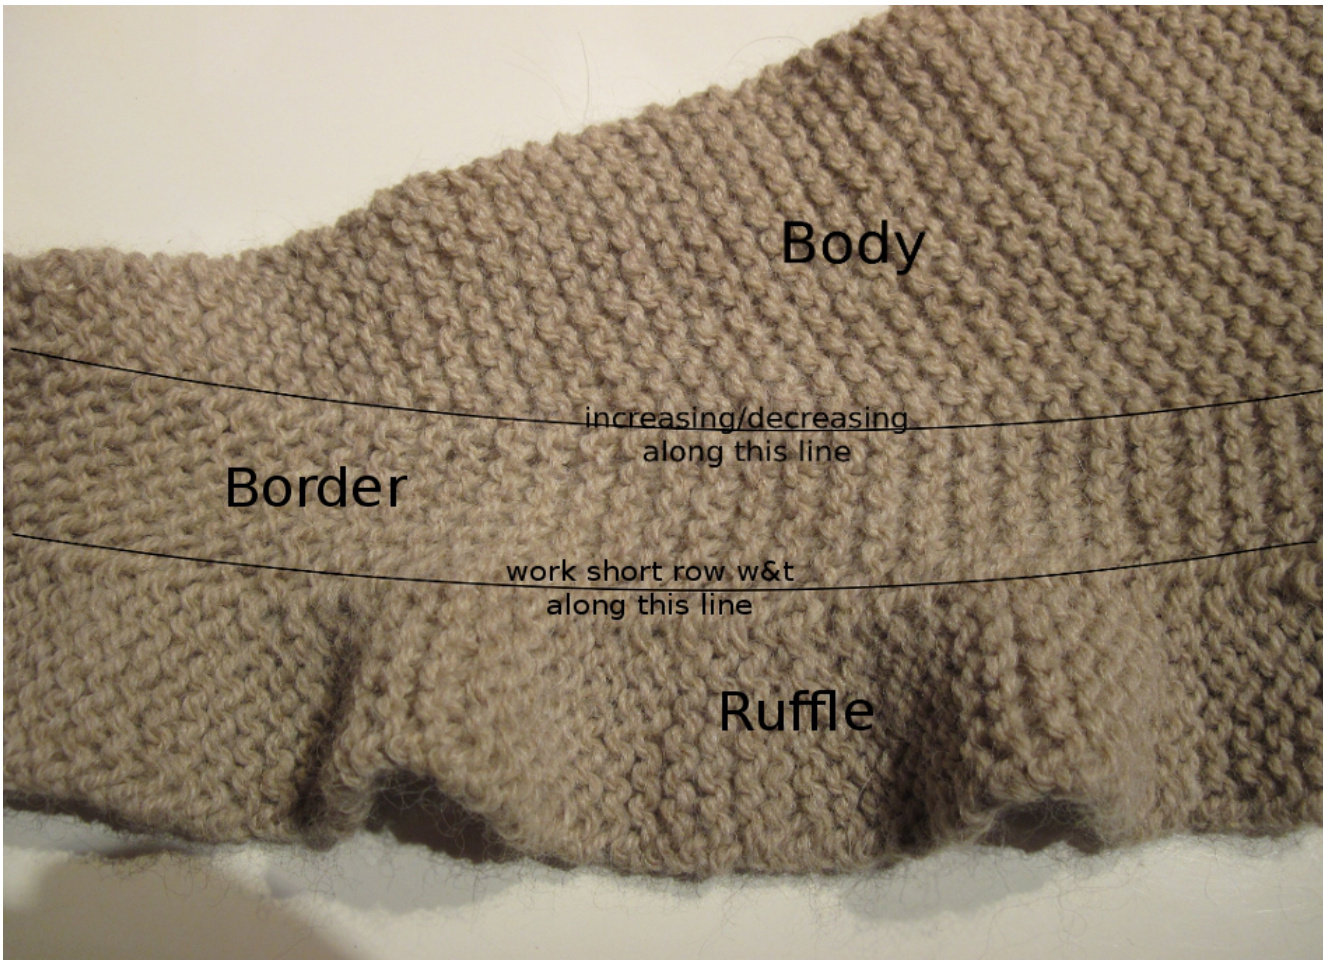
A cute ruffled scarf with no really long rows but lots of short ones! The scarf is worked sideways from point to point. The body of the scarf, border band and ruffle are worked at the same time, the ruffles being formed with short rows. Increases are worked at the edge of the body of the scarf next to the border until nearly half the yarn is used up, and then decreases are worked in the same place until one stitch of the body remains. An optional crochet chain is worked on the wrong side to prevent stretching and define the ruffles. A note on short rows: this scarf is worked in garter stitch. The wrap and turn method is used to prevent holes at the turn point, but there is no need to pick the wraps up because they are hidden in the garter stitch. The simple and repetitive short rows used are perfect for the knitter who has never done short rows before or who wants to increase their confidence using short rows. A full explanation of wrap and turn is provided below. Finished dimensions: 120cm (47 inches) wingspan and 30cm (12 inches) deep. Yarn: I used 3 balls of Sirdar Balmoral DK (117m per ball, 351m in total). Any DK wool or wool blend yarn would produce a similar result. Other yarn weights from 4ply/fingering to aran and possibly even chunky would work well too. Needles: I used 5mm needles, two sizes larger than the recommended size on the ball band (4mm) to produce a fabric with plenty of drape but without visible holes. Other equipment: a ring marker, removable markers (optional), crochet hook 2 sizes smaller than knitting needles used, scales or another method of finding out when nearly half the yarn is used up. Gauge: approximately 18 stitches and 15 garter ridges to 10cm. Gauge is not crucial because you will be able to control the finished size of your scarf by choosing when to stop increasing and start decreasing.
Abbreviations:
Garter ridge: two rows of knitting in garter stitch (it is much easier to count ridges than rows in garter stitch). Kfb: Knit into the front of the stitch as usual, but do not slip the stitch off the left needle. Insert the right needle into the back leg of the stitch and knit it, and then slip the stitch off the left needle. One stitch increased K2tog: Knit two stitches together as if they were one stitch. One stitch decreased. w&t: Wrap and turn, as follows: Bring the yarn forward between the needles (as if you were going to purl the next stitch). Slip the next stitch purlwise, and take the yarn back between the needles. Turn your work. The stitch that you slipped is now on the left needle and the yarn is in the front. Slip it back to the right needle and take the yarn back between the needles to begin knitting this row. You have wrapped the yarn around the both legs of one stitch- this prevents a hole forming when the work is turned part way through the row.
Pattern:
Cast on 14 stitches. 1. K2, place marker, K12 2. K7, w&t 3. K7 4. K across, slipping marker 5. K to one stitch before marker, Kfb, slip marker, K12 6. K7, w&t 7. K7 8. K across, slipping marker 9. Repeat row 8 10. K7, w&t 11. K7 12. K across, slipping marker Repeat rows 5 to 12, increasing on every other garter ridge of the main body of the scarf, until you have used nearly half your yarn (allow about 5g of yarn for the crochet chain, if you wish to do it); or until the scarf is half the width you desire- around 50-60 stitches on the needle. 13. K to two stitches before marker, k2tog, slip marker, K12 14. K7, w&t 15.K7 16. K across, slipping marker 17. Repeat row 16 18.K7, w&t 19. K7 20. K across, slipping marker Repeat rows 13 to 20 until 14 stitches remain. Cast off.
Finishing:
At this point, you may find that your ruffle is not very ruffle-y. This is where the crochet chain comes in handy. For a great explanation with photos, go to http://www.yarnharlot.ca/blog/archives/2008/02/24/hooking_because_i have_to.html If your scarf is too stiff and won't wrap around your neck, then you will want to block it out a bit before doing the crochet chain- but don't block too hard, because that will stretch out the ruffle too much. After doing the chain it will be difficult to stretch the body of the scarf evenly. If you are happy with the drape and your garter stitch is fairly neat and even, then you can skipblocking.
To do the chain:
On the wrong side, count 7\* stitches in from the edge and put your crochet hook through a purl bump. Pull a loop through. \*Put the hook through the purl bump (7 stitches in) on the next ridge and pull a new loop through the stitch and then through the loop on the hook.\* Repeat this step across all ridges. You will need to check your tension as you go along, to make sure you don't get wrinkles in the body of the shawl but that you are tightening up the border enough to make the ruffles stand up. If it doesn't
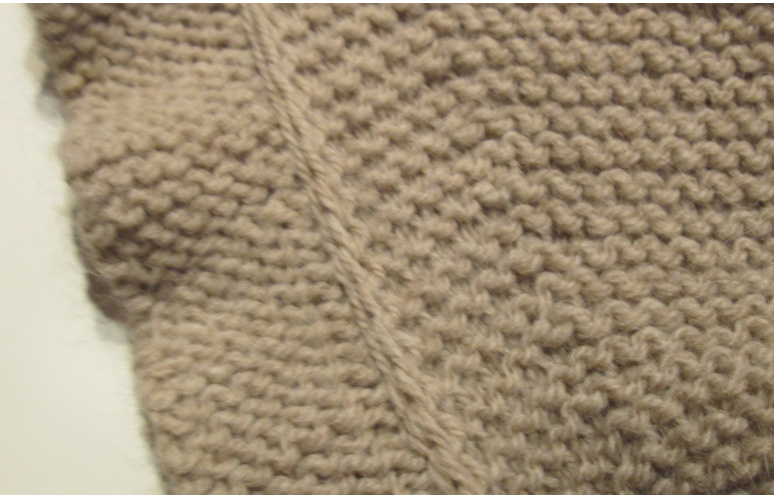
The crochet chain, visible on the wrong side look right, you can simply take your hook out of the loop and pull the chain out and try againit won't hurt your scarf at all. ber of stitches doesn't matter that much- just do it the same distance in on each ridge.
Tips and Suggestions:
· If you are not able to remember or to see in your work when you last did an increase or decrease, try putting removable markers in your increased/decreased stitches. · There is more than one way to do the wrap and turn- the way I have given puts a little more yarn around the stitch because the wrap crosses over itself. If you w&t without bringing the yarn forward first (like this: with yarn in back, slip next st on left needle to right needle, bring the yarn forward between the needles, turn, slip st from left needle to right needle and begin next row) you put much less yarn in the wrap. If one method gives you holes and you hate it, try the other. · But if you truly detest wrap and turn, you could omit the wraps and just turn, and leave the holes as deliberate eyelets- and maybe even run a ribbon through them. · For a longer, shallower scarf, space out the increase and decrease rows with more plain rowstry increasing every third or fourth ridge. If you are short on yarn, then you may want to do this so that the scarf is long enough. · If you want to use a thicker yarn than DK or light worsted, cast on fewer stitches for the border band and ruffle. For an aran or heavy worsted weight yarn, I suggest that you cast on 12 stitches and work the first three rows as follows: 1. K2, place marker, K10 2. K6, w&t 3. K6 For chunky/bulky I suggest casting on 10 stitches and working: 1. K2, place marker, K8 2. K5, w&t 3. K5 Continue as the DK version, but knitting the short rows over a reduced number of stitches as set up. You may wish to increase on every third (or for a very thick yarn, fourth) ridge to preserve the proportions of the original and use less yarn.
Pattern support is available- message orientalmoons on Ravelry or email alison_moreton@hotmail.com 2010 Alison Moreton For-profit use of this pattern is allowed, provided credit is given to the designer.


