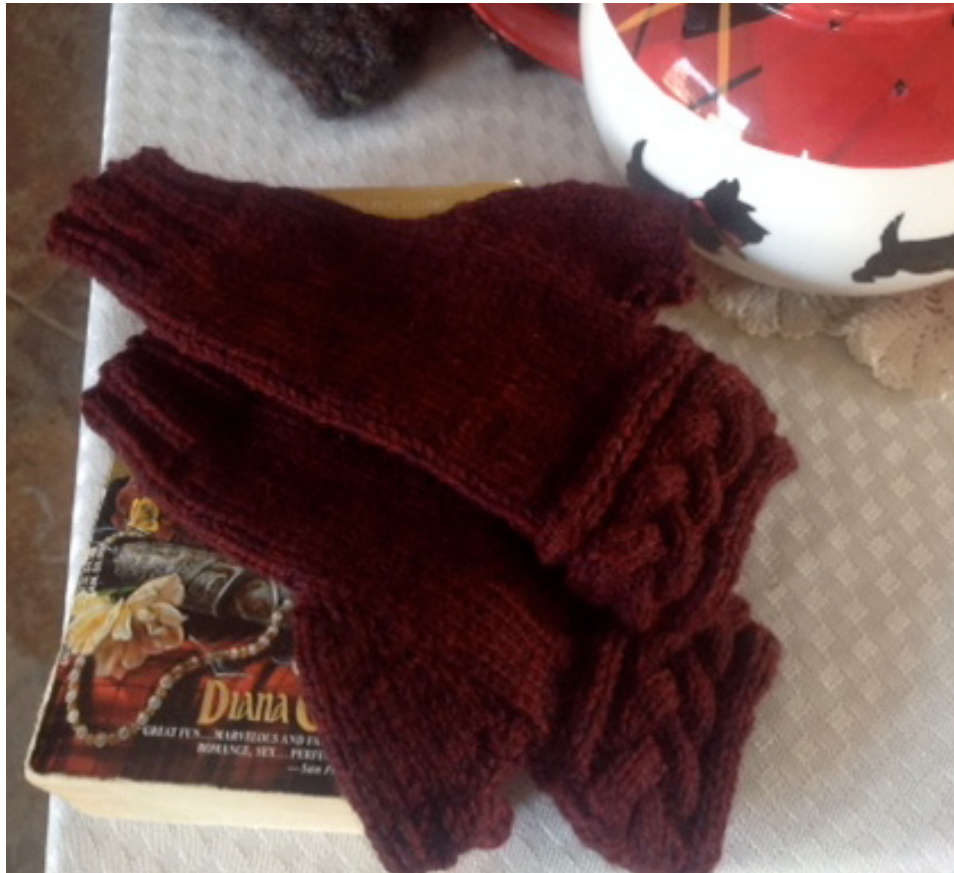
Mistress Beauchamp's Mitts by Jill Bickers
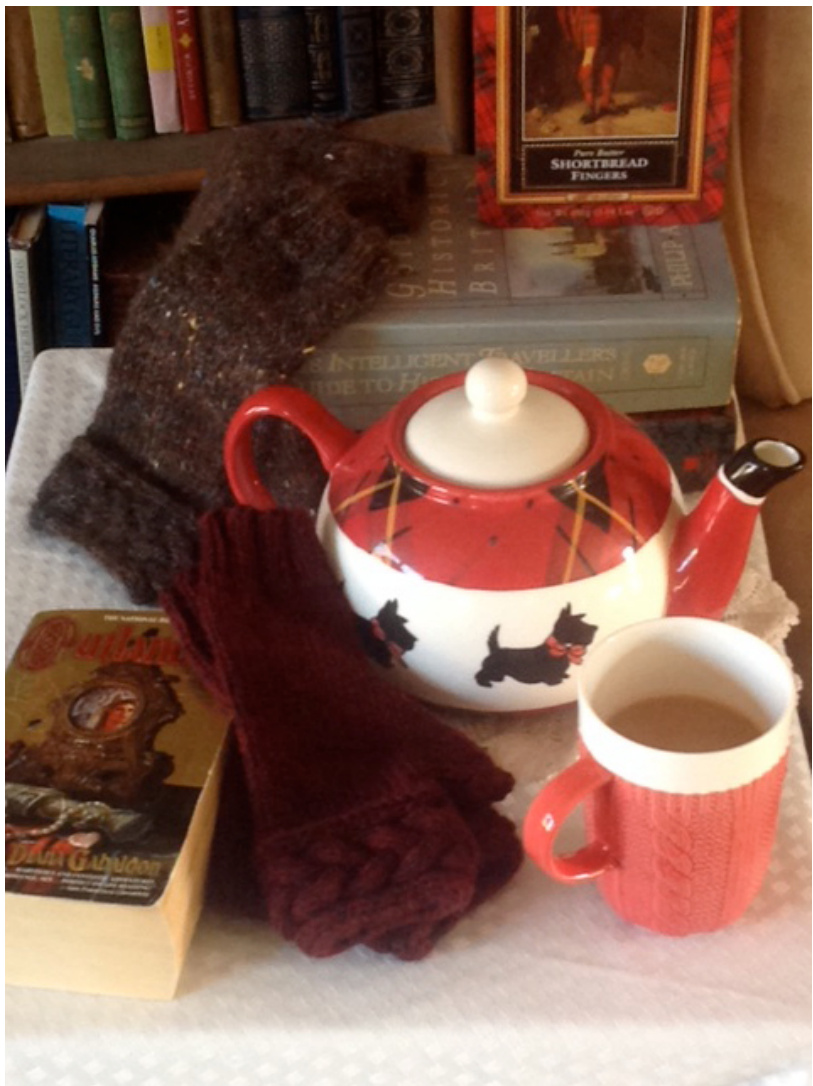
In the book Outlander, a woman from the 1940s steps through the standing stones at Craigh na Dun into a world two hundred years in the past. In 2014, STARZ brought this epic to television and captured the imagination of many fans old and new. This pattern was inspired by a pair of gauntlets the heroine wears during the first half of the season. Just as Claire Beauchamp Randall must adapt to her new surroundings, these stylish mitts are an adaptation. They are my attempt to remain true to the spirit of the original while making them a little sleeker and more practical. Copyright 2015 by Jill Bickers These mitts are worked from the bottom up, to allow for a thumb gusset. The thumb gusset makes for a much more comfortable fit and grows organically from the knitting. The cable band is knit on sideways, and is attached to the rest of the mitt as it is knit. An icord edge is formed as you knit, and is mimicked on the other side of the band. Pretty and practical...like Claire Beauchamp Randall Fraser herself! I hope you enjoy knitting them!
Mistress Beauchamp's Mitts
Sizes: S (M,L) Materials: 200 yards of worsted weight yarn (Note: It actually takes less than that..how much less depends on the size you are knitting.) You will need two sizes of needles— one in the size needed to obtain gauge, and another set one size smaller for the cable band. Sizes S and L were knit on size 5, and a size 4 needle for the cable band. You can use doublepoints, or circulars if you prefer to use the magic loop or two circulars for knitting in the round. You will also need ring markers, a cable needle, waste yarn and a tapestry needle for seaming at the end. Gauge: about 5.75-6 stitches per inch. A Glossary of Terms is provided at the end of the pattern.
Cuff:
Cast on 32 (36, 40) stitches, and join in the round, placing a marker to indicate the start of the round. Rounds 1-10: k2 p2 around. Knit 5 (7, 7) rounds .
Building the Thumb Gusset
You are now going to build the thumb gusset, which will make your mitt fit much better and allow more freedom of movement. Increase Round: SM M1R PM knit to the end of the round (Note: the M1R stitch now has a marker on both sides). Plain round: knit. Copyright 2015 by Jill Bickers Increase round: knit to the first marker, SM M1R k1 M1L SM knit to the end of the round. Plain round: knit. You will continue to build the thumb gusset by alternating an increase round with a plain round. Each increase round is formed by slipping the first marker, M1R, knitting to the second marker, M1L and slipping the second marker, and knitting to the end of the round. Each increase round will therefore add another two stitches to the thumb gusset. Continue until there are 19 (21, 23) stitches in the gusset. Knit one round plain. Try the mitt on. Is the thumb gusset high enough and wide enough to accommodate your hand? If it isn't, continue bulding the gusset until it is. Once your thumb gusset is the right size for you, knit one plain round and put the gusset stitches on waste yarn.
Rejoining Your Work
Backwards cast on 2 stitches, PM, backwards cast on another two stitches and rejoin your work. You now have 36 (40, 44) stitches. 3 stitches before the marker. SKP SM k1 K2TOG. 34 (38, 42) stitches remai You are now back to your original 32 (36, 40) stitches. Knit one round plain.
Cable Band
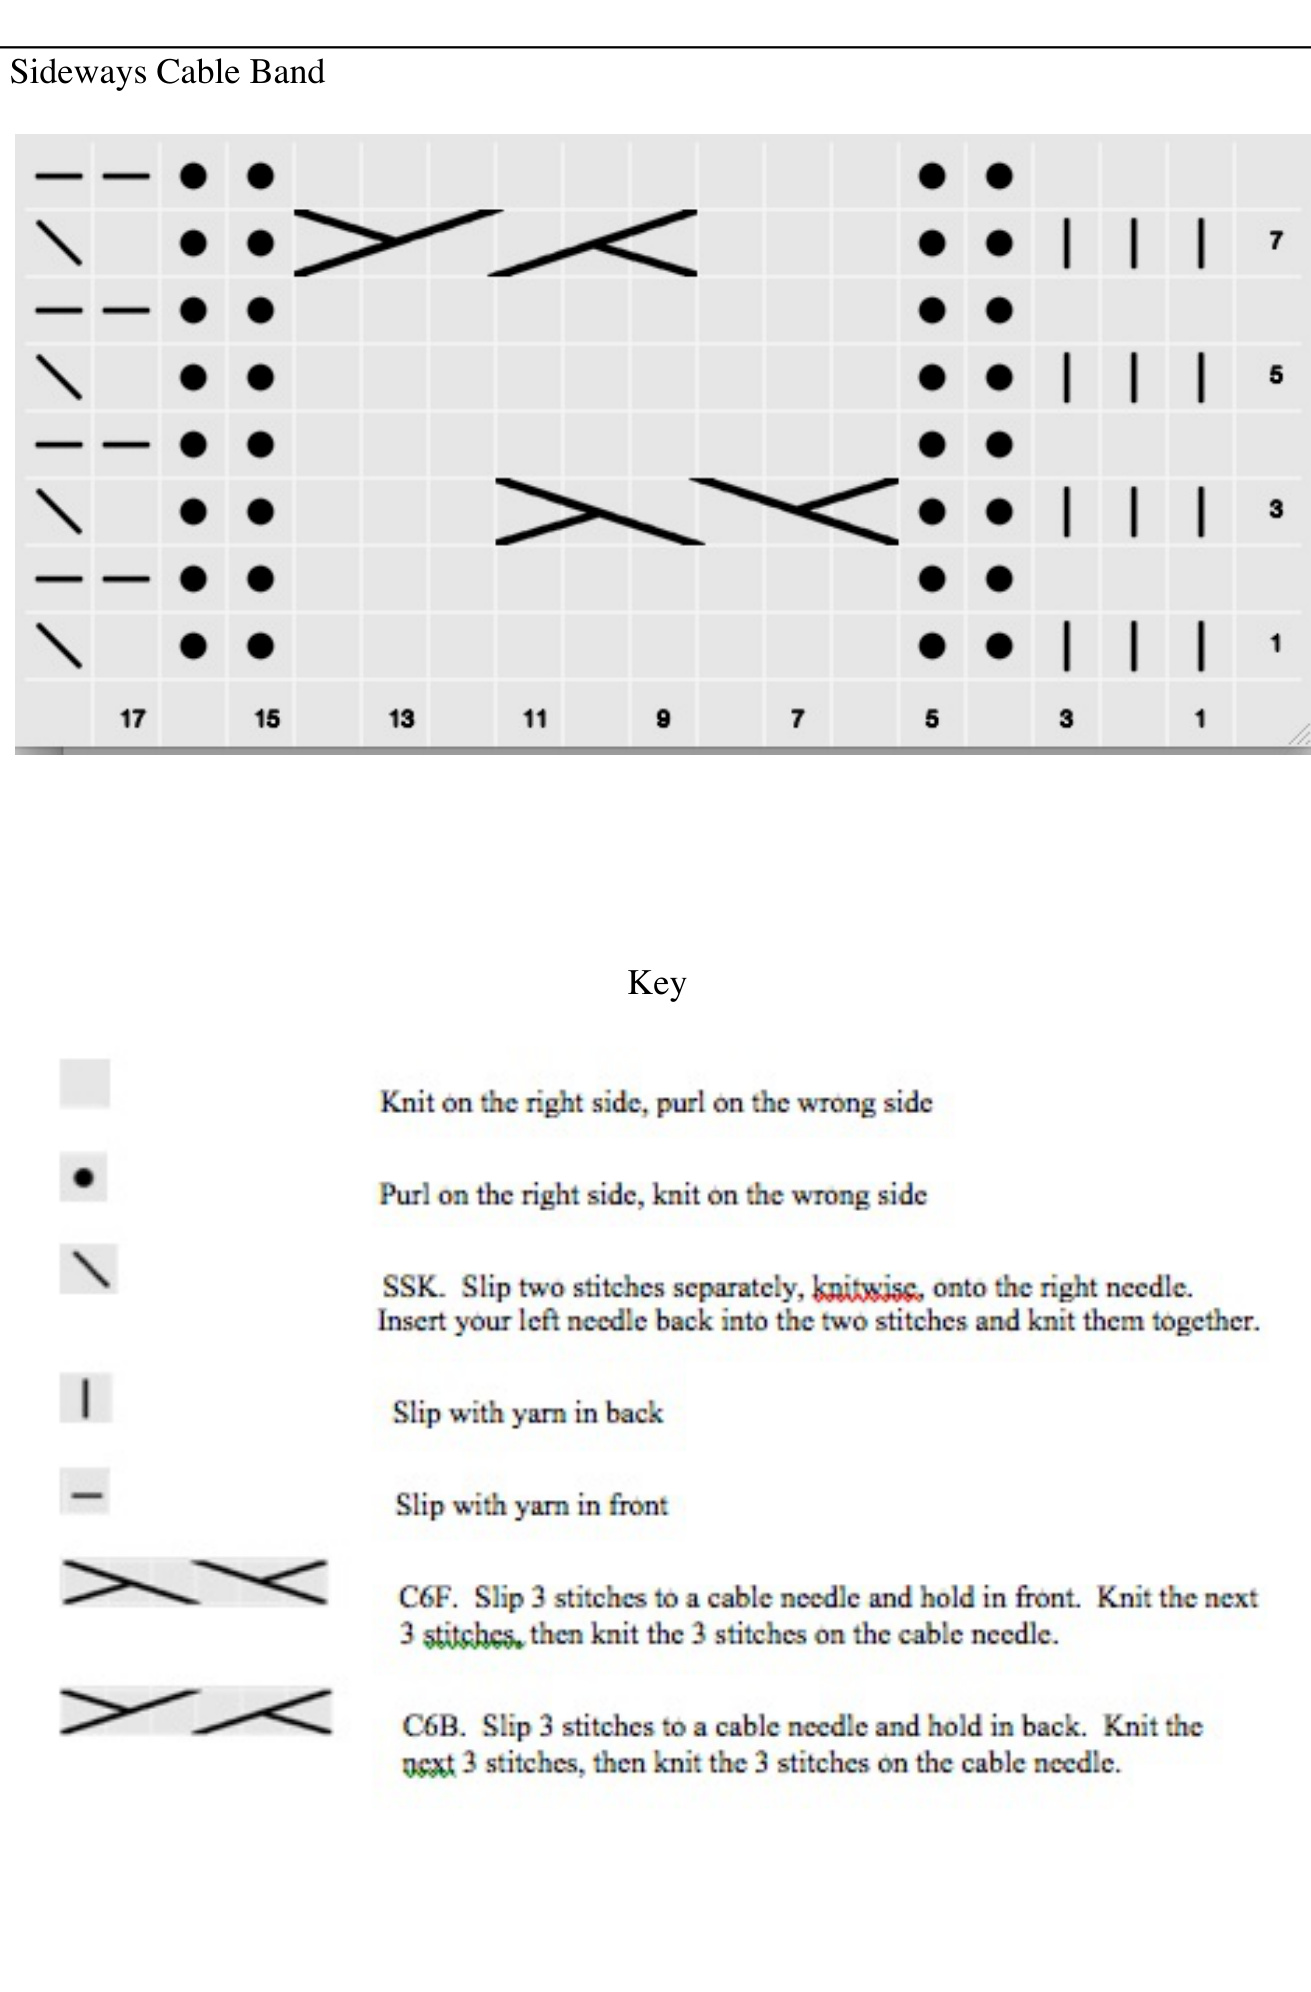
The cable band is formed by knitting it on sideways...you will be forming the band and attaching it to the body of the mitt at the same time. On the right side rows, the final stitch of the band will be decreased with the first stitch of the mitt. As you knit, an icord edge is formed on both sides of the Cable Band. In the first stitch of the round, cable cast on 1 stitch. Cable cast on an additional 17 stitches. (18 total) Set Up Row: Pick up your smaller needle and work back towards the body of your mitt: k3, p2, k9, p2, k1 SSK. Copyright 2015 by Jill Bickers Begin following the chart, starting with row 2. You will find the chart on the second to last page of this pattern. Make sure you are working with the smaller needle at this point, because you need the smaller needle to have the band be neat and proportional. this first repeat, all future repeats of the cable band will begin at row 1. Work the chart as many times as necessary to work all the mitt stitches into the band. Finish having worked Row 8. Do not bind off the stitches. You will get much nicer results if you graft your live stitches onto the cast on. Many good knitting books explain how to do this technique, but you might also want to check out one of the online sources as well. Tutorials that might help you are (http://www.rachelerin.com/grafting-live-stitches-to-a-cast-on/), or this video on YouTube: https://www.youtube.com/watch?v=XS188cghQ6E. I found it easier to lay the work flat on a table so that I could match the stitches up better. When you have joined the final stitches, pull your yarn to the inside and weave in the ends.
Copyright 2015 by Jill Bickers
Finishing the Thumb
Undo the waste yarn and slide your stitches onto your larger sized needles. I think it is easier to work this on double points than anything else, but feel free to magic loop this if you want. In the gap between the two sides of the gusset, you will need to pick up stitches to close it up nicely. Attach your working yarn by picking up 2 stitches in the gap. Place a marker, and pick up two more stitches. Begin knitting around on your thumb gusset stitches. Gusset Decrease Round: Knit to 3 stitches before the marker, SSK k1 SM k1 K2TOG. Repeat this round until 17 stitches remain. Next round: knit to 2 stitches before the marker, SSK. 16 stitches remain. Final Rounds: k2 p2 around 2 (3,3) times. Bind off in pattern. Weave in ends and enjoy!
A Final Note
This pattern is the result of a lot of trial and error to get it to be exactly what I wanted it to be, and test knitters worked to help me catch the typos, and let me know what needed to make it clearer. Thank you, Darlene and Krista! I would ask that if you wish to make any of these to sell, that you ask me before you do it. I don't mind giving permission, but I would appreciate the courtesy. Thank you!
| Glossary of Terms | |
| K= P= | Knit Purl Place Marker |
| PM= SM= Slip Marker SKP= SSK= | |
| K2TOG= M1R= | Slip 1, Knit 1, Pass the Slipped Stitch Over |
| Slip Slip Knit. | |
| Knit two together | |
| Make 1 Right. M1L= Make 1 Left. | |


