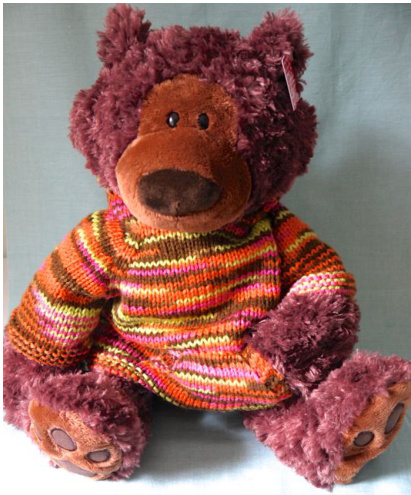
Teddy Raglan Pullover Sweater w/ Variations
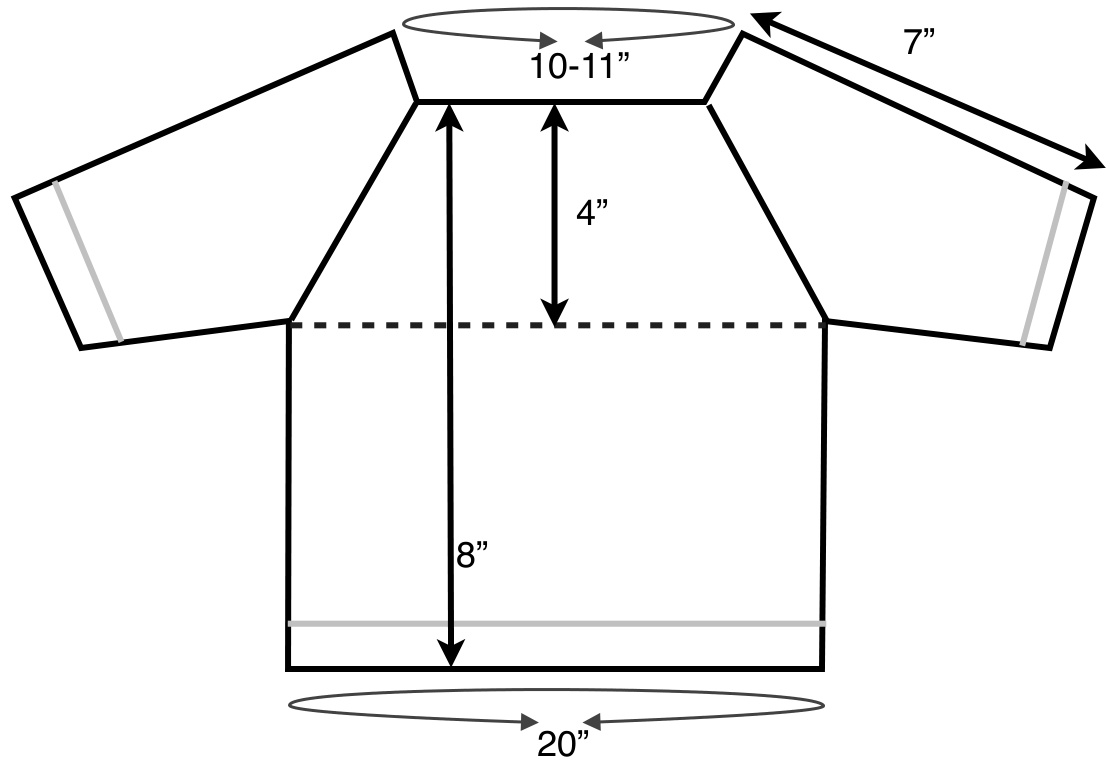
This is a basic raglan sweater designed to fit a Gund Philbin? bear (approx. 18" tall) that can be adapted as desired. The sweater is worked in the round, from the top down. Stitches are cast on for the neckline and markers placed for the front, back and armholes. A series of increases creates the sleeves and body. About halfway down the body the sleeve sts are put on holders and the body is completed. The sleeve sts are then put back on the needles and the sleeves are worked in the round. This pattern can be adapted to a rollneck, turtleneck, or hoodie. Directions for variations are included. Notes on the headband are included at the end. Increases: I used the M1 increases, but you can use any increase you like. On the knit side (RS): · M1R: Lift strand between stitches through back, K the strand through the front. · M1L: Lift strand between stitches through front, K the strand through the back. On the purl side (WS): · M1R: Lift strand between stitches through front, P the strand through the back. · M1L: Lift strand between stitches through back, P the strand through the front.
Gauge: 5 sts/ in.
For different stitch gauges, the only thing that changes is the original number to cast on. See notes at the end for how to determine this.
Instructions:
1. C0 54 sts. Join into a round.
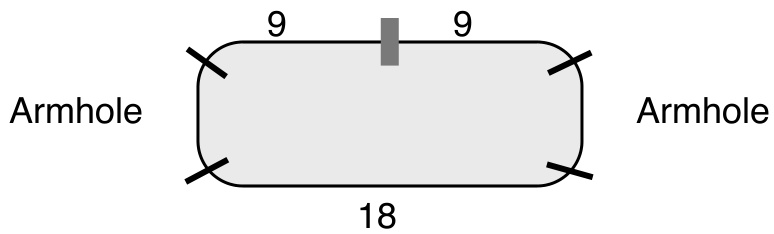
PM to mark the beginning of the round, then PM 9, 9, 18, and 9 sts apart. You will have divided the round as follows:
2. Collar:
Work desired collar as described below, then work body.
Roll Neck:
Work st st (K every round) to desired collar height, slipping markers. One or two inches works well.
Turtleneck:
Work in ribbing pattern of choice for desired collar height, slipping markers.
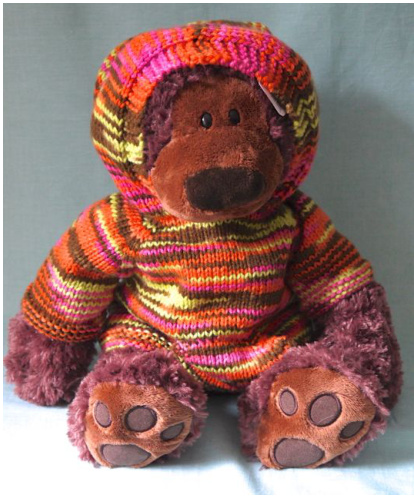
Hoodie:
Begin working body of sweater as described below. You will come back and pick up stitches for the hood.
3. Body
Row 1: K to 1 st before marker, M1R, K1, SM, K1, M1L. Repeat to end of round. Do NOT work increases at marker at beg of round on center back of sweater. Row 2: K around, slipping markers. Repeat Rows 1 and 2 until body is approx 4 “ long. Place armhole stitches on scrap Vapeut rows P umd Z unerr bouy fs upprox Tfong: Pluee urrmore Strcenes or serap yarn. Continue working body in the round until length is approx. 7 inches. Change to needle one or two sizes smaller. Work ribbing or other non-rolling edge (garter, seed stitch, etc.) for one inch. Bind off.
4. Sleeves
Put stitches on scrap yarn from one sleeve onto needle. Attach yarn. Work until sleeve length from top of neck shoulder is 6". Change to needle one or two sizes smaller. Work ribbing or other non-rolling edge (garter, seed stitch, etc.) for one inch. Bind off. Repeat on other sleeve. Use tail from attaching yarn to close up gaps at underarm.
Variations
Hood
The hood is worked flat with increases on EVERY row for about ten rows, then worked straight and seamed at the top. The hood is large enough to fit the bear's head. The hood can be made smaller--it will be more decorative than functional. Attach yarn at center front of neckline and pick up every stitch around neck. PM at centerback. Row 1 (WS): K5, P to 1 st before M, M1, P1, SM, P1, M1, P to last 5 sts, K5 Row 2 (RS): K to 1 st before M, M1, K1, SM, K1, M1, K to end of row. Repeat Rows 1 and 2 for a total of 10 rows. Row 3 (WS): K5, P to last 5 sts, K5. Row 4 (RS): K across. Repeat Rows 3 and 4 until hood is approximately 8" long. Seam or graft the top seam, using your preferred method.
Kangaroo Pocket
Add the pocket before beginning the ribbing around the hem. Leaving the sweater body on the needles, use a third needle to pick up about 3" of stitches in the center of the sweater front about 5" below the neckline. Using a fourth needle, work the pocket back and forth in st st with 2-3 stitches in garter on each end. The pocket can be worked straight or increased a stitch on each end every otherrow. When the pocket length meets the length of the body, knit the pocket stitches together with with the body stitches.
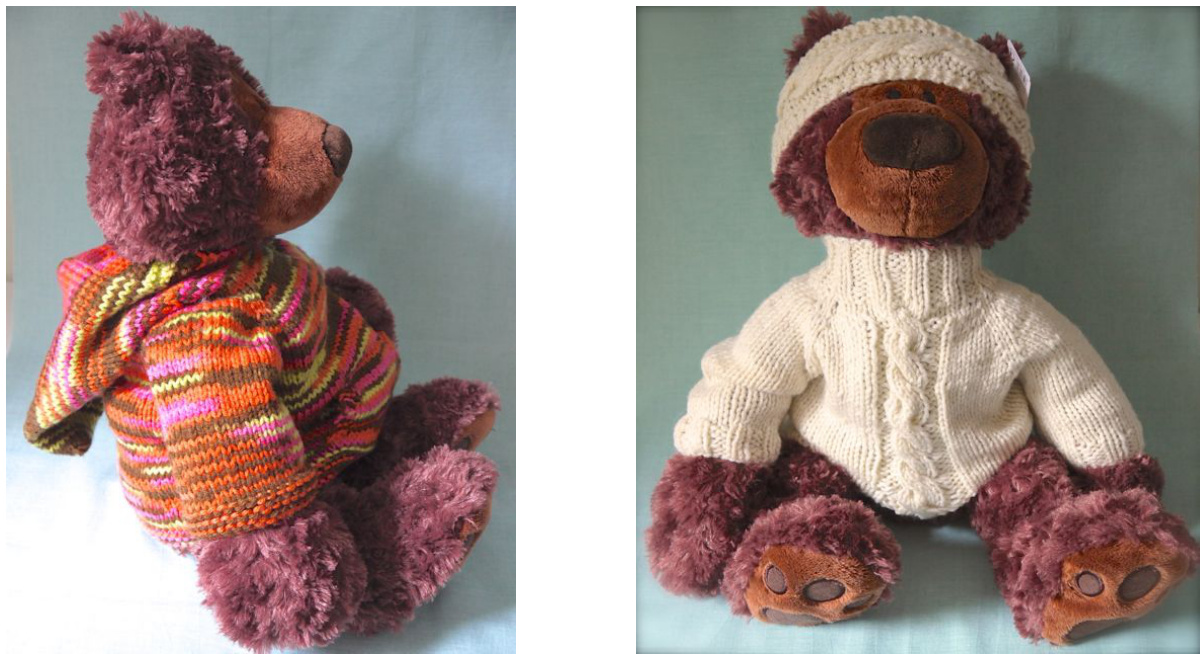
Center Cable
After working collar, work cable pattern shown on chart over center 8 stitches of front.
Cable Chart
Kon RS, P on WS P on RS, K on WS
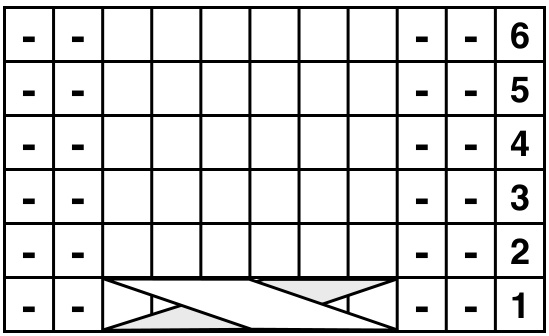
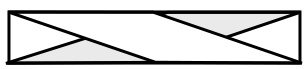
3/3 LC: Sl 3 to cn, hold to front, K3, K3 from cn
Headband
CO 14 sts. Row 1: K2, work cable pattern, K2. Repeat Row 1 until headband is desired length. Join ends. (Note: I used a provisional cast on and grafted the ends, but it was a little fussy).
To adapt this pattern to another gauge:
1. Determine the number of stitches in 11 inches. Round to the nearest number divisible by3. 2. The front of the sweater is 1/3 of the stitches, the back is 1/3 of the stitches, and the remaining third is divided evenly between the armholes. You can add a stitch to your cast on to make the armhole stitches equal. 3.Follow the remaining directions as written.