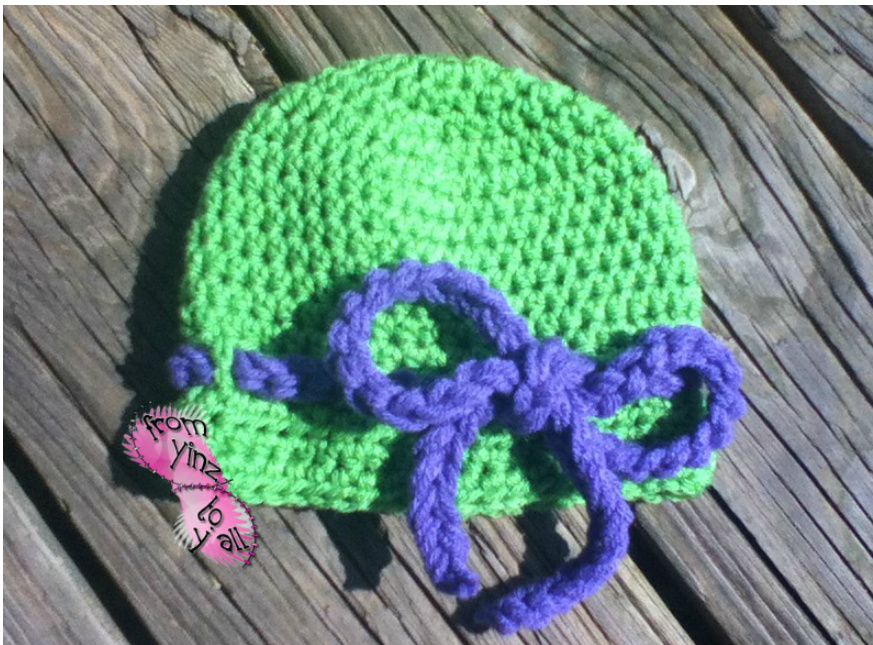
Bow of Chains Beanie
Materialsneeded: 2 contrasting colors of worsted weight yarn measuring tape stitchmarker Ihook Nhook Stitches used: hdc - half double crochet dc -double crochet ch - chain This pattern is written assuming you know how to do the above stitches. Gauge: Gauge is not important in this pattern as we will be taking measurements to get the size we want. So if you crochet lose or tight it won't effect the outcome of the hat, you will just have to do more or less rows than someone who crochets differently from you. The top of the hat is worked in a continuous round without joining. When starting the next round go right into the first stitch from the last round. Use a stitch marker to keep your place. I will specify where you will need to do joins.
Using I hook and main color:
(you could really use any size hook here, as long as your measurements come out to the right lengths your hat will be sized correctly. I just prefer the I hook, because it works up quickly, without leaving large "holes".) Round one: hdc 8 into magic circle (if you are unfamiliar with a magic circle or don't care for it you can chain 3 and join to the first chain, then chain one and hdc 8 into that ring) (8) Round two: 2hdc in each stitch around (16) Round three: 1 hdc in the first stitch, 2hdc in the next stitch (24) Round four: 1 hdc in the next 2 stitches, 2 hdc in the next. (32) Continue your increase rounds in this manner (adding one stitch before your increase stitch in each round) until you get to the required crown diameter for your size. To measure your crown diameter, lay the circle down and measure it across.
Crown Length Measurements:
Newborn: 3 3/4 - 4 1/4 inches 0 -6 months:4 1/2-4 3/4 inches 6 - 12 months: 5 - 5 1/2 inches 1 - 3 years: 5 3/4 - 6 inches 3 - 10 years: 6 - 6 1/2 inches teen to adult: 6 3/4 - 7 inches Once you have your increases done and the crown of your hat is the desired length for your size, we wilstart working onthesides. To work the sides crochet 1 hdc in each stitch around. You will continue in this manner until your hat is 1 1/2 -2 inches SHORT of the desired FINISHED length for your size. To measure sides lay hat down flat and measure from crown to bottom.
Finished length measurements:
0-6 Months : 6 - 6 1/2 inches 6 - 12 months: 6 1/2 - 7 inches 1 - 3 years: 7 inches 3 - 10 years: 7 1/2 inches Teens - Adults: 7 1/2 - 8 inches When you get within 1 1/2 to 2 inches of your finished length stop. Chain 4, turn your project. (there will be a slight "jag" in your project where this change happens, but don't worry it will be hidden by theribon.) Skip a stitch and dc into the next stitch, Ch 1, skip a stitch dc in the next stitch chain 1. Continue that pattern (dc ch1, skip a stitch) all the way around the hat. When you get to the last DC chain 1 and join to the third chain of the beginning chain 4. chain one and turn. c in the same stitch and hdc evenly the whole way around the hat, join in the first hdc, chain one and turn. Finish off and weave in ends.
With N Hook and Bow color
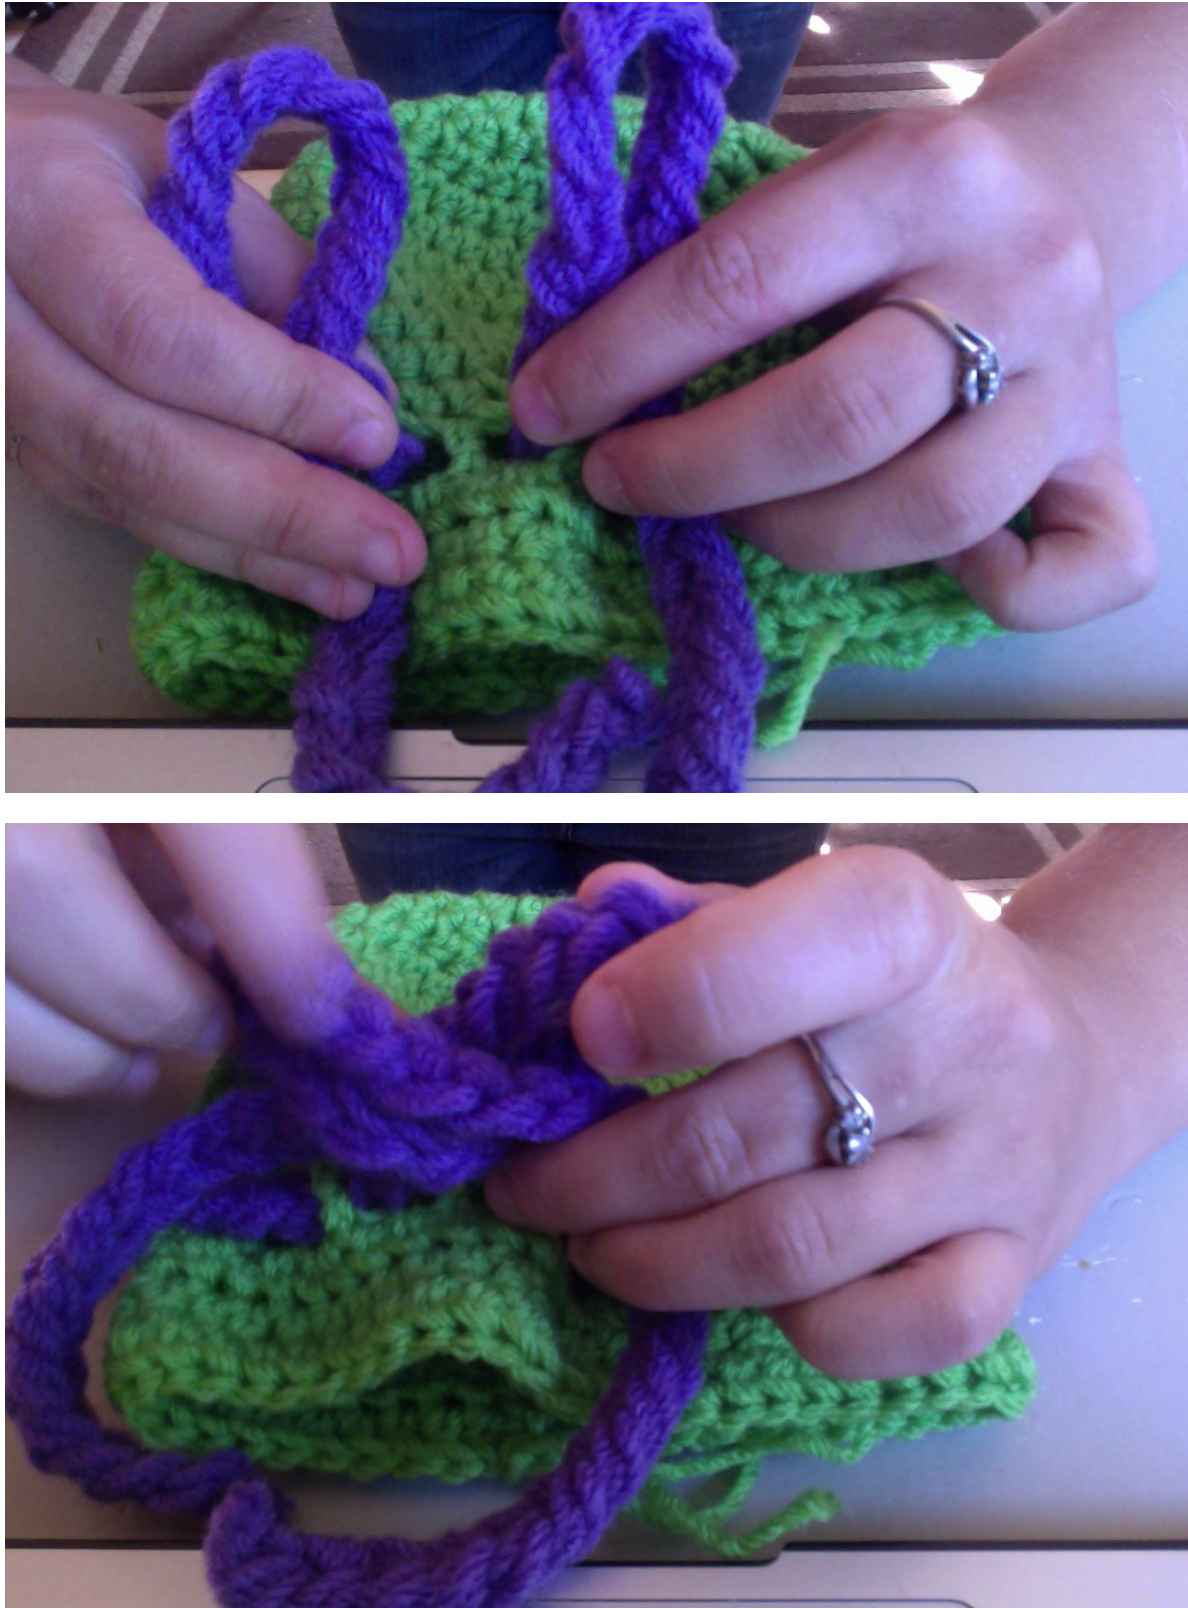
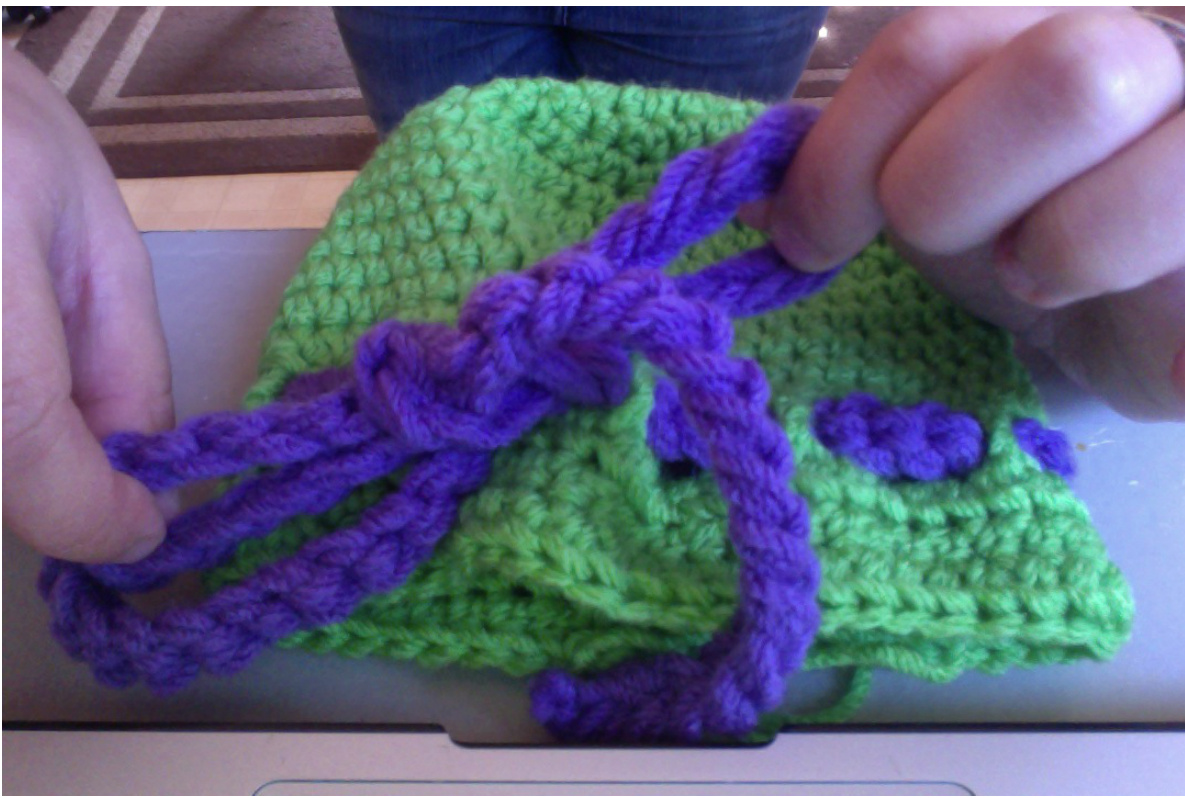
Cut 3 lengths of yarn. For an adult size they will need to be about 10 yards long. For smaller sizes you will use less, but advise cutting them to this length to be sure they are long enough. There will be less yarn wasted than if you cut them too short and need to start over. (It's better to cut them too long and stop chaining before you reach the end, than to have them too short) Holding allthree strands together Chain an unspecified amount. It will depend on your gauge and your hat size. As your chain gets longer gauge it against your hat, you need it to be long enough to go around your hat with room to tie the bow. When you get it to he right length fasten off. Pull both ends as tight as you can, weave the ends up into your chain and trim. bbon throughout the spaces in your hat where we made the dc's. Go under one dc and over two. Have the ver you would like to bow to be. I prefer of centered in the front. Then tie your bow. The best way is to make a loop on each side, cross them, tuck one under the other and pull both loops. This will put the ends both on the bottom. It may take you a few tries to get it to lay the way you want. You can let the ends hang down as much or litle as you like.
Since the bow is not attached permanently you can make several different colors and switch them out to match different coast or outfits. Enjoy your hat and have fun with different combinations. You can also easily move the bow farther up on the hat or lower down on the brim by doing the dc row sooner or later. I wanted to write the pattern in a way that made it versatile for any gauge and so the crocheter could make each hat uniquely their own. If you have any questions, comments, or problems, please feel free to message me on one of my shop pages, or email me (links are at the bottom). I'd love you see pictures of what you come up with :) This is a paid pattern. You are fre to personally use, gift,or sell any items made from this pattern. If selling online I would appreciate a link back to my shop. However you are not free to share, copy, paste or otherwise distribute this pattern in part or in whole. www.facebook.com/FromYinztoYallhttp://www.etsy.com/shop/From Yinzto Yall fromyinztoyall@ outlook.com


