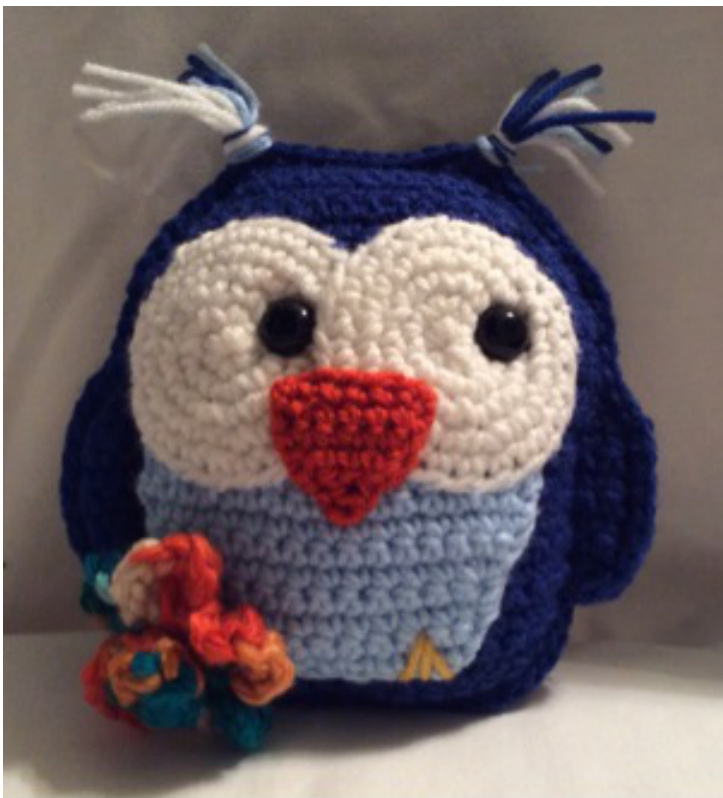
Blue Hootie Hoo The Owl
Supplies needed:
Red heart super saver: royal blue, light blue and soft white Any scrap yellow yarn, you only need a tiny amount Bernat softy chunky : kimono Loops and thread impeccable : orange (small amount) 4 mm hook 5 mm hook : flower only 15 mm safety eyes Polyester stuffing Tapestry needle Stitch marker
Abbreviations used:
St = stitch Sc = single crochet \*to\* = means to repeat whatever is inside the stars as directed 2sc = increase Sc2tog = decrease Ch = chain MR = magic ring Dc = double crochet Body panel - royal blue - make 2 - worked in rows Chain 14 to start 1) starting in second chain from hook. Sc across (13 st) ch 1 turn 2 to 7) 2sc in the first st, sc across, 2sc in the last st (15 , 17 , 19 , 21, 23, 25 st) ch1 turn 8 to 13) sc across (25 st) ch 1 turn 14 + 15) sc2tog, sc across to the last 2 st, sc2tog (23 , 21 st) ch1 turn 16 to 19) sc across (21 st) ch1 turn 20, 21, 22, 23, 24, 25) sc2tog, sc across to the last 2 st, sc2tog (19 , 17, 15, 13, 11, 9 st)ch 1 turn Fasten off first panel only When you have completed the second panel, do not fasten off. Set aside for now. Belly panel - light blue - worked in rows UlalI J tu otaIt 1 + 2) 2sc in the first st, sc across, 2sc in the last st (10 , 12) ch 1 turn 3 + 4) sc in each st across (12 st) ch1 turn 5 + 6) 2sc in the first st, sc across, 2sc in the last stitch (14, 16 st) ch 1 turn 7 to 12) sc in each st across (16 st) ch 1 turn Fasten off leaving a long tail to sew to the front body panel , now would be a good time to sew it - sample was sewn between rows 3 and 14. Eyes -make 2 - soft white 1) MR - 6 sc in the loop 2) 2sc in each st (12 st) 3) \*sc in the next st, 2sc in the next st\* repeat \* to \* all around (18 st) 4) \*sc in the next 2 st, 2sc in the next st\* repeat \*to\* all around (24 st) 5) sc in each st around (24 st) join with a sl st Fasten off leaving a long tail to sew on to the face - sample eyes were sewn between rows 10 and 20 ( the eyes overlap each other in the middle) Using 15 mm safety eyes - sample eyes were placed between rows 17 and 18 - once happy with the placement attach the backs.
Nose - orange
Chain 7 to start 1) starting in second chain from hook, sc across (6 st) ch 1 turn 2 + 3) sc across (6 st) ch1 turn 4) sc2tog, sc in next 2 st, sc2tog ( 4 st) ch1 turn 5) sc2tog, sc2tog (2 st) ch1 turn 6)sc2tog Fasten off leaving a length of yarn to sew the nose to the owls face - see picture for placement
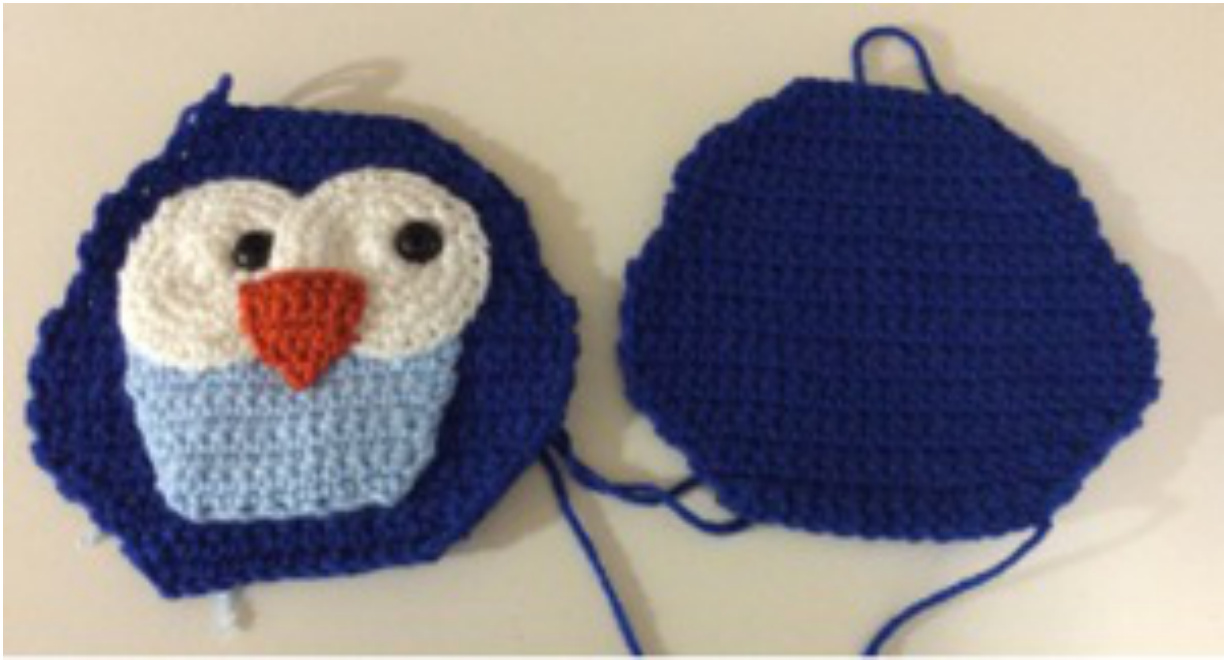
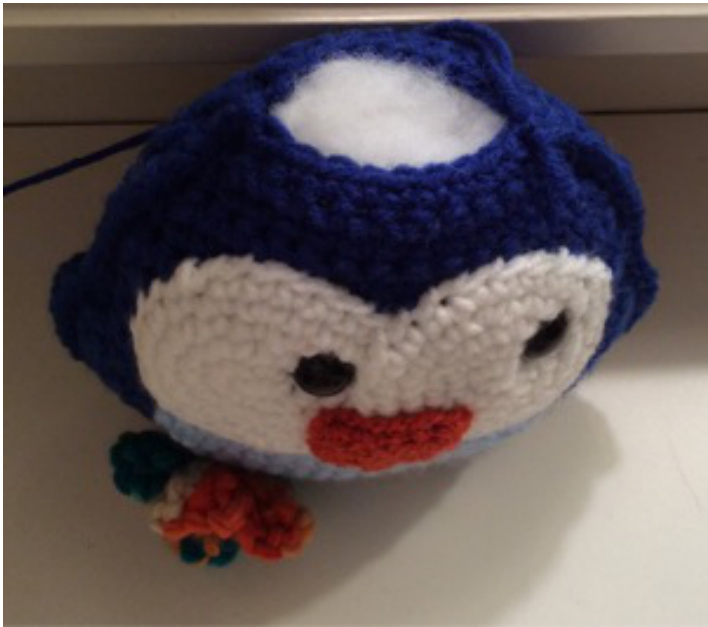
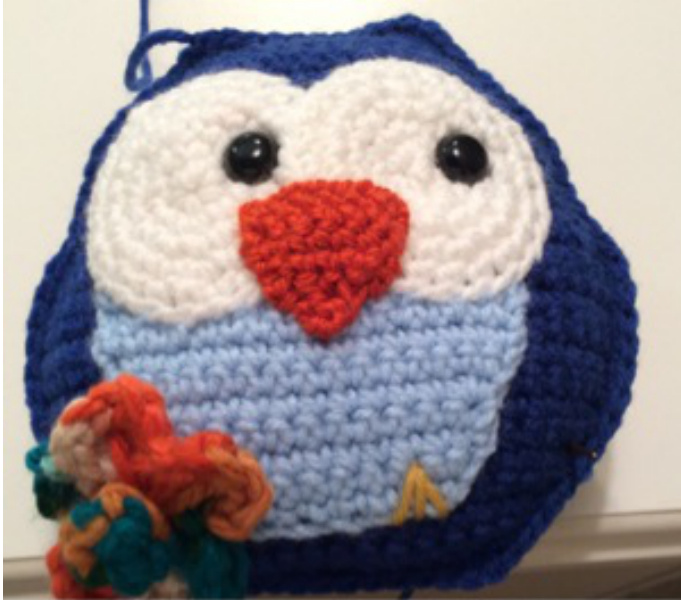
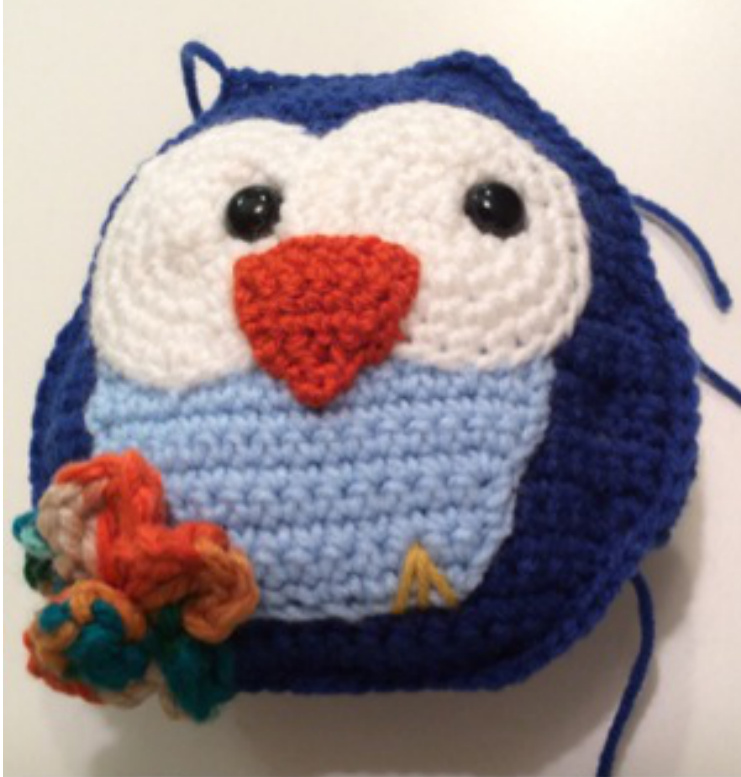
Flower - bernat bulky yarn kimono 1) Chain 6 join with a sl st to form a ring 2)\* Chain 3 , dc, dc, chain 3 join with a sl st \* repeat 4 more times (creating 5 petals) Middle of the flower - using the same type of yarn 1) MR - 6 sc in the loop 2) sc in each stitch Fasten off and attach to the petals Sew the flower to the body panel. With yellow yarn stitch the claws , no need to do the other side as the flower is hiding the other claw. Now it is time to attach the body panels together, using the yarn that you left earlier, attach the two panels together with a sc , sc evenly all around, using 2sc in the corners. When you reach the top, stuff your little owl , quite firmly (see picture below) then continue with sc stitches , until you have gone all around, fasten off and weave in all of your ends.
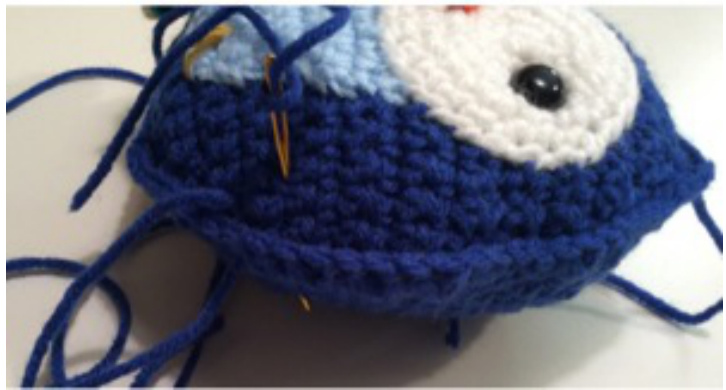
Now we will start to define the wings. Using royal blue , thread your tapestry needle and starting at the back (at row 5) push your needle through to the front , holding onto your yarn because you don't want to accidentally pull your yarn all of the way through, working 2 stitches at a time, skip the next 2 stitches (don't worry you will be going over the missed stitches on your way back down) work your way up to row 15 , pull your stitches tight, now start working your way back down, going over the stitches you missed earlier, pull tight after each stitch. Once you have reached the bottom, tie the two yarn ends together pulling tight as you do , weave in your ends . If you look closely on the bottom on the right hand side, you should see my gold tapestry needle, poking out the front, this is your starting point.
See how the needle is poking allthe way out the back of the owl? Make sure as you working that your stitches are straight in the back as well, because once you pull your stitches tight, it will be very obvious.
In this picture, although it's tough to see, I have finished going up the wing and pulled my stitches tight, you should be able to see the puffy areas (every 2 stitches) these are the stitches you missed earlier, so when you are working your way back down, make sure to go over these stitches, pulling tight after each stitch
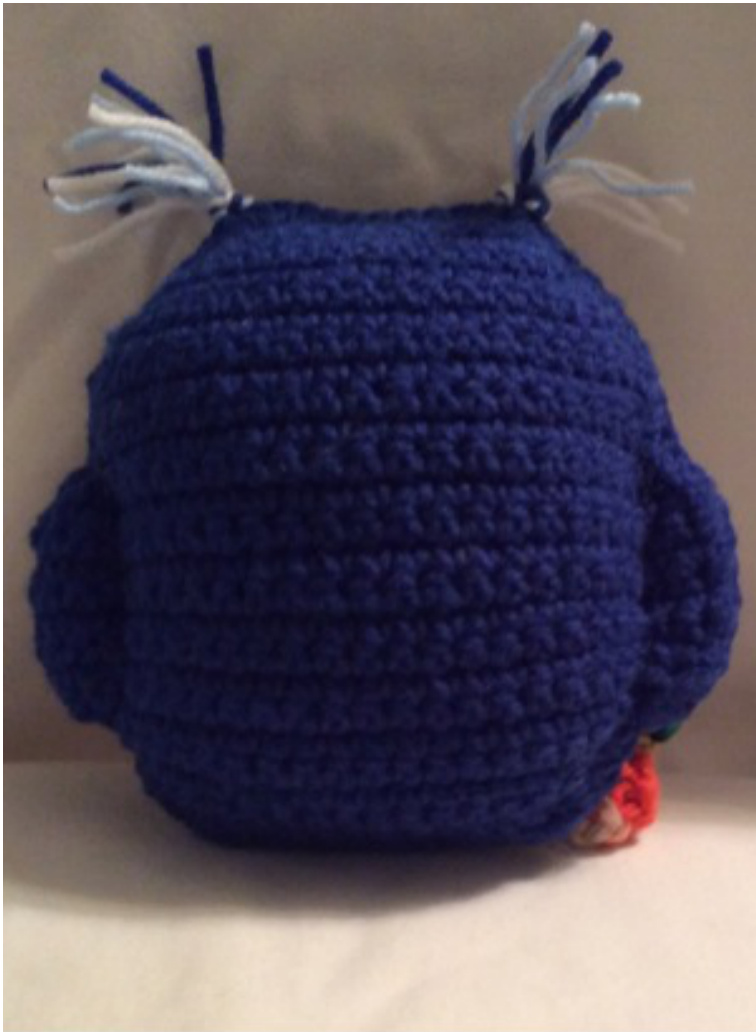
This is what hootie hoo should look like - back view
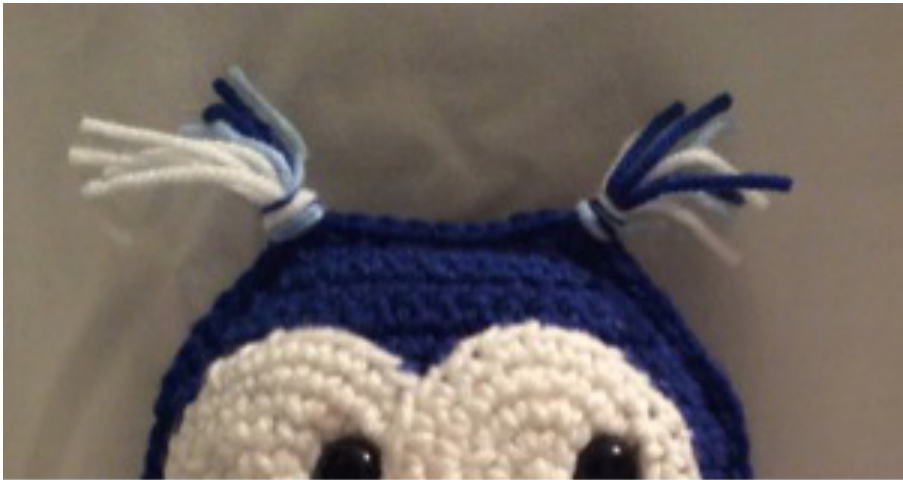
Tufts:
Cut 4 strands of royal blue, light blue and white, approximately 8 inches in length, you will be using 6 strands for each ear tuft. Find the middle of your 6 strands gathered together and insert your hook through several stitches in the corner of your owls head. The hook needs to be inserted from back to front. Pull through a loop and feed the yarn through this and pull tight. Repeat for the other ear , then trim to desired length. Your tufts should look like this.
Ta da now your little owl should be complete, hope you enjoyed making him :) If you have any issues feel free to contact me via email, I check my email often, so you shouldn't have to wait too long.


