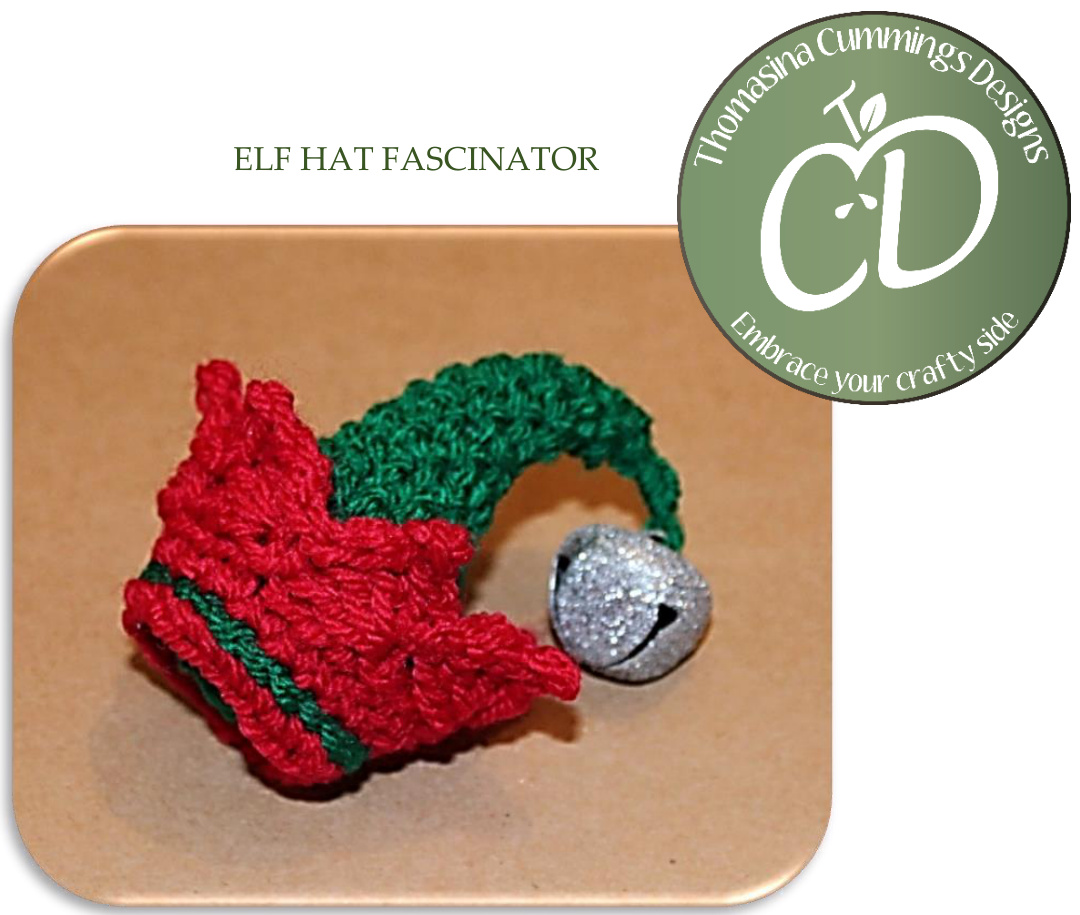
I was looking for an elf hat to finish of an outfit. But, I didn't fancy spending all night, in a hot bar, wearing a woollen hat! This teeny tiny elf hat is great for attaching to a headband or for just clipping in place with some hair grips. YOU WILL NEED offcuts of red and green DK yarn (or similar weight), a 3.50 mm hook, a needle for neatening ends, a jingly bell and a small amount of stuffing. GAUGE 4sts and 4 rows to 5 cm (1") in UK dc/US sc This pattern is written in both UK and US terms. UK Version - Page 2 US Version - Page 4
ABBREVIATIONS
| UK Abbreviation | UK Term | US Abbreviation | US Term |
| pu | round | rnd | round |
| ch | chain | ch | chain |
| SS | slip stitch | sl st | slip stitch |
| RS | right side | RS | right side |
| st(s) | stitch(es) | st(s) | stitch(es) |
| dc | double crochet | SC | single crochet |
| tr | treble | dc | doublecrochet |
UK VERSION
SPECIAL STITCHES/METHODS
Double loop magic ring
Video instructions can be viewed at http://www.thomasinacummings.co.uk/double-loopmagic-ring/ if required. Picot 2ch, ss in 2nd ch from hook. If you find it difficult to work a ss, a dc will give a very similar effect. PATTERN
Peaked Trim
In RED, commence with 21 ch, ss to first ch to from a loop. Rnd 1: RS (Starting in the same place as the ss) 1dc in each st around - 21sts. Rnd 2: (Without joining) 1dc in each of the 21dc, ss to next dc to smooth - 21sts. Rnd 3: (3ch, 3tr into 3rd ch from hook, miss 2sts, ss in next st) 7 times, ss to first ch to join -7 peaks. Rnd 4: \*miss first ch, ss in each of next 2ch, (ss, picot, ss) in next tr, ss in each of next 2tr, rep from \* around, ss to first ss to join - 7 peaks with picot at each tip. Fasten off and neaten ends.
Hat Section
In GREEN, 1ch, 4dc into a double loop magic ring - 4sts. Pull ring tightly to close. (Work over initial tail and trim after first few rnds). Rnd 1: (RS) 1dc in each st around - 4sts. Rnd 2: 2dc in first st, 1dc in each remaining st - 5sts. Rnd 3: As Rnd 2 - 6sts. Rnd 7: As Rnd 2 - 10sts. Rnd 4: As Rnd 2 - 7sts. Rnd 8: As Rnd 2 - 11sts. Rnd 5: As Rnd 2 - 8sts. Rnd 9: As Rnd 2 - 12sts. Rnd 6: As Rnd 2 - 9sts. Rnd 10: (2dc in next st, 1dc in each of next 2sts) 4 times - 16sts. Rnd 11: (2dc in next st, 1dc in each of next 3sts) 4 times - 20sts. Rnd 12: 1dc in each st around - 20sts. Rnd 13: As Rnd 12, ss to next st to smooth edge - 20sts.
Attaching
Extend loop slightly and remove hook. Carefully, place the Peaked Trim over the tip of the Hat and slide down, such that bottom edge of Trim lines up with bottom edge of Hat - make sure right side is outermost. Insert hook into Peaked Trim through the dc closest to the loop on the Hat and pull through to the outside. Tighten loop around hook. Use slip stitch top stitching to join the two pieces all around the bottom edge. Fasten off and neaten ends. Thread a yarn needle with around 12" (30 cm) of RED. Use to attach the 2nd tr of each peak to the Hat with a small stitch. Fasten off and neaten ends. Stuff gently and lean the tip towards one side - the increases should enable the curve to form easily.
Base
In GREEN Rnd 1: 1ch, 6dc into a double loop magic ring - 6sts. Pull ring tightly to close. (Work over initial tail). Rnd 2: 2dc in each st around, ss to next dc to smooth - 12sts. Fasten off leaving a 30 cm (12") tail Enclose initial tail inside hat with stuffing and use end tail to attach to bottom of hat - whip stitching to the inner layer works best.
Finishing
Trim the tip of the Hat with a bell or small pom-pom. If choosing to use a bell, attach 1/2" away from the tip with a length of matching yarn, then wrap the yarn with some stitches to blend in with the hat - this will help the bell to jingle. Attach to a headband/slide or use hair grips to hold in place.
US VERSION
SPECIAL STITCHES/METHODS
Double loop magic ring
Video instructions can be viewed at http://www.thomasinacummings.co.uk/double-loopmagic-ring/ if required. Picot 2ch, sl st in 2nd ch from hook. If you find it difficult to work a sl st, a sc will give a very similar effect. PATTERN
Peaked Trim
In RED, commence with 21 ch, sl st to first ch to from a loop. Rnd 1: RS (Starting in the same place as the sl st) 1sc in each st around - 21sts. Rnd 2: (Without joining) 1sc in each of the 21sc, sl st to next sc to smooth - 21sts. Rnd 3: (3ch, 3dc into 3rd ch from hook, skip 2sts, sl st in next st) 7 times, sl st to first ch to join - 7 peaks. Rnd 4: \*skip first ch, sl st in each of next 2ch, (sl st, picot, sl st) in next dc, sl st in each of next 2dc, rep from \* around, sl st to first sl st to join - 7 peaks with picot at each tip. Fasten off and neaten ends.
Hat Section
In GREEN, 1ch, 4sc into a double loop magic ring - 4sts. Pull ring tightly to close. (Work over initial tail and trim after first few rnds). Rnd 1: (RS) 1sc in each st around - 4sts. Rnd 2: 2sc in first st, 1sc in each remaining st - 5sts. Rnd 3: As Rnd 2 - 6sts. Rnd 7: As Rnd 2 - 10sts. Rnd 4: As Rnd 2 - 7sts. Rnd 8: As Rnd 2 - 11sts. Rnd 5: As Rnd 2 - 8sts. Rnd 9: As Rnd 2 - 12sts. Rnd 6: As Rnd 2 - 9sts. Rnd 10: (2sc in next st, 1sc in each of next 2sts) 4 times - 16sts. Rnd 11: (2sc in next st, 1sc in each of next 3sts) 4 times - 20sts. Rnd 12: 1sc in each st around - 20sts. Rnd 13: As Rnd 12, sl st to next st to smooth edge - 20sts.
Attaching
Extend loop slightly and remove hook. Carefully, place the Peaked Trim over the tip of the Hat and slide down, such that bottom edge of Trim lines up with bottom edge of Hat - make sure right side is outermost. Insert hook into Peaked Trim through the sc closest to the loop on the Hat and pull through to the outside. Tighten loop around hook. Use slip stitch top stitching to join the two pieces all around the bottom edge. Fasten off and neaten ends. Thread a yarn needle with around 12" (30 cm) of RED. Use to attach the 2nd dc of each peak to the Hat with a small stitch. Fasten off and neaten ends. Stuff gently and lean the tip towards one side - the increases should enable the curve to form easily.
Base
In GREEN Rnd 1: 1ch, 6sc into a double loop magic ring - 6sts. Pull ring tightly to close. (Work over initial tail). Rnd 2: 2sc in each st around, sl st to next sc to smooth - 12sts. Fasten off leaving a 30 cm (12") tail. Enclose initial tail inside hat with stuffing and use end tail to attach to bottom of hat - whip stitching to the inner layer works best.
Finishing
Trim the tip of the Hat with a bell or small pom-pom. If choosing to use a bell, attach 1/2" away from the tip with a length of matching yarn, then wrap the yarn with some stitches to blend in with the hat - this will help the bell to jingle. Attach to a headband/slide or use hair grips to hold in place.


