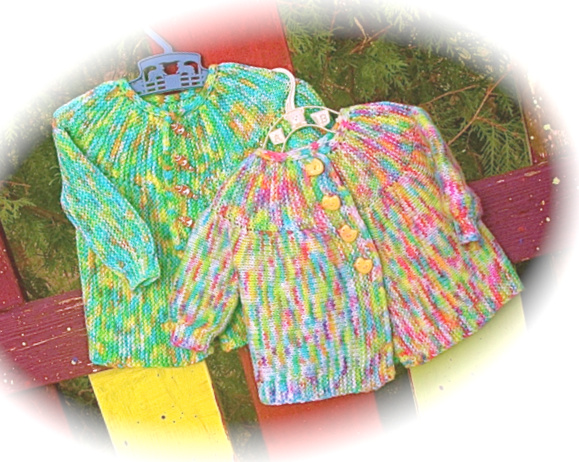
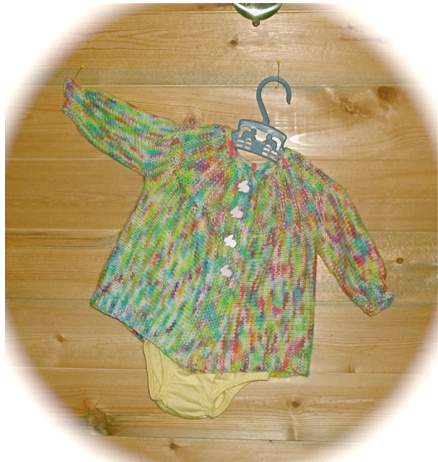
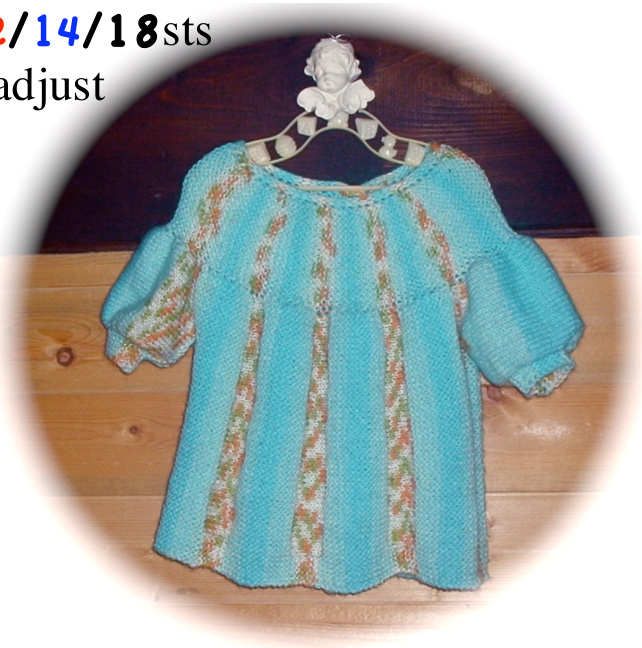
Easter Egg Sweater
The wool used to make this little sweater was hand dyed while I coloured Easter eggs with my kids. I have included the photo-tutorial on Dyeing wool with Easter egg dye at the end of the pattern. The sweater is made sideways and in one piece. Starting at the right side with the buttonhole band, around to the first sleeve, on to the back, then to the second sleeve, finally around to the left side and the button band. All shaping is done with short rows. Materials: Sport weight wool dyed with Easter egg dye The newborn size requires 2 50g skeins (328 yards) The 6 and 12 Month size require 3 50g skeins (492 yards) A pair of 4mm needles or size you require to obtain gauge. Abbreviations: K= knit, P= purl, st= stitch, Yo= yarn over (M)= marker, Slpw= slip purl ways, YF= bring yarn to the front of work {0/o?= number of stitches left unworked. Sizes: Newborn size is the red numbers. 6 Month size is the blue numbers. 12 Month size is the bold numbers. Gau9e: 11 stitches in 2 inches.
Right Front:
Knit a 4 stitch I-cord for 52/60/70 rows. Pick up 50/58/68sts along the side of the I-cord from the bottom up. (Be careful not to twist the I-cord as you pick up the sts)
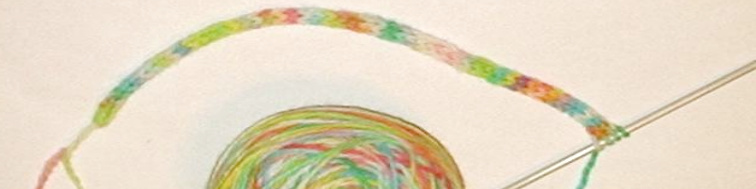
Knit down the side of the I-cord skipping the top 2 rows of I-cord. 54/62/72sts 0n your needle
Buttonhole Band:
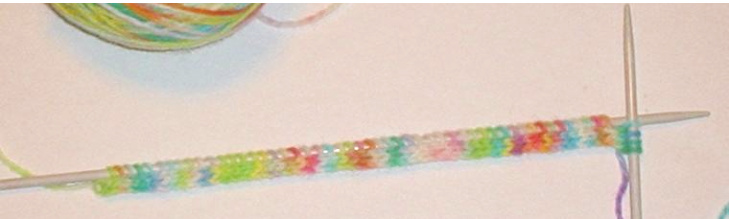
(All even numbered rows are the right side of work) Row 1- Knit to last 4sts, turn. {4/4/4} Row 2- Knit. Unless other wise stated all even rows are knit Row 3- Knit to last 4sts, YF, Slpw4sts. Knit row 4 and Repeat row 1. Buttonhole row K2, \~YO, K2tog, K5 repeat from -to-4/5/6 times, knit to end of row. Repeat row 3 and 4 Repeat rows 1-4 one more time. 6 garter stitch ridges
Main Body of Sweater:
Row 1- K6, P30/36/44, turn, place (Marker) {18/20/22} Row 3- K6, P30/36/44, (M), K14/16/18, turn {4/4/4} Row 5- K6, P30/36/44, turn, (M), {18/20/22} Row 7- K6, P30/36/44, (M), K14/16/18, YF, Slpw4sts. Repeat rows 1-8 until you have 18/20/24 garter stitch ridges at the yoke. Ending at the yoke edge with a Row 7 (This is including the buttonhole band) sleeve setup r0w: K24/28/34,place 30/34/38sts 0n a stitch holder, cast 0n 26/30/34sts.
Sleeve:
Row 1- K6, P26/32/40, turn, (M),{18/20/22} Row 2- Knit Row 3- K6, P26/32/40, (M), K14/16/18, turn {4/4/4} Row 4- Knit to last 6 sts, turn. {6/6/6} Row 5- P26/32/40,turn, (M), {18/20/22} Row 6- Knit Row 7- K6, P26/32/40, (M), K14/16/18, YF, Slpw4sts. Row 8- Knit to last 6 sts, turn. {6/6/6} Row 9- P26/32/40, turn, (M), {18/20/22} Repeat rows 2-9 until you have 30/34/42 garter stitch ridges at the yoke. Again ending at the yoke edge with a row 7 final sleeve rows: Row 8- knit to the end. Row 9- cast off 6/6/6sts knit ways, cast off 20/24/28sts purl ways, purl to marker, turn {18/20/22} 14/16/20 garter stitch ridges at the cuff. Back (main body) setup row: K6/8/12,place stitches from holder back on your needle and knit to the end. Back: Starting at row 3 repeat rows 1-8 of main body pattern until you have 56/64/80 garter stitch ridges at the yoke. Again ending at the yoke edge with a row 7. Work sleeve set up row. Second Sleeve: Repeat the instructions for the first sleeve. You will have 68/78/98 garter stitch ridges at the yoke before the final sleeve rows. Lef+ front: Starting at row 3 repeat rows 1-8 of main body pattern until you have 80/92/116 garter stitch ridges at the yoke, ending with a row 8. Button Band: Repeat the buttonhole band, ending with a row3 at the neck edge. 86/98/122 garter stitch ridges in total at the yoke. Knit 2 rows on the 4st I-cord only and cast off using an I-cord bind off along the front edge. Sew buttons over corresponding buttonholes. p the sleeve seams and weave in any ends. And you're done! Helpful little +ips: -For a boy's sweater switch all purl stitches to knit stitches. -For help with the I-cord look on You-Tube there are many good tutorials. -As the front and back are the same you could wear it as a little dress, just be sure to use flat buttons so that baby can lie on there back.
-For short sleeves cast 0n 12/14/18sts in the sleeve setup row and adjust numbers accordingly.
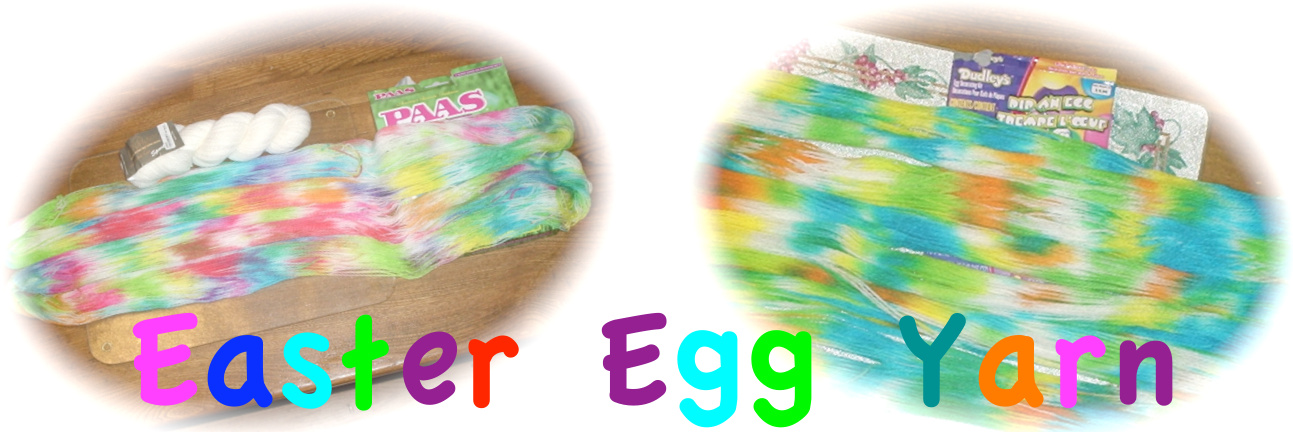
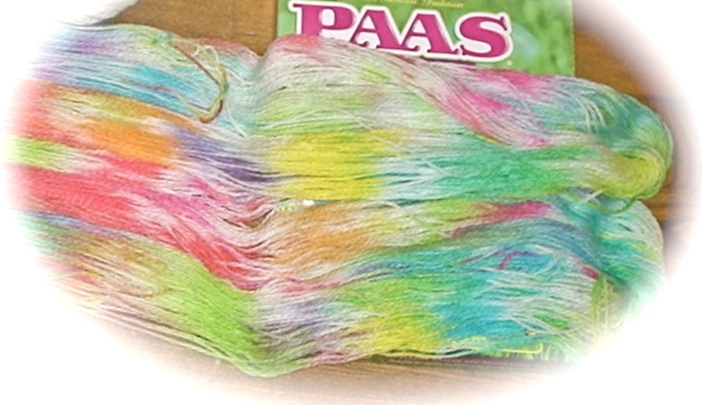
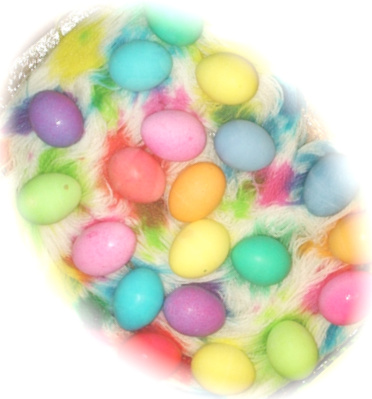
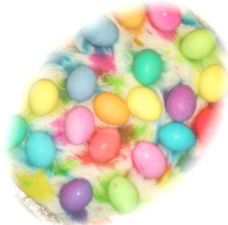
Materials: microwave oven, a large bowl or pot, a large tray or plate, (about the same size as the tray in your microwave) plastic wrap, Easter egg colouring kit, (I found that Paas works best, see the note at the end) 2 to 3 skeins of wool yarn, and white vinegar, (You must use wool, or an animal fiber. Cotton or acrylic yarn will not take the dye and the colour will wash out.) Optional, Eggs for colouring. (You could just spoon the colour on to the yarn. But where's the fun in that?) Step 1: Presoak the yarn in a bowl or pot full of water with about 1 cup of white vinegar added.

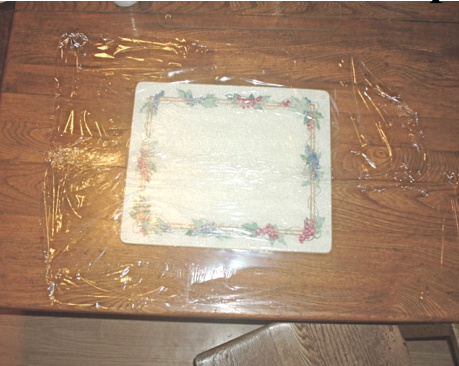
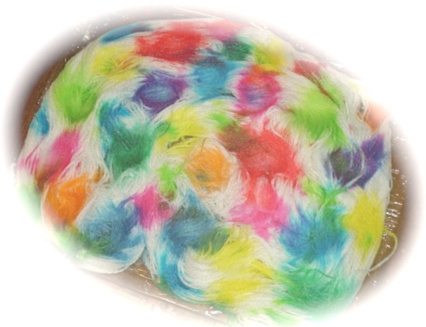
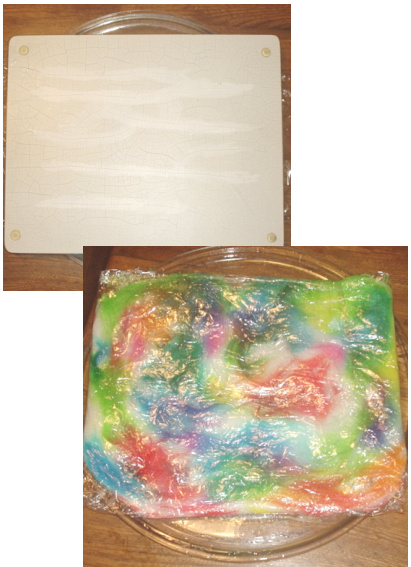
2: cover tray with plastic wrap. Over lap the edges by about 4 inches on all sides. Important! be sure your plastic wrap has sealed to itself at any joints down the middle. If you're not sure put a second layer of plastic Step 3: Remove wool from vinegar soak and squeeze out most of the water. (Wool should still be quite damp, but not dripping.) Make a nest of wool for your eggs that covers the tray, and prepare the egg dyes following the directions on the egg colouring kit. over the joint.
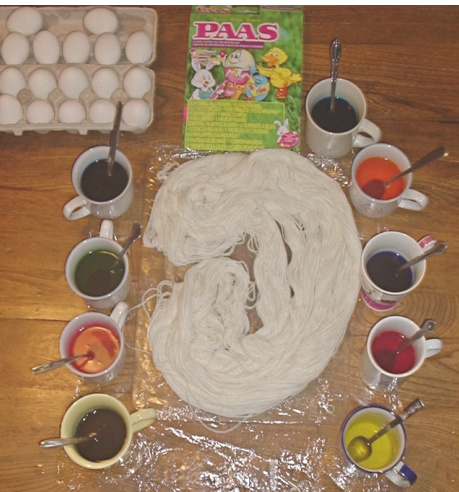
Step 4: Colour your eggs. Place your eggs to dry on the nest of yarn, as you do spoon 1 tsp. full of the dye over the egg. When you've finished colouring your eggs and let them dry, and Before you throw out the dye Remove the eggs and look for any large white areas and spoon or drip some dye over top.
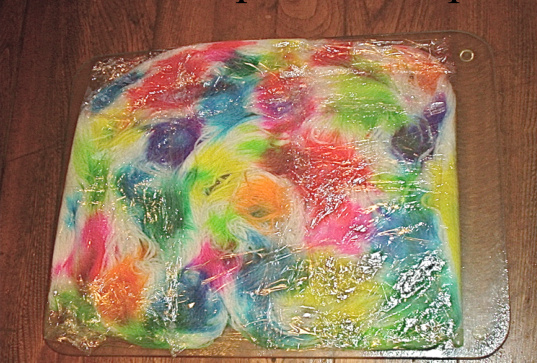
Step 5: Fold up the 4 inches of overlapped plastic wrap. Sealing the corners around the wool. Cover the hole in the middle with more plastic wrap so that you have a large sealed "bag" of damp wool.

Place your microwave tray on top of the “bag” of wool and flip it over. Try not to disturb the wool as this can make the colours muddy. Leave this to stand for a few minutes so the dye can soak down into the wool.
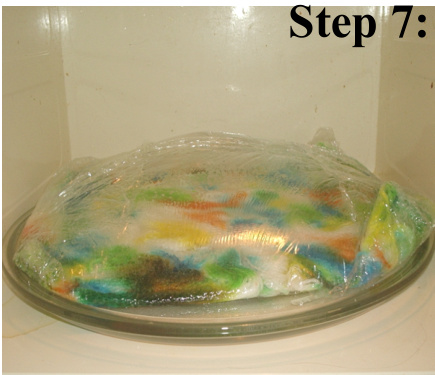
Step"7: To heat set the dye, microwave on high for about 5-10 minutes. Watch the bag of wool. When the bag balloons up with steam it is finished. (The plastic should not be touching the wool at any point on top.) Caution! The steam is very hot! Let it stand to cool. This is not just a safety issue; your dye is still heat setting! Remove the plastic wrap, and rinse the wool in water. Squeeze out excess water by rolling in a clean towel. Lay flat to dry and your done!
OEnjoy!! Lori Frejek@
P.S. I had some trouble with the second batch of yarn using Dudley's egg colouring. The colours bled for quite a while when I waz rinsing the yarn. It may just je that the dye in the Dudley's kit just needs a longer time to heat set, try 15 minutez instead of 10. The Paas kit did not bleed at all. udleys