A Pattern By YarnPaint (Megan Antoniak) · @ 2012 www. YarnPaint.com For personlusenfyou ldlie to sellismadefrmthispate please aileat: aaint@mailm.
Materials Needed:
Main color worsted weight yarn A small amount of black worsted weight yarn Version 1 Blush: A small amount of pink worsted weight yarn Version 2 Blush: A small amount of pink acrylic paint and a paintbrush Version 3 Blush: Pink eyeshadow and makeup brush Stuffing Size G crochet hook Yarn needle Stitch marker (optional) Gauge: Not important for dangos! Size: If using worsted weight yarn like suggested, dango generally is about 2 / inches. This size will vary, though, depending on the yarn used and your own tension. Key: Sc = single crochet Declsc = crochet two single crochet together to make a decrease
Some Tips:
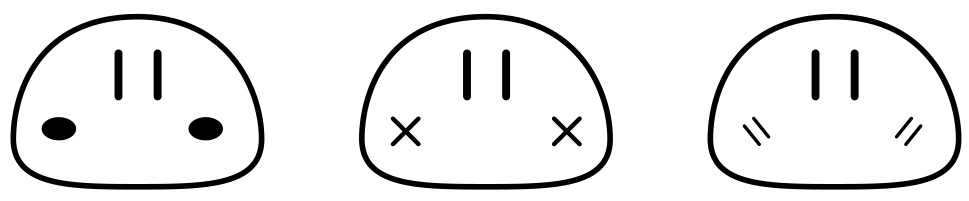
While gauge is not important, the size of your yarn is. Smaller, thinner yarn will make a smaller dango, while bulkier yarn will make a lager one. Use a hook appropriate for your yarn size, but make certain that your stitches are neat and tight. Too loose will make the stuffng show through the holes in the stitches, but too tight will make it infexible, “uncuddly” and appear to be chain-mail! Try and maintain a stitch tension between these two extremes to make your dango look the best! For example: If your yarn is soft and cuddly, but when you crochet with it the result is stiff, try relaxing your tension or moving up a hook size. You'll be amazed how these tips will change your amigurumi results!! Also, this is a very quick, simple crochet project. It is perfect for beginners, but more advance crafters can always embellish it! You can add more detail to the features (eyelashes, bows, “angry” marks, etc.) or even add stripes by using two main colors and changing every few rows. The options are endless!
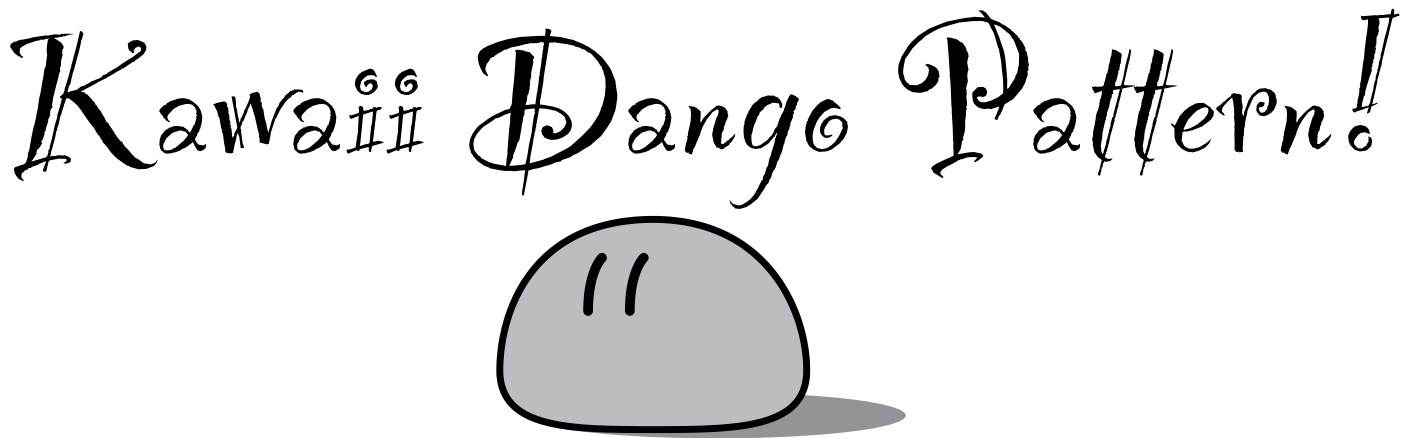
"Kawaii Dango Pattern" by YarnPaint · Page 1 of 3
Pattern:
Dango Body-- (Pattern is worked in the round.) 1) Using main color, magic look 6sc (Optional: place stitch marker in first stitch in each row now and for every row in body.) 2) 2sc in each sc 3) \* 1sc, 2sc in next sc, repeat from \* across 4) \* 2sc, 2sc in next sc, rep. from \* across 5) \* 3sc, 2sc in next sc, rep. from \* across 6) \* 4sc, 2sc in next sc, rep. from \* across 7) \* 5sc, 2sc in next sc, rep. from \* across 8-12) \* sc around 13) \* 5sc, declsc, rep. from \* across 14) \* 4sc, declsc, rep. from \* across 15) \* 3sc, declsc, rep. from \* across 16) \* 2sc, declsc, rep. from \* across Stitch eyes (see section “Eyes" for ideas and directions) and if using Version 2 of Blush add now. Stuff dango firmly but leave somewhat squishy. 17) \* 1sc, declsc, rep. from \* across Cut yarn leaving long til, pull yarn through last stitch to bind offthen thread on yarn needle. Weave end through stitches and pull closed. Top should be tight and smooth, if not try weaving yarn through stitches more to round off. Weave in tail and cut remainder. Eyes-- Using small bits of black yarn, make two straight stitches to form eyes. Two vertical lines look great, but try some other anime eye styles!!

Blush--
There are three different version for blush. Pick whichever you like best!! ng pink yarn, stitch on blush much like the eyes. Try whichever style you like be:
"Kawai Dango Pattern" by YarnPaint · Page 2 of 3 Version 2: Carefully taking acrylic paint, coat brush and apply to dango cheeks. Work in a small circle, working outward to make the size of blush you want. Due to the nature of the yarn and stitch texture, this version works best for a circle style and not many others. Warning: Paint will stain clothing and yarn, so be careful! Version 3: Taking a makeup brush or sponge, coat it with pink eyeshadow. Gently dab onto dango cheeks until as dark as desired. Lightly blow on blush to remove excess clumps. This version works best in a circle shape and not any others. Warning: This version is the most likely to rub off over time. If this happens, simply reapply. It will rub off on clothing!
Now you are all done! Sit back and enjoy your dango!!
I would love to see what you do with your dango! Either post project pictures on Ravelry.com or email me at yarnpaint@gmail.com!
Check out more great patterns and finished projects for sale on my website, www. YarnPaint.com!


