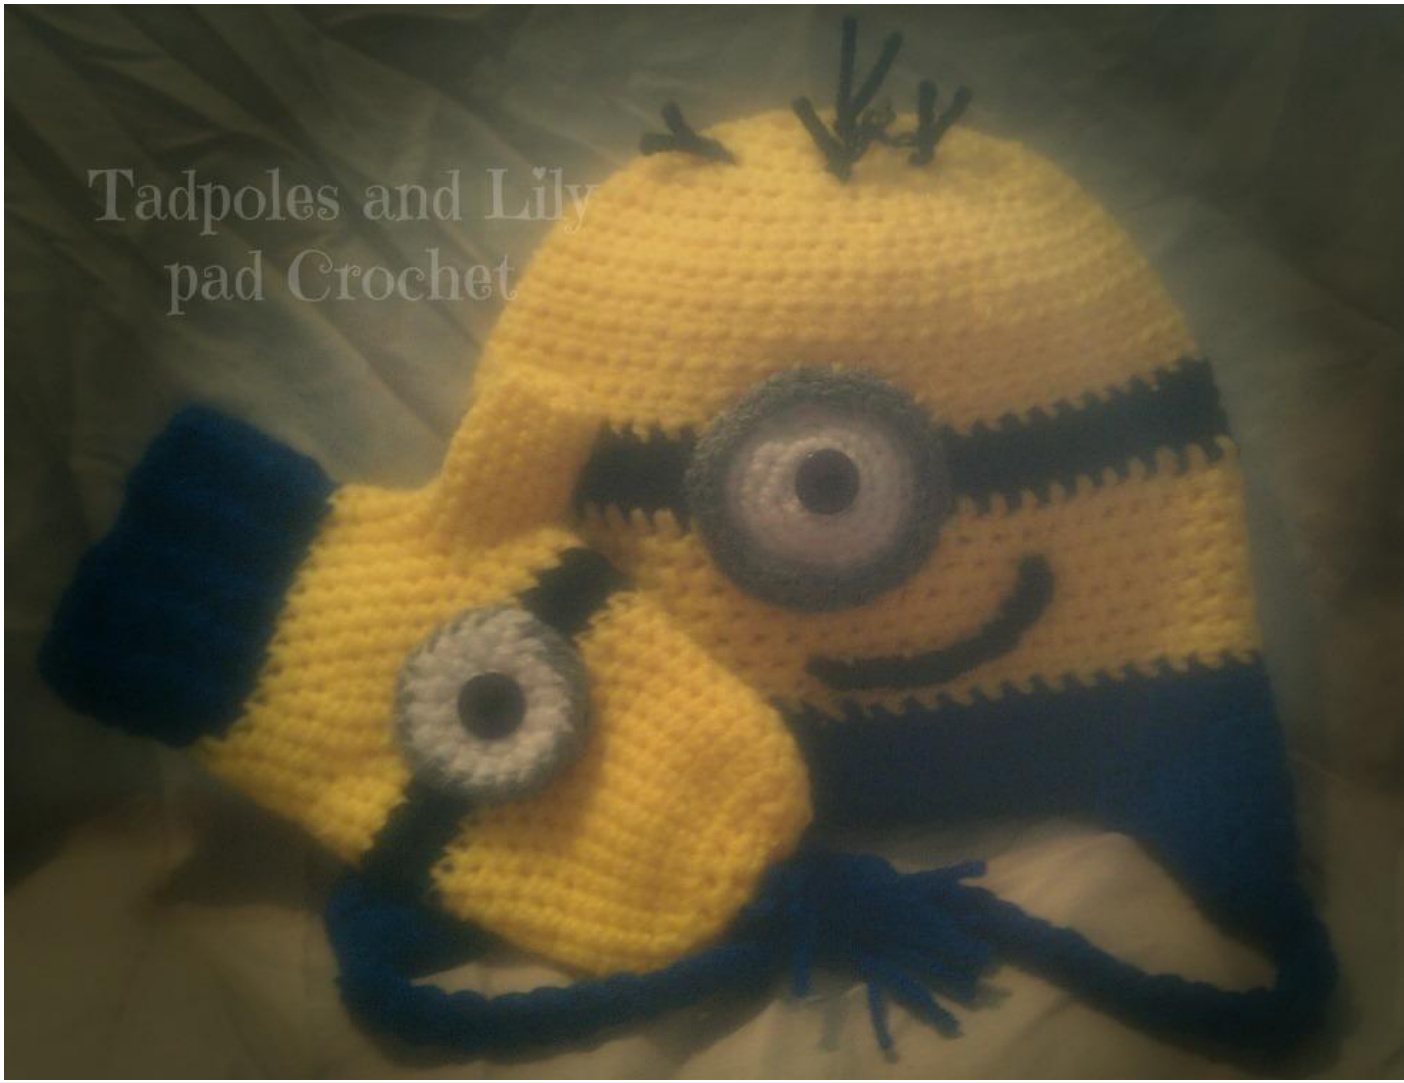
One Eyed Yellow Man Hat and Mittens (Minion Inspired)
Intermediate/Intermediaire/Intermedio
Materials
G hook (4.0 mm) H hook (5.0 mm) I hook (5.5 mm) 5 Buttons (I used 5/8" buttons but you can you the size that you prefer) Yarn needle Suggested colors Red Heart Super Saver Bright yellow Royal White Grey Heather Black If you prefer you can make your set to resemble the purple man that is in the new Despicable me: Red Heart Super Saver Lavender White Grey Heather Black
Special Stitches
Front Post dc (FPdc): Yarn over, insert hook from front to back to front around the post of the indicated stitch. Yarn over and draw up a loop. Yarn over and draw through 2 loops on hook. Yarn over and draw through the last 2 loops. Back Post dc (BPdc): Yarn over, insert hook from back to front to back around the post of the indicated stitch. Yarn over and draw up a loop. Yarn over and draw through 2 loops on hook. Yarn over and draw through the last 2 loops. Sc2tog: Insert hook in next st. Yarn over and draw up a loop. Insert hook in next st, Yarn over and draw up a loop. Yarn over and draw through all three loops on the hook. Hdc2tog: Yarn over, insert hook in next stitch, yarn over and pull up loop. Insert hook in next stitch, yarn over and pull up loop, you will have 6 loops on hook. Yarn over and draw through all loops. Invisible join method: At the end of the round, cut yarn leaving a 2" tail. Pull through to the top. Insert hook from back to front under both loops of the 2nd stitch of the round. Pull cut yarn end through to the back. With the new color, insert hook from front to back in the same stitch. Pull up a loop. Insert hook from back to front under back loop only of the last stitch of the round, yarn over pull through to the back. Tighten up loop to match the rest of them.
Mittens
2 years: 4.5 inch circumference 6.5 inches long 3-7 years: 5 inch circumference 7.5 inches long 8-10 years: 5.5 inch circumference 8 inches long Before starting, it is best to measure around the child's wrist to ensure proper fit. I designed these based on my children's measurements. Although gauge is not critical you may need to go up or down a hook siz.e.
With Blue and G hook.
Ch 16 (18, 20) Join with sl st in first chain to form a ring making sure not to twist the chain. Rnd 1: Chain ch 2, dc in each ch around. Join with sl st in top of beg ch 2. Rnds 2-4: Chain 2. \*FPdc around next stitch. BPdc around next stitch.\* Repeat from \*to\*around. Join. Fasten off. (8 Fpdc, 8 Bpdc) (9 Fpdc, 9 Bpdc) (10 Fpdc, 10 Bpdc) For the remaining parts of the mitten you will be working in continuous rounds.
With Yellow and H hook.
Join with yellow in any st. Sc 16 (18, 20) sts around the cuff. Do not join at the end of the round. Mark the first st with a st marker to help you keep track of the rounds. Make sure you move the st marker to the last st made in each row. Rnd 1: (Inc rnd) Sc into each of the next 7 (8, 9) sts, 2 sc in next st, sc in the next 7 (8, 9) sts. 2 sc in last st.18(20, 22) sts Rnd 2: Sc around. 18(20, 22) Rnd 3: (Inc rnd) Sc into each of the next 8 (9, 10) sts, 2 sc in next st, sc in the next 8 (9, 10) sts. 2 sc in last st.20(22, 24) Rnd 4: Sc around. 20 (22,24) Rnd 5: (Inc rnd) Sc into each of the next 9 (10, 11) sts, 2 sc in next st, sc in the next 9 (10, 11) sts. 2 sc in last st. 22 (24, 26) Rnd 6: Sc in next 11 (12, 13) sts. (You will now be making the thumb hole). Ch 6, sk st sts. Sc in the nxt st. Sc 5 (6, 7) sts. 22 (24, 26) Rnd 7: (Inc rnd) Sc into each of the next 10 (11, 12) sts, 2 sc in next st, sc in the next 10 (11, 12) sts working across the ch 6. 2 sc in last st. 24 (26, 28) Rnd 8: Sc around. 24 (26, 28). In the last st of rnd join black with Invisible join method. Rnd 9-11: With black Sc around. At the end of rnd 11, switch back to yellow and fasten off black. Rnd 12: (Dec rnd) Sc in the nxt 8 (10, 12) sts. Sc2tog. Sc in the next 8 (10, 12) sts. Sc2tog. 22 (24, 26) Rnd 13: Sc around. 22 (24, 26) Rnd 14: (Dec rnd) Sc in the nxt 6 (8, 10) sts. Sc2tog. Sc in the next 6 (8, 10) sts. Sc2tog. 20 (22, 24) Sc around until piece measures 6" (7", 7 %2") from top of cuff to end. To close the tip of the mitten Sc2tog around. Repeating this until you have no sts left. Fasten off. Pull yarn through the bottom of mitten snuggly.
Thumb:
With yellow, join yarn to any thumb stitch and make 10 (12, 14) sc stitches around 1 sc into each st around until thumb measures 1" (1 1%2", 2 "). To close the tip of the thumb, sc2tog around until there are no remaining sts. Eye: With White and G hook you will need one button for the pupil of the eye. Start with a magic circle. 6 sc in circle, tighten to close and join to 1" st. Rnd 1: 2 sc in each st around (12) Rnd 2: sc in st, 2 sc in next. Repeat around. Fasten off. (18)
Goggle:
With Grey and G hook Start with a magic circle of 6 sc, join to 1" st with a sl st. Rnd 1: 2sc in each stitch around, sl st to first st to join. (12) Rnd 2: Sc in next st, 2 sc in next, repeat around. (18) Rnd 3: Sc in the next 2 sts, 2 sc in next, repeat around. (24) Rnd 4: Sl st around in BLO. Fasten off. (24) Assembly Attach button in the center of the white piece. Place white piece in the grey goggle. Whip st around with grey. Attach to top of mitten by whip st around.
Hat
H hook (5.0 mm) Toddler size fits ages 1-3: 7 /2" high or I hook (5.5 mm) Child size fits 3-10: 8" high. Hat is worked in a continuous round. Do not join at the end of each round. Start with a magic circle of 8 hdc. Sl st to join Rnd 1: 2 Hdc in each st across (16) Rnd 2: Hdc in next st. 2 hdc in next. Repeat around. (24) Rnd4: Hdc in the next 3 sts. 2hdc in the next. Repeat around. (40) Rnd 7- 10: Hdc around. Fasten off. (56) Rnd 11-14: Attach black with an invisible join. Hdc around. Fasten off. (56) Rnd 15-23: Attach yellow with an invisible join. Hdc around. Fasten off. (56) Rnd 24-27: Attach blue with an invisible join. Hdc around until there is 2 sts remaining in the round. Sc in the next, sl st in the last. Fasten off. Mark the sl st if you are adding the ear flaps. Weave in tail. (56)
Ear flaps (optional):
Make sure that your marked st is in the center. You can do this by folding the hat in half. @ Tadpoles and Lily pad Crochet Count 8 sts to the left from where you marked off the last st of the previous round. Place st marker. Repeat for the right side. Remove center st marker. With the marked side facing away from you, attach yarn in the first marked st. The ear flap will measure 2". If you would like them longer you can repeat row 2 for 2 more rows before continuing on to row 3. Your ch 2 will count as a st. Row 1: Ch 2 (counts as first st), hdc in the next 9 sts. (10) Row 2: Ch 2, hdc in next 8 st. Hdc in the top of the ch 2 sp, turn. (10) Row 4: Ch 2, hdc2tog, hdc next 4 sts, hdc2tog, turn. (7) Row 5: Ch 2, hdc2tog, hdc in next 3 sts, hdc2tog, turn. (6) Row 6: ch2, hdc2tog, hdc in next st, hdc2tog. Fasten off. Weave in tail. (3) With the marked side facing you, attach yarn in the second marked st. ws 1-9. Do not fasten off. Ch 1, Sc around entire piece. Fasten off and weave in ene
For tassels
Cut as many blue pieces of yarn as desired twice the length needed. Fold in half and attach to the center of the ear flaps. I used 6 pieces roughly about 30" long for each size. Braid to finish off.
Hair:
Cut 4 pieces of black yarn about 3 inches long. Attach by inserting hook under desired st and pulling through loop to tighten. Eye: With white and G hook. Start with a magic circle of 6 sc, sl st to first st to join. Rnd 1: 2sc in each stitch around, sl st to first st to join. (12) Rnd 2: Sc in next st, 2 sc in next, repeat around. (18) Rnd 3: Sc in the next 2 sts, 2 sc in next, repeat around. (24) Rnd 4: Sc in the next 3 sts,2 sc in next st, repeat around. Fasten off. (30) Rnd 5: Attach grey with a sl st to any st of previous round Sc in the next 4 sts, 2 sc in next st, repeat around. Fasten off. (36) Rnd 6: Sc around. (36) @ Tadpoles and Lily pad Crochet Rnd 6: Sl st in each st around. Fasten off, leaving a long tail for attaching. (36)
Mouth (Optional):
You can stitch on a mouth freehand if you prefer or you can ch 15, with G hook and black yarn. Fasten off leaving a long tail at the end for attaching to the hat. I prefer the chain method as I feel it looks neater in the end. Attach 2 black buttons to the trousers part of the hat Thank you for purchasing this pattern ? Due to the nature of this sale there are NO returns or refunds. If you need additional help or find any errors: tadpolesandlilypadcrochet@gmail.com @ This pattern is Copyrighted it cannot be reproduced in any way or form! You may not sell the pattern itself or share it with others. If someone is interested in purchasing this pattern please refer them to tadpoles and lily pad crochet so they may purchase it themselves. You MAY sell finished items and I encourageyoutodoso! I would love to see your finished work!


