Opus 301 by Mel Browne and Linda Ocarroll
Opus series
Craft or artwork? You decide.
Description
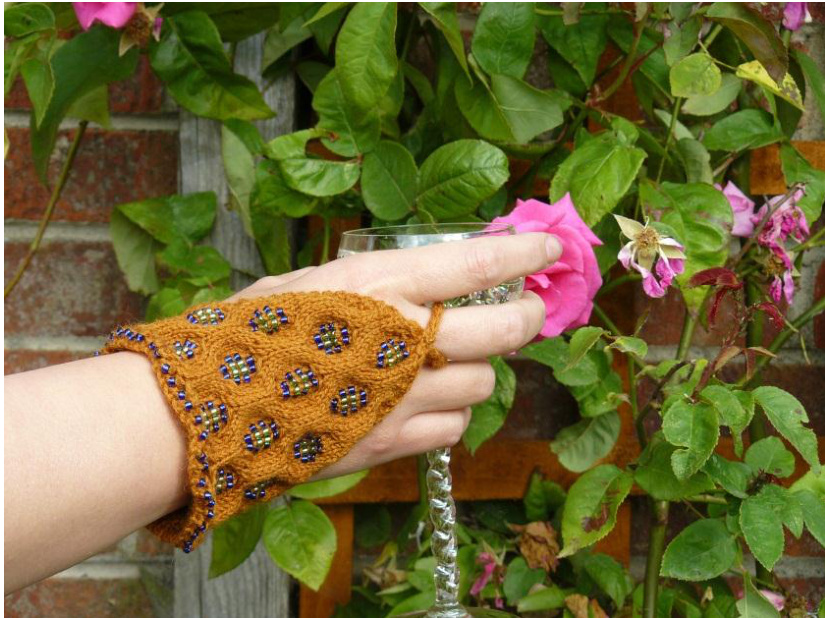
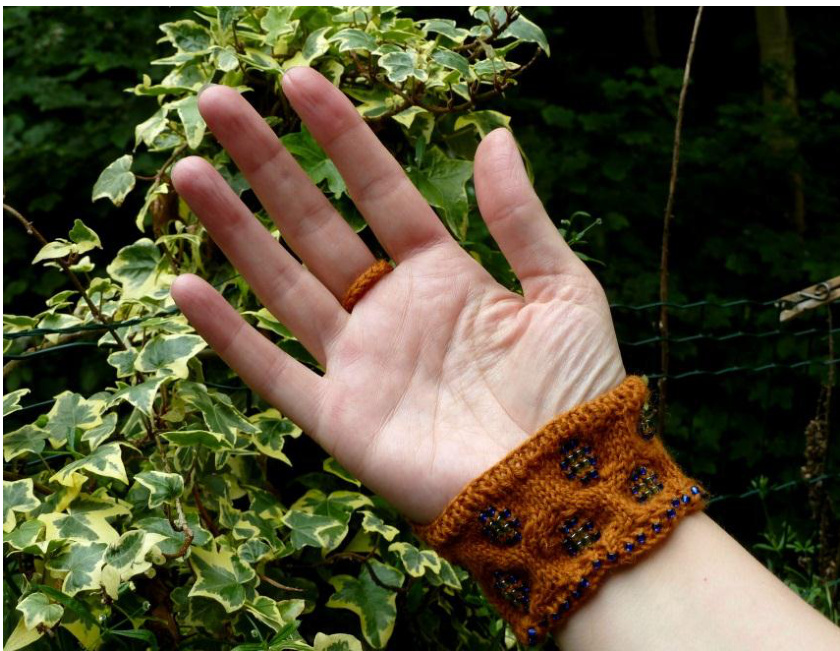
Cabled cuff with ring. Sizes: Women's medium size, (9 inches at widest part of hand), use 2.5mm needles. Small and large sizes can achieved by adjusting needle size up or down. Samplecuff The sample cuff weighs 19g.The yarn is Marriner Mainsail 4-ply, colour f1057 Sombrero Tan (discontinued). The beads are inside-silvered dark blue Matsuno, size 8/0 (main colour) and transparent grass green lustre Matsuno, size 8/0 (second colour). The cuff was knitted on 2.5mm needles (UK13). Washing: Glass beads may not survive some washing machines. Hand-wash only, and roll in a towel to remove excess moisture. Dry away from direct heat. NB: inside-painted beads may not survive washing at all; use this type of bead at your own risk. Do not press.
Requirements
Yarn: 25g of any fine, smooth, well-plied and strong 4 ply yarn per cuff. (Unplied, half-plied, fragile or breaky yarns may not take the stress of both cabling and beading in the cuff; splitty yarns may cause difficulties when placing beads). One circular needle to use magic loop method or 2 circular needles with half the stitches on each Small and medium: size 2.5mm/UK13/US1 The pattern requires nearly 300 rocailles (seed beads), size 8/0 or 7/0, per cuff, but a proportion of beads will be discarded due to too-small holes. Inside-painting may make holes smaller, in which case size 7/0 may be preferred. The holes should be at least 0.8-1.0mm diameter. NB: inside-painted beads may not survive washing, so non-painted beads may be preferred. Good quality beads such as Matsuno are recommended for consistent hole size and minumum wastage. Crochethook: One steel crochet hook to fit through the holes in most of your beads: probably size 0.75-1.0mm (old UK size 5-4; US size numbers vary). RowCounter
Gauge
Women's medium: 9 sts to inch over stockinet For smaller or larger size, change needle size Stitches and tech terms k = knit p =purl cast off = (bind off in USA)

The pattern
Cast on
Using 2.5mm needles, cast on 85 stitches. Transfer 43 to second circular needle then join in the round and transfer the 43rd stitch on the second needle to the one with the tail yarn. On the first round, knit those two stiches together to leave 84 stitches, 42 on each needle.
Beaded border
Row I: k1, p1 rib Row 2: (B, p1) repeat to end (B = place bead and then knit same st ; see Guidelines below) Row 3: k1, p1 rib Row 4: k all stitches loosely. (84 sts)
Beaded cable cuff (see chart below)
This is a 12-st pattern which is repeated 7 times per round. Row 1: (C6F, C6B), repeat to end Row 2: k to end Row 3: k to end Row 4: (B on 1st st, k10, B on next st). Repeat to end. Row 5: (B on 2 sts, k8, B on next 2 sts). Repeat to end. Row 6: (B on 2 sts, k8, B on next 2 sts). Repeat to end. Row 7: (B on 1st st, k10, B on next st). Repeat to end. Row 8: k to end Row 9: k to end Row 10: (C6B, C6F), repeat to end Row 1l: k to end Row 12: k to end Row 13: k5, B on next 2 sts, k5 Row 14: k4, B on next 4 sts, k4 Row 15: k4, B on next 4 sts, k4 Row 16: k5, B on next 2 sts, k5 Row 17: k all sts but realign them so that the first 3 sts on each needle move onto the other needle Row 18: First needle now becomes the Back of Hand (BoH) - k all sts. Second needle becomes palm - k1, p1 rib these sts. Back of hand decreases (see chart below) Row 1: BoH: k1, sl1, k1, psso, (C6B, C6F) 3 times, k1, k2tog (40 sts) Palm: k1, p1 rib (42 sts) Row 2: BoH: k all sts (40 sts) Palm: Cast off in rib Row 3: k40, turn - you now work back and forth across the BoH sts Row 4 (WS): k1, sl1, k1, psso, k4, (BB, k10) twice, BB, k4, k2tog, k1 (38 sts) When beading fron the wrong side, follow same instructions but purl the st when the bead is on Row 5 (RS): k5, (BBBB, k8) twice, BBBB, k5 Row 6: k2, p3, (BBBB, p8) twice, BBBB, p3, k2 Row 7: k1, sl1, k1, psso, k3, (BB, k10) twice, BB, k3, k2tog, k1 (36 sts) Row 8: k2, p32, k2 Row 9: k36 Row 10: k1, sl1, k1, psso, p3, (C6F, C6B) twice, k3, k2tog, k1 (34 sts) When cabling from the wrong side, follow same instructions but purl all sts Row 1l: k34 Row 12: k2, p30, k2 Row 13: k1, sl1, k1, psso, k7, BB, k10, BB, k7, k2tog, k1 (32 sts) Row 14: k2, p6, BBBB, p8, BBBB, p6, k2 Row 15: k8, BBBB, k8, BBBB, k8 Row 16: k1, sl1, k1, pss0, p6, BB, p10, BB, p6, k2tog, k1 (30 sts) Row 17: k30 Row 18: k2, p26, k2 Row 19 (RS): k1, sl1, k1, psso, (C6F, C6B) twice, k2tog, k1 (28 sts) Row 20 (WS): k1, sl1, k1, pss0, p22, k2tog, k1 (26 sts) Row 21: k1, sl1, k1, psso, k20, k2tog, k1 (24 sts) Row 22: k1, sl1, k1, psso, p8, BB, p8, k2tog, k1 (22 sts) Row 23: k1, sl1, k1, psso, k6, BBBB, k6, k2tog, k1 (20 sts) Row 24: k1, sl1, kl, psso, p5, BBBB, p5, k2tog, k1 (18 sts) Row 25: k1, sl1, k1, psso, k5, BB, k5, k2tog, k1 (16 sts) Row 26: k1, sl1, k1, psso, p10, k2tog, k1 (14 sts) Row 27: k1, sl1, k1, psso, k8, k2tog, k1 (12 sts) Row 28: CD6B, CD6F (8 sts) Row 29: sl1, k1, psso, sl1, k1, psso, k2tog, k2tog (4 sts) Row 30: k1, sl1, k1, psso, k1 (3 sts) Now work i-cord on these 3 sttiches until it is long enough to go round your middle finger. Cast off then sew to the base of the i-cord and run in ends. 0000000
| 3 4 | 1 | 1 1 | 1 | 1 | 1 | 1 | 1 1 | 2 | 2 | 2 | 2 | 2 | 2 | 2 | 2 3 | 3 | 3 3 | 3 | 3 | 3 3 | 3 | 3 4 | 4 | 4 | St | Ro | ||||
| 6 | 7 | 8 9 | 0 | 2 | 3 | 4 5 | 6 | 7 | 8 9 | 0 | 1 | 2 3 | 4 | 5 6 | 7 | 8 | 9 | 0 1 | 2 | 3 4 | 5 | 6 7 | 8 | 9 0 | 1 | 2 | 3 | w 30 | Fac- ing WS | |
| CD6B | CD6F | 4 29 | RS | |||||||||||||||||||||||||||
| k | 8 12 | 28 27 | WS RS | |||||||||||||||||||||||||||
| k | B | B | k | 14 16 | 26 25 | WS RS | ||||||||||||||||||||||||
| B B | B B | B B B B | k | 18 20 | 24 23 | WS RS | ||||||||||||||||||||||||
| k | B B | k | 22 | 22 | WS | |||||||||||||||||||||||||
| k | k | 24 26 | 21 20 | RS WS | ||||||||||||||||||||||||||
| k | CB6B | CB6F | CB6B | CB6F | 28 | 19 | RS | |||||||||||||||||||||||
| k | k | k | 30 | 18 | WS RS | |||||||||||||||||||||||||
| k | B B | B | B | k | 30 30 | 17 16 | WS | |||||||||||||||||||||||
| k | k | B B | B B | B B B B | B B | B B | B B | B B | k | k | 32 32 | 15 14 | RS WS | |||||||||||||||||
| k k | / | B | B | B | B | k k | 32 13 34 12 | RS WS | ||||||||||||||||||||||
| k | CB6F | CB6B | CB6F | 34 | 11 | RS | ||||||||||||||||||||||||
| k | CB6B | CB6F | B B | B B B B B B B B | B B | CB6B | CB6B CB6F | B B B B B B | B B B B | B B | CB6B | k k | k k k k | 34 36 36 36 38 38 38 40 40 40 | 10 9 8 7 6 5 4 3 2 1 | WS RS WS RS WS RS WS RS RS RS | ||||||||||||||
| k k k | k / | B CB6F | B B B B B B B B B B B |
Chart glossary
(Read row by row from right to left for RS, and from left to right for WS, starting with row 1.) Empty box: knit if on RS, purl if on WS / =k2tog \ = sl1 k1 pass slipped st over CB6F = Put next 3 sts onto cable needle and hold at front, k/p3 then k/p3 from cable needle CB6B = Put next 3 sts onto cable needle and hold at back, k/p3 then k/p3 from cable needle CD6F = Put next 3 sts onto cable needle and hold at front, p3tog then p3 from cable needle CD6B = Put next 3 sts onto cable needle and hold at back, p3 then p3tog from cable needle B = Place bead and knit (if on RS) or purl (if on WS) the same st Placing beads (guidelines for this pattern): A fairly fast and efficient way to get precise placement of beads for this pattern is the crochet hook method, or the very similar beading wire method. If this is not possible - e.g. you do not have access to hook or beading wire - you can use the stringing method, or you can embroider the beads on, if you don't mind that the beads will then have some movement. Crochet hook method: Use a steel crochet hook which will pass easily through the hole in the bead. Discard any beads which do not smoothly pass over the hook (expect to waste 50% of cheap beads; 10% of good quality beads). Holding the hook by its handle in your right hand so that it lies horizontally, check that the hook is facing you. Pass the hook through the bead (at this point you can advance-load several beads onto the neck of the hook). Pass the hook from right to left through the next stitch on the left needle, keeping the hook facing towards you. Hook the stitch off the left needle, tensioning it on the hook to make sure that the yarn remains enclosed behind the hook (i.e. so that you do not split the yarn). Pass one bead from the neck of the hook over the hook and yarn, to the base or neck of the stitch. Keep the yarn under tension and check that it is still fully enclosed behind the hook. Pull the stitch well out of the bead, and thread it back onto the left needle. If you have kept the hook facing towards you, the stitch will not twist. Now knit or purl the same stitch. Potential problems with crochet hook method: Use with care and keep the hook away from children and pets, as steel hooks can be sharp, and some old ones had pointed ends to the handles. While the hook is not in use, do not attempt to hold the hook in your mouth like the cable needle. Because the hook is so tiny, some types of more splitty yarn cannot easily be threaded by this method. Beading wire method: This method places beads in the same precise manner as the steel crochet hook, but more safely - and works fine with splitty yarn. Cut a five- or six-inch length of beading wire. Pass it through the next stitch on the left needle. Fold the wire in half, holding the ends together, and pass the ends through a bead, pushing the bead onto the neck of the stitch. Using the wire, pull the stitch through the bead, far enough to thread it back onto the left needle, taking care not to twist the stitch; knit or purl same st. It may be necessary to test different types of beading wire until one can be found that will fit through the bead but will not suffer metal fatigue too quickly. Stringing method: Thread 300 beads onto the yarn beforehand as follows. Find a sewing needle which will easily pass through the hole in the bead. Tie a loop of sewing thread through the eye of the sewing needle. Pass the end of the yarn through the thread-loop, and prevent the yarn from slipping out by making a Russian join. Using a tapestry needle (bodkin), sew the end of the yarn through its own twist by using a running stitch along the yarn's length for two inches from where it is looped through the thread. Cut the loose end from the yarn, leaving a sewn-down loop. Thread the beads over the sewing needle, the sewing thread and the yarn, and push them far enough along the yarn to allow you to cast on. Placing strung beads: Bring the yarn to the front of the work, push a bead up against the needles and purl the next stitch. Alternatively, push a bead up against the needles, knit the stitch and push the bead through with the new stitch. Potential problems with stringing method: (1) It takes extra effort, to be pushing the beads further along the yarn until they are required. (2) Pushing large numbers of beads along the yarn can brush up its smooth surface. (3) After the beads are placed, some may move through to the back of the work at any time, and thereby become invisible until you push them back again. arn containing knotted breaks causes inconvenience in beaded knitting. Rewind tl. ball/skein before knitting to check for knots; cut out the knots and wind a new ball from each un-knotted section. Choose the longest section of yarn for beading.


