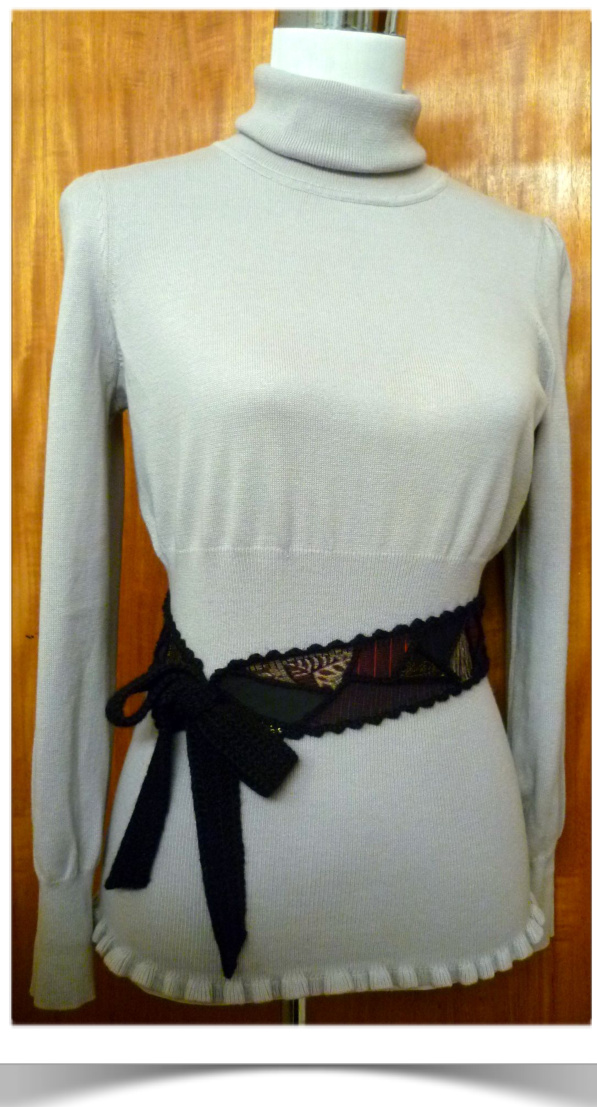
PARIS BELT TUTORIAL
(A multimedia project combining the art of crochet and embroidery). Designer: Shelby Allaho
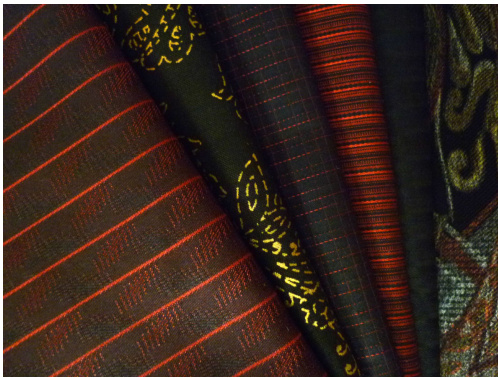
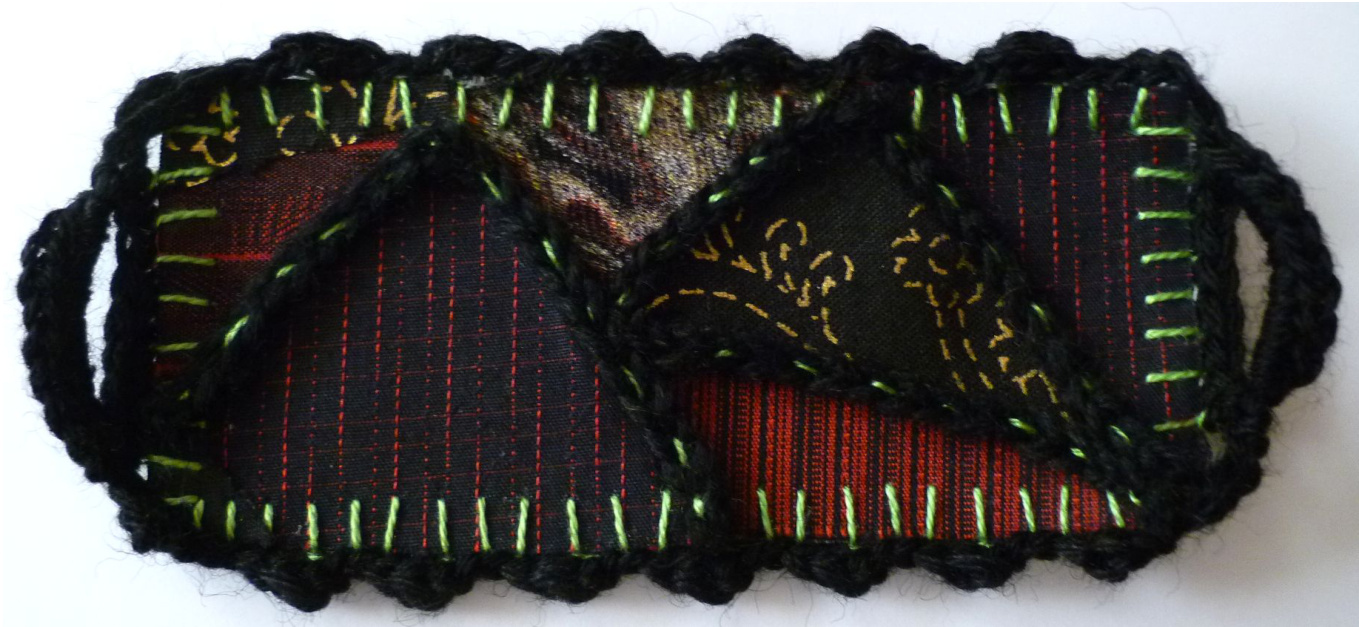
My favorite part of the grand prize winning "Kyoto Coat" that I designed for the Crochet Guild of America's 2010 design competition, was the crazy quilt style sash. I liked it so much, I decided to design a belt for myself using the same technique. I consider this to be the big sister of the "Kyoto Coat" sash, so I named it the "Paris Belt", after one of Kyoto, Japan's sister cities. I suggest shopping for fabrics with a color in mind. First, choose a print that you love, then choose 4 or 5 more that complement it. For the belt shown, I chose mostly cotton fabrics, but you may choose any medium weight fabric that can tolerate a medium to medium high iron setting. Don't be afraid to use the back side of fabrics as well. I used the back side of two of the fabrics that I chose for this belt. Some patience will be required when outlining the fabric sections with crocheted chains, but if you are diligent, it will really pay off, as it is this detail that really makes the belt something special. This the the type of accessory that you will enjoy wearing season after season.
MATERIALS
-Paper for making the pattern -A selection of printed fabrics
-Medium weight, iron-on interfacing -Wonder Under, fusible adhesive -Ironing board and iron -1 Skein Berroco "Ultra Alpaca Light" -1 Ball DMC #8 Pearl Cotton -Crochet hooks in size C/2 (2.75mm), and D/3 (3.25mm) -Yarn needle -Sewing needle -Rust proof pins
ABBREVIATIONS
ch= chain sc= single crochet dc= double crochet sl st= slip stitch and pull through one loop on hook, yo and pull through remaining 2 loops on hook). exsc2tog= insert hook in next st, yo pull through work, insert hook in next st, yo, pull through work. [Yo, pull through 2 loops on hook], twice.
INSTRUCTIONS
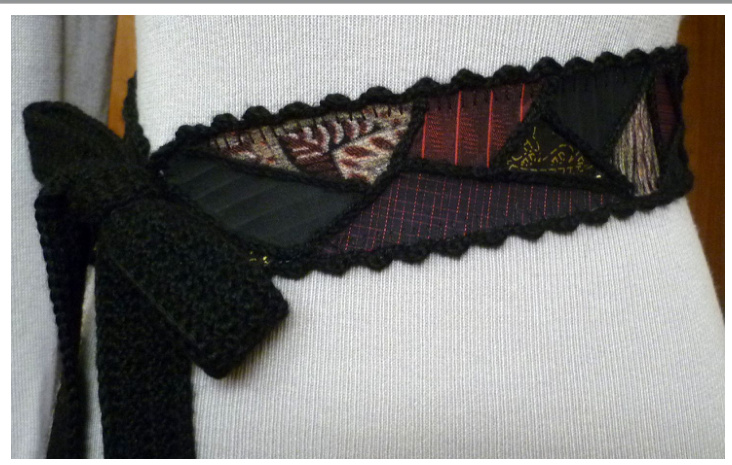
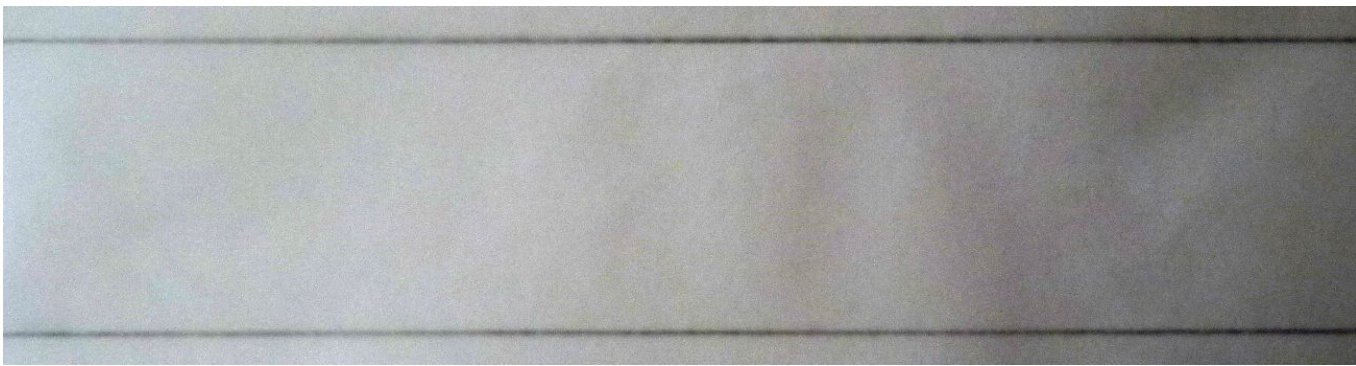
1. Decide what type of garment you would like to wear the belt over. Put it on and measure your waist where you would like the belt to sit. Make sure not to measure too tightly, as you want to feel comfortable sitting while wearing the belt. 2. Decide the width. The fabric portion of the belt show here is 1 3/4" wide. The crocheted edging will add 1/2" to the total width. 3. Now it is time to make the pattern. Unless you have a roll of paper, you may have to tape pieces of paper together in order for it to be the length you need. Mark the length and width on the paper and draw the outline of the belt.
4. Use this pattern to cut out the interfacing, Wonder Under, and back side of the belt.
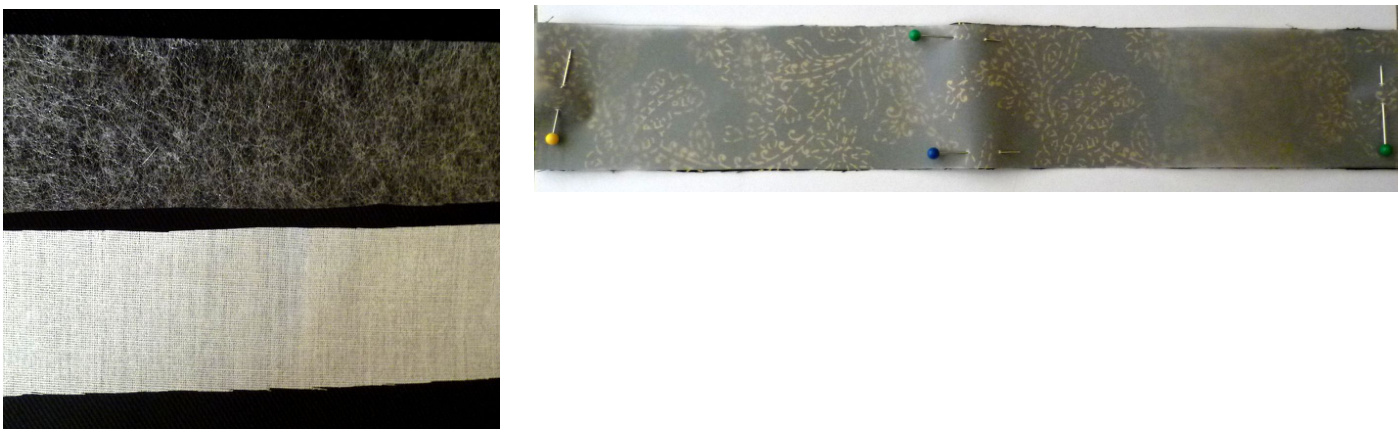
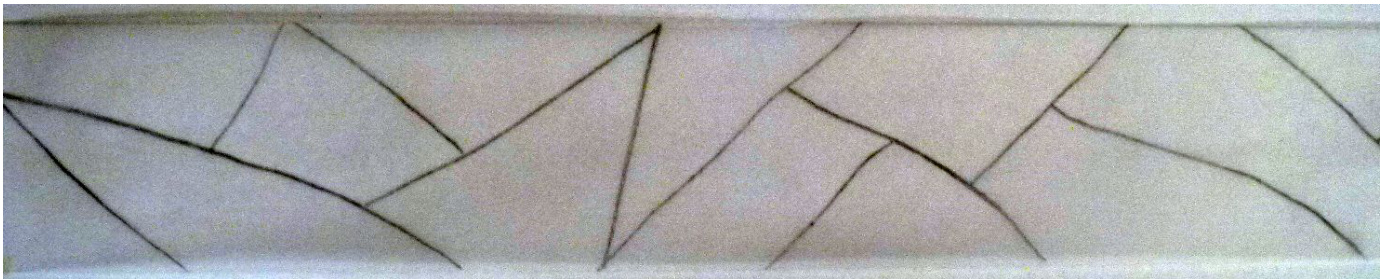
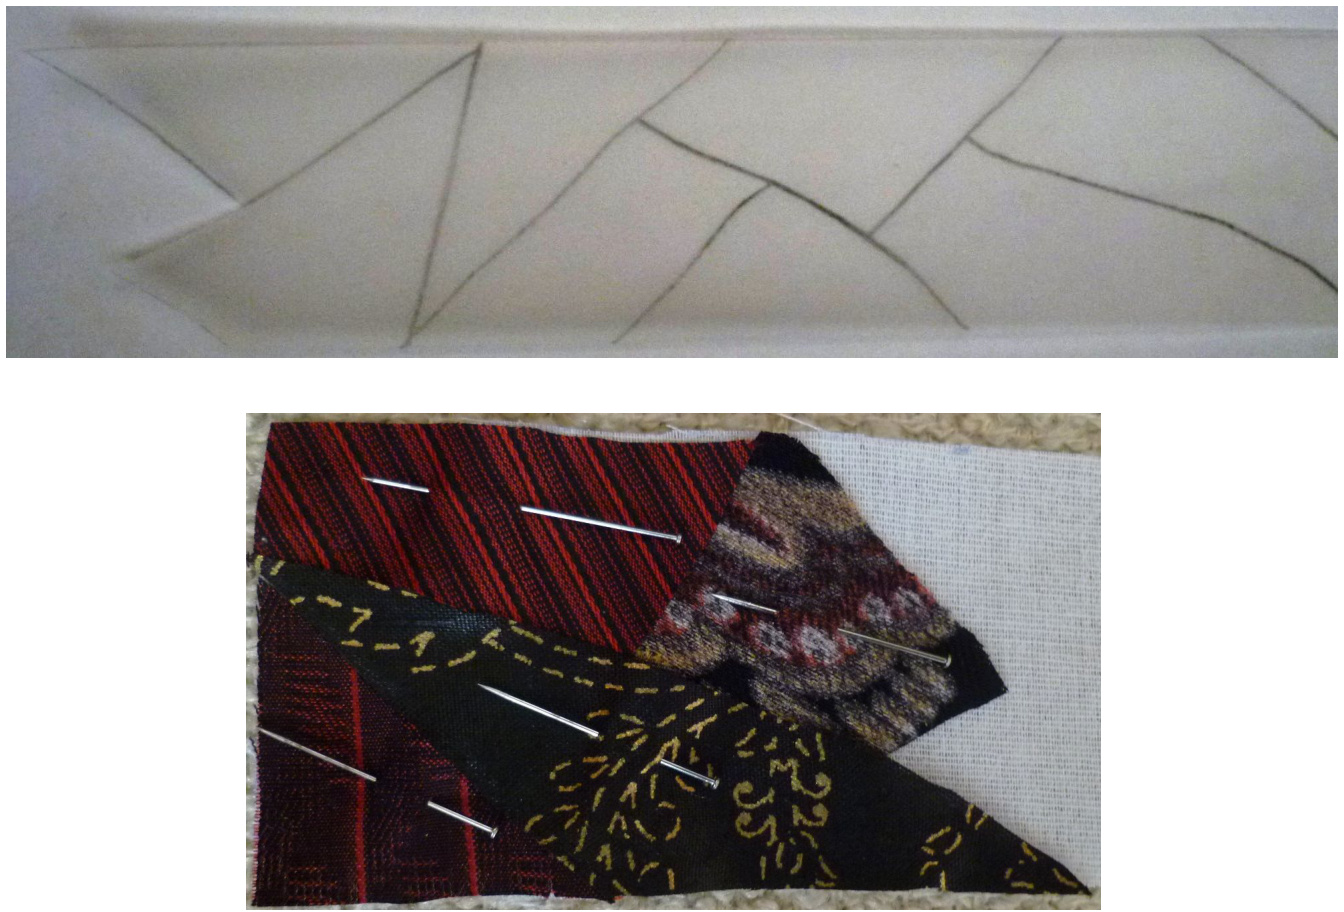
5. Randomly divide the pattern up into sections by drawing lines in a crazy quilt style fashion.
6. Cut one section off of the paper pattern at a time, and use it as a pattern to cut out a piece of fabric. With the iron-on side of the interfacing facing up, lay the fabric pieces on top of it, as they were in the pattern. Pin each piece in place before cutting the next one. Continue working in this manner until you have cut up the entire belt pattern. Alternate fabrics so that the colors and patterns in the belt will be balanced.
7. Lay the interfacing with the pinned fabric pieces on an ironing board. Set your iron on a moderate setting appropriate for the fabric you are using. Begin on one end and remove pins from 3 or 4 pieces and make sure they are arranged properly. Lay a press cloth over the top, and press briefly until the interfacing and fabric pieces have bonded together. Continue working in this manner until you have ironed all of the pieces to the interfacing. Don't worry if there are small gaps between the pieces, as you will be covering them later with crocheted chains.
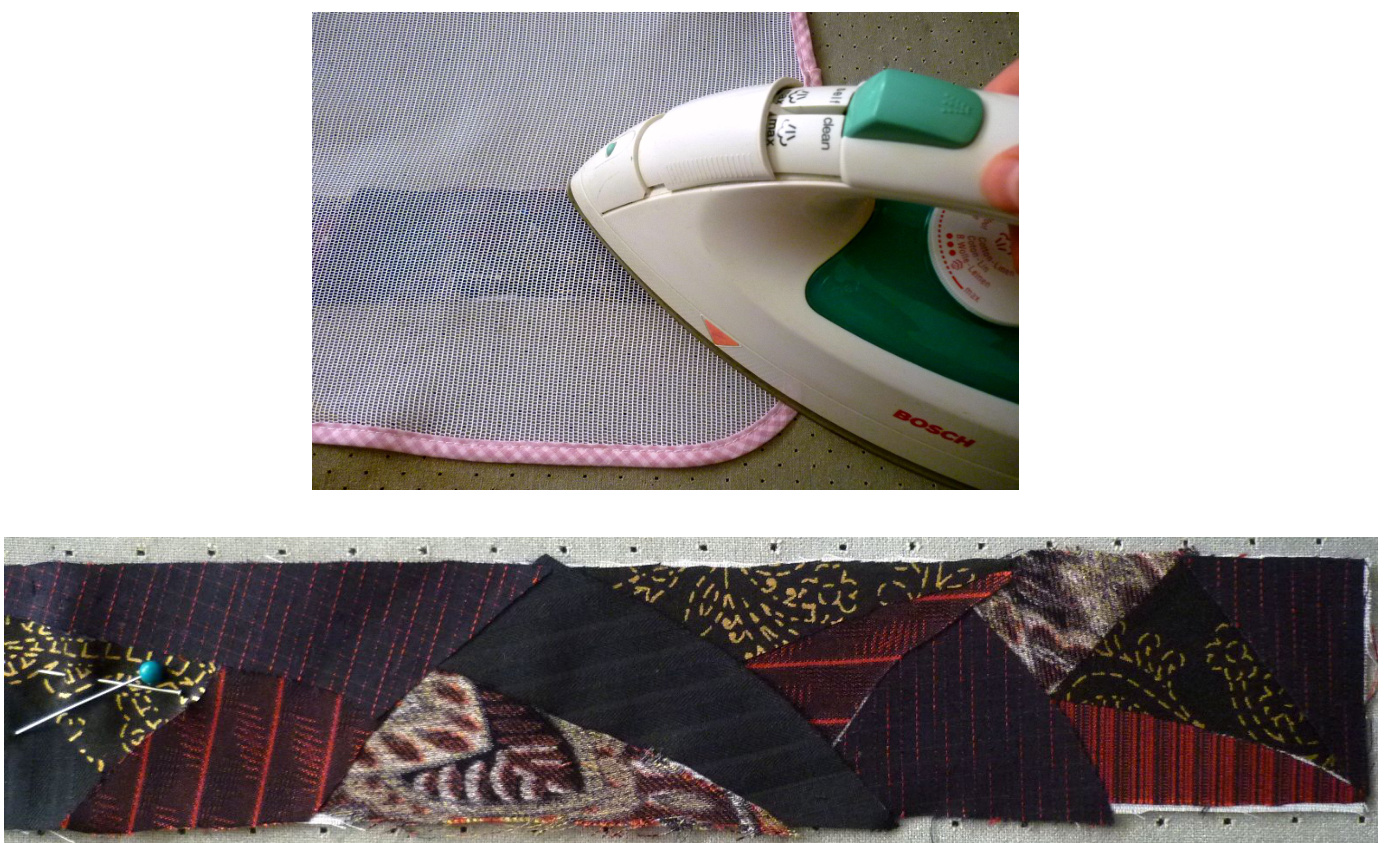
8. Turn belt over and press on the back side.
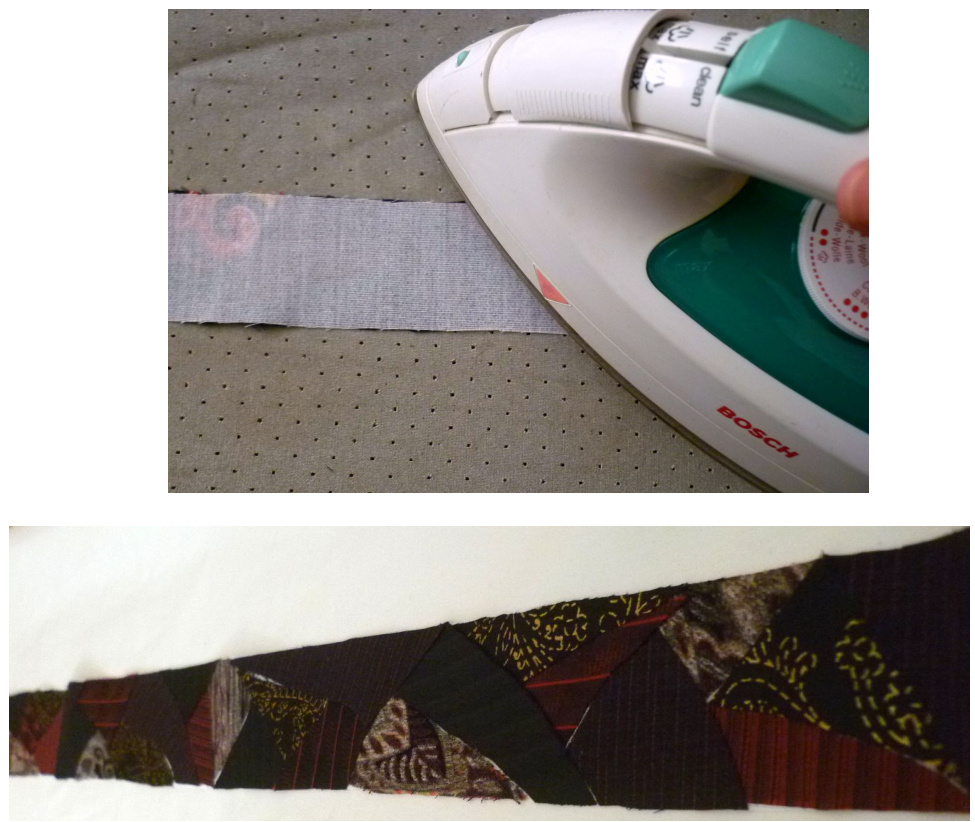
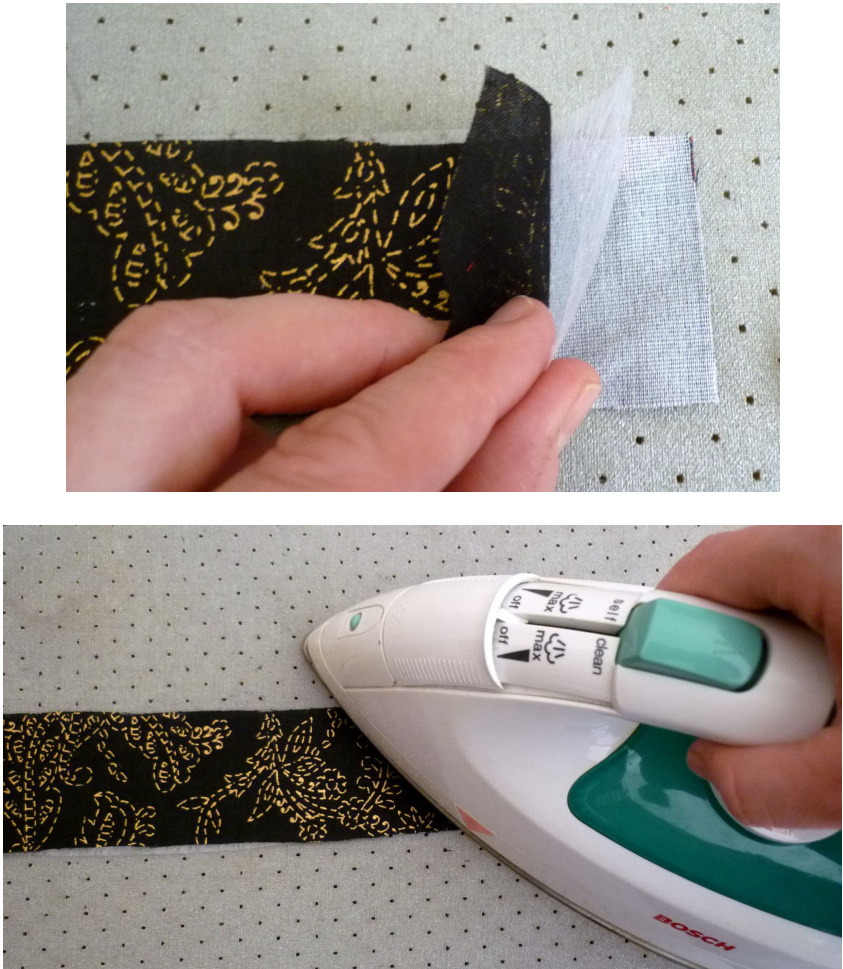
9. Turn the interfacing over and lay the Wonder Under on top, and the fabric back of the belt on top of that. Iron all 3 layers together until they are bonded.
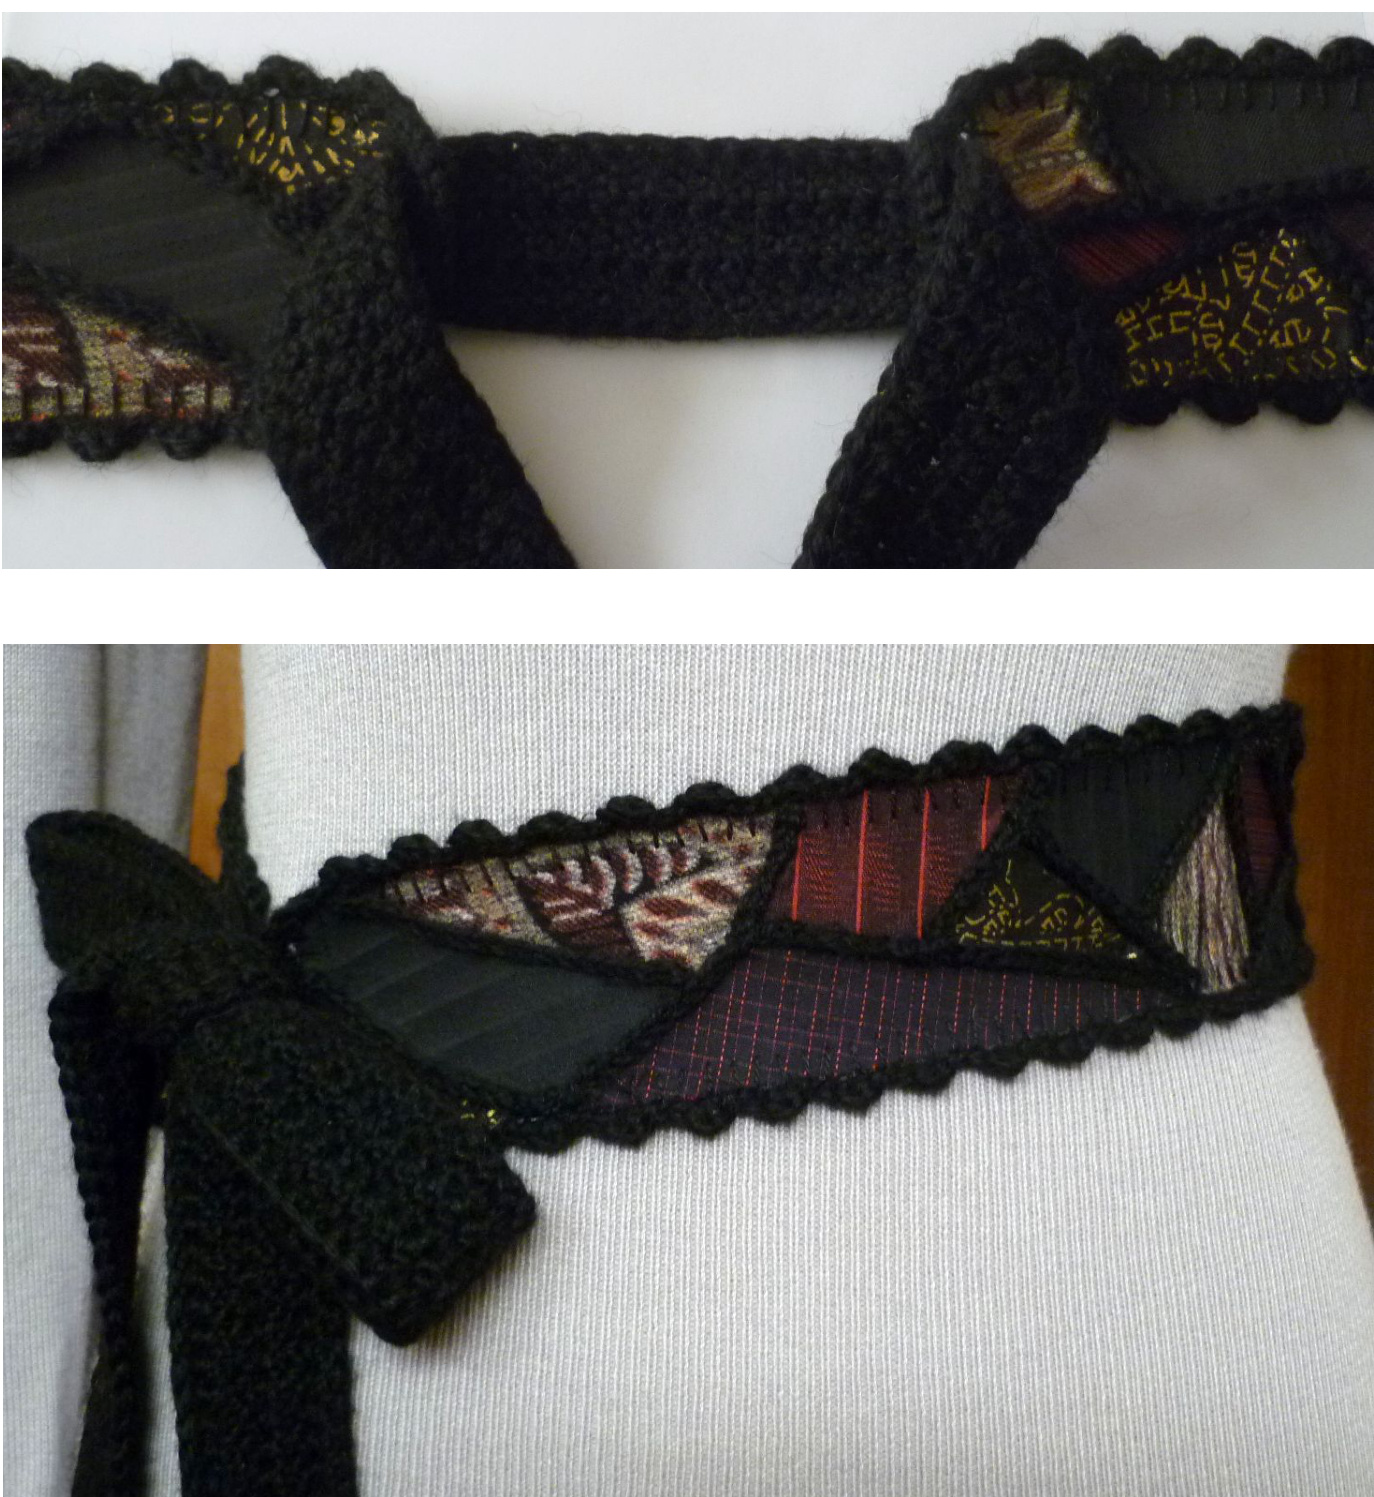
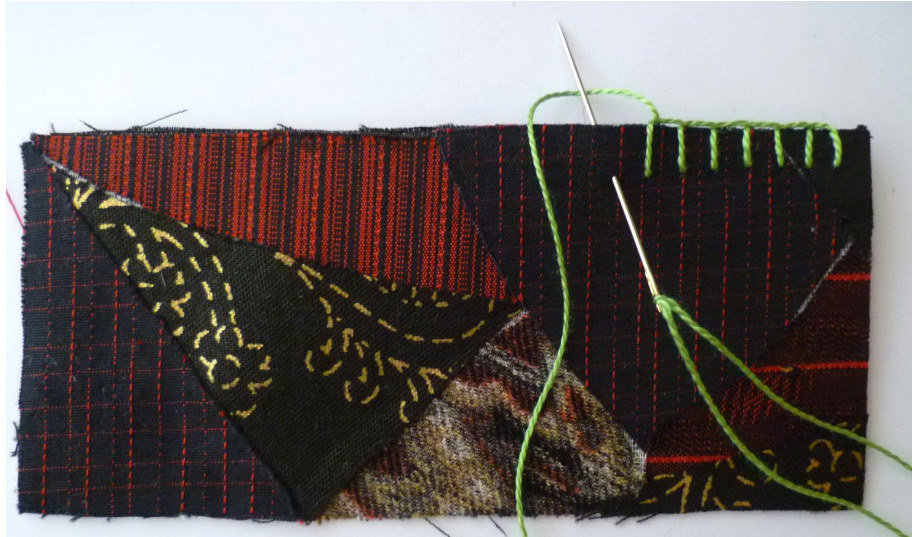
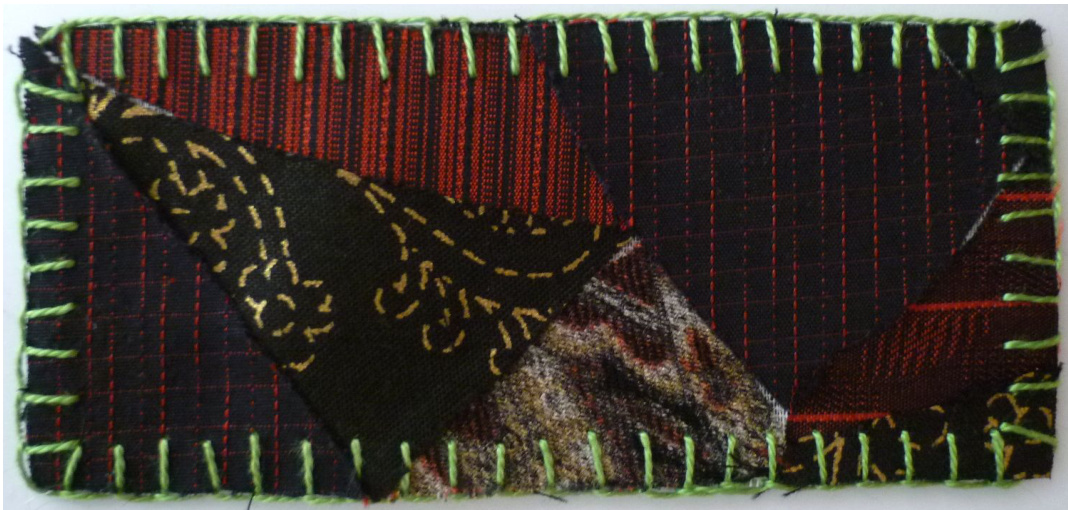
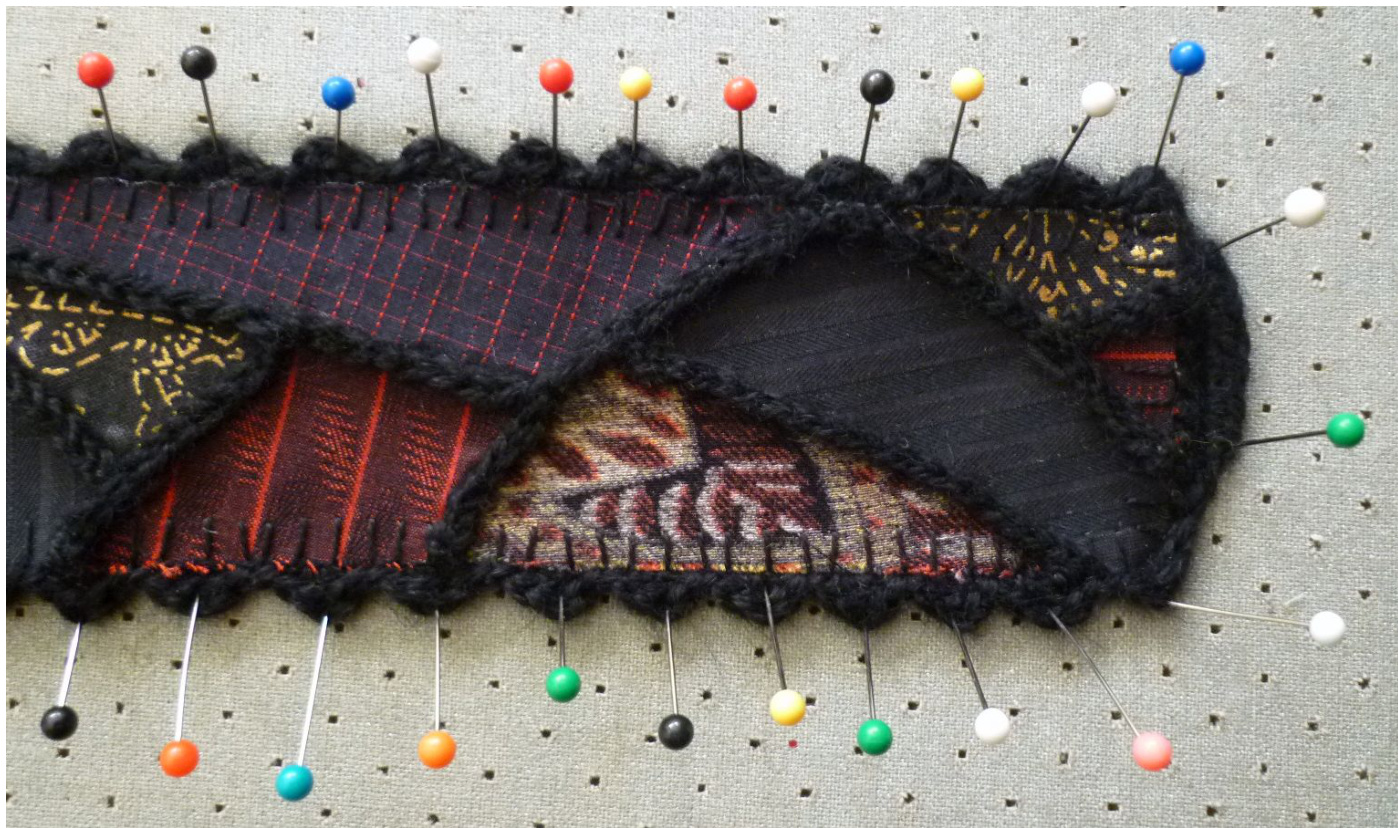
10. Single thread a sewing needle with a length of Pearl Cotton and tie a knot at the long end. Begin in one corner of the belt and make buttonhole stitches that are approximately 1/4" deep and 3/16" apart all the way around. Note: a contrasting thread is being used in these photos for better illustration.
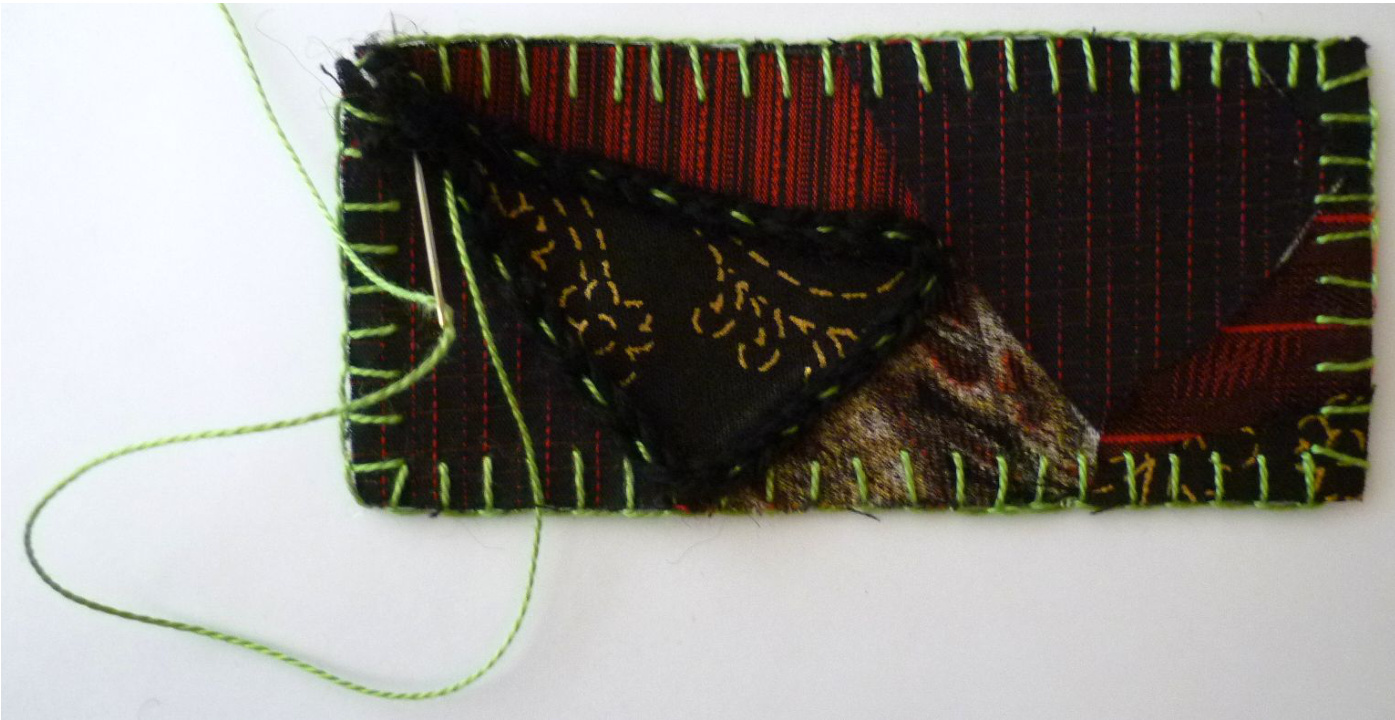
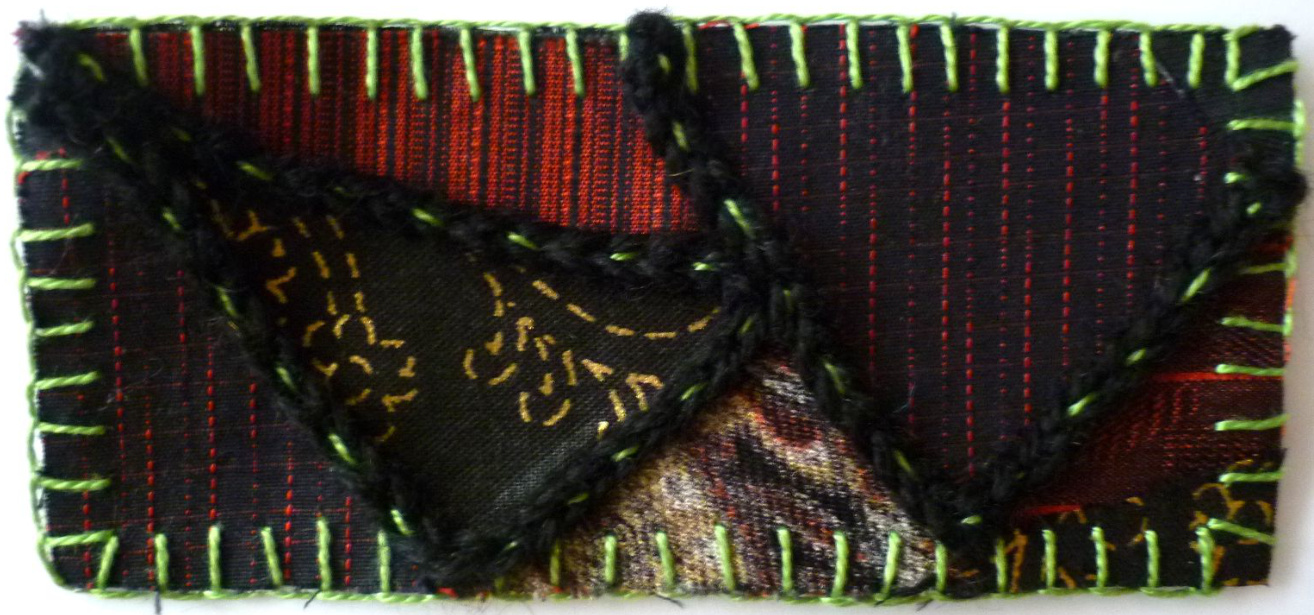
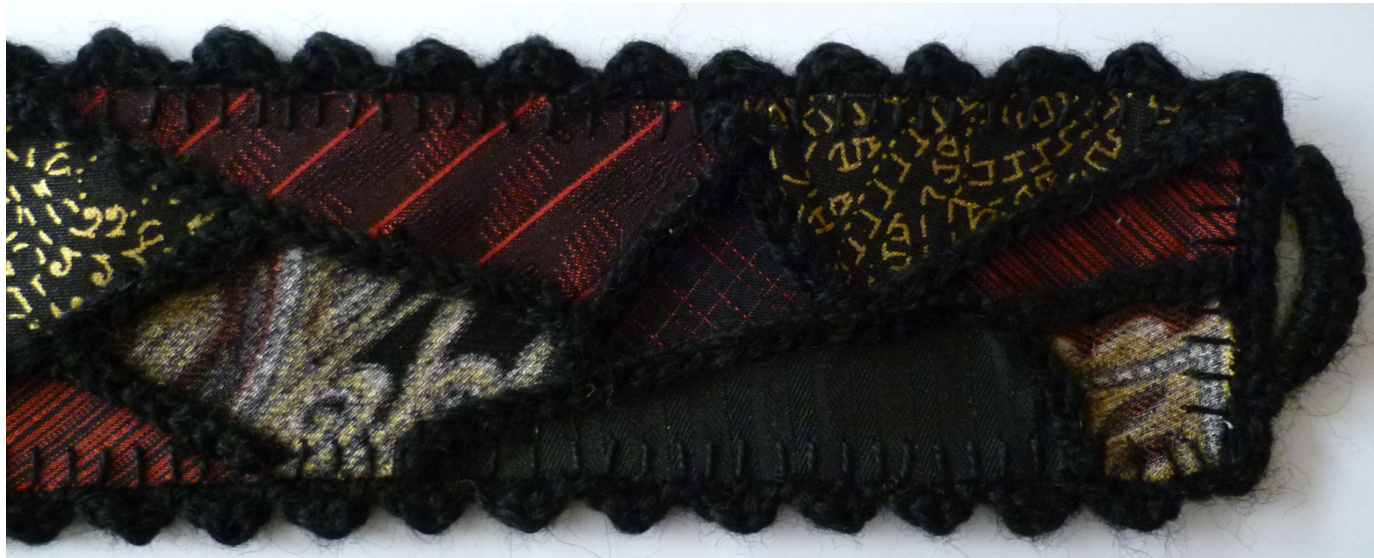
11. With crochet hook size C/2 (2.75mm)and yarn, make crocheted chains to divide up the sections. Plan your chains so you have a minimum of short ones. Chain the desired length, fasten off and weave in in ends with a yarn needle. Then stitch it to the belt with a running stitch in Pearl Cotton. Continue working in this manner until all divisions are covered. There is no need for the chains to cover top, bottom and side edges of the belt as they will have a crocheted shell stitch edging.
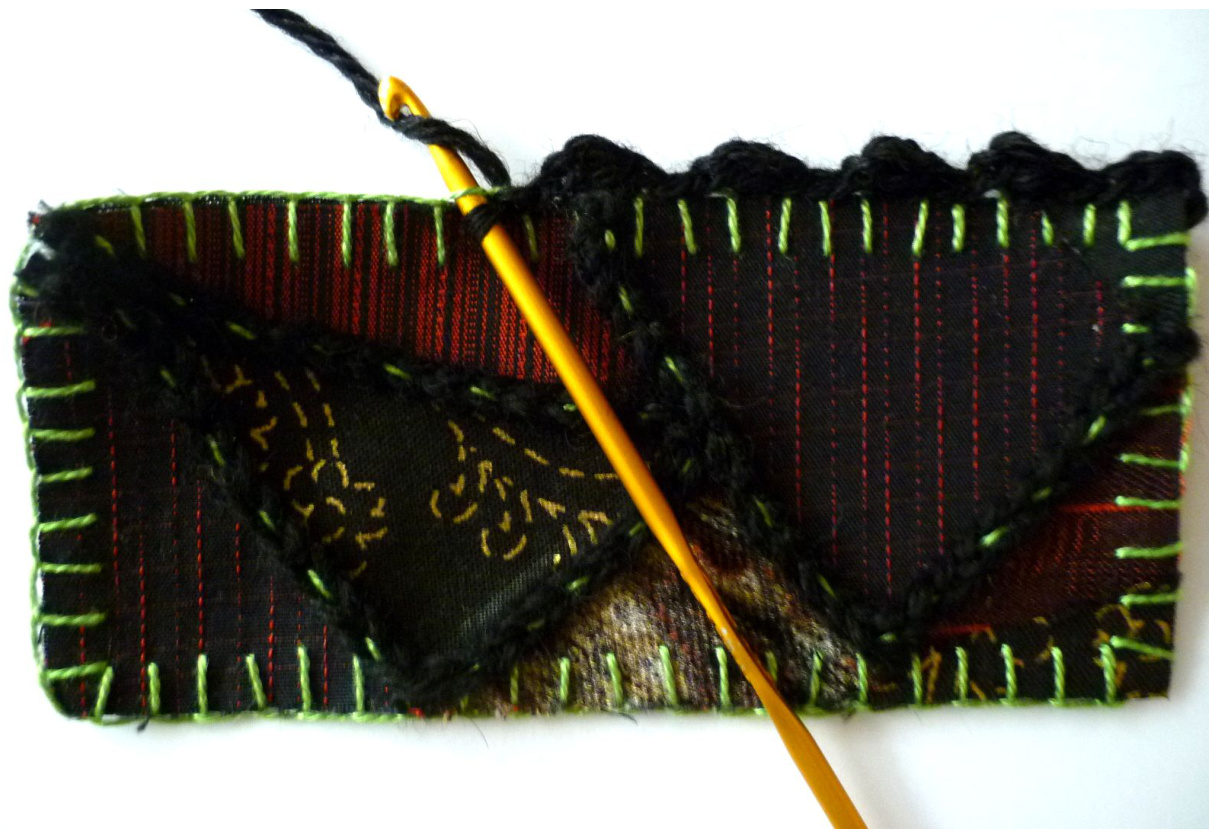
12. Using crochet hook size C/2 (2.75mm), begin in one corner buttonhole stitch of the belt and [sc, dc into st, ch 1, sl st in foll 2 sts]. \*[sc, dc into next st, ch 1, sl st in foll 2 sts]\*. Repeat from \* to \* to next corner. \*\*Turn to work on short end of belt, sc in each st to next corner, turn, ch 6, sl st in dc in corner, turn, make 10 sc around ch\*\*, turn to work on long end of belt. Repeat from \* to \* once. Repeat from \*\* to \*\* once. Sl st in beginning sc to end round. Fasten off.
13. with a yarn needle, weave in all loose ends. 14. To block the belt: lay it on an ironing board, spray with water and pin out flat, making sure the shell stitches are the same height. Leave it to dry while you make the tie. When it is dry, remove the pins.
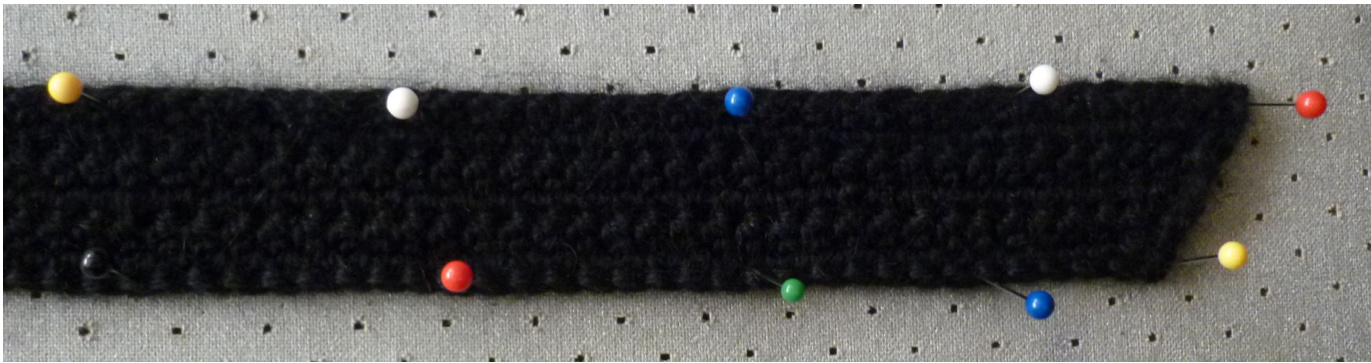
15. Belt tie: using crochet hook size D/3 (3.25mm), and yarn, make a chain that is 30" long. Row 1: Working into the ridges in the underside of the ch, beg in 2nd ridge from hook, and exsc in each st to end of row. Turn. Row 2: Ch 2, exsc2tog, exsc in each st to last 2 sts, exsc2tog. Turn Row 3-6: Rep row 2. Fasten off. With a yarn needle, weave in all loose ends. 16. Block belt tie by spraying with water and pinning it out straight on an ironing board. Leave to dry. When it is dry, remove the pins.
17. Insert the belt tie through the loops at the ends of the belt, and tie in a bow or square knot to wear it.