Keep Me Safe Blanket
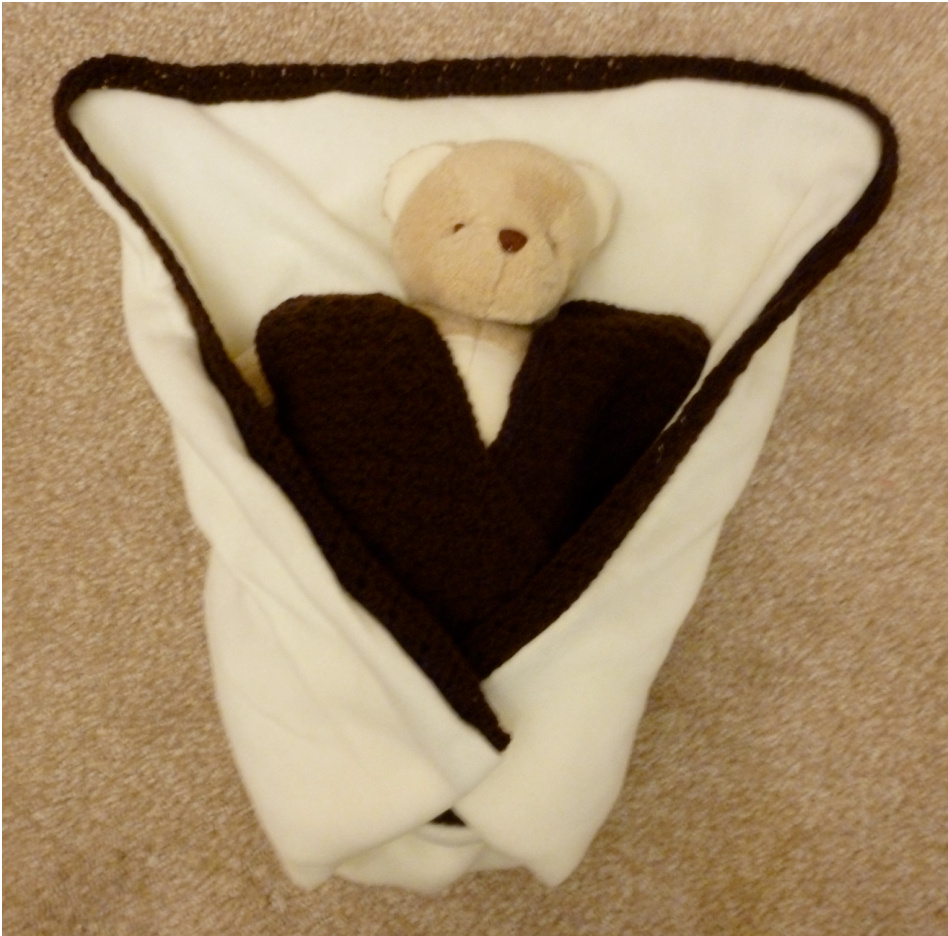
Blankets have so many uses, one of the most important of which is to keep your teddy warm of course! The basis of the blanket is a garment appliqued to the front of a double layer of fleece with a matching border. Minimal sewing skills are required. I prefer fleece in winter blankets as it doesn't fray and is very cosy, however any fabric could be used. I tend to use remnants and recycle unwanted blankets so this version is approximately pram or moses basket in size. With minor modifications it can be made to any size you like. The idea for this came when making a cardigan for my little one. This pattern is made with the equivalent of the front of a cardigan - watch out for the back versioncoming soon! Of course you could modify this with the back or front of any small child's sweater/cardigan pattern that you like.
Finished size
Size: annroximately 125cm x 152cm (49 x 60 inches) including borders. SizC:approAnmatery 1z5emA 1Szem(4)A oc Increasing/decreasing the size of the finished product is easy. Just increase or decrease the size of the fleece backing and measure around to work out the length of the edging. Make sure to take into account the corners as you do (see below).
Gauge
Gauge isn't important for this project.
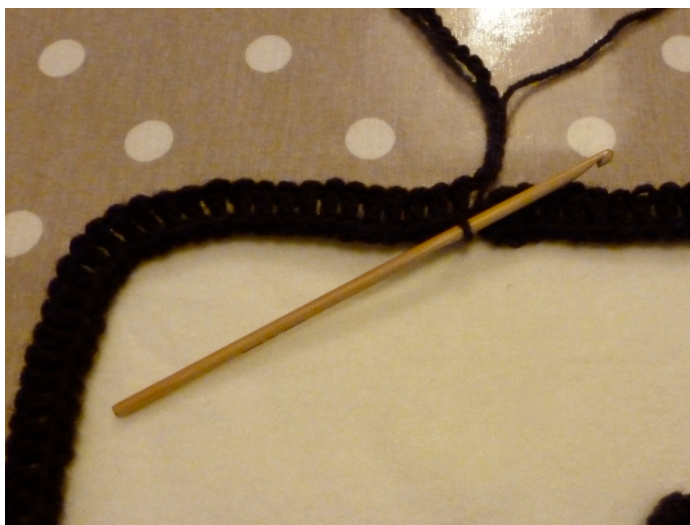
Hook
A 4mm (G) hook was used for this project. Of course use a hook appropriate to the weight of your yarn.
Yarn
I used a combination of Sirdar Country Style DK and scraps of other coloured DK yarn. Of course they are all machine washable!
Material
Fleece or other suitable matching/contrasting material - enough for a front and back facing in the size you require. Don't forget matching thread.
Abbreviations (American)
British equivalent
Ch chain SC single crochet SC2tog single crochet two together DC double crochet slst slip stitch Group (GP): 1SC,Ch1, 1DC chain double crochet double crochet two together treble crochet slip stitch 1DC,Ch1, 1TR
Pattern
Pattern row
Ch3, DC in 1st stitch, \*miss 1DC and 1Ch, 1GP in next DC, repeat from \* ending with miss last DC, SC in 2nd of 3Ch.
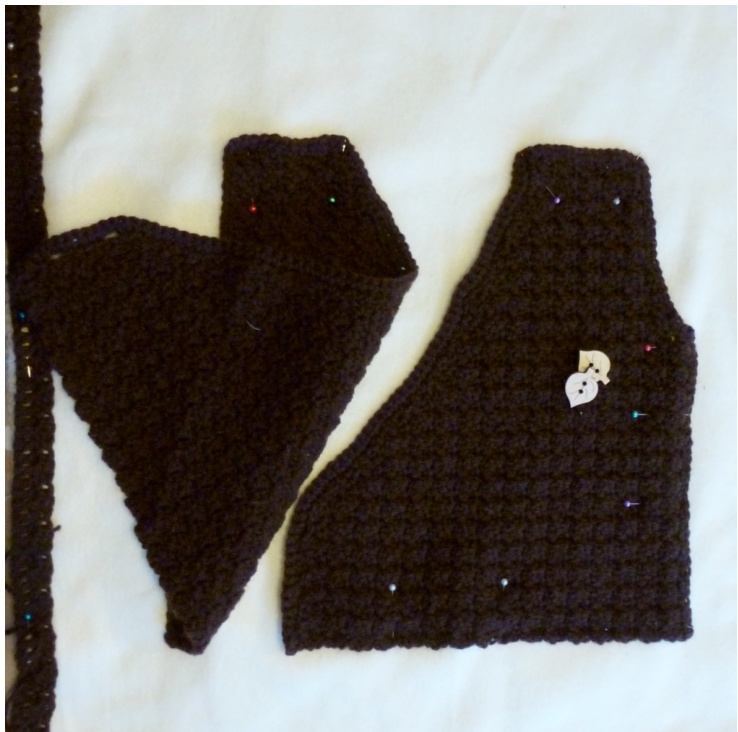
Applique front (make 2)
1. Ch52, 1DC in 4th Ch from hook, miss 2Ch, 1GP in next ch, repeat from ending with 1sC in last Ch, turn. 2. Ch3, DC in 1st stitch, \*miss 1DC and 1ch, 1GP in next stitch, repeat from \* ending with 1SC in 2nd ch of turning ch, turn. 3.Repeat 2nd row 8 times.
Front edge shaping
a. Ch2, 1DC in 1st DC, GP pattern to end, turn. b. Ch3, DC in 1st stitch, GP pattern ending with 1SC in last SC, CH1, 1SC in last stitch, turn. C. Ch2, miss 1DC and Ch1, 1GP in next SC, GP pattern to end, turn. d. GP pattern ending with 1sC in last SC, turn. e. Repeat row 4a. fGP pattern ending with SC2tog, turn. 5. Repeat rows 4a to 4f twice.
Armhole shaping
- continue to shape the front edge at the same time as shaping the armhole as follows. 6. Ch2, 1DC in 1st stitch, GP pattern across ending with 1SC in last stitch (leaving 1DC and Ch3 unworked), turn. 7. Ch2, 1DC in first stitch, GP in next SC, and pattern to end ending with 1SC in last SC, Ch1, 1Sc in last DC, turn. 8. Ch2, miss 1SC and 1ch, GP in next SC and pattern to end with SC2tog of last two stitches. If like me you snatch a moment of crochet here and there I hope you are still following . Only a few rows to go! 9. Repeat rows 4a to 4f until only 4GPs remain. Fasten off. 10. Attaching yarn at bottom left corner slst around edge, and fasten off Weavein ends. It's probably a good idea with most yarns to block the crochet elements prior to sewing so that they don't change shape when you wash the blanket made up. I didn't but you may feel the need.
Backing
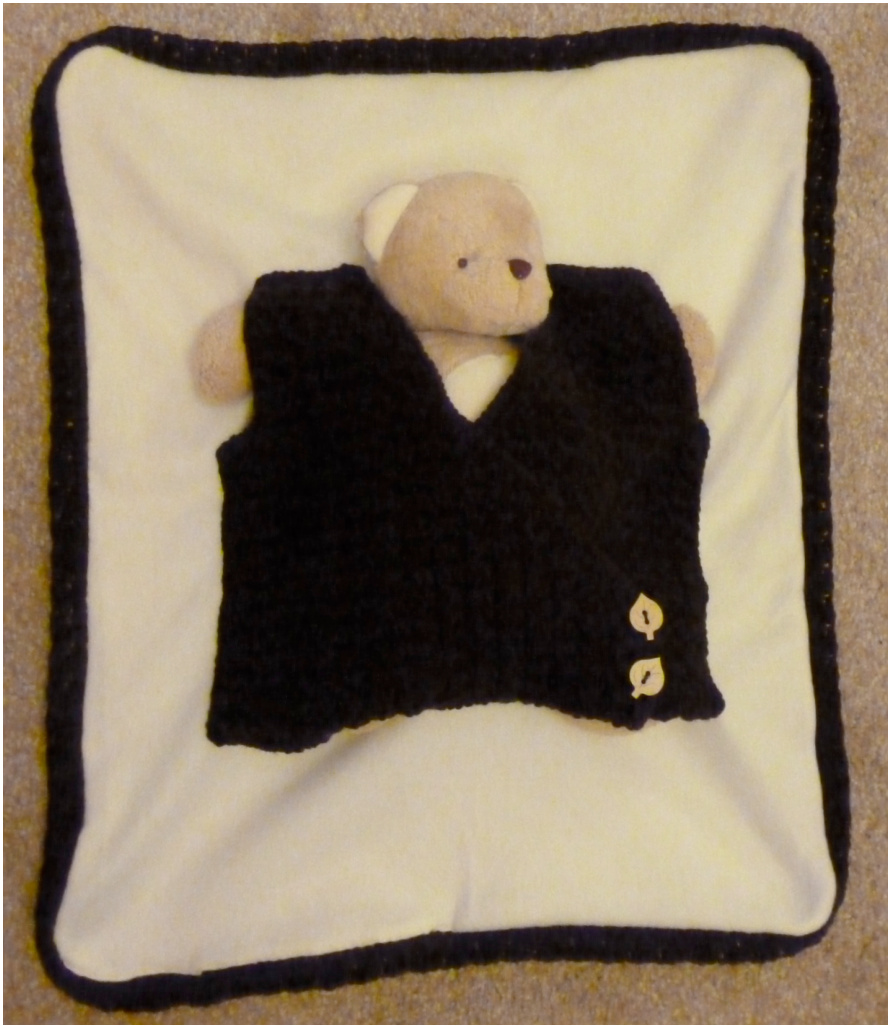
1. Cut two pieces of fleece to size and pin crochet to the centre front with pieces overlapping to mimic the front of a wrapover cardigan. Machine or hand sew crochet to fleece using matching thread across the shoulders and down the sides (leaving a gap for the arm holes). Sew along the bottom of the inside part leaving two gaps at the bottom for toy legs. 2. Mark positions corresponding to buttonholes on inside part and attach matching buttons. These will keep the cardigan closed and allow you to take the toy in and out. If this is for a very young child and you would prefer not to have buttons sew the two parts together leaving a big enough gap to fit the toy through.
3. With right sides facing pin the two pieces of fleece together. 4. Measure each side of the fleece and make first row of edging to fit around the blanket. I did the first row of the edging to make sure I got the length right before sewing it in and then continuing with the pattern stitch around.
Edging
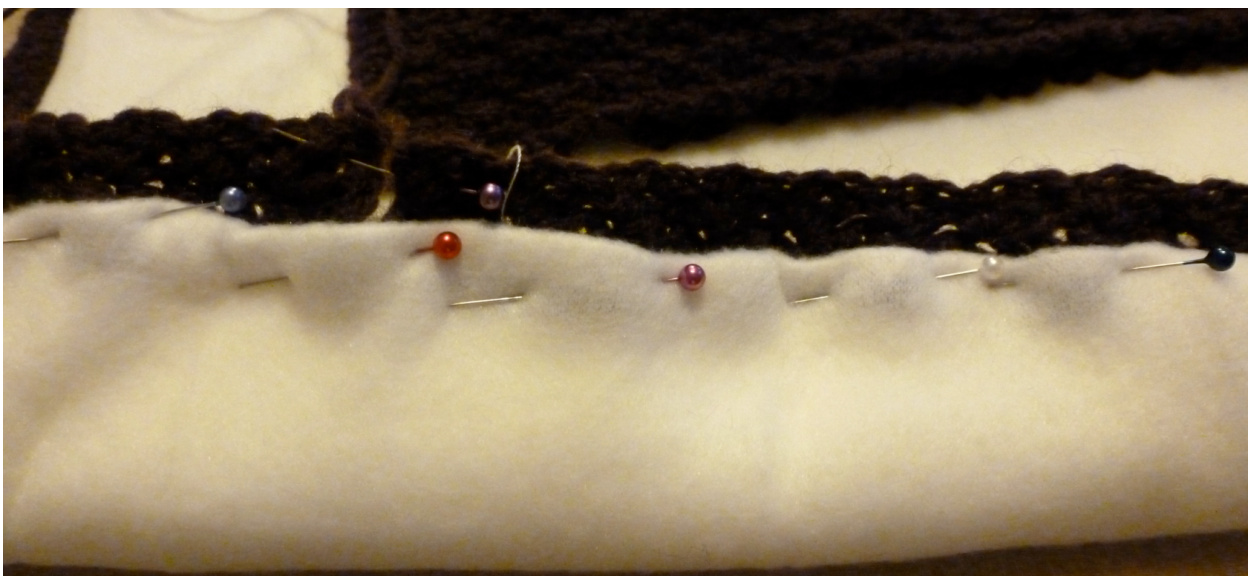
1. Pin and baste the edging between layers of the blanket so that the edging will be on the outside when the blanket is turned right way out. The easiest way to do this is to pin the edging with the working edge on the inside of the two layers (and the foundation chain edge at the sewing edge). 2. Sew together leaving a gap and then turn the blanket right way round. Oversew the gap to close. The edging is now securely fastened to the blanket.

3. Continue with the pattern stitch around for two rows. Increase at each corner by adding 2GPs evenly over a 4GP sequence to keep it flat.
Make, give and enjoy!


