"Rent' Shawl - Crochet version
Kristie Snively Copyright Oct 2014, All Rights Reserved, originally written for my crochet-a-long in Outlander Pattern Central on Facebook. If you sell this shawl, please refer to my pattern. Please do not copy this pattern as yourown.
Materials:
-Worsted weight yarn - Lion Brand Heartland - 3 colors: Two or three same dye-lot skeins of color (A), one black (B), one dark color (C). For (A), 2 skeins will get you a size Large and 3 will be extra large. You can stop when it fits you, so you are in control of sizing. Gauge not needed. -Size J hook Notes: Shell: (HDC2, CH2, HDC2)
Instructions:
With color A - CH4, join in a loop with a slip stitch into first CH. -CH2. In the lo0p, HDC2, CH2, HDC3 -CH2, turn. HDC3, shell in the CH2 space, HDC4. -CH2, turn. HDC5, shell in the CH2 space, HDC6 -Continue using every HDC along the sides, putting a shell in the CH2 space at the top. You want a perfect triangle that reaches to each wrist.
Tips:
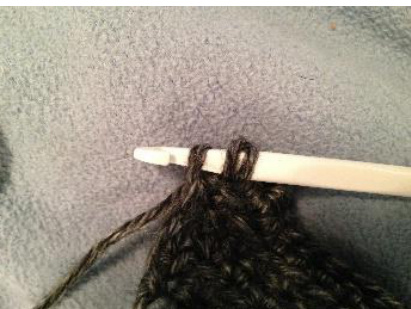
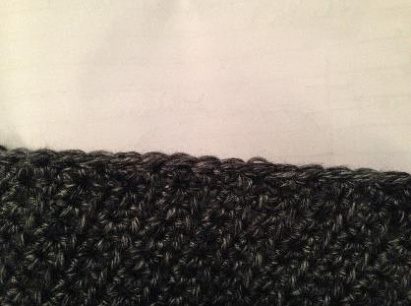
Use every stitch, making sure to create a straight edge on top:
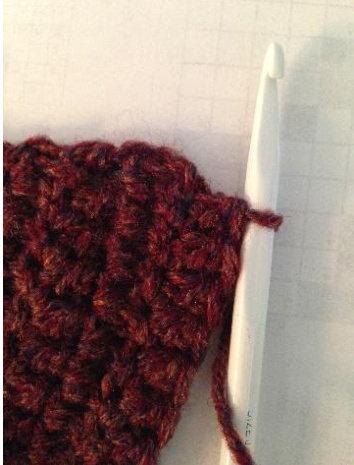
The above will not work because there is one stitch left to be done in order to make the straight edge. Squeeze it into the CH2.
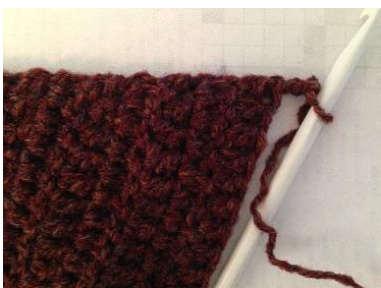
This makes it straight. Shown with CH2 afterwards. If you get tired of counting, especially when the rows get very long, make sure you stop for the shell in the right blace -
Instructions again:
-Join color B at the end. -CH2 with color B, turn. HDC four more rows. Leave a long tail, about 10 in. -CH2 with color C, turn. HDC six more rows. Do not bind off. We'll be working on the neckline next.
Tip again:
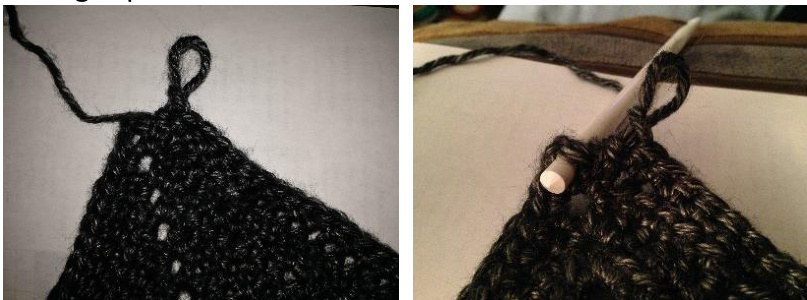
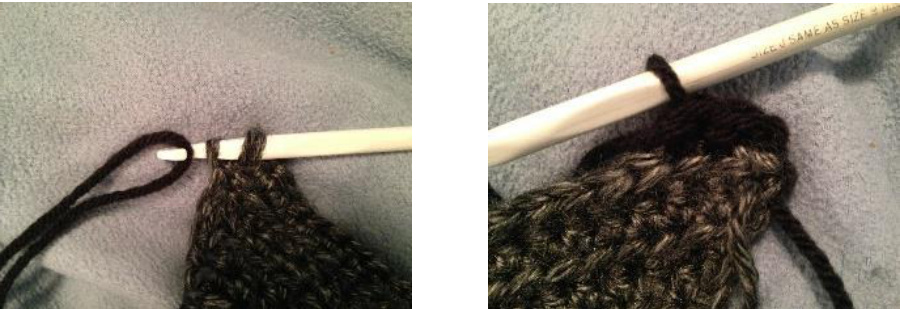
This is how I join: Start the HDC -
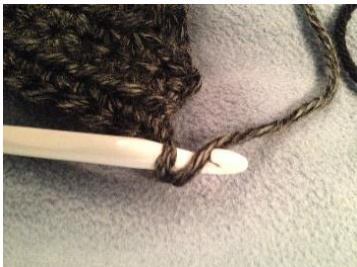
Pull up a loop with grey --
Instead of finishing with grey, finish with black --
Instructions for Neckline straight edge trim:
-(Still with C) CH2, HDC in same stitch as last, making a corner. HDC in next stitch and along same color. (7 stitches) -With color B tail, HDC across this color. (4 stitches with B) Let go of the tail. -Join color A, HDC across neckline, making sure the stitches are not too close together or far apart. You want a flat, straight line, with no puckering -When you get to color B again, join and HDC4. Leave 10 inch tail. -When you get to the color C, join and HDC6. -CH2, turn. \*HDC in back loop, HDC in both loops.\* Repeat between \* two more times. (total of 3 repeats) Cut, leave a tail to weave in later. -With color B tail, HDC in back loop, HDC in both loops. Repeat. -With color A, HDC in back loop, HDC in both loops. Repeat: alternate one loop/both loops across -With color B, same repeat across color -With color C, same repeat across color -Tie off, weave in tails.
Picture Tutorial of the above directions -
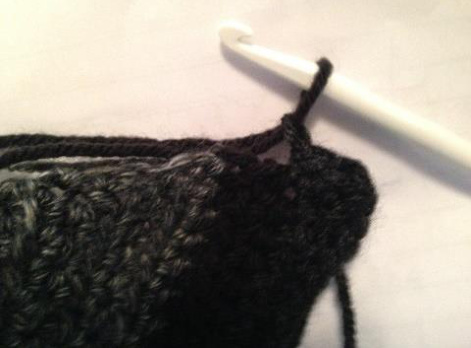
Neckline straight edge trim:
-(Still with C) CH2, HDC in same stitch as last, making a corner. HDC in next stitch and along same color. (7 stitches)
-With color B tail, HDC across this color. (4 stitches with B) Let go of the tail.
-Join color A, HDC across neckline, making sure the stitches are not too close together or far apart. You want a flat, straight line, with no puckering
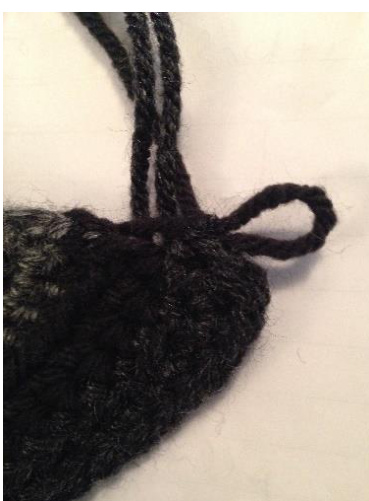
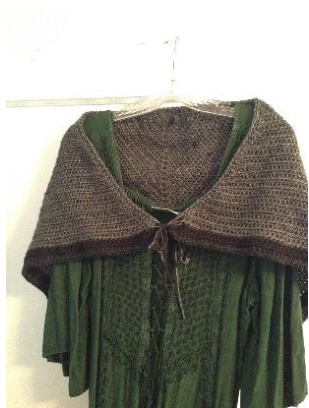
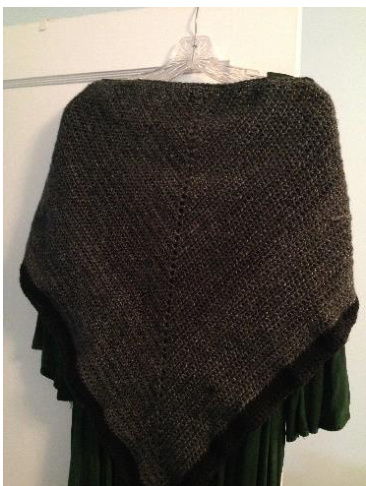
-When you get to color B again, join and HDC4. Leave 10 inch tail -When you get to the color C, join and HDC6. -CH2, turn. \*HDC in back loop, HDC in both loops.\* Repeat between \* two more times. (total of 3 repeats) Cut, leave a tail to weave in later. -With color B tail, HDC in back loop, HDC in both loops. Repeat. -With color A, HDC in back loop, HDC in both loops. Repeat: alternate one loop/both loops across -With color B, same repeat across color -With color C, same repeat across color -Tie off, weave in tails. I hadn't weaved in the ends yet, so I used them to tie it together in front for this picture. This shawl turned out as size L or so. I also only used two rows each of colors B and C to get it done quicker. Four rows of B and six rows of C would look better. Hopefully you were smart and bought skeins of yarn from the same dye lot. \*blush\*
e pattern with DC and HDC, and both work. If you'd rather use D


