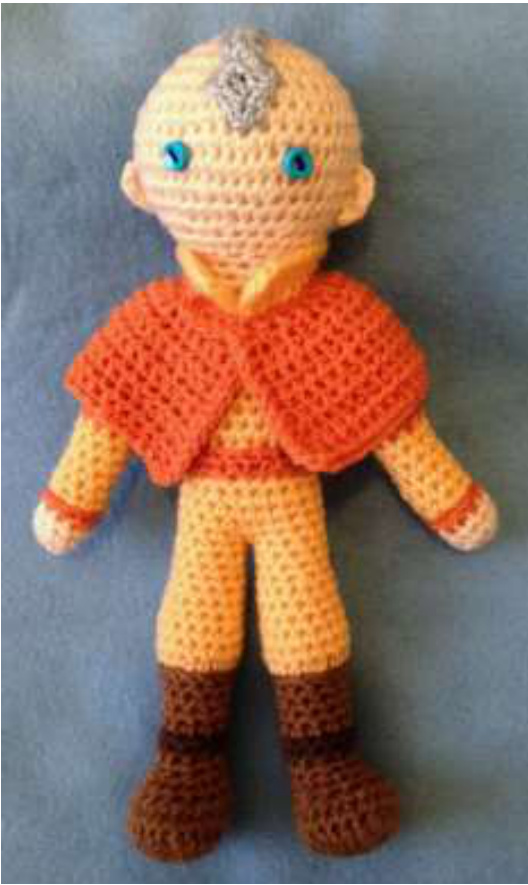
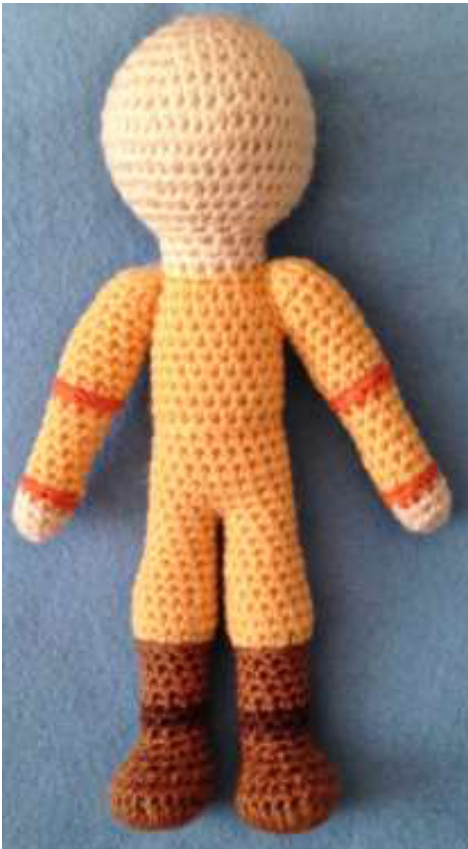
"Aang"
Designed and crocheted by Becky Ann Smith. This is a crocheted doll inspired by the character of "Aang," from the "Avatar: The Last Airbender" animated series. I do not own or make any claim to the character - this is my version of 'fan art.' Size 4 (a.75emme) seel crochet hook Yarn needleny seererocneehook Sewing needle and thread (l used dark blue and orange) Pwyesterincbhr(tf mm) blue buttons for eves or I used Herrschner's 2-ply afghan yarn for this doll. (Any comparable yarn will work just as well.) Colors used: cream, ginger, buttercup, orange, and small amounts of cool blue and chocolate brown. "Aang" is about 6 inches tall when made with these materials. He can also be made using 4-ply yarns and an aluminum "F" hook for a larger doll. This doll was made using these stitches: Slip stitch sc=single crochet hdc=half-double crochet decrease=1 sc combining 2 stitches I used continuous rounds for much of this doll. You can also join each row and chain 1. This will form a 'seam' but makes it much easier to count rows. (Most of the seams can be hidden by hair or clothing). Do not turn pieces unless the pattern says to do so.
BODY
Head and torso
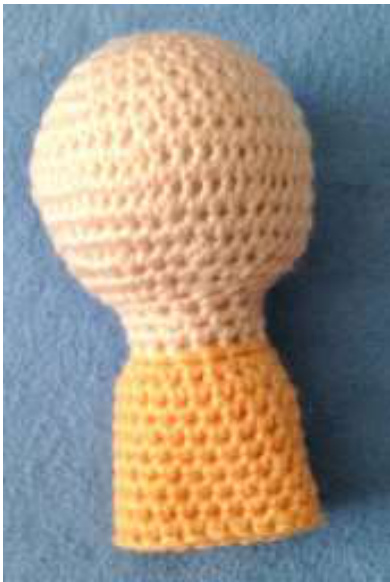
Row 1: With cream color yarn, chain 2. 10 sc in second chain from hook. Row 2: 2 sc in each sc. (20) Row 3: 1 sc in each sc. (20) Row 4: (1 sc in first sc, 2 sc in next) 10 times. (30) Row 5: 1 sc in each sc. (30) Row 6: (1 sc in each of first 2 sc, 2 sc in next) 10 times. (40) Row 7: 1 sc in each sc. (40) Row 8: 1 sc in each of first 3 sc, 2 sc in next) 10 times. (50) Row 9: 1 sc in each sc. (50) Row 10: (1 sc in each of first 3 sc, 1 decrease) 10 times. (40) Row 11: 1 sc in each sc. (40) Row 12: (1 sc in each of first 2 sc, 1 decrease) 10 times. (30) Row 13: 1 sc in each sc. (30) Row 14: (1 sc combining next 2 sc) 15 times. (15) Rows 15-17 (neck): 1 sc in each sc. (15) End cream color yarn. At this point, stuff head with polyester fiberfill. It will appear misshapen until it's stuffed. Row 18: Attach buttercup color yarn. Sc in each sc. (15) Row 19: (1 sc in first sc, 2 sc in next) 5 times. Sc in last sc. (22) Rows 20-27-: 1 sc in each sc. (22). End piece. Stuff torso.
Boots and Legs
Make 2
Row 1: With ginger yarn, chain 2. 9 sc in second chain from hook. Row 2: 2 sc in each sc. (18) Row 3: Sc in first 7 sc. 2 hdc in each of next 4 sc. Sc in next 7 sc. (22) Row 4: Sc in each sc. (22) Row 5: Sc in first 5 sc. Decrease 6 times. Sc in next 5 sc. (16) Row 6: 1 sc in each sc. (16) Row 7: (2 sc, decrease) 4 times. (12) Row 8: Drop ginger yarn (do not end) and atach chocolate brown. 1 sc in each sc. (12) Row 9: 1 sc in each sc. (12) Row 10: End chocolate brown yarn, pick up ginger. 1 sc in each sc. (12) Rows 11-13: 1 sc in each sc. (12). End. Row 14: Join buttercup color yarn. 2 sc in each sc. (24) Row 15: 24 sc. Row 16: (1 sc, dec) 8 times. (16) Row 17: 16 sc. Row 18: (1 sc, dec) 5 times. Sc in last sc. (11) Rows 19-24: Sc in each sc. End leg 1. Do not end leg 2. Make sure last stitch on leg 2 is in the center back stitch (make a few extra stitches if needed). Stuff legs with polyester fiberfill.
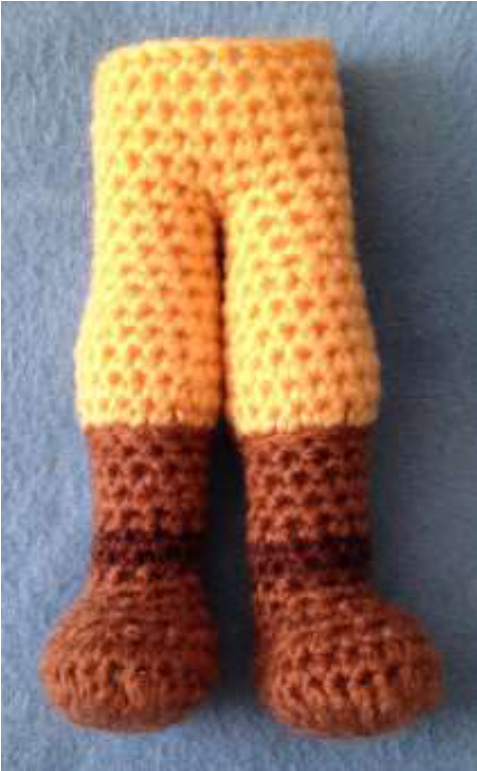
Hips
Row 1: Continuing on from leg 2: Sc in first 3 sc. In next sc, draw yarn through, leaving loop on hook. Draw yarn through corresponding stitch on leg 1 (put legs together, feet forward, to determine which stitch). Draw yarn through all loops on hook, combining legs. Sc in next 10 sc on leg 1. Draw yarn through same stitch used to combine legs, leaving loop on hook. Draw yarn through same combining stitch on leg 2. Draw yarn through all loops on hook. Sc in next 8 sc on leg 2. There should be 22 sc total around the tops of the legs. Rows 2-6: 1 sc in each sc. End, leaving length for sewing. With yarn needle, sew torso and hips together, leaving an opening for stuffing. Fill torso and hips with polyester fiberfill. Sew remaining stitches together.
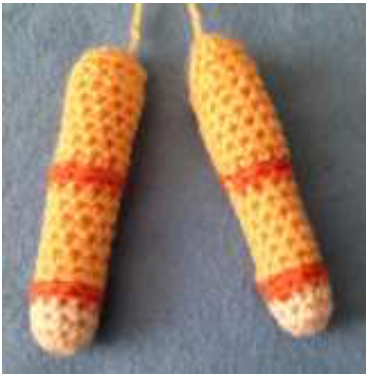
Make 2
Row 1: With cream color yarn, chain 2. 9 sc in second chain from hook. Row 2-3: 1 sc in each sc. 9 sc. End cream, join orange yarn. Row 4: 1 sc in each sc. 9 sc. End orange, join buttercup yarn. Rows 5-10: 1 sc in each sc. 9 sc. Drop buttercup (do not end) and join orange. Row 11: 9 sc, 2 sc in last. 10 sc. End orange, pick up buttercup. Rows 12-17: Sc in each sc. (10) Row 18: 9 sc. Chain 1, turn. Row 19: Skip first sc. 8 sc. Chain 1, turn. Row 20: Skip first sc. 1 sc in each of next 7 sc. Row 21: Skip first sc. 6 sc. Do not turn. Crochet 7 sc evenly around armhole opening. Row 22: Decrease 3 times, slip stitch in next sc. Armhole should have 10 stitches around. End, leaving length for sewing. Stuff arms with polyester fiberfill. Sew arm to torso (top of arm should be on Row 19, bottom of arm on Row 22). Sew second arm to opposite side of torso.
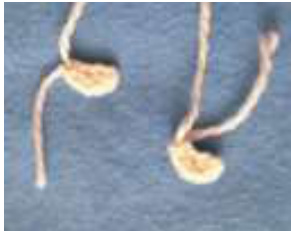
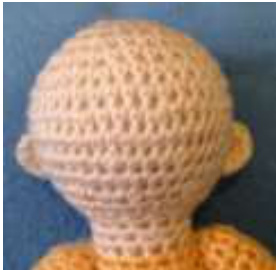
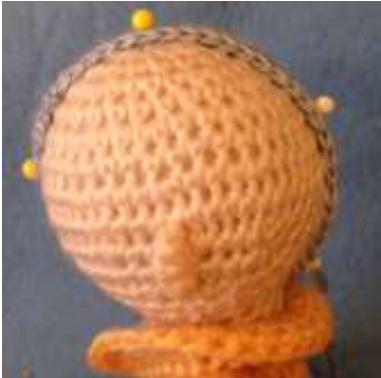
Ears - Make 2
With cream color yarn, leaving a small tail, chain 4. 2 sc in second chain from hook. 1 sc in each of next 2 sc. End, leaving length for sewing. Tie a small knot using the tail and the sewing length (this makes the ear more rounded). Sew ears to sides of head. Top of ear should be on Row 9, bottom of ear on Row 12. Weave in ends.
Belt
Chain 26. Sc in second chain from hook and each chain across. (25) End, leaving short length for sewing. Sew belt around doll's waist.
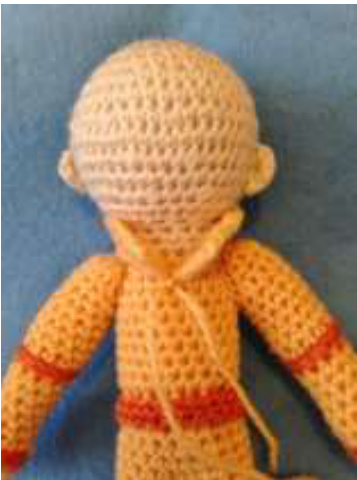
Collar
Row 1: Leaving a 2-inch tail, chain 24. Sc in second chain from hook and each chain across. (23) Chain 1, turn. Row 2: Sc in each sc. (23). Slip stitch into first stitch of row 1. Chain 1, turn. Row 3: Working around the edge of the piece, sc, 3 sc in corner, 21 sc, 3 sc in next corner, sc. End, leaving length for sewing. Tie ends of collar to center front stitch on Row 19 of body. Using a yarn needle, sew the collar to the body.
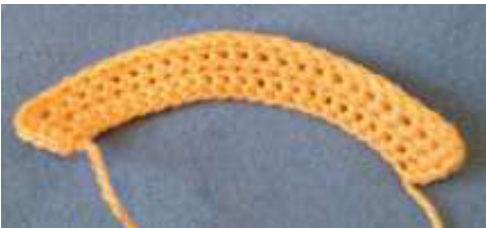
Arrow
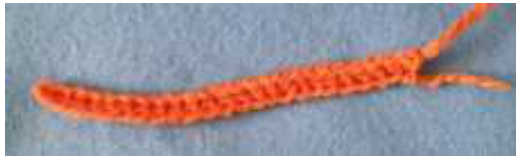
Arrowhead: Row 1: With cool blue yarn, chain 2. 6 sc in second chain from hook. Join. Chain 1. Do not turn. Row 2: (1 sc, 3 sc in next) 3 times. (12) Join. Do not turn, do not end. Arrowshaft: Row 3: Chain 24. Sc in second chain from hook and each chain across. (23) Skip one stitch on the arrowhead and slip stitch in the next. Chain 1, turn. Row 4: Sc in each sc to end of the arrow shaft. End, leaving 12-inch length for sewing.

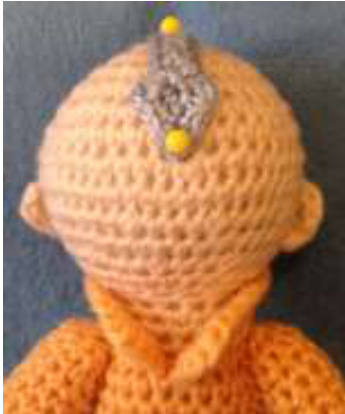
Pin arrow to head, with the point on the center front stitch of Row 7, going over the top of the head with the end of the arrow shaft centered on row 13 at the back of the head With yarn needle, sew the arrow to the head.
Eyes
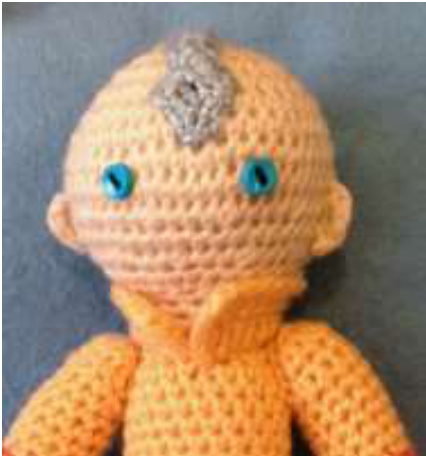
With blue thread, sew two small (8 mm) blue buttons 7 stitches apart on row 9 of the head.
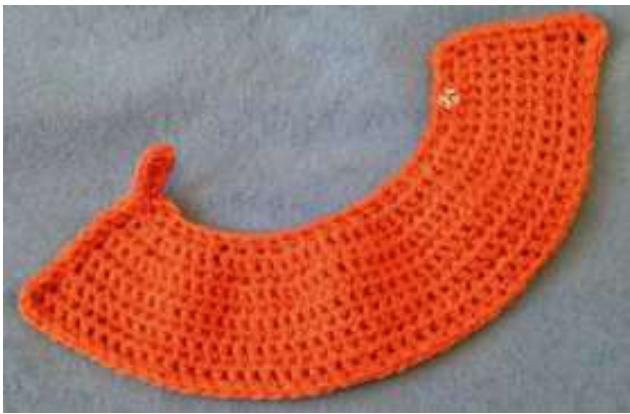
Cape
Row 1: With orange yarn, chain 25. Sc in second chain from hook and in each chain across. (24) Chain 1, turn. Row 2: (1 sc, 2 sc in next) 12 times. (36) Chain 1, turn. Rows 3-4: 36 sc. Chain 1, turn. Row 5: (3 sc, 2 sc in next) 9 times. (45) Chain 1, turn. Rows 6-8: 45 sc. Chain 1, turn. Row 9: 2 sc in first sc, 43 sc, 2 sc in last. (47) Chain 1, turn. Row 10: 47 sc. Do not turn. Crochet 9 sc working from the bottom row to the top in the ends of rows. Chain 5. Sc in second chain from hook and next 3 chains (makes flap'). Work 23 sc across top of piece and 3 sc in the corner stitch. Crochet 9 sc in ends of rows down the other side of the piece and end. Weave in ends. Sew a small metal snap fastener to the flap and on the fourth stitch of the top row (or whichever stitch fits for the snap to fasten properly!) Fasten the cape around the doll's shoulders. "Aang" is now complete!


