MATERIALS
Yarn: ww yarn in yellow, dk brown, white, black, and red (tiny amounts of each) Hook:E stuffing, yarn needle
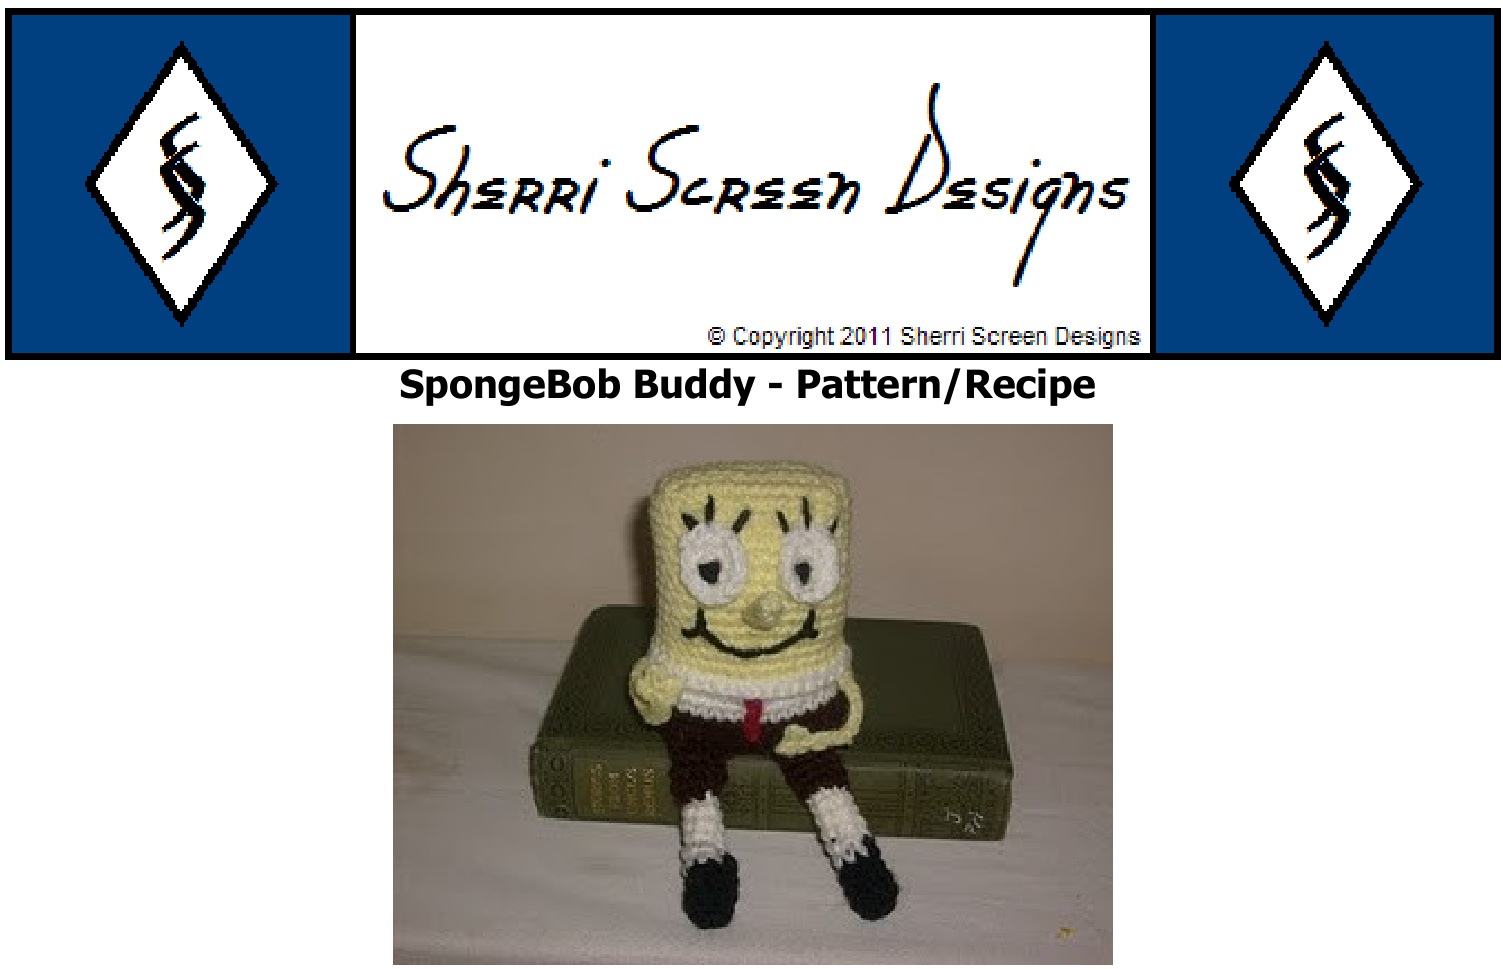
HEAD
ch 13 in yellow Row 1: starting in 2nd ch from hook, sc 12 across, ch1, turn. Row 2-3: sc 12 across, ch1, turn Row 4: sc 11 across, sc 2 in last sc Working down sides of rows, work 3 sc, then 2 sc in corner. Continue working around, on opposite side of foundation chain, work 10 sc across, 2 sc in corner. Work 3 sc across short end, with two sc in corner. Begin working in rounds Rnd 1: in BLO, work sc in each sc around (35) Rnd 2 - 13: sc in each sc around FO Add facial details, eyes, eyelashes, nose, smile, etc EYES with white: Rnd 1: 6 sc in magic ring NOSE Ch 6 Row 1: sc 5 across, turn Row 2: work sc into same stitch as previous row (double up your first sc row) FO by weaving tail through length of nose to beginning tail, and use tail to tie nose onto face.
Rnd 2: 2sc in each sc around attach to head with black yarn to make pupil and eyelashes.
PANTS
In brown Rep instructions for head through rnd 4. FO
JOINING body pieces:
After stuffing both halves, I joined the two pieces with one round of sc. Going in the top edge of the pants, from outside to inside, then on through the top piece from inside to outside, and doing the sc in this manner. Depending on your preference, you can either begin/end at the center back, to the side, or at the center front (to make an open collar look) Doing the sc join in this way made the look of a "collar" around the top edge of his shirt, and I really liked the looks of it.
LEGS (make 2)
In black ch 4, turn, sc 2 across, then 4 sc into last ch to begin a turn and work into opposite side of foundation ch. sc across bottom of foundation ch with 4 sc in last st. Mark beginning of rnds if you want, although it's not important. Here's where the pattern gets a bit "recipe"ish. As I didn't take notes on the legs, since I made these up while in the car waiting for my son to get out of school. Rnd 1: sc along side of "shoe", and make 2 inc in toe end. sc back around to back of foot. Rnd 2: sc along side of shoe, and make 2 dec in toe end, sc back around to back of foot. Rnd 3: sc around, making 2 more dec in toe end of shc change to white, and sc around evenly for 5 rnds. work 6th rnd of white in BLO

changetoBrown attach yarn to first unworked front loop from last rnd of white. scaround3 rnds Stuff very lightly, or just stuff with extra tails from yarn changes. Fold edges together flat, and attach to front edge of bottom of body through the unworked front loops at the bottom corner edge of the pants.
ARMS (make 2)
in Yellow ch 14, sl st in 3rd ch from hook, (makes first "finger") ch 3, sl st in first ch of ch 3, (makes second "finger") ch 3, sl st in first ch of ch 3, (makes third "finger"), sl st back down length of chain, into "bumps" on bottom of foundation ch. Attach to body under collar of shirt. Stitch up a little tie using red yarn, and attach it to front of body under collar of shirt. I did a simple ch 4, then pulled the yarn through, and wrapped it around the last stitch about 4 times to create a bit of a bulge at the end. I attached it using the tails at the top of the tie, and at the bottom of the tie. I hope I explained the pattern well enough so that you can make your own SpongeBob buddy if youwantto. his little guy measures about 7" tall from top of head to bottom of fool


