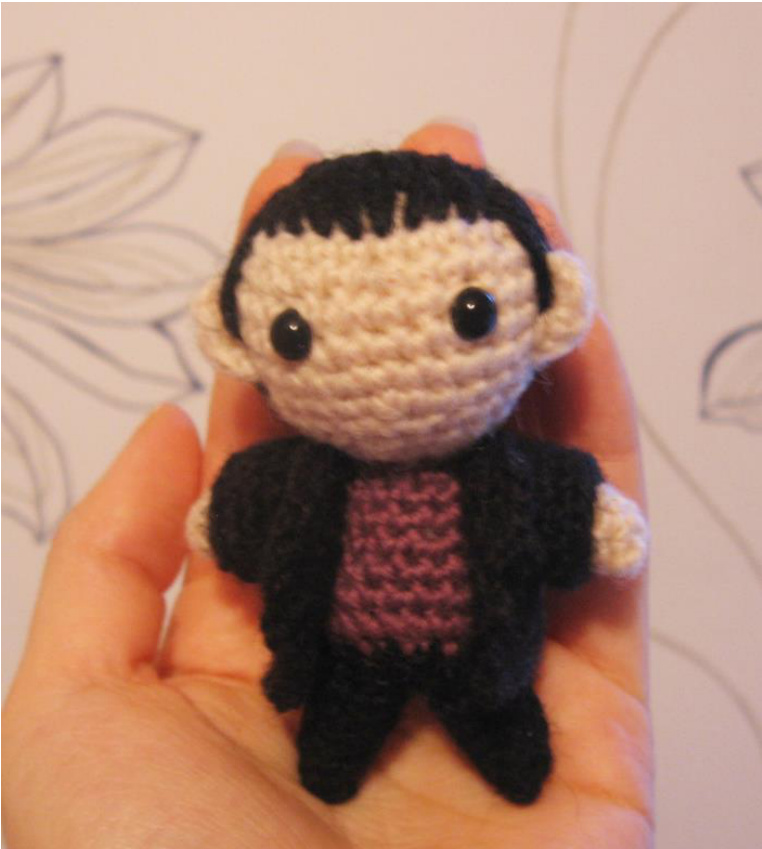
Chibi Ninth Doctor amigurumi pattern By Vilonal
This pattern is for private use only! Please don't try to sell it and don't sell Nine. I'd also appreciate if you didn't use this pattern or a part of it as a base for a pattern/doll you're going to make for selling. Thank you! Character of course belongs to BBC.
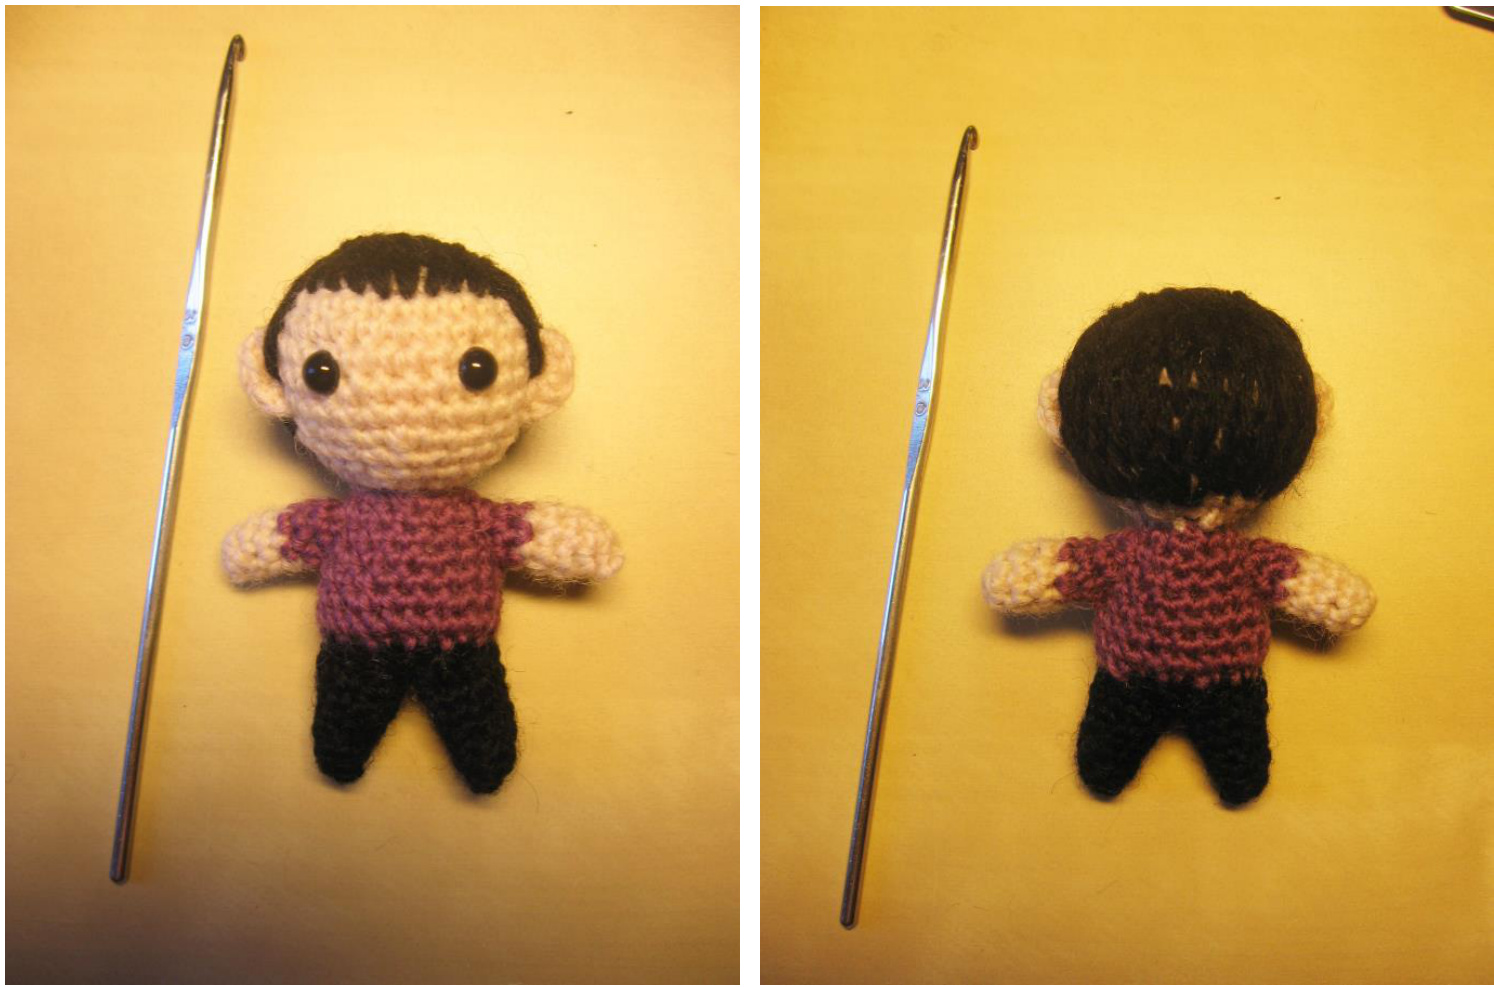
(Note: When making Nine, I couldn't find a reference picture where he's without his jacket so I assumed he was wearing a t-shirt. But apparently it actually has long sleeves so in the pattern I have corrected that. I also made the trousers begin a rowupper.) Materials: Yarns peach (or whatever colour you prefer for skin) purple black 2 safety eyes Abbreviations: sc = single crochet (Us), double crochet (UK) st = stitch ss = slip stitch hdc = half double crochet (Us), half treble crochet (UK) dc = double crochet (Us), treble crochet (UK) sc2tog = single crochet 2 stitches together yoh = yarn over the hook I use magic ring but instead of that you can ch 2 and work the stitches in the first ch. Please keep in mind English is not my native. And feel free to inform me of any mistakes you may notice in the pattern and I'lltry to correct them :) Let's start! Sew shut and finish off. Leave long tail for sewing the head onto the body.
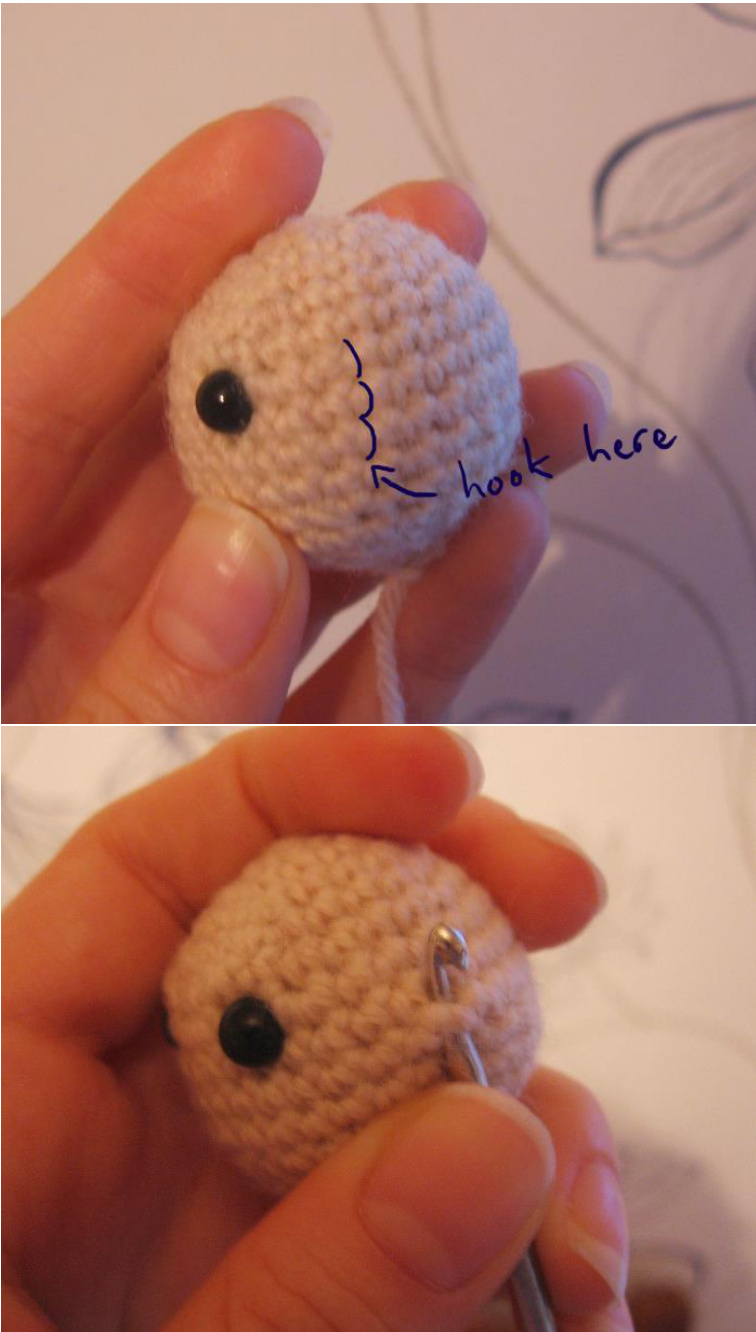
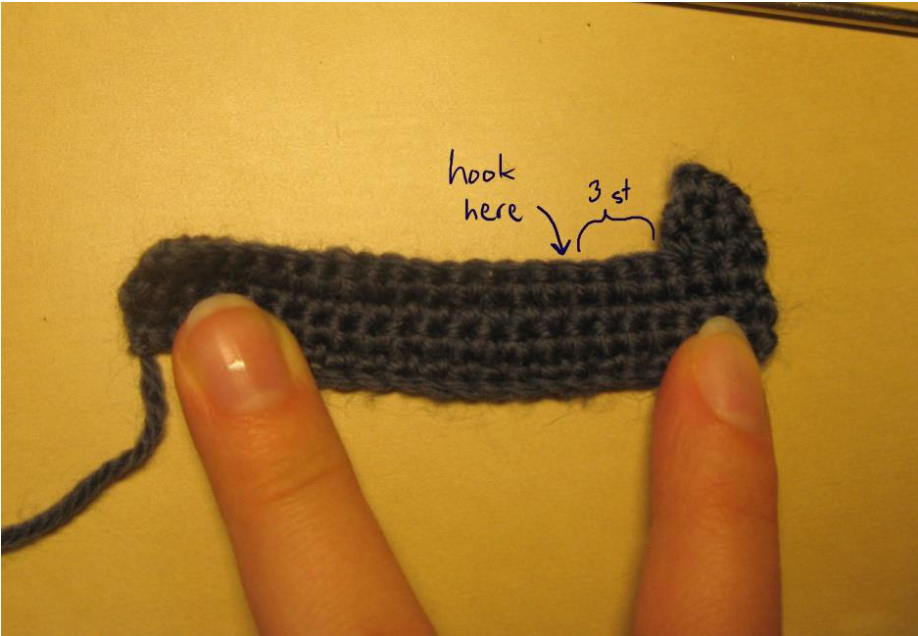
This is a little hard to explain, but what you're going to do now is to work the ears right onto the head. Decide a good place for the ear. Hook in the right spot, yoh, pull through, do sc in the same spot, do sc in the next 2 spots too (see the upper picture), ch 1, turn, sc in the 3 st, finish off and weave in the tails. Do the other ear onto the other side of the head. Body: purple yarn Row 1: 5 sc in a magic ring (5) Row 2: 2 sc in each st around (10) Row 3: [sc in the next st, 2 sc in the next st] 5 times (15) Row 4-5: sc in each st around (15) Row 6: [sc in the next 2 st, 2 sc in the next st] 5 times (20) Row 7: sc in each st around (20) Row 8: [sc in the next 3 st, 2 sc in the next st] 5 times (25) switchtoblackyarn Row 9: sc in each st around (25) sc2tog, repeat until the hole is small enough to be sewn shut. Finish off and weave in the ti Legs (make two): black yarn Row 1: ch 2, work 4 sc into the first ch (4) Row 2: [sc in the next st, 2 sc in the next st] 2 times (6) Row 3-4: sc in each st around (6) Row 5: [sc in the next 2 st, 2 sc in the next st] 2 times (8) Row 6: sc in each st around (8) Row 7: [2 sc in the next st, sc in the next 3 st] 2 times (10) Finish off and leave a long tail for sewing the leg onto the body. Sew the legs so that you keep the shape of the edge round.
Arms (make 2):
peachyarn Row 1: ch 2, work 4 sc into the first ch (4) Row 2: [sc in the next st, 2 sc in the next st] 2 times (6) switchtopurpleyarn Row 3-7: sc in each st around (6) Finish off and leave a long tail for sewing but don't sew the arms onto the body yet. Coat: The instructions for the coat and the collar may be a little more confusing but I tried to make it more understandable by taking a lot of pictures. Hope that helps :) black yarn ch 23, turn Row 2-4: sc in the 22 st, ch 1, turn Row 5: sc in the next 3 st, ch 1, turn Row 6: sc in the next 2 st, ss in the next st, ch 1, turn Row 7: miss that ss, sc in the next 2 st Finish off and weave in the tail. Next count the 4th st from the part you just made and hook into it (see the picture).
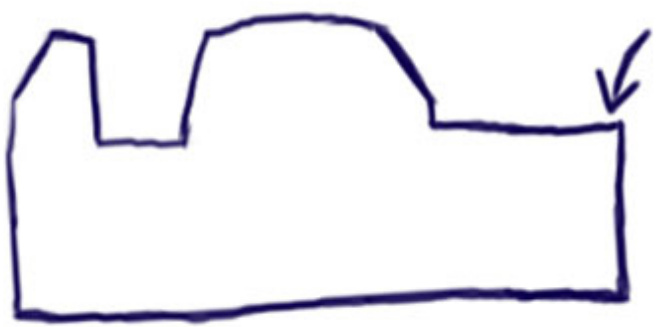
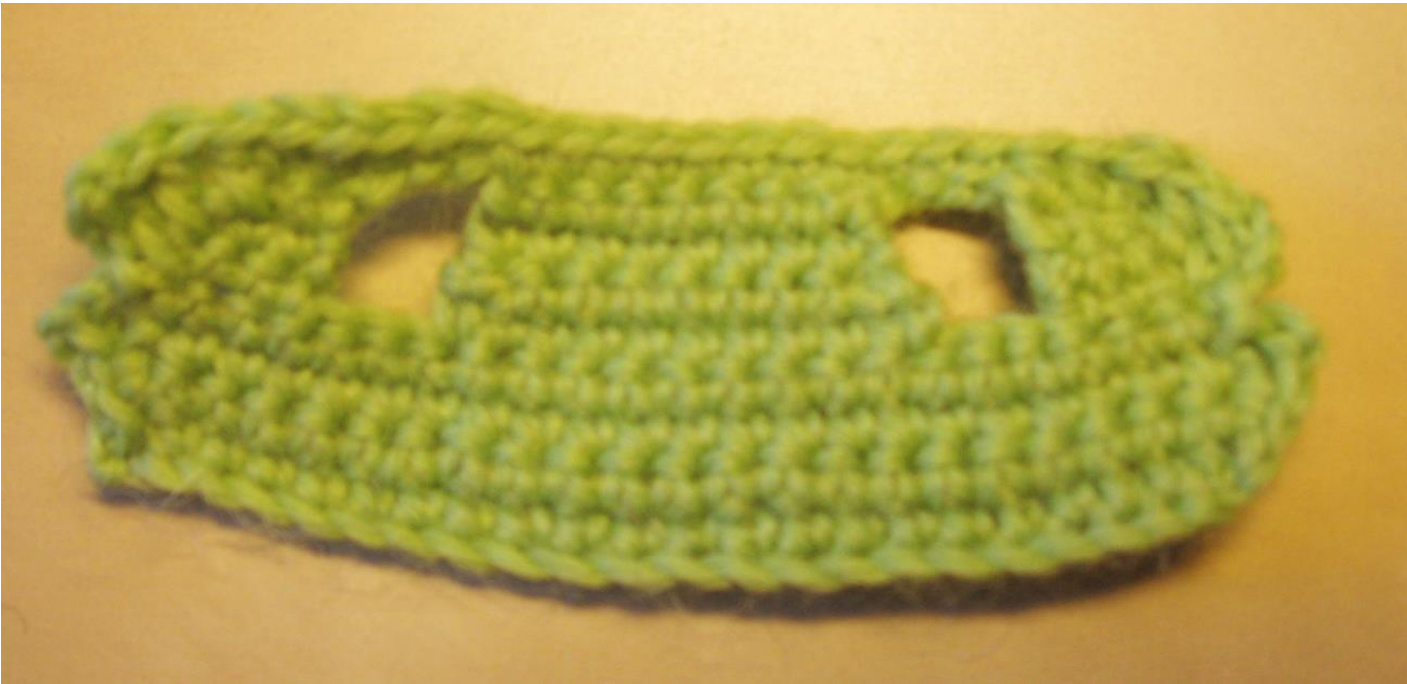
Row 1: yoh, pull through the st, yoh, pull through the loop, sc in the same st, sc in the next 9 st, ch 1, turn Row 2: sc2tog, sc in the next 6 st, sc2tog, ch 1, turn Row 3: sc in the 8 st Finish off and weave in the tails. Now hook into the st on the other end of the original row 4 (sorry I forgot to take a photo of this part but here's a drawing to explain)
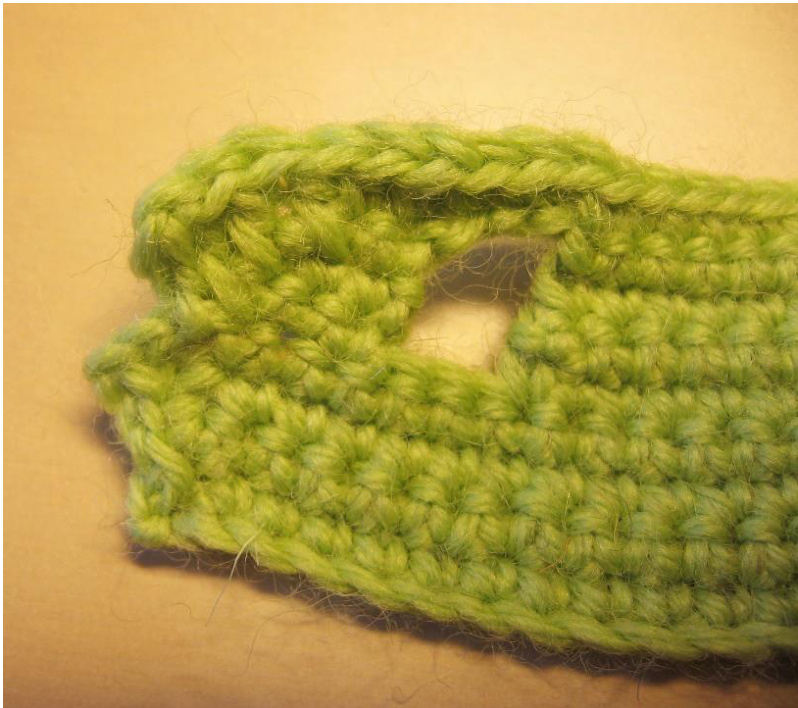
Row 1: yoh, pull through the st, yoh, pullthrough the loop, sc in the same st, sc in the next 2 st, ch 1, turn Row 2: sc in the next 2 st, ss in the next st, ch 1, turn Row 3: miss that ss, sc in the next 2 st Now it should look something like this:
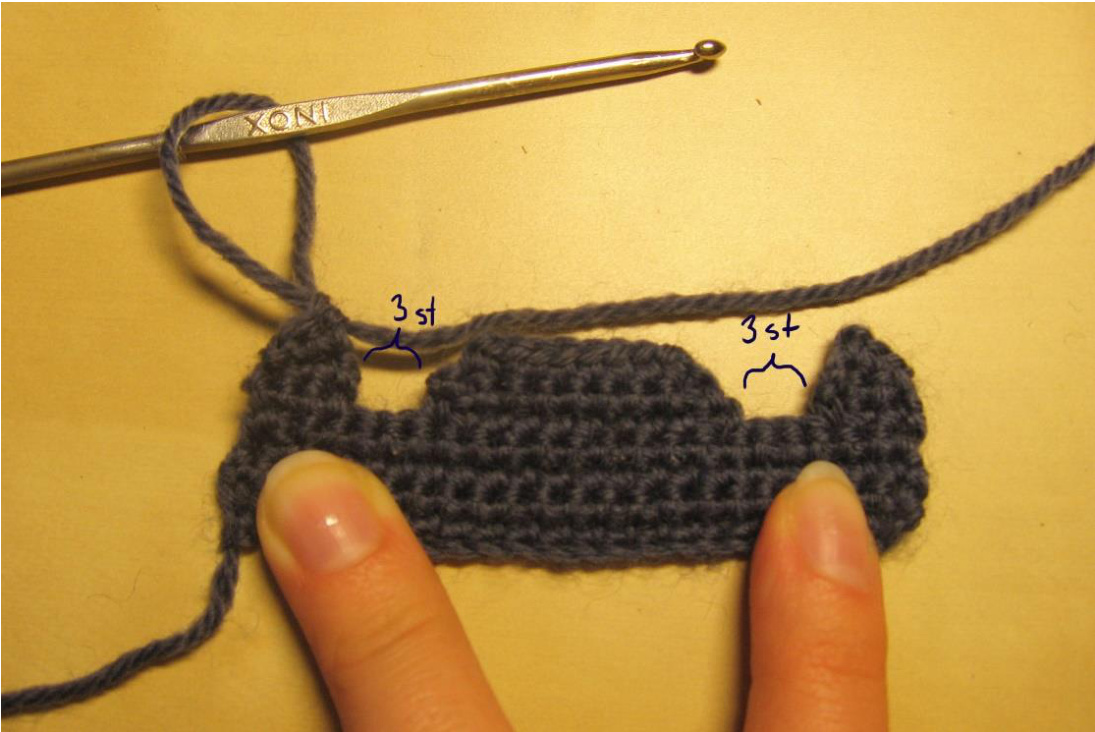
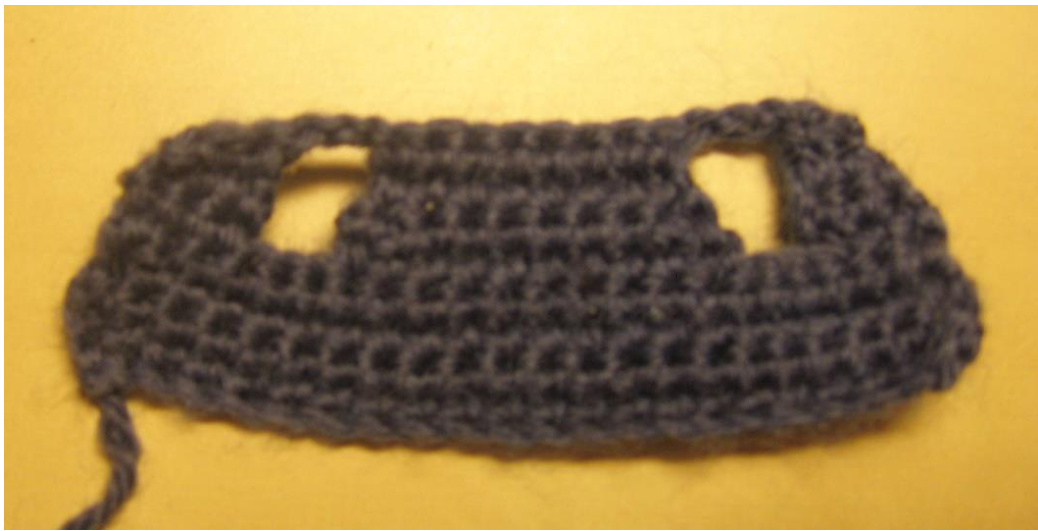
ch 3, join to the part on the other side of the gap and do sc in the 8 st, ch 3, join to the part on the other side of the gap withss Finish off and weave in the tails.
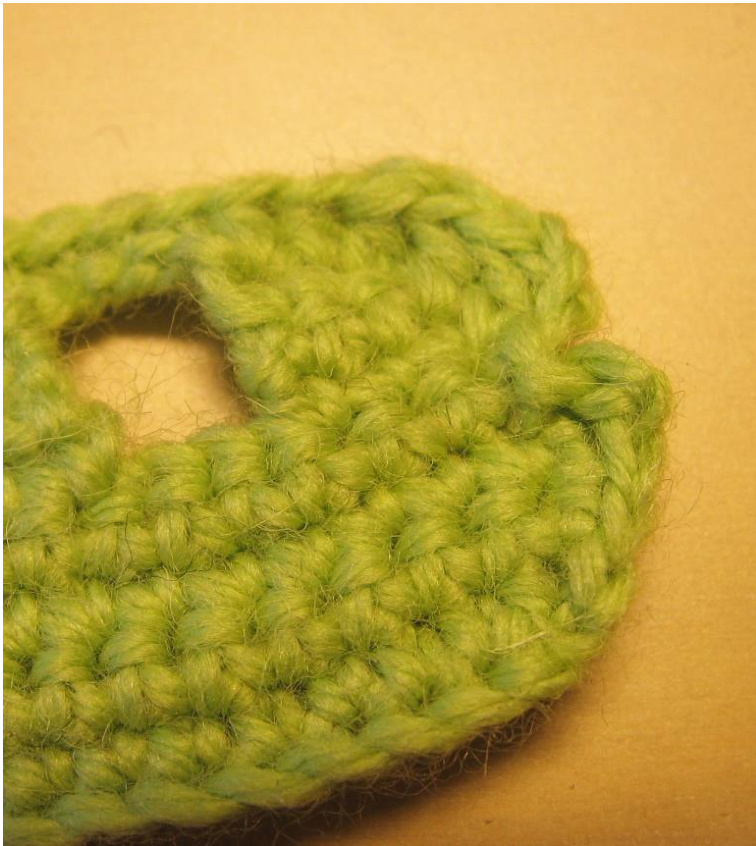
Collar: black yarn Start from the corner and work the stiches in between every row (there are 7 rows so there are 7 "stitches" on the right and left edges of the coat).

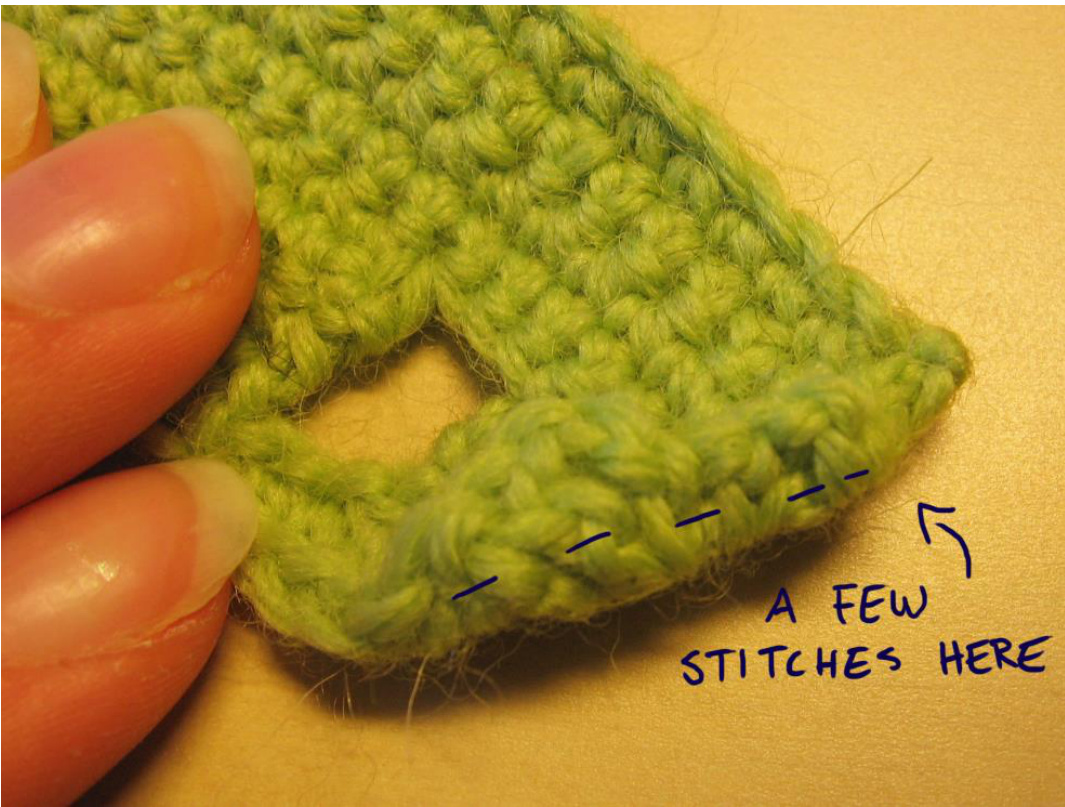
Hook in the corner, yoh, pull through the st, ss in the next st, sc in the next st, hdc in the next st, ch 1, hook in the post and do ss, ss in the same st you made hdc, ss in the next st, ch 3, dc in the same st, dc in the next st, hdc in the next st Now you should be at the upper corner. Start doing the upper edge. hdc in the next 2 st, sc in the 3 ch, sc in the 8 st, sc in the 3 ch, hdc in the next 2 st 'n at the corner. Start working the left edge by doing the stitches in between the rows again. hdc in the next st, dc in the next 2 st, ch 3 and ss in the same st, ss in the next st, ch 2, hdc in the same st, sc in the next st, ss in the next 2 st Finish off and leave a long tail (which I didn't in the picture).
Turn the collar down and use the tail to sew a few stitches to keep the collar down.
Now, before doing the sleeves, use the coat to check the right places for arms (you have already sewn at least the head onto the body, maybe legs too). Sew the arms on the right place. Sleeves (make two) black yarn, leave a long tail, you're going to use it to sew the sleeve onto the coat ch 11, join in the first ch with ss Row 1: sc in the next 10 (11) Row 2-3: sc in each st around (11) ss, finish off and weave in the tail :dges of arm hole. Leave row 3 as the edge of the sleeve (it looks better than the lower edge Hair: The hair is done by sewing short stitches with black yarn. The most important thing is to make the stiches look like hair (make them vertical, not horizontal) and try not to leave the scalp show too much. I recommend watching reference pictures while doing this since the hair is ultimately what makes your doll look like Nine :)
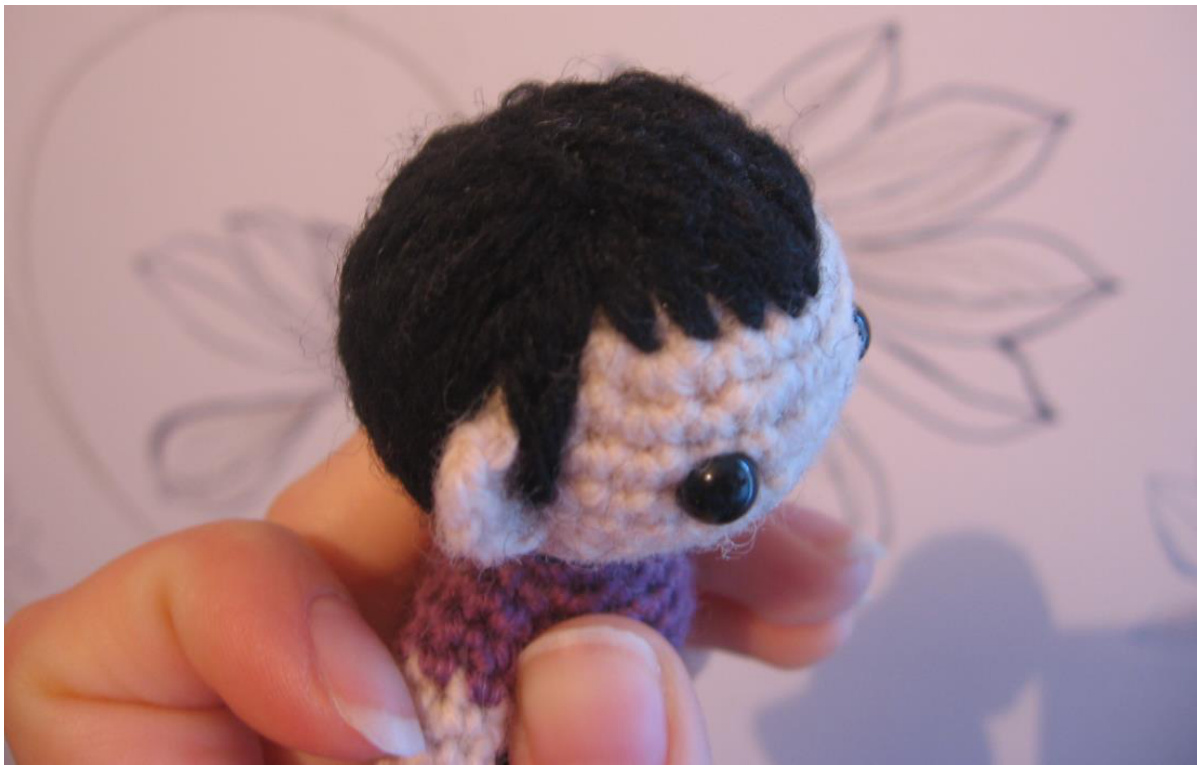
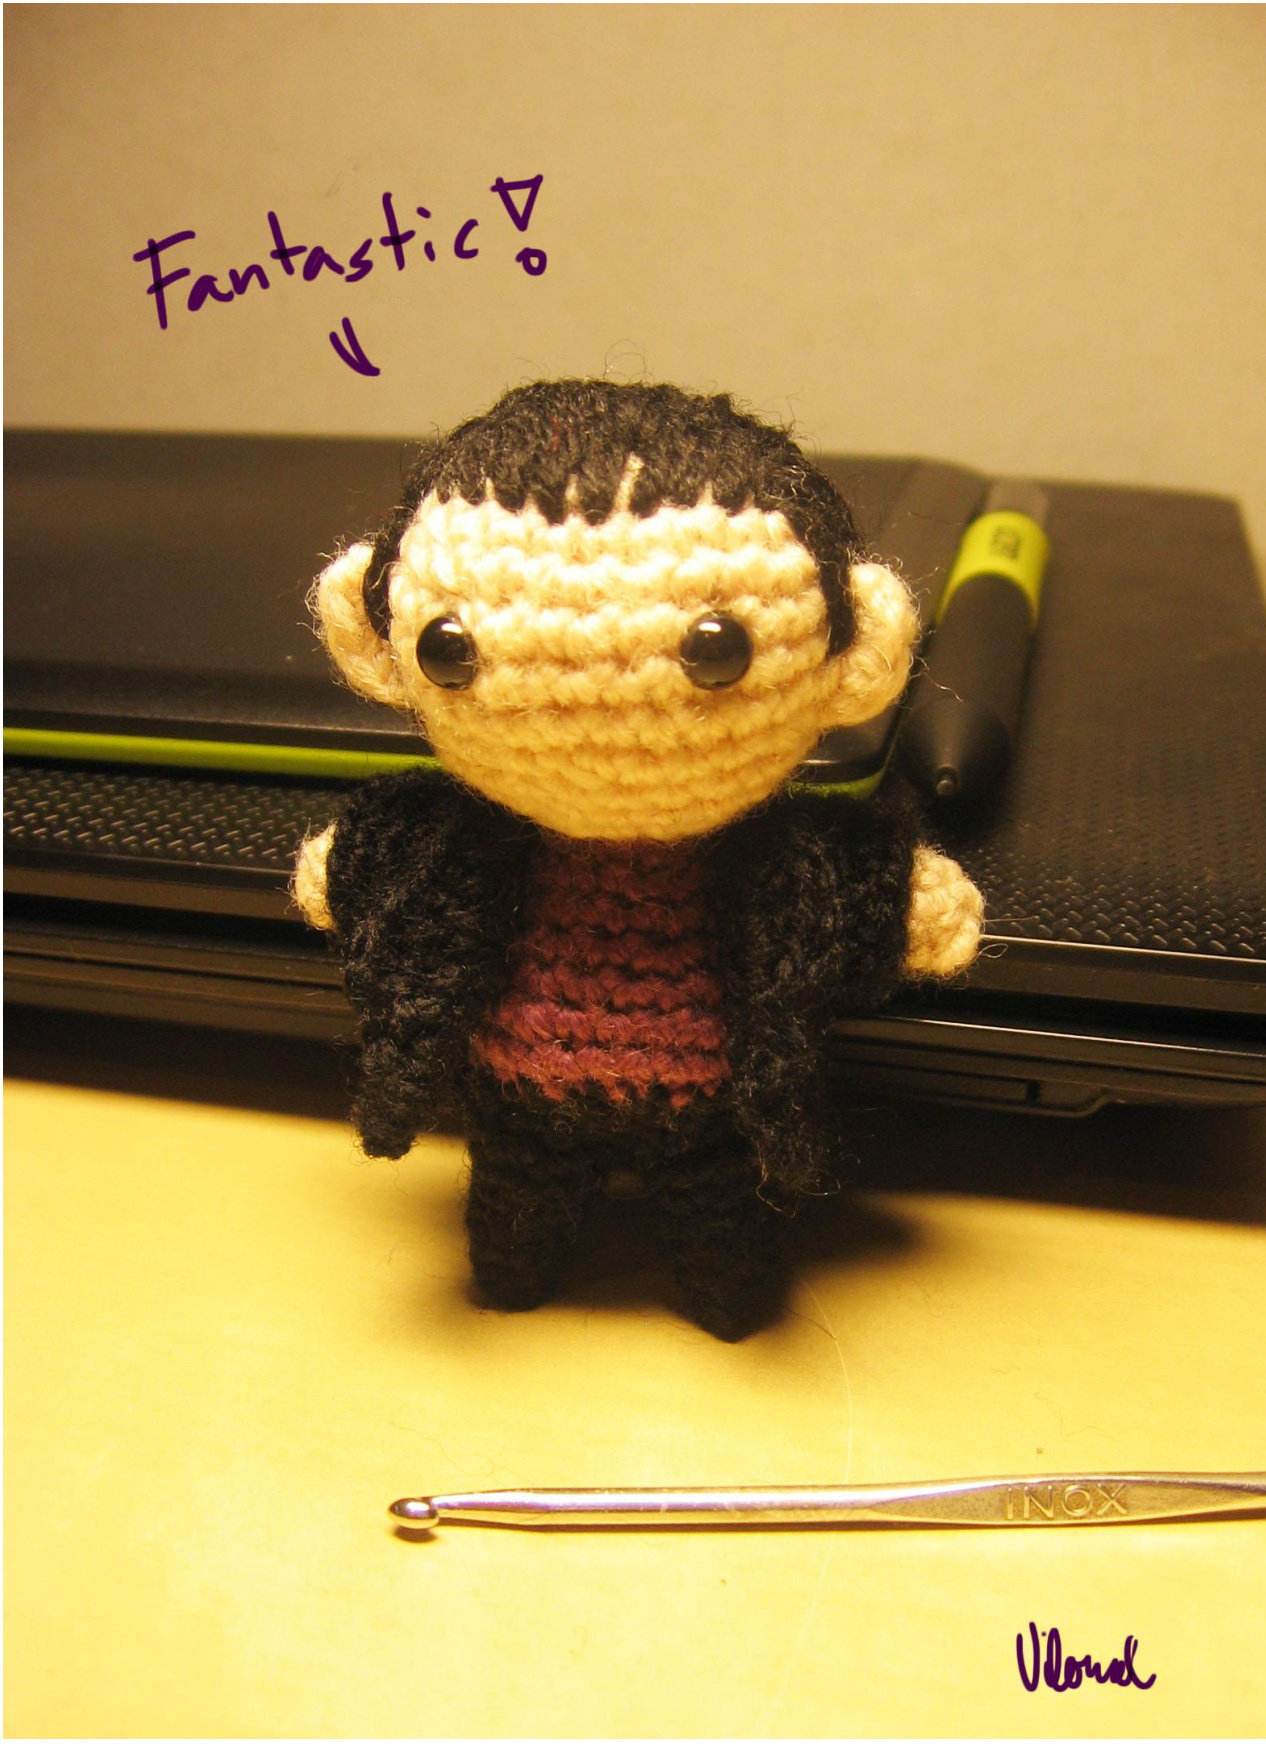
Finally Put the coat on Nine and you're finished! Ihope you found my pattern somewhat useful and understandable. If you get any questions feel free to message me. I'd also be really happy to see your Nine. You can find me on Tumblr and on Deviantart too (on both of which I use the name Vilonal).