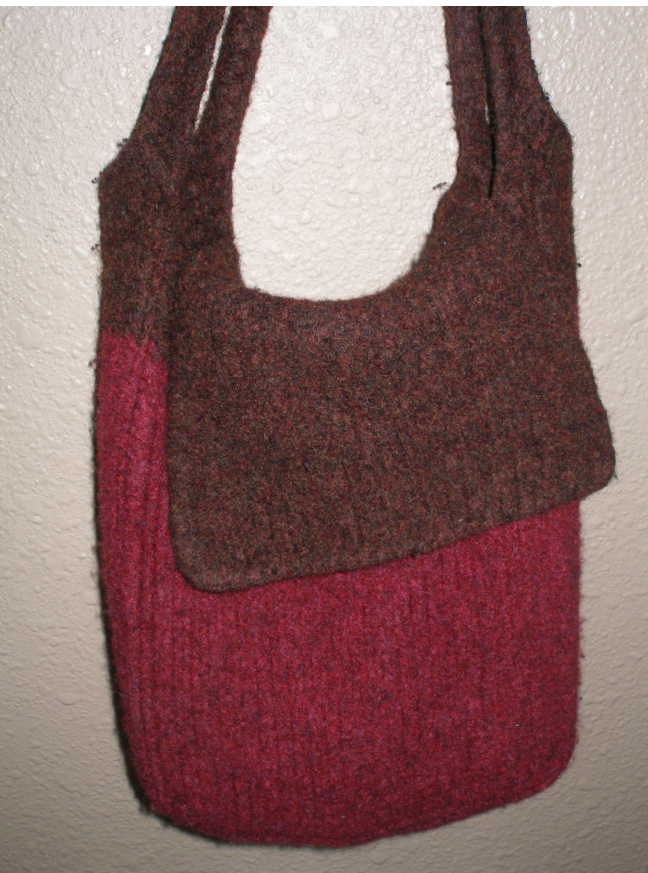
FELTED BAG
By Jessica Gutoski www.naturallyknitty.blogspot.com
Materials:
-Cascade 220, 3 skeins total: (MC 2 skeins CC I skein ) -US #15 24in circular needle -4 stitch markers -I stitch holder, or waste yarn -darning needle (Chibi) Gauge: I0 sts $=$ 4in \*holding 2 strands of yarn together, pre-felting. Finished measurements: After felting I0 inches from base to opening. The straps are 26 inches from side to side.
Abbreviations:
MC \~ main color CC $\tilde{}$ contrasting color CO ~ cast on K~ knit PU $\tilde{}$ pick up PM $\tilde{}$ place marker St(s) \~ stitch / stitches RT $\tilde{}$ Right Twist (K $2^{\mathsf{n d}}$ st on needle without slipping sts off, K Ist st on needle, then slip both sts off needle.) BO $\tilde{}$ bind off St st $\tilde{}$ stockinette stitch
Getting started:
-Holding 2 strands of MC, CO 27 sts. Work 26 rows in garter st ( 13 garter ridges). -With27sts on the eee PM.PU 13 sts and PMPU27 sts and PM.PU 13 sts,PMandjoin in the round. ${\bf\nabla}^{*}{\bf K}$ to within 2 sts of marker, RT,sl marker\* Repeat from\* until piece measures I2 inches from base. -Switch to CC and K 8 rounds. -BO 27 sts on one of the long sides, K13 sts. K27 sts and place on a holder. K 13 sts. -CO 57 sts, K13 sts, CO 57 sts, K 13 sts. -K 4 rounds. BO all sts, break yarn.
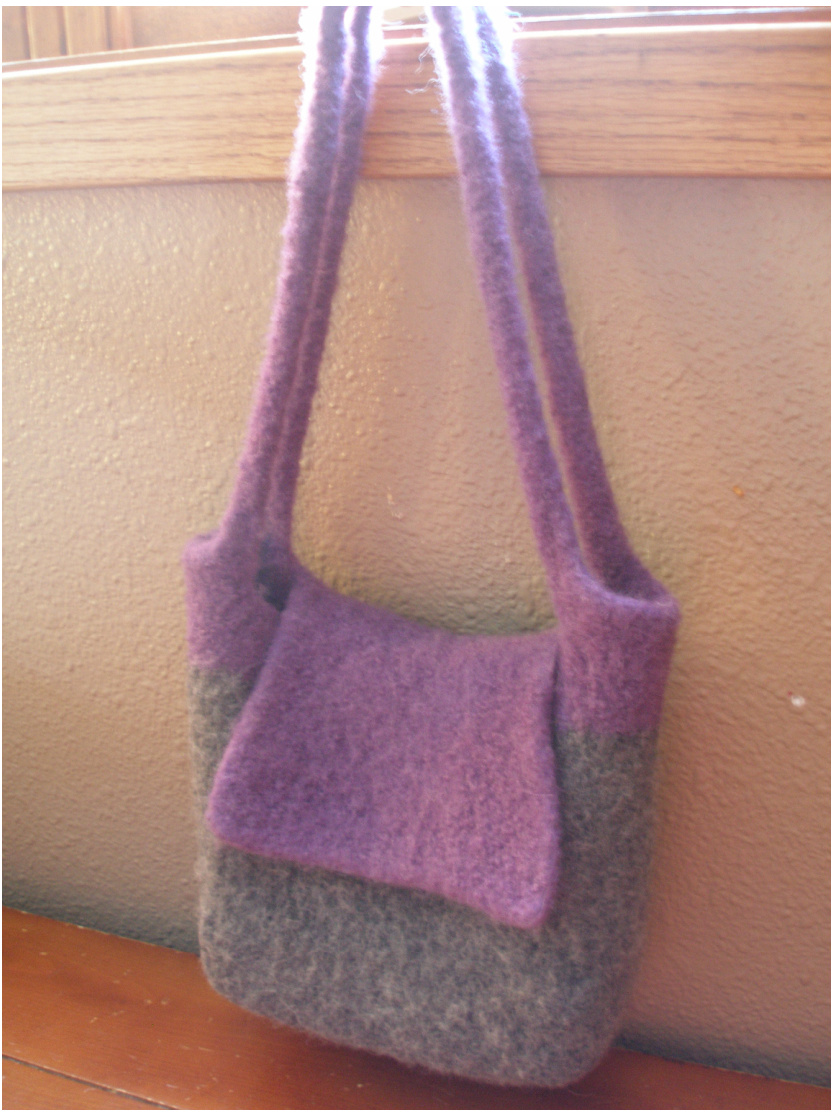
-Pick up the 27 sts on the holder and with the K side facing join yarn. K 28 rows in Stst. BO all sts. Weave in all of your ends and prepare to felt your bag.
Felting:
Set your washer to the hottest cycle and toss in your bag, along with an older pair of jeans (for added agitation). Put a tiny bit of detergent in and start it up! Take your bag out from time to time to check on it.(Ilike to check my felting every 5 min or so) Be careful!! You may want to wear gloves because the water is HOT! Once it is the size you would like, let it go thru the spin cycle. Take it out and shape it: stuff it with plastic bags or something rectangular to hold the shape and let it dry. This might take a day or two. Attach a button or a snap to close the flap if you desire.


