TARDIS
(easy cmgurumi)
Pattern Description
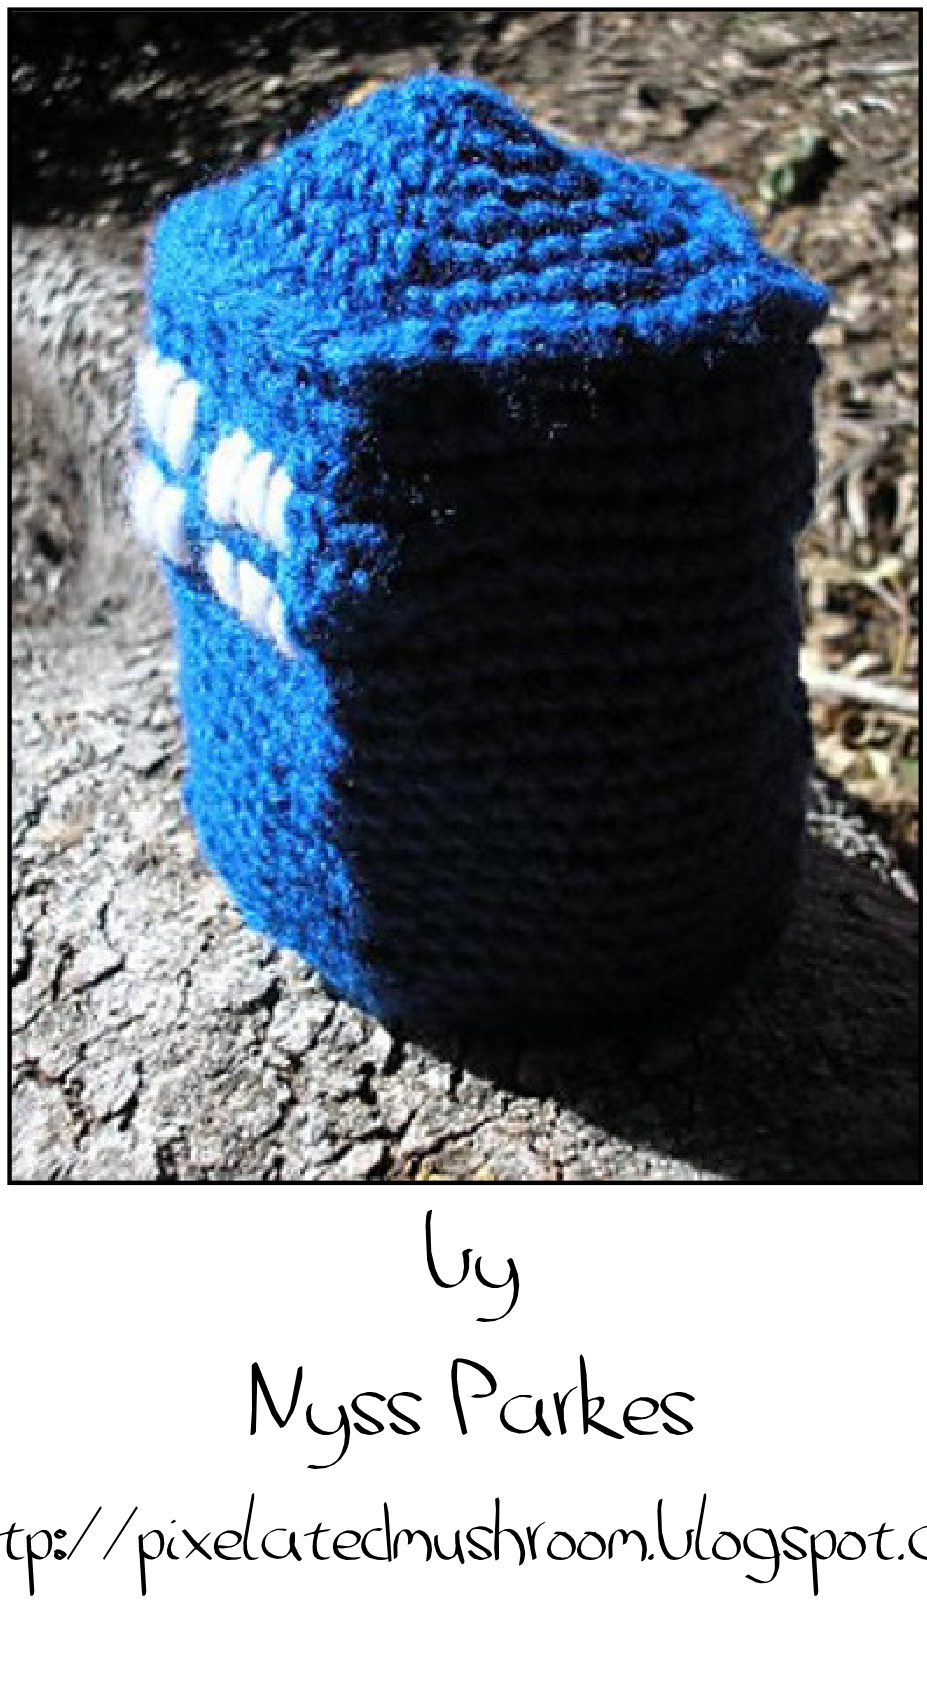
This is a very simple, rounded TARDIS shape for crochet beginners. It is made all in one piece, a lamp added to the top, and representative windows stitched to the outside. It does not contain any instructions for complex embellishments.
Materials
Versions and contact
3mm crochet hook Stitch marker (if desired) Dark blue wool (DK) Scrap of light blue wool for lamp (DK) White wool (for windows) Sewing Needle Stuffing The most recent version of this pattern is available from Ravelry or my Blog: http://www.ravelry.com/designers/nyss-parkes http://pixelatedmushroom.blogspot.com.au I love seeing your project photos. Please feel free to attach them to your projects on Ravelry. Post a message on Ravelry, or contact pixelatedmushroom@gmail.com with any concerns.
Abbreviations / stitches used
Permissions
US crochet terms
St / Sts = Stitch / Stitches Magic circle https://youtu.be/FHYVutk2iYY Chain Slip stitch https://youtu.be/XVURLgzfJsM Sc = Single crochet https://youtu.be/JPSM0bnmU8U Hdc = Half-double crochet https://youtu.be/DhKyDgnDIdg Dc = Double crochet https://youtu.be/JkohnQzTxlA Sc2tog = Single crochet decrease https://youtu.be/JcycT1YmSSM Make for yourself, friends or charity, but please do not sell finished items. Help keep these patterns available for everyone to use by respecting these terms. More: http://pixelatedmushroom.blogspot.com.au/2011/12/on selling-of-bbc-based-plushies.html
The Pattern
Top
Starting at the top, with dark blue wool... Round 1 - Make a magic circle with 6 sts - place marker for row beginning Round 2 - 2 sc in every st = 12 Round 3 - (sc in next st, 2 sc in next st) repeat around = 18 Round 4 - (sc in next 2 sts, 2 sc in next st) around = 24 Round 5 - (sc in next 2 sts, 2 sc in next st) around = 32 Round 6 - (sc in next 2 sts, 2 sc in next st) around = 42
Round 7 -
this round shapes the box using increases on each corner sc in next 10 sts, [make an sc, 2 dc, and another sc in next st], sc in next 9 sts, [make an sc, 2 dc, and another sc in next st], sc in next 10 sts, [make an sc, 2 dc, and another sc in next st], sc in next 9 sts, [make an sc, 2 dc, and another sc in next st] =54
Sides
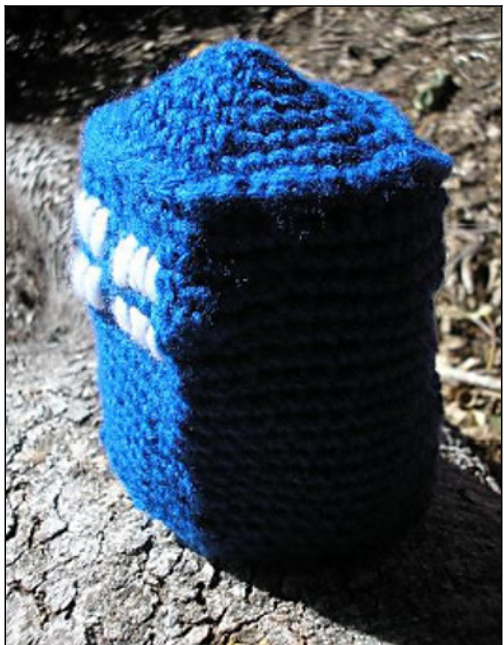
Round 8 - sc into the stitch in the round below, repeat around= 54 (see image to right) Note: this round shapes the top ridge of the TARDIS. Round 9 - sc in next 4 sts, sc2tog, sc in next 25 sts, sc2tog, sc in next 21 sts = 52 Rounds 10-28 - sc in every st around (18 rounds total) Base Round 29 - sc into next 12 sts note: you will be working back and forth from here on
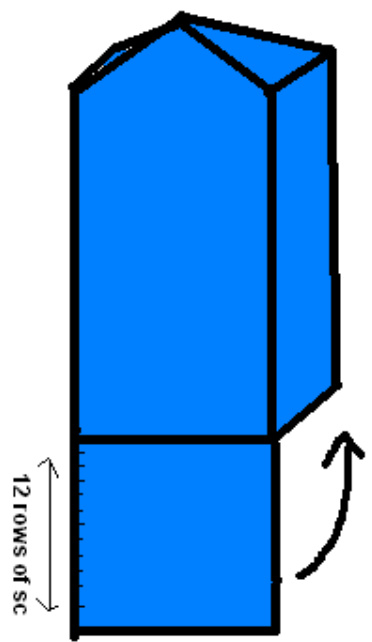
Rows 30-42
Turn work - make 1 turning chain then sc next 12 sts (12 rounds total) Break off leaving a long tail. Pull tail through remaining loop on hook.
Lamp
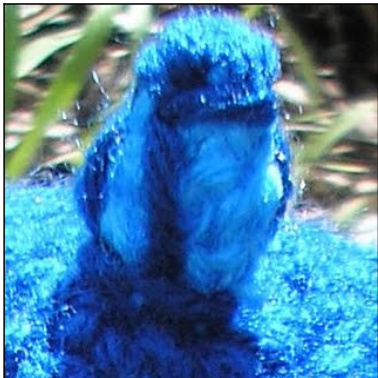
With light blue wool... Round 1 - Make a magic circle with 5 sts - place marker for row beginning Rounds 2-4 - sc in every st around = 5 (3 rounds total) Break yarn leaving a long tail. Pull tail through remaining loop on hook.
Finishing
Sew lamp to centre of TARDIS top. Weave in all ends. With dark blue wool sew 4 vertical lines to mark four corners of the lamp-holder, then stitch across the top a few times to colour the top of the lamp-holder dark blue. Stuff your TARDIS, making sure to push the stuffing into the top section to make the sloped roof. Slip stitch or sew up the three open sides of the base. Tie off carefully and you are done!
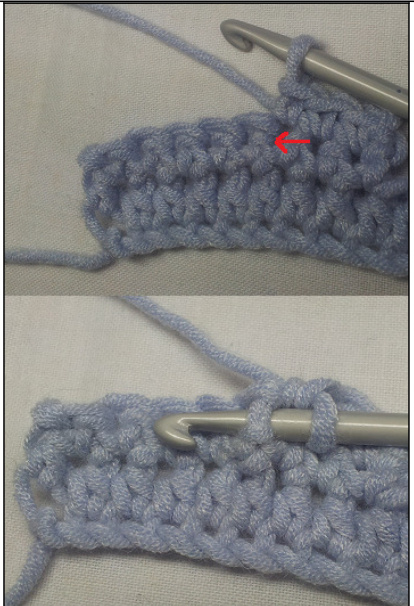
How to sc into stitchbelow
Lamp
Decoration
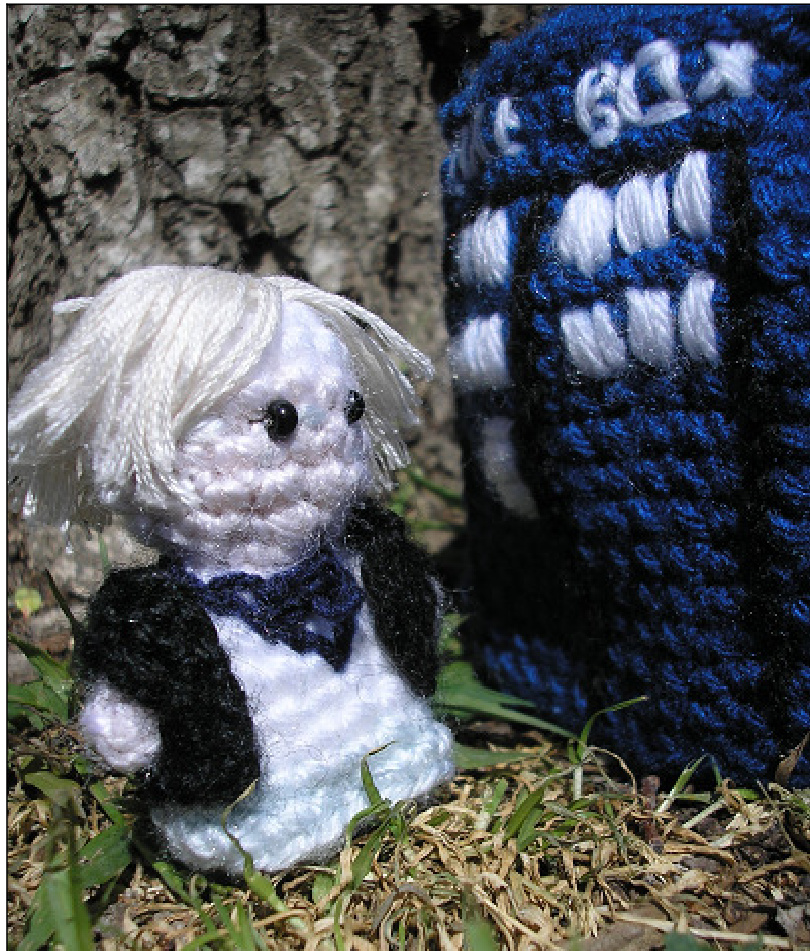
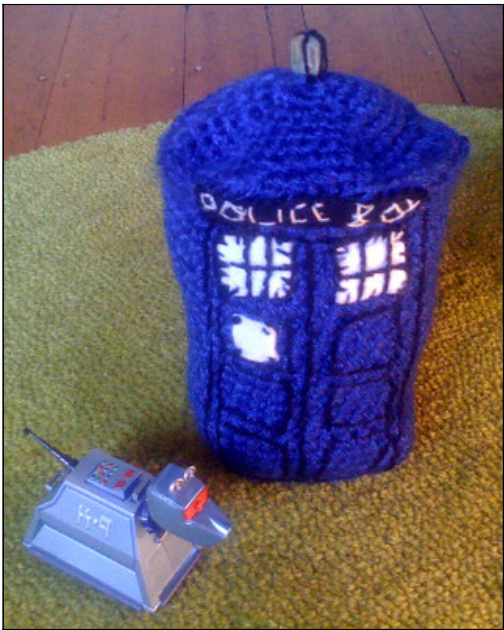
My original TARDIS decoration was quick and simple, with twelve vertical lines stitched to represent the windows (as shown to right) - but much more detail could be added with felt and extra stitching. See ideas below, or check out the project gallery on Ravelry for inspiration: http://www.ravelry.com/patterns/library/tardis-easy amigurumi/people
Pixelated Mushroom
Pixelated Mushroom
@haikugirlOz Find a patternfor mini Doctors at: http://www.ravelry.com/patterns/library/mini-doctor-whos


