CHRISTMAS BULB FRIDGIE
Designed By Jessica Phillips ? 2009
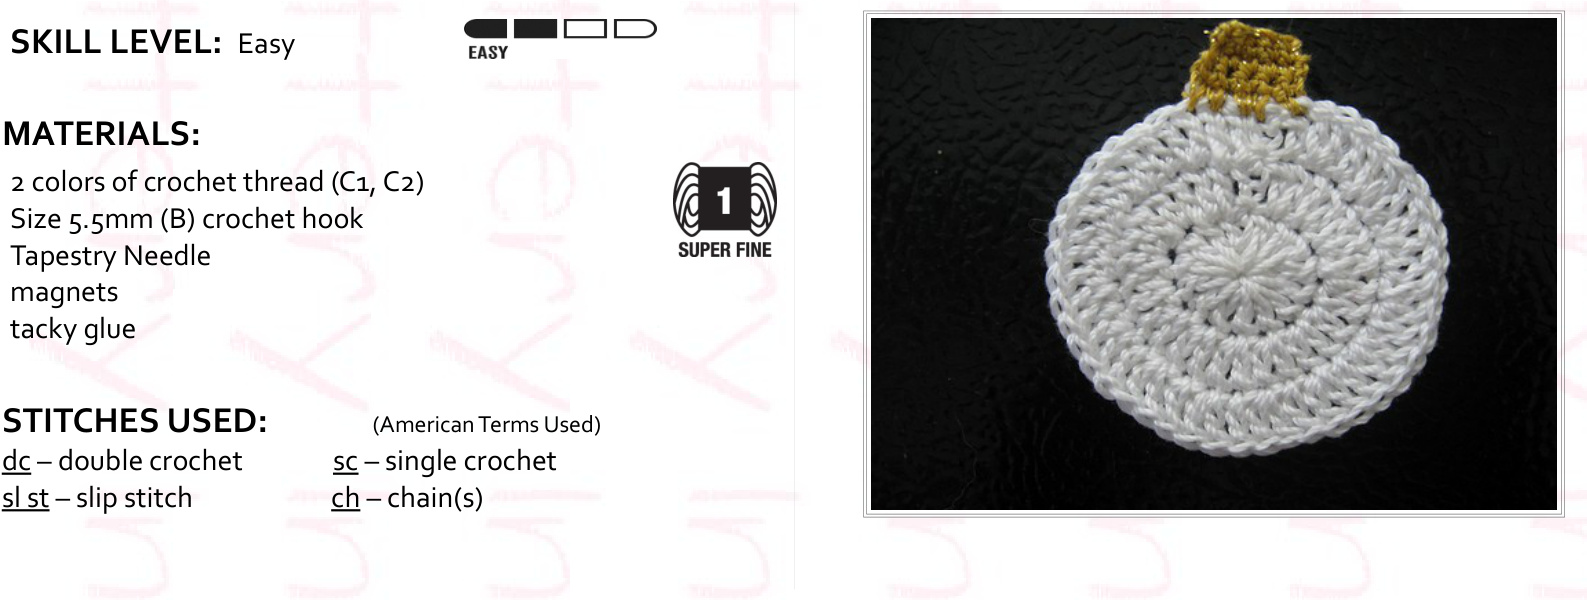
BULB
round 1: ch4, 15dc in 4th ch from hook. join with a sl st to top of ch4 (16dc) round 2: ch3, dc in same as joining. 2dc in each stitch around. join with a sl st to top of ch3.(32dc) round 3: ch3, dc in same asjoining, 1dc in next. \*2dc in next stitch, idc in next stitch\* around. Join with a sl st to top of ch3. (48dc) FINISH OFF, weave in ends.
TOP OF BULB
(note: ch1 does not count as a stitch in this section) row 1: join in any dc with a sc, sc in next 4 stitches. ch1 & turn (5sc) row 2: sc in next 5 stitches. ch1 & turn (5sc) row 3- 5: repeat row 2. FINISH OFF & weave in ends.
ADDINGTHEMAGNETS
Turn over to wrong side (it was the side facing away from you when making the bulb). Place magnet in these areas: top of bulb, around the outer edges of bulb & in the middle of the bulb. If using tacky glue place the bulb on a sheet or parchment paper or plastic in case the glue seeps through. However you do not want the glue to seep through to the right side so use it sparingly. It is better to have to add more later then use too much & ruin your project.
ALTERNATIVEUSE
Instead of using the bulb as a fridgie you can use it as a decoration. All you need to do is add a hanger to it. The hanger is all up to you on how to do it.


