POTNIASOLIS
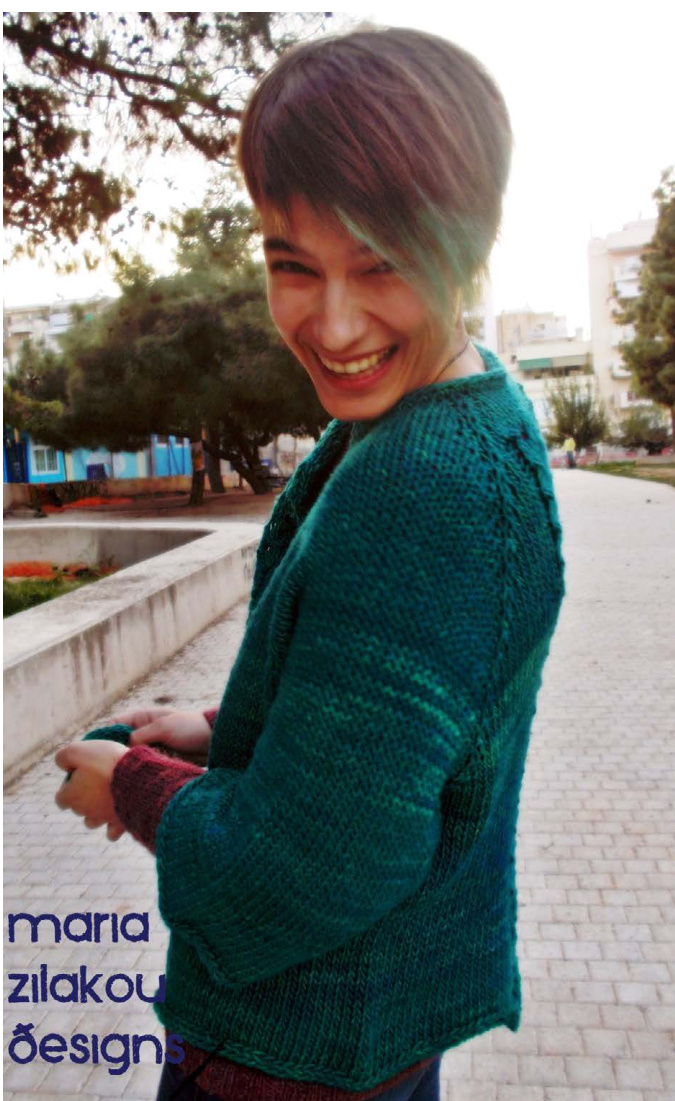
a cardigan pattern by maria zilakou Oesigns The pattern will be released in 2 parts: ? from the top to the armholes (December 5) and from the armholes to the hem and finishing (December 12) Once you have bought the pattern it is placed in your Ravelry library, so you will be notified for the new releases on these two dates. Soft, luxury yarn and an asymmetrical pattern for a really quick, almost mindless knit. A simple, yet beautiful one-row lace pattern will add some extra interest without too much to worry about and you could have a Christmas cardigan in a very short time! All you need is some soft, bulky yarn, your needles and advanced beginner to intermediate experience! This cardigan is meant to be a loose-fit garment, in fact, the prototype is worn in the pictures by Lise of treliz.eu, who wears medium size and it is also my own favorite cardigan (I wear a large, almost XL size), see what I mean? TIP: I have created a hashtag for this KAL to use on Instagram: #potniakal. I will be very happy to connect with you on Instagram, too. Look for mariazilakou_designs and let us all be IG friends! Now let's get ready to knit! You need : - Malabrigo Mecha or any bulky yarn of the same yardage. Depending on the size you plan to knit, will need 6 to 8 skeins of this yarn. (Remember to check your gauge. You know how gauge affects the yardage of your project!) - Circular needles in sizes: US 11- 8.0 mm & 7.0 mm - 2 Stitch Holders - Some Stitch Markers
Gauge: 3sts= 1 inch
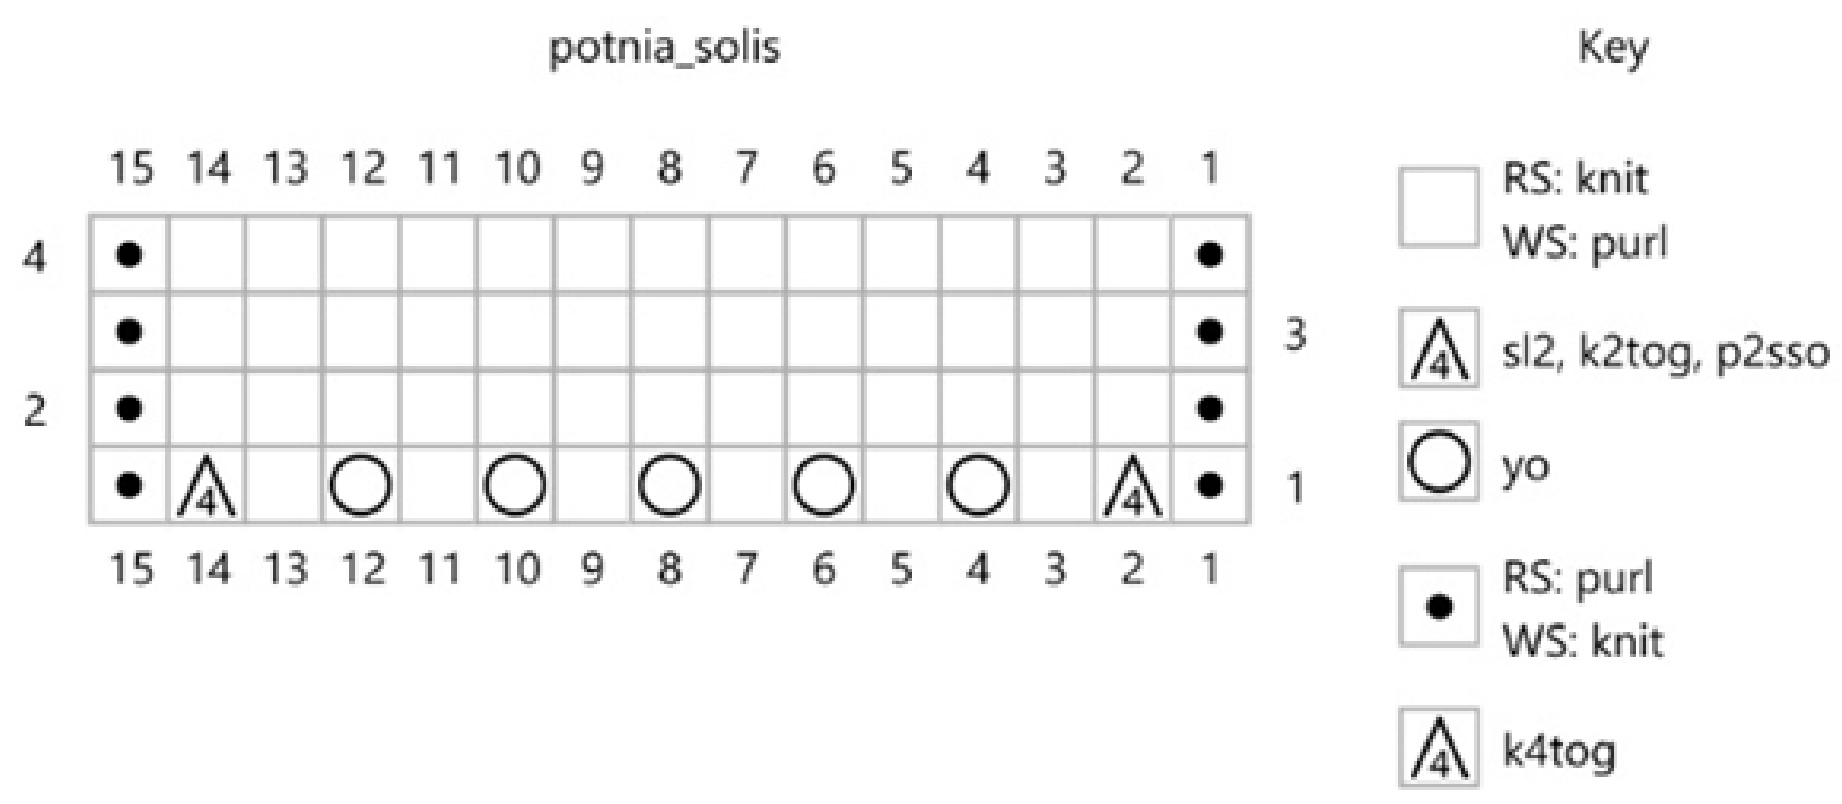
[k=knit p=purl yo=yarn over S2K2P=sl2, k2tog, pass 2 slipped sts over cO= cast on BO= bind off PM=place marker SM=slip marker RS=Right Side WS=Wrong Side This cardigan is a loose-fit garment and that is why there are only 2 sizes included in these instructions. I would advise you to take your bust measurements and decide which one fits you best: Size Small-Medium includes 36" to 44" bust circumference Size Medium-Large includes 46" to 54" bust circumference NOTE: When reading the instructions, stitch counts for Small-Medium size appear first, stitch counts for Medium-Large appear second and when there's only one number, it means it's the same for both sizes. It is totally up to you to decide on the length of the cardigan sleeves, as well as the cardigan, because this is a Top-Down garment; keep in mind that, the longer the cardigan, the more yarn you will probably need. Remember that the 2 fronts of this cardigan are not identical, one of them is larger than the other in order to create a beautiful ^-shape when it's buttoned! The Left front is the larger of the two and that is where you will work the eyelet pattern! You start working each Right Side row from the right front.
So, let's start knitting shall we?
CO 56/80 sts and work as follows: SETUP ROW (Small-Medium size only): p16, PM, p4, PM, p24, PM, p4, PM, p8. SETUP ROW (Medium-Large size only): p22, PM, p8, PM, p32, PM, p8, PM, p10. Rows 1, 3, 5, 7 (RS): k to st before 1st Marker, kfb, SM, kfb, k to st before next Marker, kfb, SM, kfb, k to st before next Marker, kfb, SM, kfb, k to st before next Marker, kfb, SM, kfb, k to the end of the row. (+8sts on every RS row) Rows 2, 4, 6, 8(WS): sl1, p to last st of the row, sl1wyf. Let's count those sts: (Small-Medium size only): Left Front 20sts, Sleeve 12sts, Back 32sts, Sleeve 12sts, Right Front 12sts (=88sts) (Medium-Large size only): Left Front 26sts, Sleeve 16sts, Back 40sts, Sleeve 16sts, Right Front 14sts (=112sts) Start counting rows again: (Small-Medium size only) Row 1 (RS): k to st before Marker, kfb, SM, kfb, k to st before Marker, kfb, SM, kfb, PM, work [p1, S2K2P, (k1, yo)x 5times) k1, S2K2P, p1]x2 times, PM, kfb, SM, kfb, k to st before Marker, kfb, SM, kfb, k1, PM, [p1,S2K2P, (k1, yo)x 5times) k1, S2K2P, p1]x 1 time, PM, k3. Row 2 (WS): sl1, p2, SM, k1, p13, k1, SM, p to 3rd Marker, SM, [k1, p13, k1] x2, SM, p to last st, sl1wyf. Row 3: k to st before Marker, kfb, SM, kfb, k to st before Marker, kfb, SM, kfb, SM, k to M, SM, kfb, SM, kfb, k to st before Marker, kfb, SM, kfb, k1, SM, k to M, SM, k3. Row 4: same as row 2. (Medium-Large size only) Row 1 (RS): k to st before Marker, kfb, SM, kfb, k to st before Marker, kfb, SM, kfb, k4, PM, work [p1, S2K2P, (k1, yo)x 5times) k1, S2K2P, p1]x2 times, PM, k5, kfb, SM, kfb, k to st before Marker, kfb, SM, kfb, k4, PM, [p1,S2K2P, (k1, yo)x 5times) k1, S2K2P, p1]x 1 time, PM, k6. Row 2 (WS): sl1, p2, SM, k1, p13, k1, SM, p to 3rd Marker, SM, [k1, p13, k1] x2, SM, p to last st, sl1wyf. Row 3: k to st before Marker, kfb, SM, kfb, k to st before Marker, kfb, SM, kfb, SM, k to M, SM, kfb, SM, kfb, k to st before Marker, kfb, SM, kfb, k1, SM, k to M, SM, k3. Row 4: same as row 2. Repeat these 4 rows until it's time for you to place Sleeve sts on a Stitch Holder. I recommend trying on the cardigan as you go on knitting, so that you can decide when it's comfortable for you to stop working increases and place the Sleeve sts on the holder. That's why I really prefer knitting my sweaters starting from the top! Next week, I'll be update the pattern with instructions to work from the armholes downwards! Please join us in the Ravelry KAL and/or use Instagram hashtag #potniakal to post your progress on Instagram! Happy knitting!!!