Stars, Star Disks and Swirly Twirlies
By: Tara Quarles Three J Q Designs www.ravelry.com/three-j-q-designs www.facebook.com/TaraCreates Materials: E hook H hook Worsted weight yarn in red, white and blue Star: Using E hook and white yarn, Ch 3and join to make a ring. \*Ch 5, then s in 2nd chain from the hook, sc in the next, hdc in the next and dc in the next. Join to ring with sc\* Repeat from star 4 more times then fasten off, leaving a tail for stitchinq star onto disc.

The star can be sewn onto the following disks or used separately. \*FEeefree to use the products ofthispatern as you wish.AllI ask iscredit for the patten\* HAPP HOOKING!:) \*2O12 THREE J Q DESIGNS 2O12\* Disk: Using H hook, and either red or blue yarn, ch 3 and join to make a circle or make a magic circle. Ch 1, Hdc 10 times in circle, join to ch 1. (10) Ch 1 then 2hdc in each st from the 1st row, join to ch1. (20) Ch 1 \*hdc in next st, 2 hdc in next\* around join to ch 1(30) fasten off. \*Optional Edging Row\* Change to opposite color (blue or red) and ch 1 then sc in each stitch around. Join to ch 1 and fasten off. (You can also use this optional row in the color you started with to increase the size of the disk if desired)
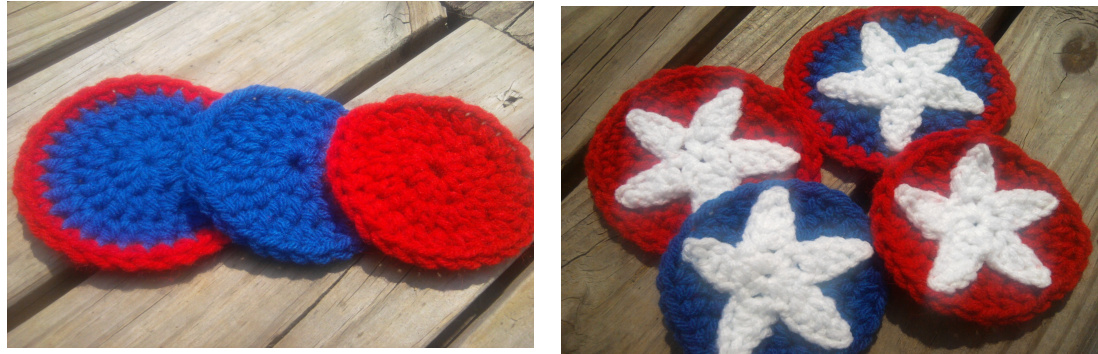
Sew the star onto the disk using the tapestry needle.
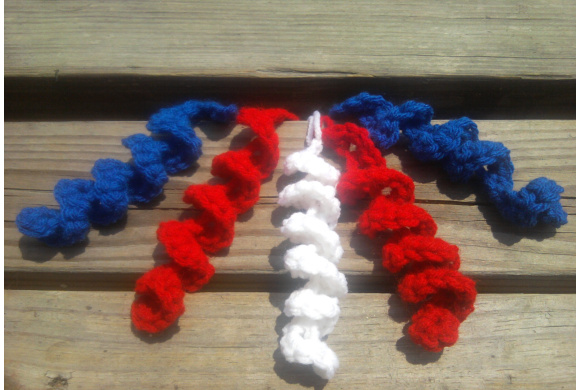
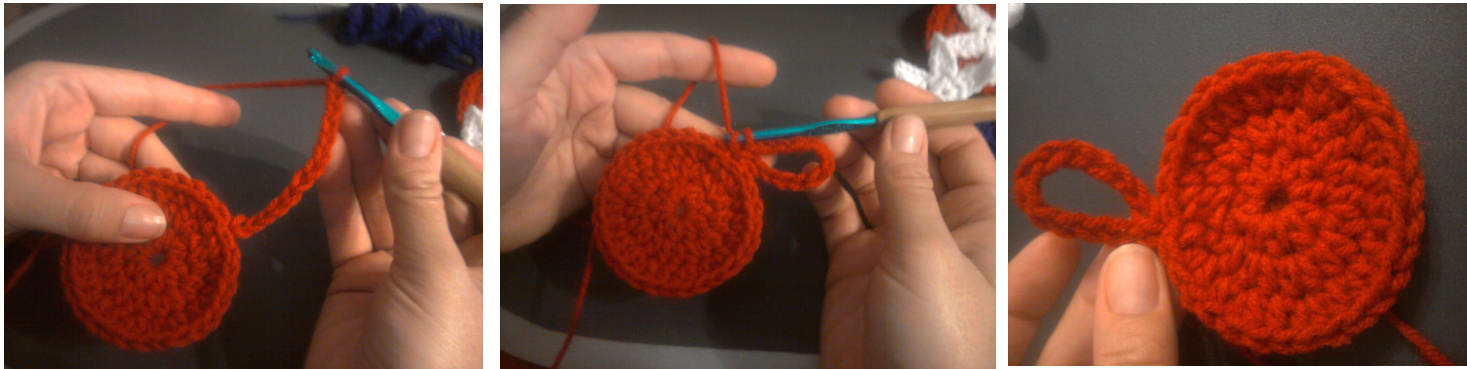
Swirly Twirlies : Using H hook and either red, white or blue yarn, Ch 32. 4sc in the 2nd chain from the hook, skip next chain. \*4sc in next chain, skip next chain\* repeat from \*to \* until you have 2 chains left and ss in the last chain then fasten off. Tie a knot using both string and then either weave in ends or use to sew or tie onto desired location.
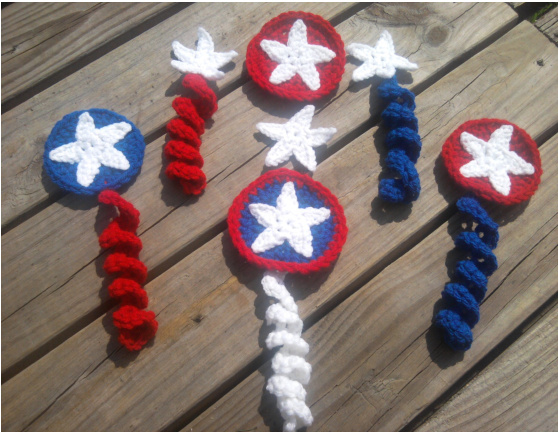
The swirly twirlies can be sewn to the back ofthe plain stars, star disks or used separately. \*\*Stars, star disks and swirly twirlies may be sewn on as appliques or pinned on as interchangeable appliques\*\* \*If you wish to make your disk 2 sided to use as a hanging ornament, then leave off the Optional edging and be sure to leave the tail on one disk. Using tail, crochet a chain twice the desired length ofthe hanging loop, then join to 1st chain with ss or sc, fasten offand weave in end.
Stitch all of the desired pieces (swirly twirlies and stars) onto disks being careful to keep hanging loop in the top center. Hold or pin the two disks back to back and sc through each stitch around. Fasten off and weave in ends\*\*\*
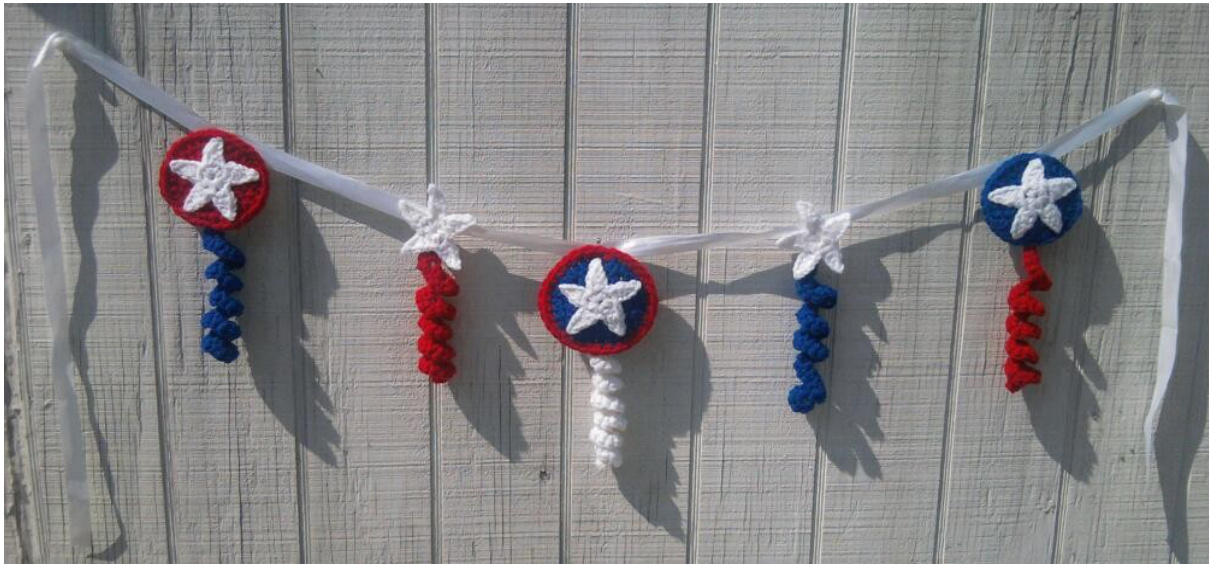
As pictured below, appliques have been pinned onto a ribbon.