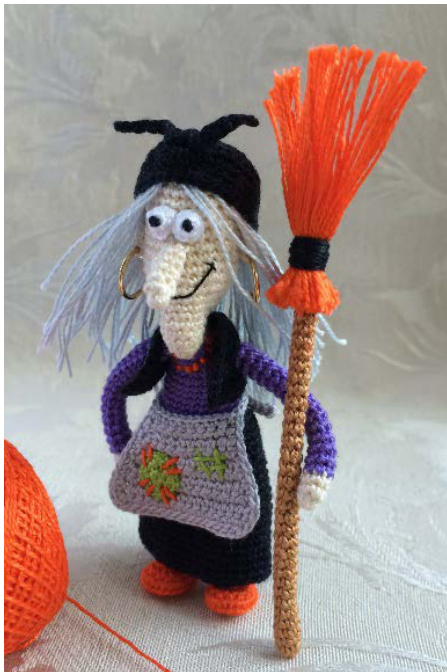
MRS WITCH
- by Uljana Semikrasa - Skill level: advanced beginner/intermediate
Materials:
For small doll: DMC Petra cotton size 8 0.75mm crochet hook skeins (200g) of yarn. The pattern is written to knit a cowl. if you wish to knit a slimmer scarf from one skein follow instructions in the brackets(). If you wish to knit a longer cowl or scarf use 2 Soft pastel (for cheeks) Pipe cleaners (for legs) (optional) Paper card (for feet inserts)
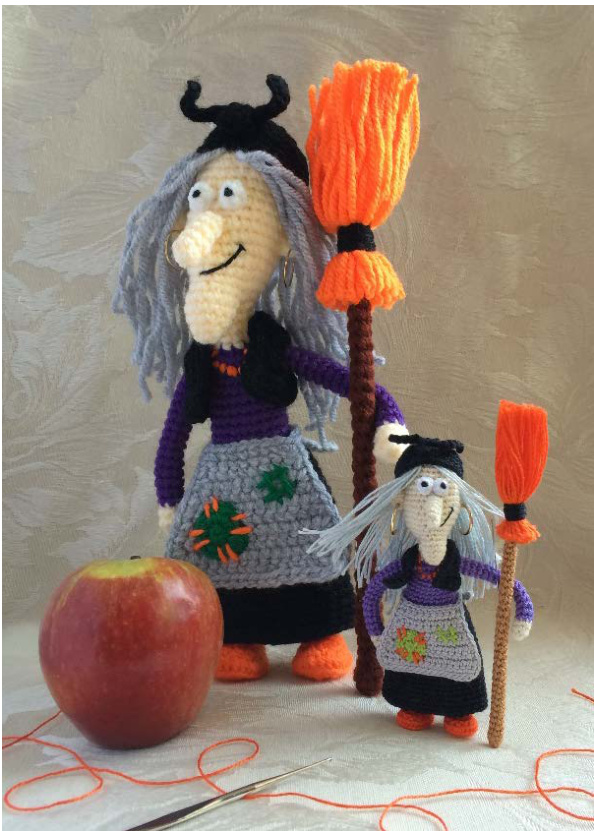
Size:
approx. 9.5cm tall (using DMC Petra size 8 and 0.75mm hook) 22cm tall (using Hayfield Bonus DK and 2mm hook)
Abbreviations:
ch=chain st/sts=stitch/stitches ss=slip stitch sc=single crochet 2sc=inc=increase (2 single crochets in the same st) 3sc=3 single crochets in the same st dec=invisible decrease (insert hook in the front loop of the next 2sts, yarn over, pullthrough first 2 loops, yarn over and pullthrough both loops)
Notes:
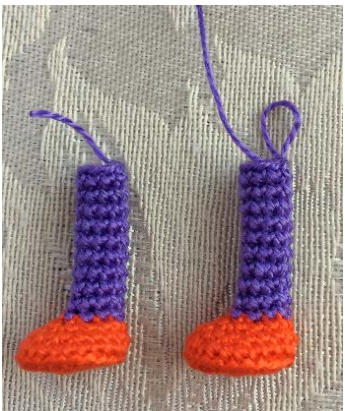
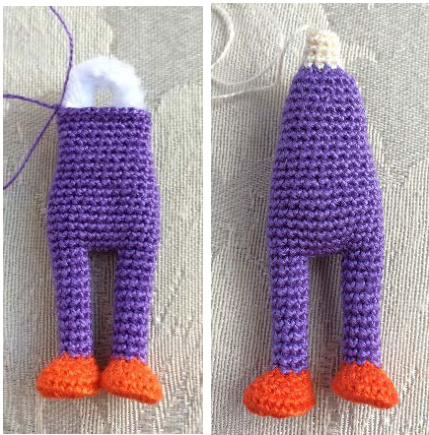
· Most of the sections are worked in rounds, each round is closed off with a slip stitch (ss) to first st of the round and the next round is started with a chain (ch) , but there are sections which are worked in continuous spiral Stuff the doll firmly as you go or as indicated (I used pipe cleaners for small doll but didn't need them for big doll) · Change colour in the last loop of the st before the colour change I cut out 2 small oval shapes/soles from paper card (a bit smaller than the shape I end up with after the 3rd round of leg section) and insert them in dol's feet to keep her soles straight. If l intend to wash the doll, I use plastic instead of paper. Remember to check/refer to the photos for guidance. eg (make 2): with orange, make a magic ring, work in rounds, close off each round with 1. 6sc into magic ring, join with ss (6) 2. ch1, 2sc, 2sc, 3sc, 3sc, 2sc, 2sc, join with ss (14) 3. ch1, 2sc, sc in each of next 4sts, 2sc, 3sc, 3sc, 2sc, sc in each of next 4sts, 2sc, join with ss (22) Cut out 2 small oval shapes/soles from paper card (use 1 for each leg)
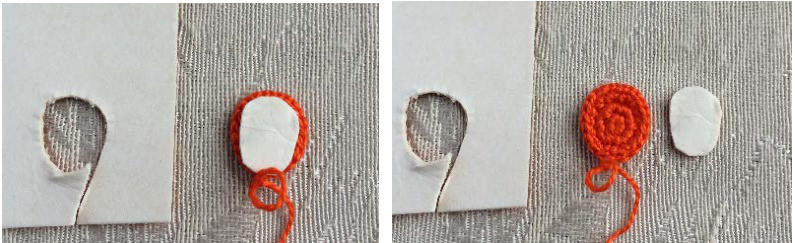
4. ch1, (back loop only) sc in each st around, join with ss (22) 5. ch1, sc in each of next 4sts, dec 7 times, sc in each of next 4sts, join with ss (15) Insert card sole

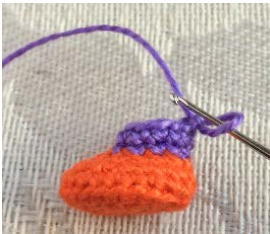
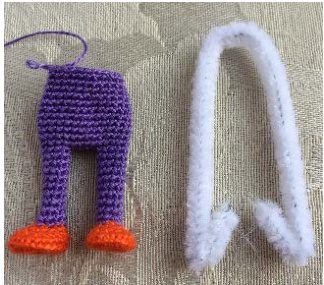
6. ch1, sc, sc, sc, dec, dec, dec, dec, sc, sc, sc, sc, join with ss (11) Change colour (purple) 7. ch1, sc, sc, sc, dec, dec, sc, sc, sc, sc, join with ss (9) 8. ch1, sc in each st around, join with ss (9) Stuff foot (Il stuff only toes and I insert pipe cleaners after round 11 of the body section). You don't need pipe cleaners if you are making the bigger size witch (stuff legs as you go)
9.-16. repeat round 8.
Fasten off(one leg only, don't fasten off the other one) Body: take unfastened leg, ch1, sc in first st, sc in next st and ch4, take the other leg and join with sc and sc in each of next remaining sts around that leg, sc in each of next 4chains, then sc in each of next 7sts around the first leg, join with ss
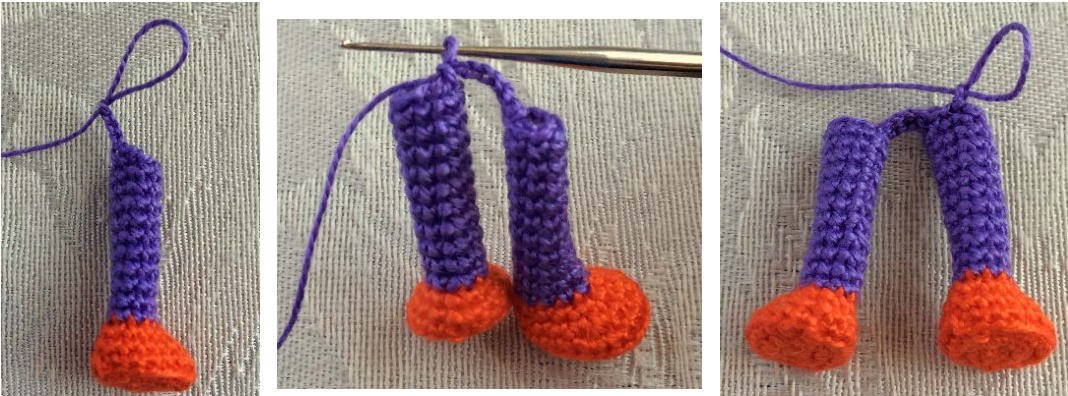
1. ch1, sc in each st around, join with ss (26) 2.-7. repeat round 1. 8. ch1, dec, sc in each of next 7sts, dec, sc in each of next 6sts, dec, sc in each of next 7sts, join with SS (23) 9. ch1, sc in each st around, join with ss (23) 10. ch1, dec, sc in each of next 6sts, dec, sc in each of next 13sts, join with ss (21) 11. ch1, sc in each st around, join with ss (21) Insert pipe cleaners (for small witch only)
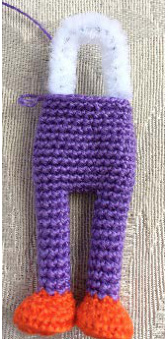
12.-16. repeat round 11. Start stuffing 17. ch1, \*dec, sc in each of next 5sts\* repeat around, join with ss (18) 18. ch1, sc in each st around, join with ss (18) 19. repeat round 18. Change colour (ecru) and stuff more 20. ch1, dec around, join with ss (9) 21. ch1, sc in each st around, join with ss (9) 22.-23. repeat round 21. Fasten off, leaving a tail for sewing
Head: with ecru, makea magic ring,work incontinuous spiral (start with chinand join neckbody after round 4, use stich marker in the beginning of each round) 1. 6sc into magic ring (6) 2. \*2sc, sc\* repeat around (9) 3. \*sc, 2sc, sc\* repeat around (12) 4. sc in each st around (12)
5. (luse contrast (green) thread in the beginning of the round) sc in each of next 5sts, insert hook into 8th st of neck and make sc, sc in each of next 7sts around the neck, sc in each of next remaining 7sts of the chin (20)
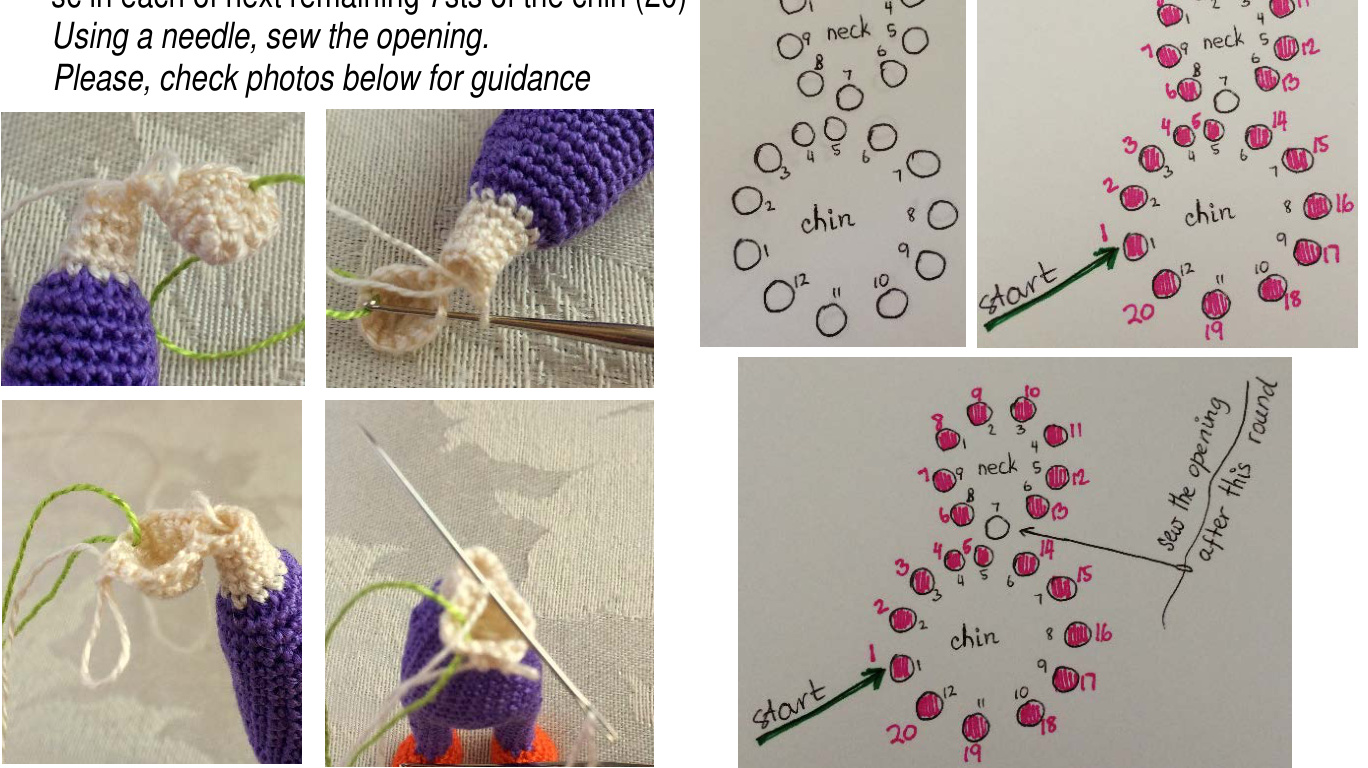
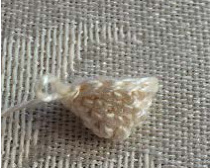
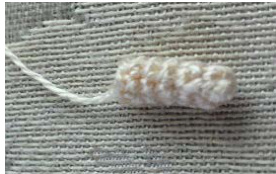
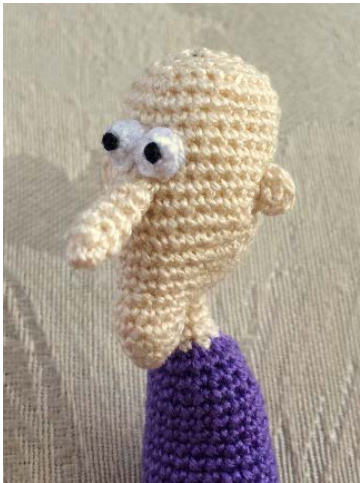
6. sc in each of next 4sts, dec, 2sc in each of next 6st, dec, sc, sc, sc, dec, sc (23) 7. dec, sc, dec, \*sc, 2sc\* repeat 6times, dec, sc in each of next 4sts (26) 8. sc in each st around (26) 9. sc, sc, sc,2sc in each of next 3sts, sc in each of next 3sts, 2sc in each of next 3sts, sc in each o next 4sts (32) 10. sc in each of next 30sts, dec (31) 11. dec, sc in each of next 29sts (30) 12. sc in each st around (30) 13. repeat round 12. 14. dec, sc in each of next 13sts, 2sc, sc in each of next 14sts (30) 15. sc in each st around (30) 16. repeat round 15. 17. dec, sc in each of next 13sts, 2sc, sc in each 14sts (30) 18. sc in each st around (30) 19. repeat round 18. Start stuffing 20. \*dec, sc, sc, sc\* repeat around (24) 21. \*dec, sc, sc\* repeat around (18) 22. \*dec, sc\* repeat around (12) Stuff the head 23. dec around (6) Fasten off, stuf more if needed and close the opening Nose: with ecru, make a magic ring, work in continuous spiral 1. 7sc into magic ring (7) 2. sc in each st around (7) 3.-5. repeat round 2. 6. sc in each of next 4sts (4) Fasten off, leaving a tail for sewing
Ear (make 2): with ecru, make a magic ring 5sc into magic ring Fasten off, leaving a tail for sewing
Eye (make 2): with white, make a magic ring 6sc into magic ring, join with ss Fasten off, leaving a tail for sewing
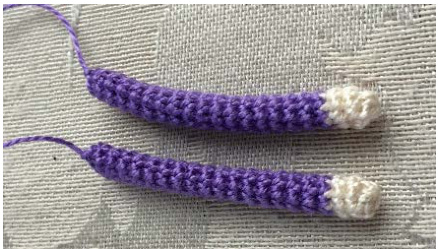
rm (make 2): with ecru, make a magic ring, work in rounds, close off each round with ss 1. 8sc into magic ring, join with ss (8) 2. ch1, sc in each st around, join with ss (8) 3. ch1, dec, sc in each of next 6sc, join with ss (7) Change colour (purple) 4. ch1, sc in each st around, join with ss (7) 5.-20. repeat round 4. Fasten off, leaving a tail for sewing
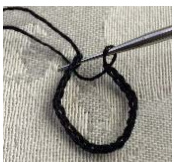
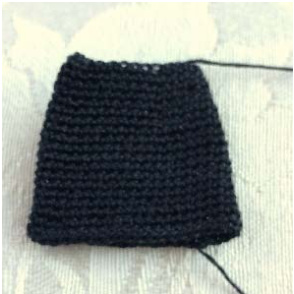
Skirt: with black, work in rounds, close off each round with ss Leaving a long tail in the beginning for attaching finished skirt to body, ch24 and join with ss into 1st ch
1. ch1, sc in each st around, join with ss (24) 2. ch1, \*sc in each of next 5sts, 2sc\* repeat around, join with ss (28) 3. ch1, sc in each st around, join with ss (28) 4. repeat round 3. (28) 5. ch1, \*sc in each of next 6sts, 2sc\* repeat around, join with ss (32) 6. ch1, sc in each st around, join with ss (32) 7.-8. repeat round 6. 9. ch1, \*sc in each of next 7sts, 2sc\* repeat around, join with ss (36) 10. ch1, sc in each st around, join with ss (36) 11.-16. repeat round 10. 17. \*sc in each of next 8sts, 2sc\* repeat around, join with ss (40) 18. ch1, sc in each st around, join with ss (40) 19. repeat round 18. Fasten off, weave in loose end
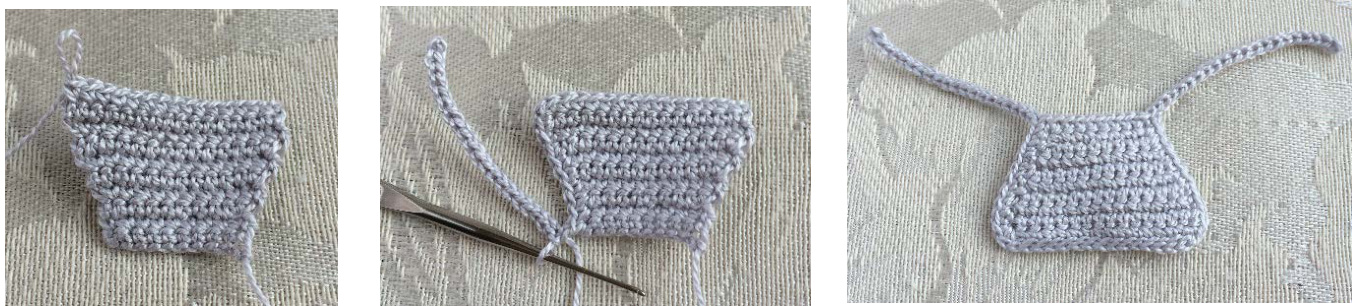
Apron: with grey, work in rows, ch1 and turn after each row Ch10 (ch9+1 for turning) 1. sc in each ch across, ch1 and turn (9) 2. sc in each st across, ch1 and turn (9) 3. sc in each of next 8sts , 2sc in last, ch1 and turn (10) 4. sc in each of next 9sts , 2sc in last, ch1 and turn (11) 5. sc in each of next 10sts , 2sc in last, ch1 and turn (12) 6. sc in each of next 11sts , 2sc in last, ch1 and turn (13) 7. sc in each of next 12sts , 2sc in last, ch1 and turn (14) 8. sc in each of next 13sts , 2sc in last, ch1 and turn (15) n 。 i h + . h1 d +.. /i) 10. (after this last row, I am going to work my way back (crochet around) towards where I started, to make the ties) sc in each of next 14sts, 3sc in last st, sc around the side edge, ch 22, ss in second ch from hook and in each of next 20ch, sc in each st across the top edge and ch22, ss in second ch from hook and in each of next 20ch, sc around the side edge (make 3sc in the bottom corner st) and, finally, ss across bottom edge, fasten off, weave in loose ends
Patch: with green, make a magic ring, work in rounds, close off each round with ss 1. 8sc into magic ring, join with ss (8) 2. ch1, \*3sc, sc\* repeat around, join with ss (16) Fasten off, leaving a tail for sewing Attach the patch to apron

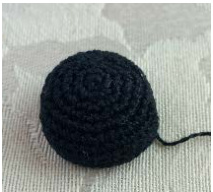
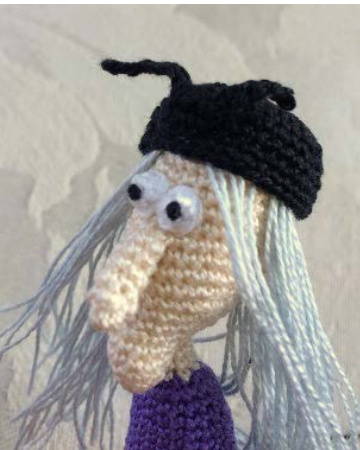
at/head scarf: with black, make a magic ring, work in rounds, close off each round with. 1. 6sc into magic ring, join with ss (6) 2. ch1, 2sc in each st around, join with ss (12) 3. ch1, \*sc, 2sc\* repeat around, join with ss (18) 4. ch1, \*sc, 2sc, sc\* repeat around, join with ss (24) 5. ch1, \*2sc, sc, sc, sc\* repeat around, join with ss (30) 6. ch1, \*sc in each of next 9sts, 2sc\* repeat around, join with ss (33) 7. ch1, sc in each st around, join with ss (33) 8.-10. repeat round 7. Fasten off, leaving a tail for sewing
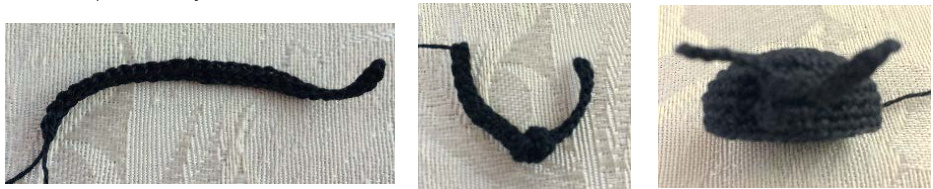
Hat tie:
Ch30, ss into second ch from hook, sc in each st across and ss in last, fasten off. Make simple (or double) knot by hand and sew it onto hat.
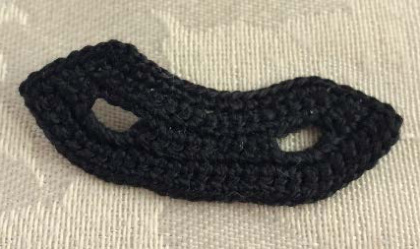
Waistcoat: with black, work in rows, ch1 and turn after each row ch16 (ch15+1 for turning) 1. 2sc into second ch from hook, \*sc in each of next 6sts, 2sc\* 2 times, ch1 and turn (18 2. sc in each st across, ch1 and turn (18) 3. 2sc, sc and ch5, skip 3sts, sc, 2sc, sc in each of next 4sts, 2sc, sc and ch5, skip 3sts, sc, 2sc, ch1 and turn 4. sc, sc, sc, 5sc into ch space, sc in each of next 10sts, 5sc into ch space, sc, sc, sc, ch1 and turn (26) 5. sc in each st across, ch1 and turn (26) sC around the edges (make 3sc in the corners) Fasten off, weave in loose ends
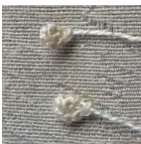
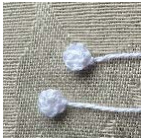
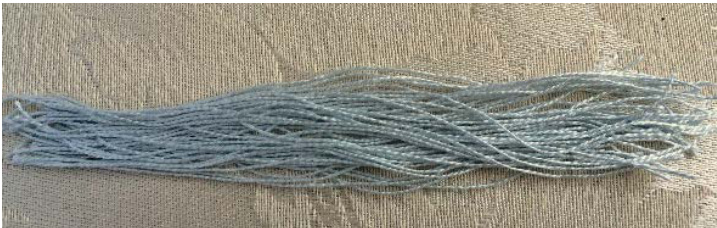
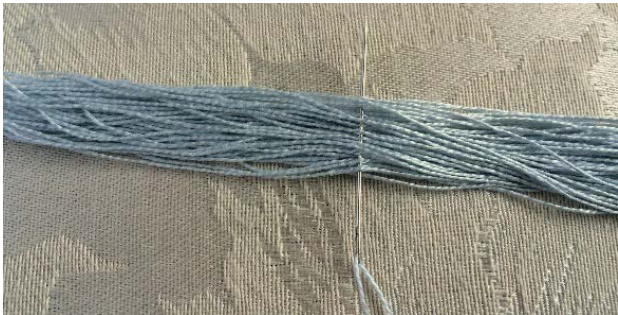
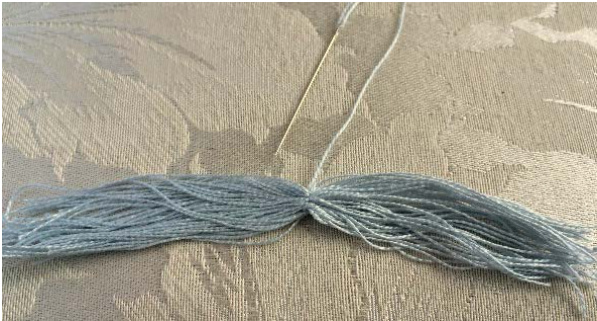
Broom stick: with brown, make a magic ring, work in continuous spiral 1. 6sc into magic ring (6) 2. sc in each st around (6) 3.-38. repeat round 2. Fasten off,insert pipe cleaner and close the opening To make the end part of the brush/broomstick: cut some yarn/thread pieces into desired length and attach it on broomstick with black yarn/thread

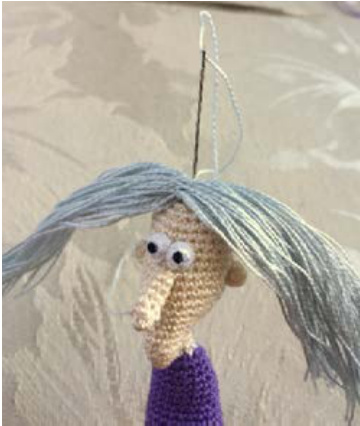
Assembly: please, check photos for guidance attach nose (onto rounds 12th and 13th, counting from the pointy part of the chin) attach eyes, ears and embroider the mouth secure hair hat attach arms embroidernecklace wear apron you may wish to add earrings or other accessories of your choice
Ihope, you enjoyed making this witch. Please, do not hesitate to contact me if you have any questions: www.facebook.com/doubletrebletrinketsor doubletrebletrinkets@gmail.com Thank you