Spooky Spidersweb Cuffs by Rosy Alice Crochet Designs
A nice, simple project to crochet some spooky spider's web cuffs/sleeves that I think are too nice to keep just for Hallowe'en. All you need to know is how to chain and slip stitch.
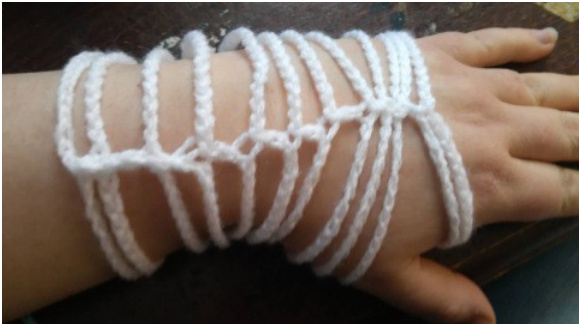
These spooky babies are probably the easiest things you'll ever make! All you need to know is how to slip stitch and chain! You'll need white wool, a 4 mm hook and a tapestry needle to sew in your ends.

Chain 43
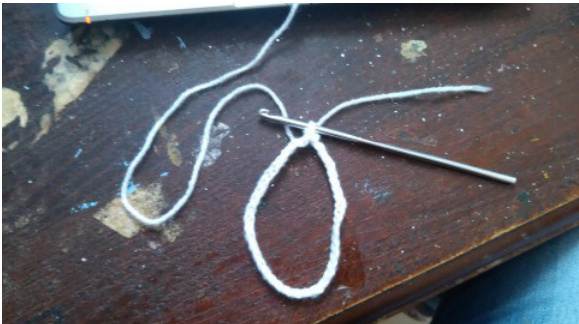
Then join the two ends with a slip stitch. As the gloves are supposed to resemble spiders′ webs, it doesn't matter too much if your yarn twists over.
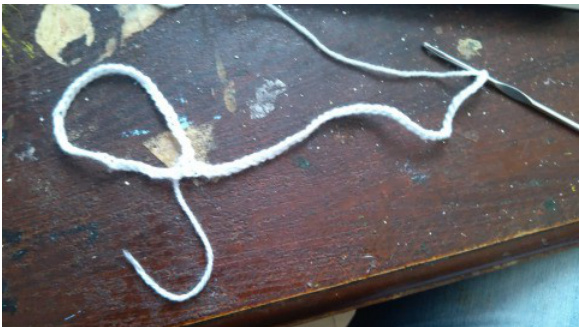
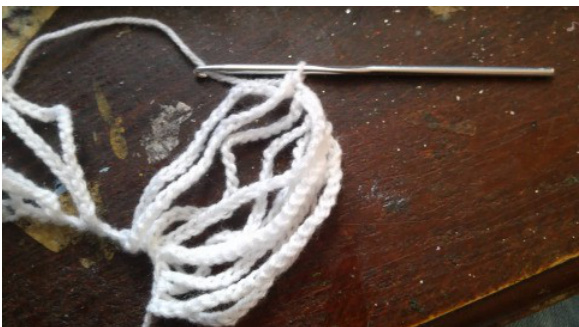
Chain 46.

Now go right back to the beginning of the chain 46 you have just crocheted. Find the third chain from its start and slip stitch into it to create your second loop.
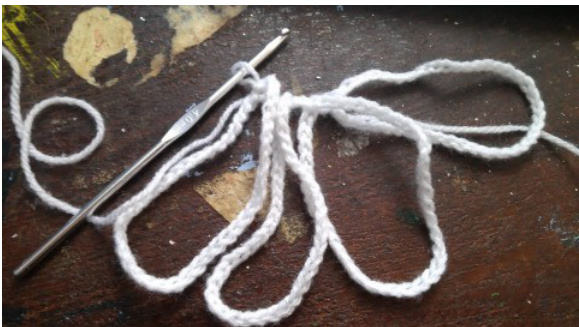
Chain 46 and slip stitch into the third chain seven more times. This is the arm section. Your work should start looking like this as you go.
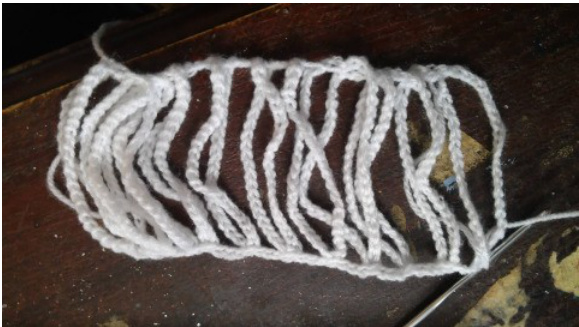
Now we're going to make the loops a bit closer together for the hand sections of the arm warmers: chain 44 (not 46) and slip stitch into the first chain (not the third). Repeat this step four more times. The picture shows how they look spaced closer together. Then break your yarn and fasten off. Next, reunite your hook with a new piece of yarn. If you look at the picture above, you will see that I've slipstitched into the yarn on the opposite side to the side we've been working on up to now. This is how we will join the other side of the loops together, otherwise we'll just have all those loops joined on one side and flapping around on the other! Slip stitch into the very first loop you crocheted directly opposite from the side already joined.
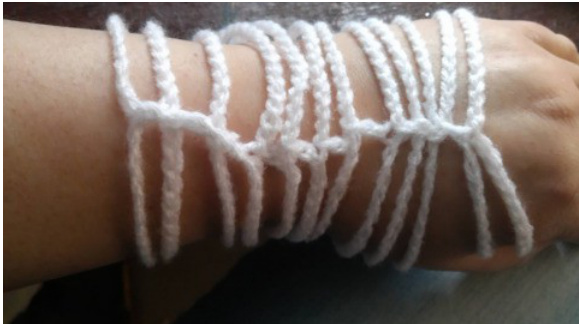
Chain 3. Slip stitch into the same point on the next loop. Repeat until you reach the first of the loops on the hand section. Follow the same process to join the loops together, but only crochet 1 chain in between loops. You should end up with this. Now, I stopped at this point because I was happy with how it looked but if you want, you could add more chains between the loops to make a more spiderwebby-effect. To do this, find the point halfway between the chains joining the loops and follow the same process - attach your yarn with a slip stitch, chain 3, slip stitch into the next loop, continue to the hand section, chain 1 etc.
Ta-Dah! Rosyalice.tictail.com or Rosy Alice Crochet Designs at Ravelry