... The boy who lived.. ... Last battle begins...
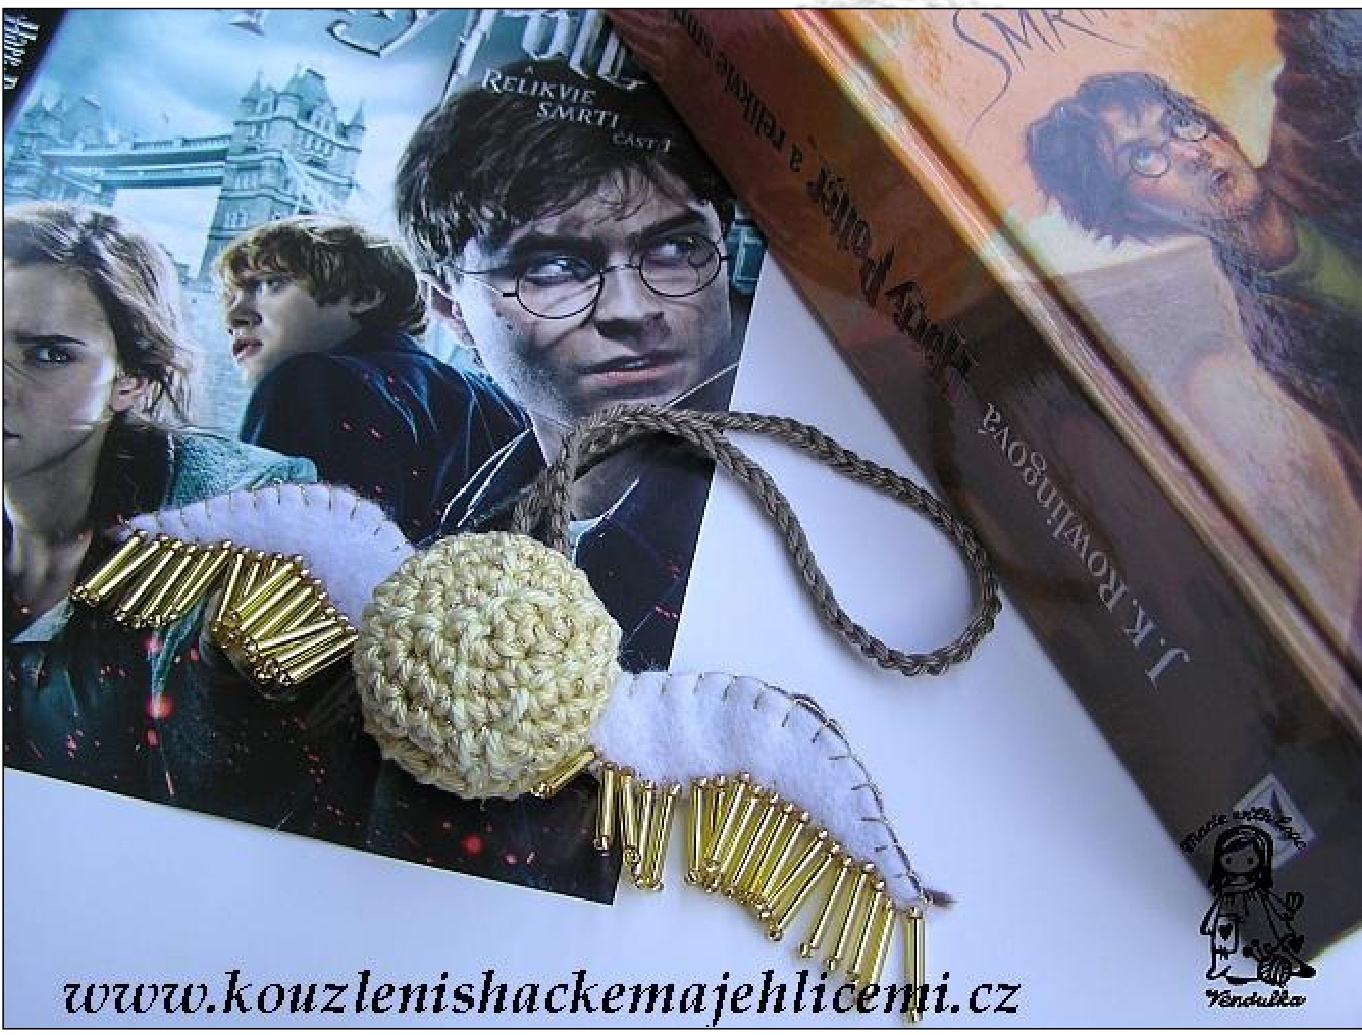
"Snitch
Vendula Maderska July 2011
This pattern includes:
- written step by step instructions in English language, American terminology - photo-tutorial If you will have some troubles with this pattern (l'm no native English speaker; I am sure you have noticed itJ), please don't hesitate to contact me by e-mail: vendula.maderska@seznam.cz ...The boy who lived ..... last battle begins.... and I am ready:-D Today I saw the trailer of the Harry Potter Deathly Hallows part Il and I could not catch my breath and I was thinking about it all day.. ;-) I really love this story about a boy whostoodto evil. I am looking forward SO MUcH to go to the cinema and watch last battle... I created the Snitch as a pendant to my bag :-) Material: 100% cotton Camilla by Madame Tricote Paris Weight: Fingering / 4 ply (14 wpi) A hook - size 2,5 Color: yellow 5301 (very small amount), 5322 - grey-brown, very small amount Other materials: beads, golden thread, felt, fibre-fill very small amount Height of snitch: 4 cm / 1,6 inches Weight of snitch: 13 cm / 5 inches
Let's beginJ :
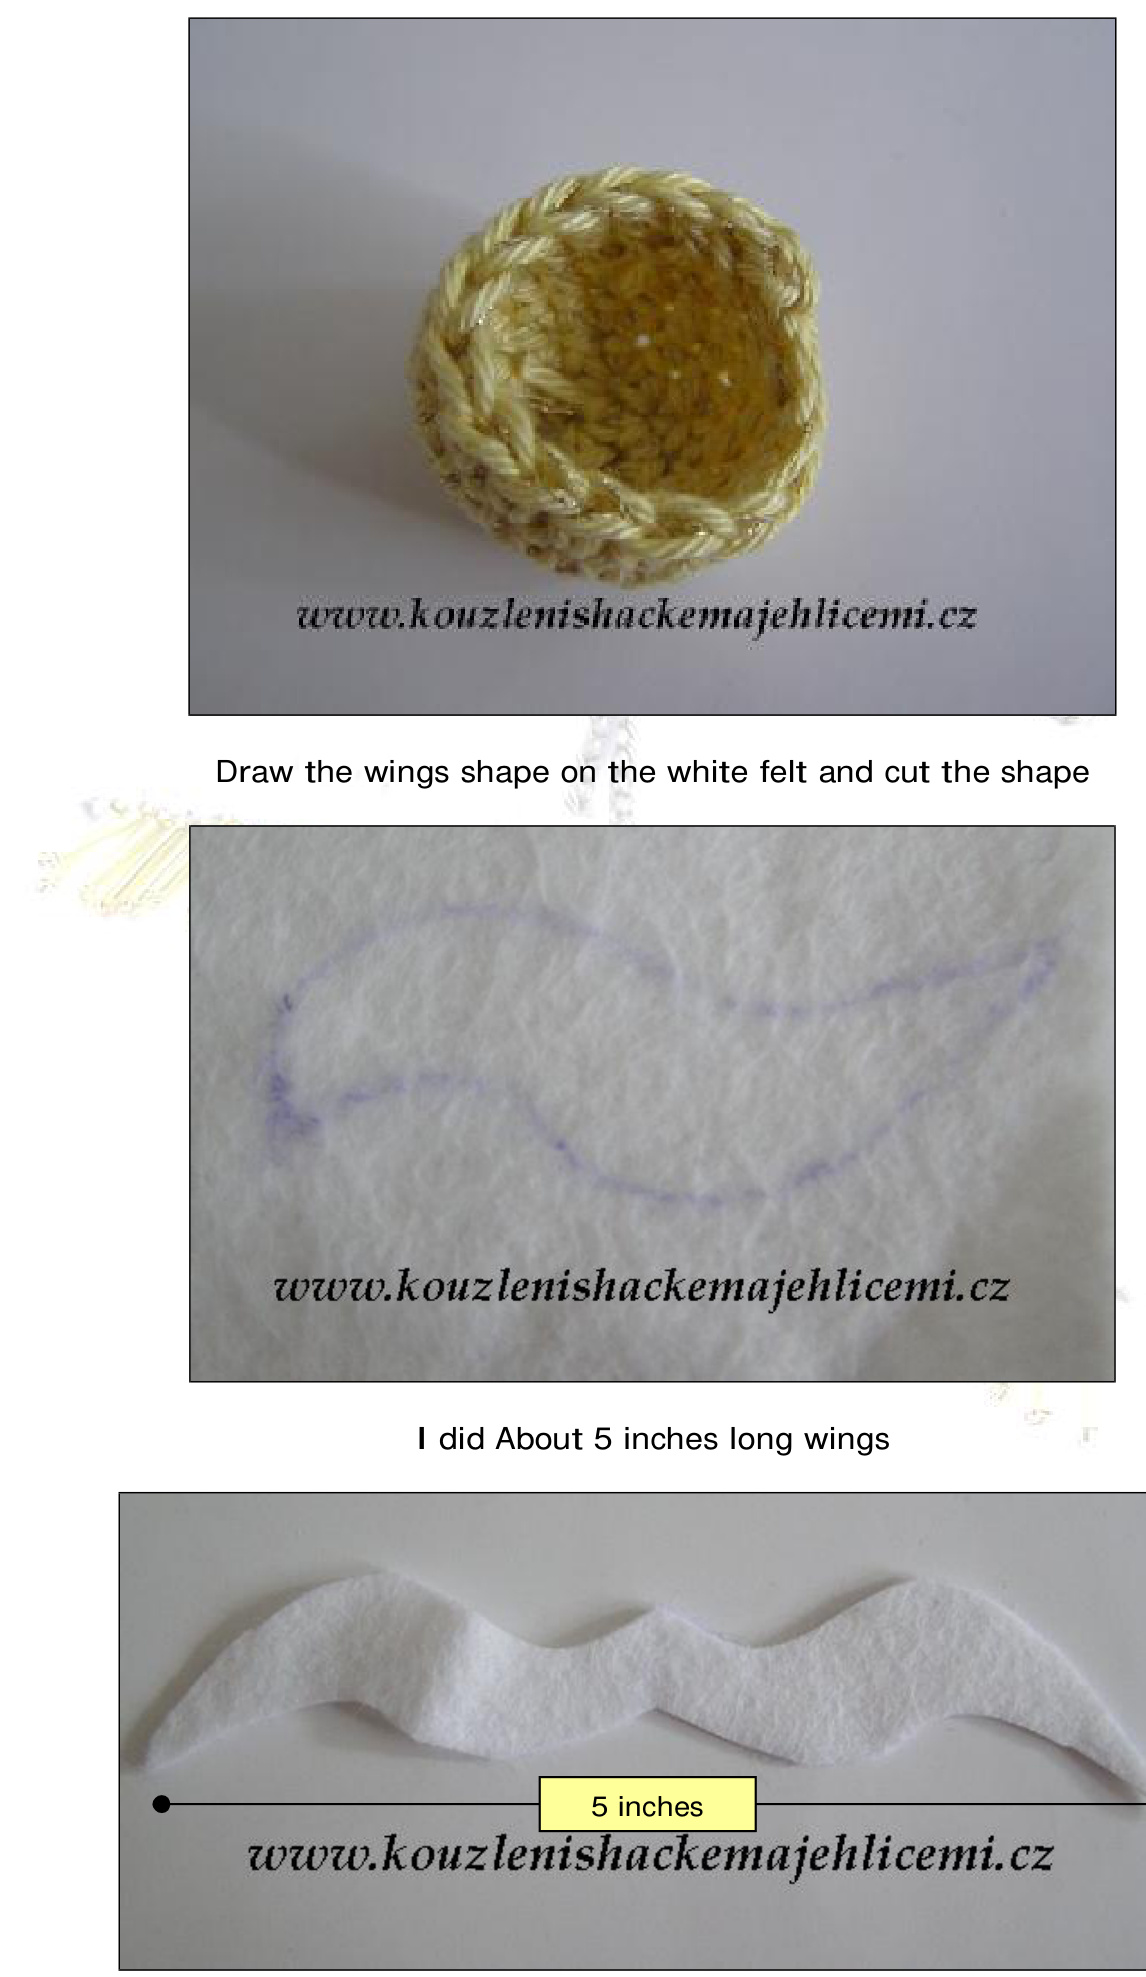
Work with yellow cotton and double yarns golden threads. Use hook No. 2,5 Work in circular, spiral rounds. Beginning: 5 CH , go back 4 SC yendulRa 1st round: \*2 SC in one stitch, 1 SC\* repeat 3 times 2nd round: \*2 SC, 2 SC in one stitch\*, repeat 3 times 3rd round: 16 SC 4th to 6th rounds repeat 3rd round, end the work

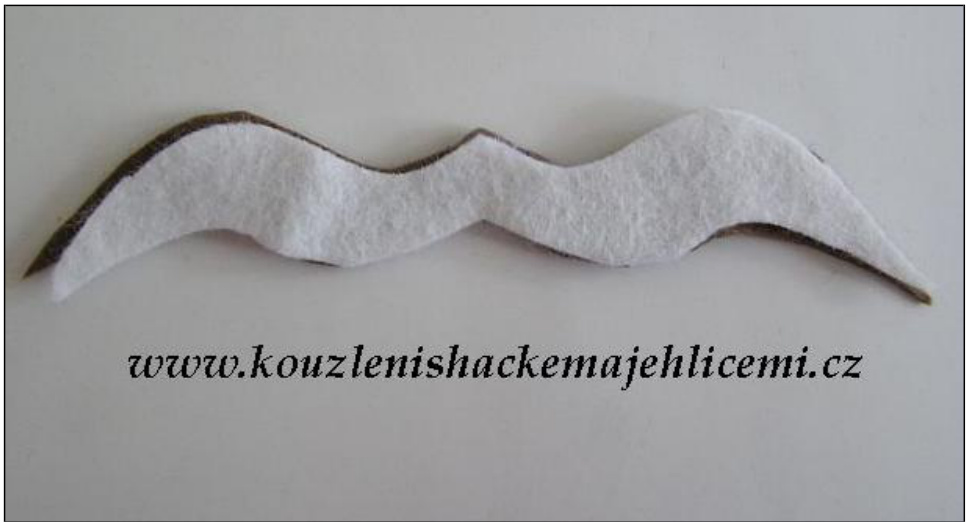
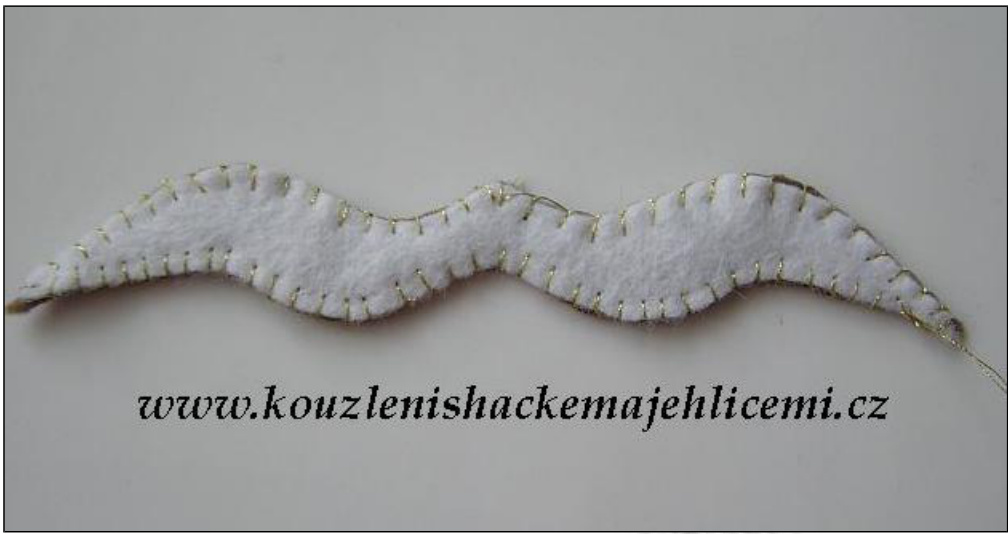
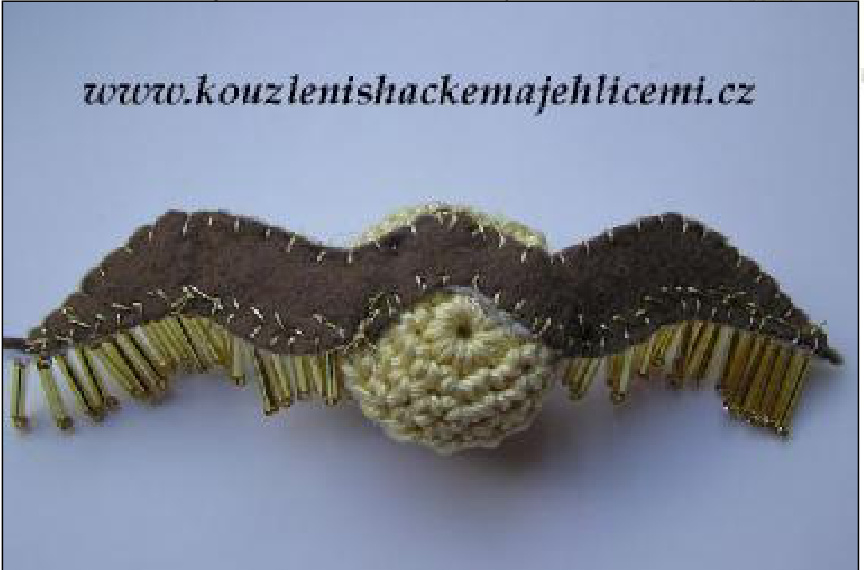
Note:My patterns are for PERSONAL use only.Please don't share,reproduce,and sell this pattern or creations coming out from this pattern. Feel free to make as many you would like for yourself or to give as a gift, but please respect my rights as a designer. If you have any questions - just ask me by e-mail: yendula.maderska@seznam.czThankyou? Do the same shape one time from brown color felt to the wing will be stronger Sew the felt parts together. Use the ringing stitch, see picture below, please. Picture from www.rucniprace.cz

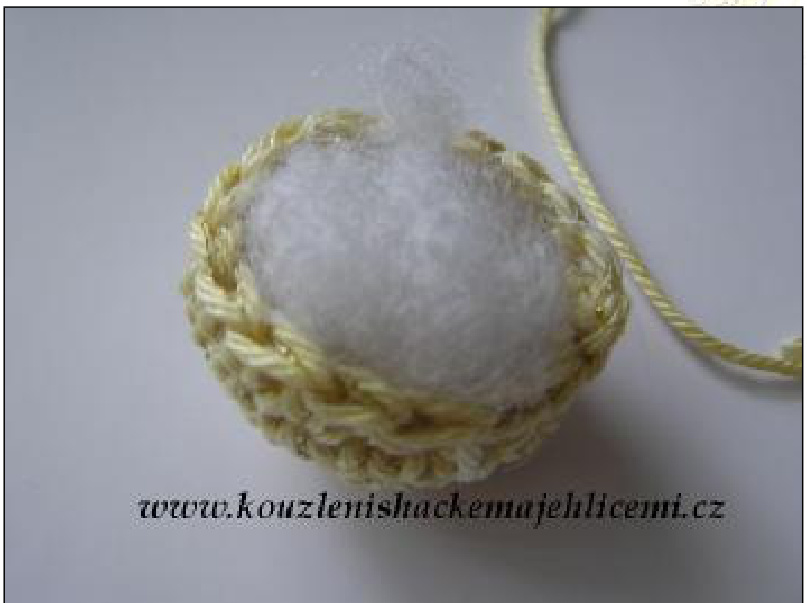
Fill the button with small amount of fibre-fill
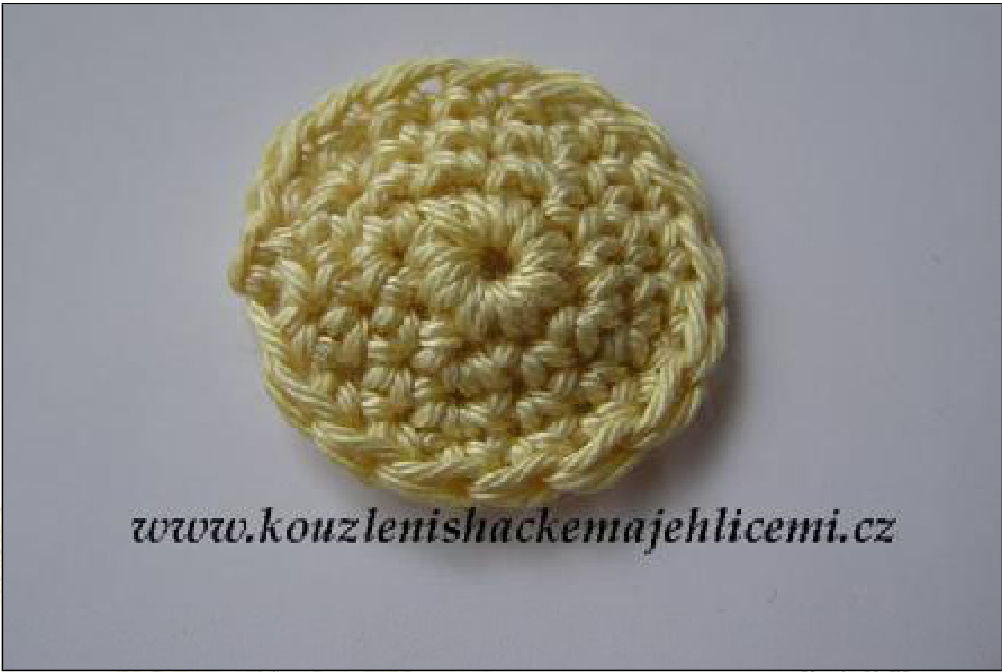
Note:My patterns are for PERSONAL use only.Please don't share,reproduce,and sell this pattern or creations coming out from this pattern. Feel free to make as many you would like for yourself or to give as a gift, but please respect my rights as a designer. If you have any questions - just ask me by e-mail: vendula.maderska@seznam.czThankyou? The bottom of button 5 CH, join with SISt to form a ring. 8 SC, join with SISt 2 SC in one stitch, 1 SC - repeat 3 times, join with SISt 2 SC, 2 SC in one stitch - repeat 4 times, join with SISt (you will have 16 stitches), end thework.
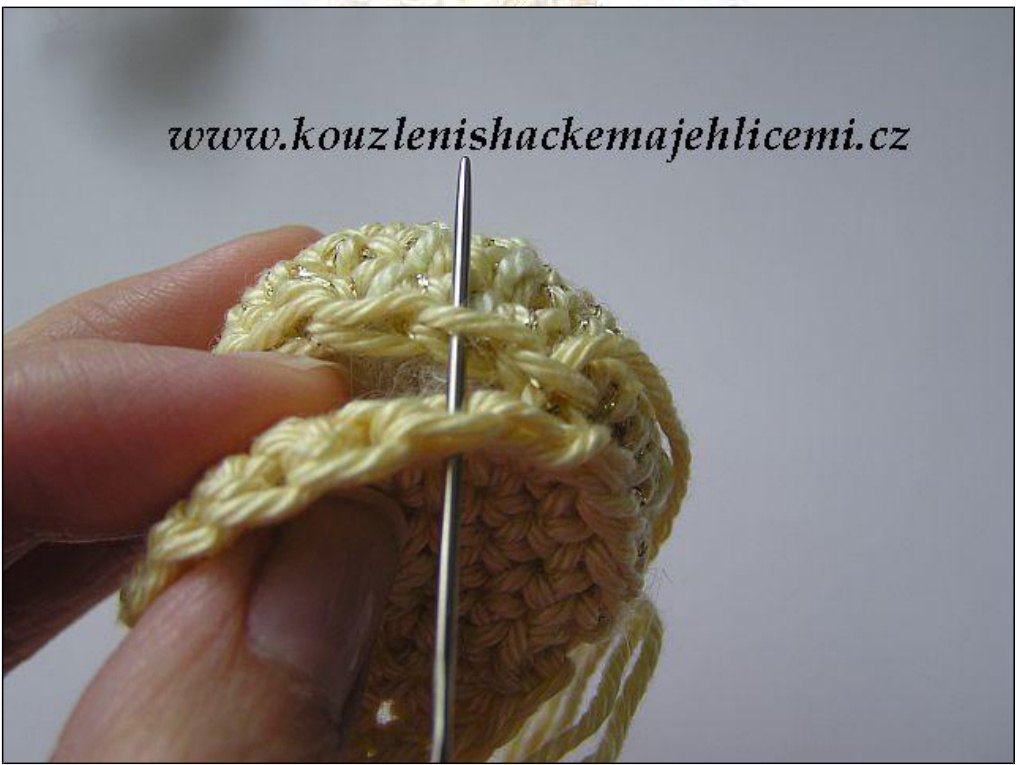
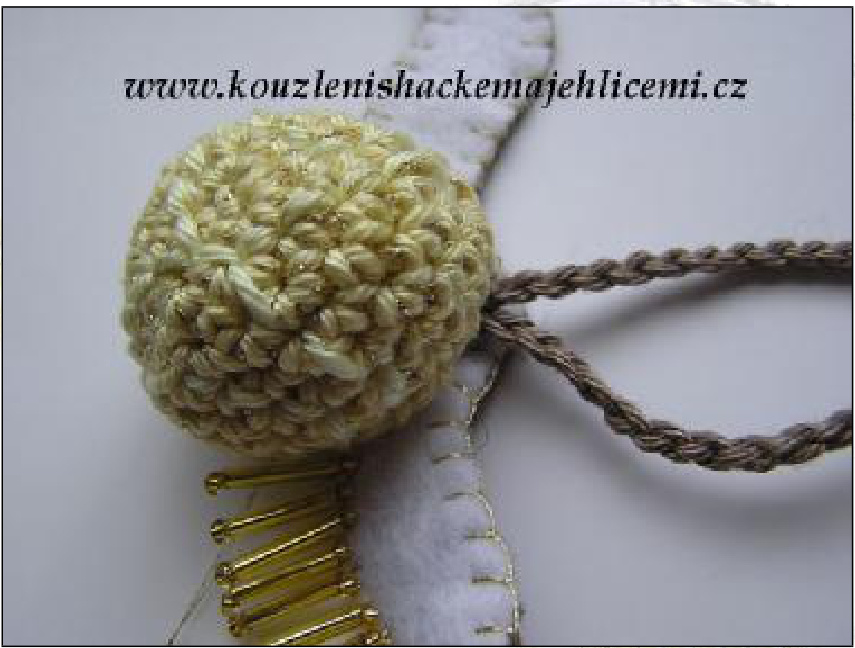
Sew these two parts together
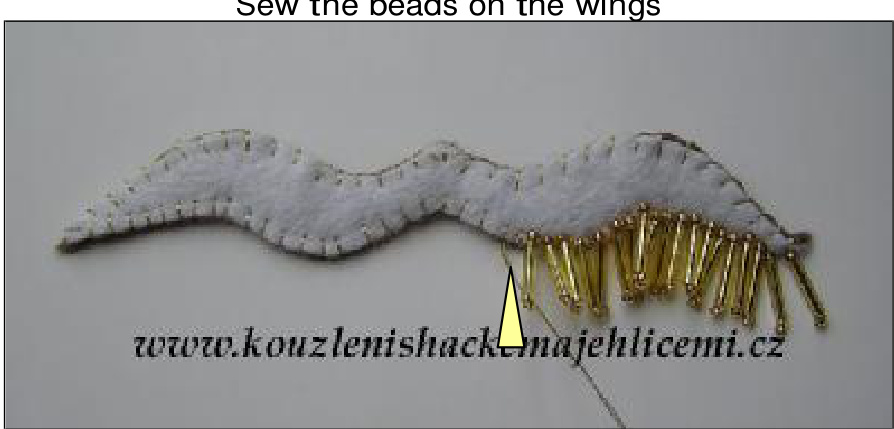
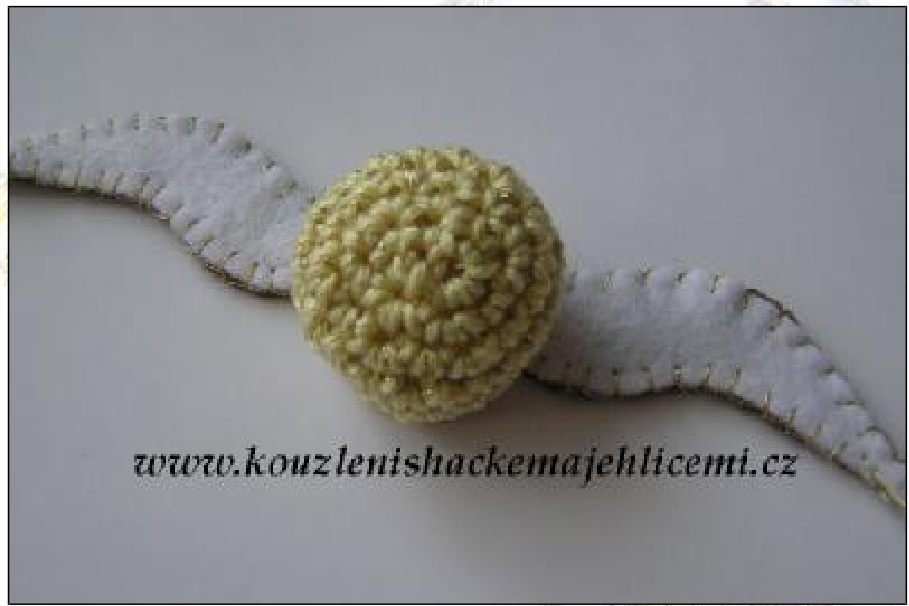
Stop with sewing the beads and sew the button on the wings. If you would like to have pendant - this is the right time for sewing a loop. Loop is a chain of 70 chain stitches.
Note: I sew the ornament of the button with light yellow cotton. End with sewing of beads and you have done it!:-)
Note: My patterns are for PERSONAL use only. Please don't share, reproduce, and sell this pattern or creations coming out from this pattern. Feel free to make as many you would like for yourself or to give as a gift, but please respect myrights asa designer.If you have any questions- just ask me by e-mail: yendula.maderska@seznam.czThankyou?
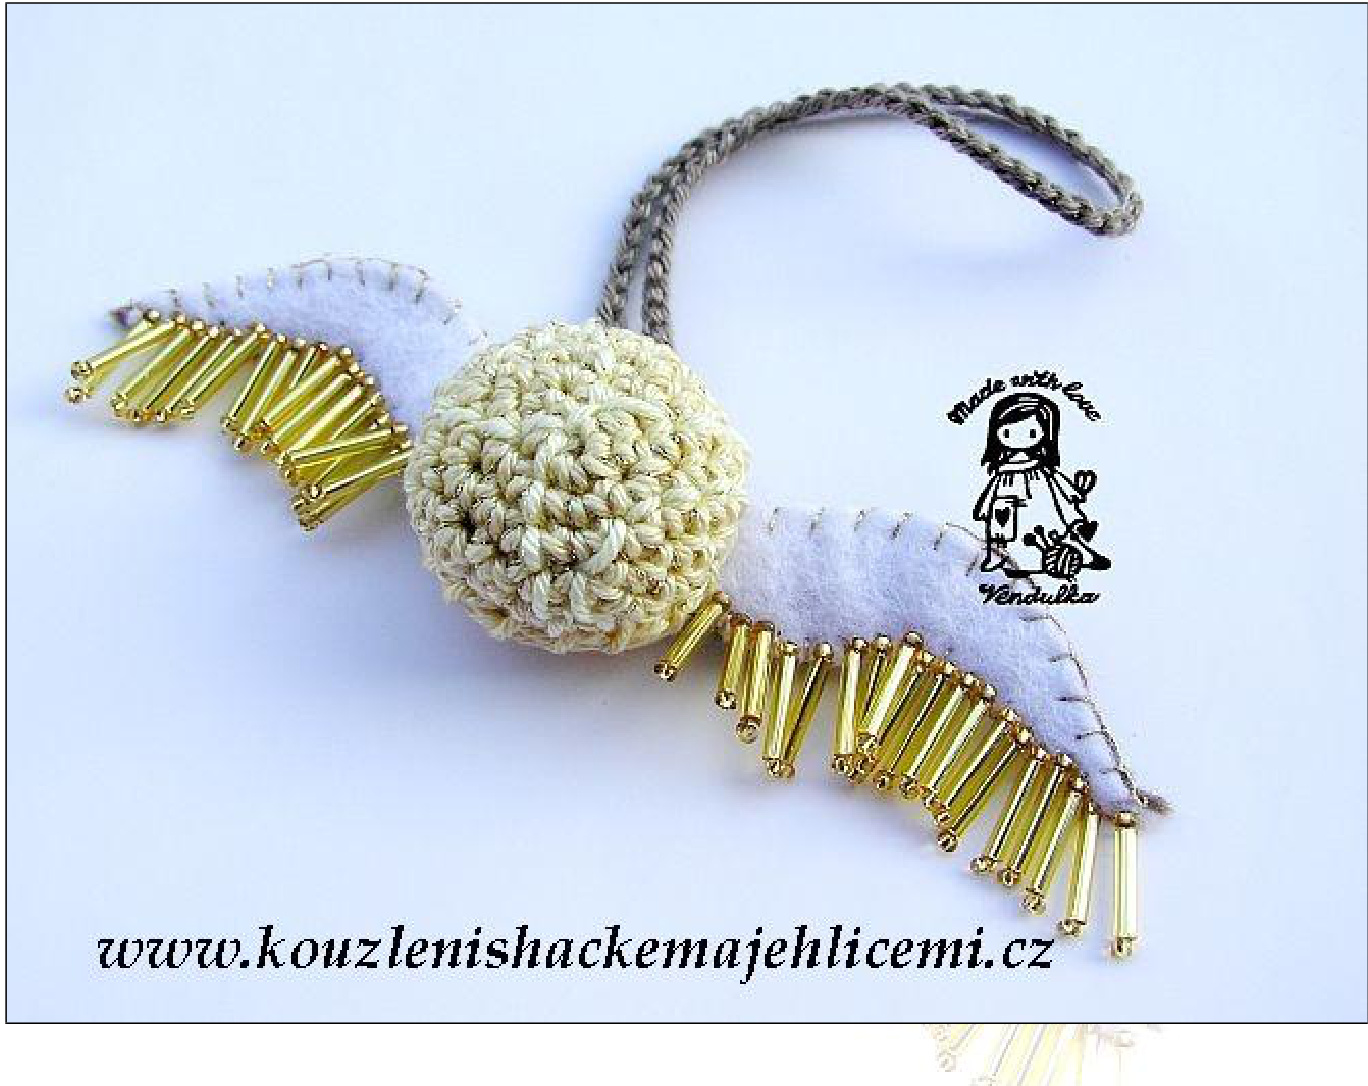
I wish you spent a nice time with this pattern v


