Crocheted Companion Cube
Greetings Test Subject 084.. You are about to embark upon a grueling test of your patience. Your efforts will be rewarded... with cake. Here is a pattern that will provide you with the instructions to construct your very own life sized companion cube. Please begin... now.
Designed by: Shannon Foss
Gather Materials:
Color A: Medium Gray Worsted Weight Yarn 1200 - 1400 yards Color B: Light Gray Worsted Weight Yarn 900 - 1000 yards Color C: Dark Pink Worsted Weight Yarn 100 - 200 yards Color D: Light Pink Worsted Weight Yarn 100- 200 yards Size 5.0mm Hook · Stuffing (ex. Foam, Fiberfill, pillow innards, combinations of these) ·Blunt Yarn Needle
Companion Cube Body:
Step 1: Decide how you want to stuff your Companion Cube. 16" cube of foam - This will give you a much sturdier cube, but they tend to be expensive. 16" cube pillow - See Figure 1. This will give you a softer, more huggable cube. You can get several bags of fiberfill, or you can go find 4 or 5 cheap pillows, take them apart, then cannibalize their innards to make one big pillow. Cut out 6, 17inch squares of muslin. Sew togetherintoa cubewitha $\parallel\!1\!/2$ inchofseamallowance on each side. Leave the top open so you can stuff, then sew it closed after you've filled it up. Or, just stuff the cube - When you are finished crocheting your cube, stuff it with fluff. You may alsowant to line theedgeswith $\mathbf{2^{*}}$ foam to help make it sturdier and a bit less bulgy. Step 2: Crochet 24 ${\bf8^{\,\circ}}\!\ast{\bf8^{\,\circ}}$ squares Your gauge may vary. Experiment to make sure youget an ${\bf8^{\circ}}{\bf88^{\circ}}$ square.You will also want to make surethatyour stitches are tight enoughso the stuffing will not show through. (Figure 2) R0: With Color A, ch 34 R1: sc in 3rd ch from hook, sc across R2 - R38: sc across until piece measures 8" Finish off and leave a long tail for sewing.
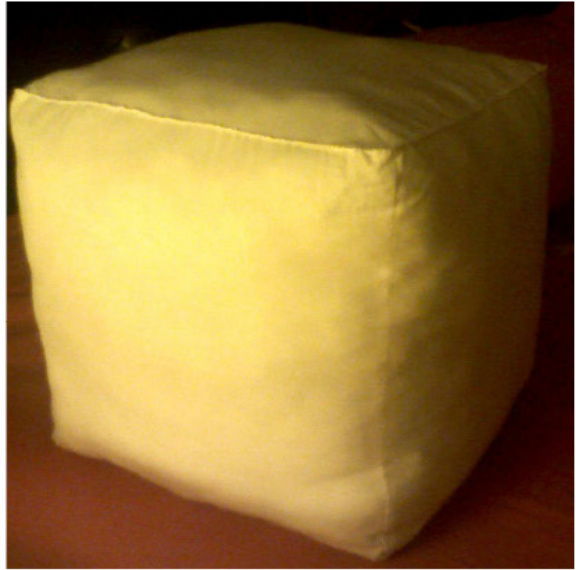
Figure 1: Pillow Cube - 16"
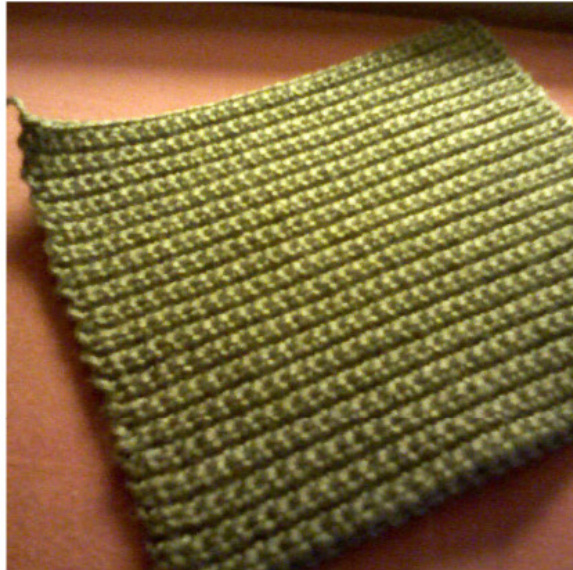
Figure 2: Gray Square - 8"x 8"
Companion Cube Body Continued:
Step 3: with Color C, crochet squares together. Crocheting into the back post of the stitches will make the pink stripe appear as though it is behind the panels. R1: Join Color C to the top right stitch of a square. Back-Post sc across the top of the square.When you get to the end, start another square (Figure 3). Chain 2 sts between every pair of squares (Figure 4). Repeat until you have 8 total squares linked together. R2: hdc in the first stitch of Color C to form a loop. hdc around (count these stitches, $\Y=\longrightarrow$ Finish off.
Step 4: stitch 8 more squares to the stripe. (Figure 5)
1. Overlap the bottom edge of a square to the top edge of the stripe. 2.with Color A sew the posts of the stitches of the square to the stitch tops of the stripe. (This way you will still get the overlapping effect of the previous step). 3. Repeat for 7 more squares, skip two stitches whenever there is a ch 2 space.
Step 5: Sewing on the rest of the squares.
1.In Color C,create a chain thatis ${\bf8}{\bf+5}$ stitches long. hdc along back the chain. Make 2. 2. Stitch these stripes in the same manner as step 4, perpendicular to the first stripe. They should fit into the ch2 spaces you left when making the first stripe. Add the remaining squares forthe top and bottom as you are stitching around the 2 new stripes.Continue to leave 2 stitchspaces for the stripes. 3. If you decided on a structured stuffing, you may need to do it at this point, unless you leave yourself a good sized opening. 4. with the tails of each of the squares, sew up all of the other edges to complete the cube. If you haven't already, stuff the cubebefore sewing up the last edge.
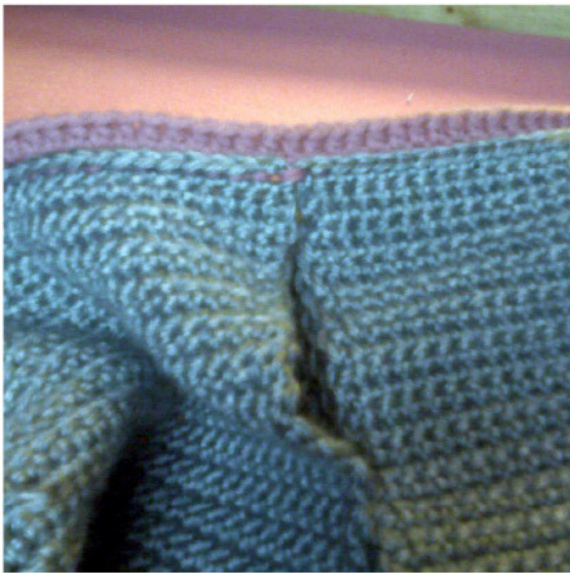
Figure 3: Joined squares.
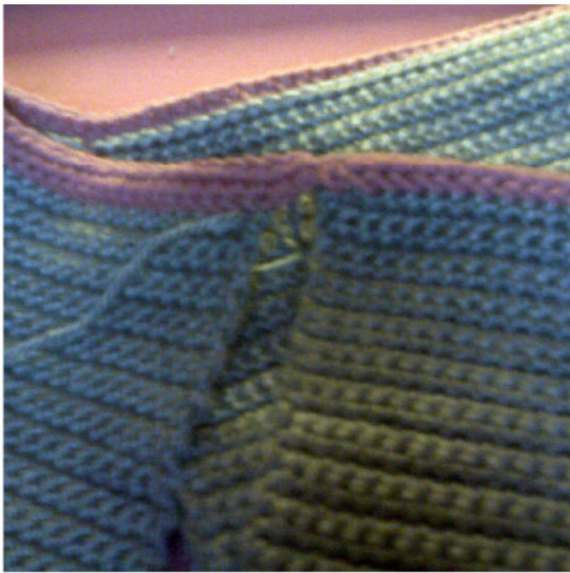
Figure 4: ch2 space
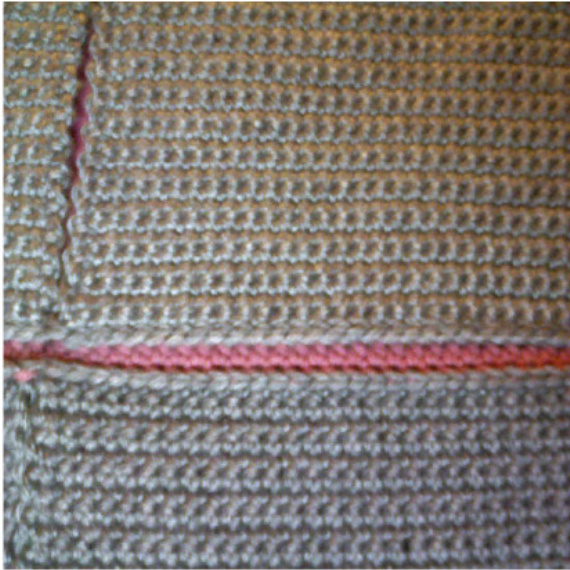
Figure 5: Joined squares.
Hearts:
Step 1:Crochet 6 - 6"hexagons
R0: With Color B, ch 3 R1: sc 6 into first ch R2: 2sc in each sc R3:(sc, 2scin next sc) x 6 R4:(sc 2,2sc in next sc) x1 R5-R?:continue to increase ina standard hexagonpatternuntilitmeasures ${\pmb{6}}^{\,\!\mathfrak{s}}$ in diameter. NextRound:scaround Now, work pattern backwards, decreasing instead ofincreasing until there are 12 sts remaining. Stuff with fluff. Decrease 6 times. Finish off.
Step 2: Crochet 6 hearts (Figure 6)
R0: With Color D, ch 14 R1: 3 sc in 2nd ch from hook, sc 5, sc2tog, sc 4, 3 sc inlast ch, sc 5 back along chain, 2 scin same st,sc 5 R2: 2 sc in each of next 3 sts, sc 4, sc2tog, sc 4, 2 scineachofnext3sts,sc6,2scinnextst,sc5 R3: (sc, 2 sc in next) x3, sc 3, sc2tog, sc 4, (sc, 2sc in next) x3, sc 7, 2 sc in next, sc 5 R4: (sc 2, 2 sc in next) x3, sc 2, sl, sl2tog, sl, sc 2, (sc 2, 2 sc in next) x3, sc 7, 2 sc in next, sc 6 R5: (sc 3, 2 sc in next) x3, sc 2, sl, sl2tog, sl, sc, (sc Finish off and leave a long tail for sewing.
Step 3: Sew a heart to the front of each hexagon. (Figure 7)
Pinning theheart downfirstwilloftenhelp with the shaping as you are stitching it down. Step 4: Sew each hexagon to the center of each face of the companion cube. (Figure 8) Pinning the hexagon down first will often help with the shaping as you are stitching it down.
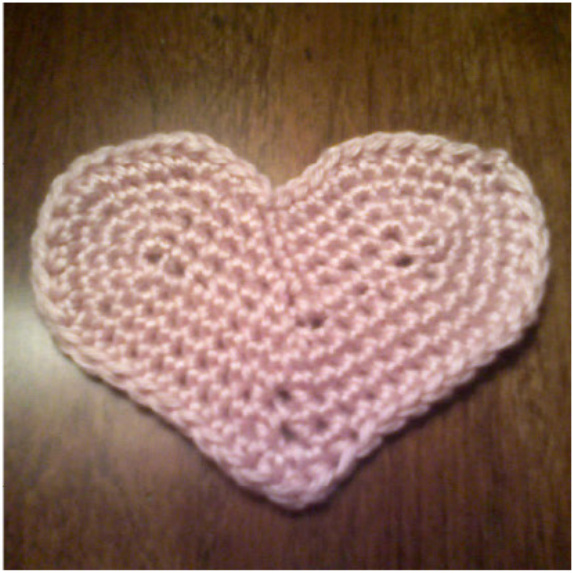
Figure 6: Crocheted Heart
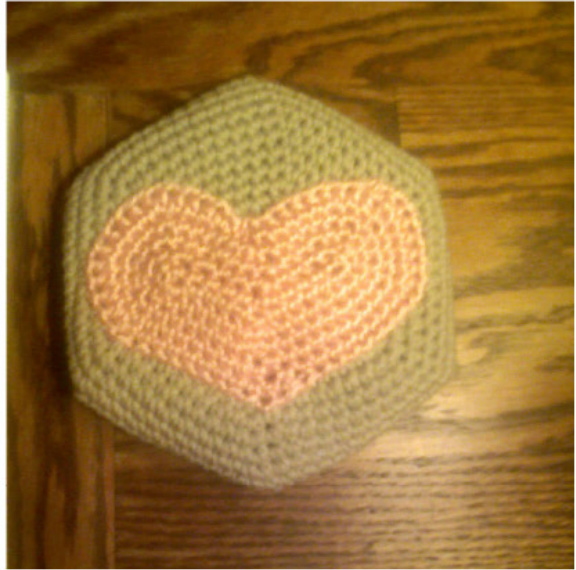
Figure 7: Heart on Hexagon
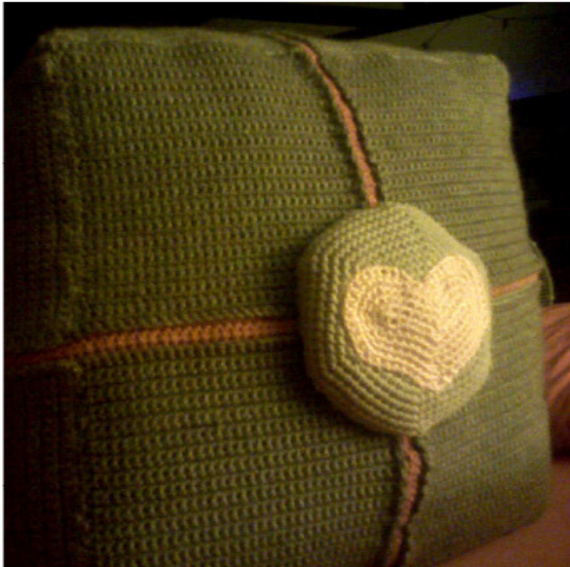
Figure 8: Heart on Cube
Corners:
Step 1:Crochet 24"L" shapes
R0:With ColorB,ch 21 sts R1: sc in 3rd ch from hook, sc across, ch 2, turn R2 -R8: sc acr0ss,ch 2, turn(20 sts) R9: sc 17, ch 1, turn R10: ss in next sc, sc across, ch 2, turn R11: sc 15, ch 1, turn R12: repeat R10 R13: sc 13, ch 1, turn R14: sc 13, ch 2, turn R15: sc 11,ch 1, turn R16: sc 11, ch 2, turn R17: sc 10, ch 1, turn R18: sc 10, ch 2, turn R19: sc 9, ch 1, turn R20:sc9,ch2,turn R21: sc 8, ch 1, turn R22: SC 8 Finish off and leave a long tail forsewing.
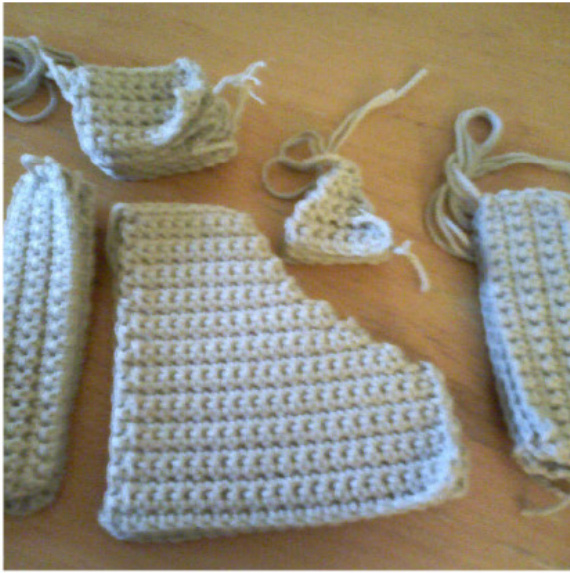
Figure 9: Corner Pieces Step 2: Crochet 24 big rectangles - 5"x 1" R0: With Color B, ch 21 sts R1: sc in 3rd ch from hook, sc across, ch 2, turn R2-R5:sc across,ch 2,turn R6:sC across Finish off and leave a long tail for sewing. Step 3: Crochet 24 med rectangles-4"x 1" Same as step 2, but start with a chain of18 sts. Step 4: Crochet48 sm rectangles - 2"x 1" Sameasstep2,butstartwithachainof10sts. Step 5: Crochet 32, 1" triangles R0:With color B, ch 8 sts R1: sc in3rd ch from hook, sc 6,ch 1, turn R2: sc 5, ch 1, turn R3: sc 4, ch 1, turn R4: sc 3, ch 1, turn R5: sc 2, ch 1,turn R6: sc 1. Finish off and leave a long tail for sewing
Corners Continued:
Step 6: Sew together 8 corners
Each corner consists of: 3"L"shapes,3 big rectangles, 3 medium rectangles, 6 small rectangles, and 4 triangles. when sewing pieces, place wrong sides together and whipstich along edge. 1. Sew one big rectangle to the left side of one "L" shaped piece 2. Sew a small rectangle toboth of the small edges (top and right) of the "L" shape. 3. Sew a medium rectangle on to the center curve of the "L" shape. 4.Sew a triangle to the topof the big rectangle 5. Repeat steps 1 - 4, two more times. (Figure 10) 6. Sew the bottom ofeach "L" shape to the left edge of each big rectangle. (Figure 11) 7. Sew a triangle into the hole left in the center (bottom edges of big rectangles). 8. Join all edges, and weave in ends. (Figure 12) 9. Stuff the corner, use 1" foam for extra structureifneeded.Sewthecornertothecorner of the companion cube body. (Figure 13) Step 7: Pin and sew corners to cube.
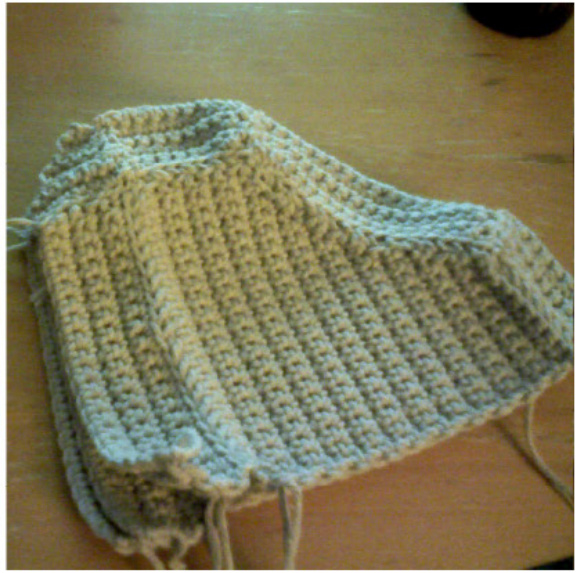
Figure 10: "L" shape sewn
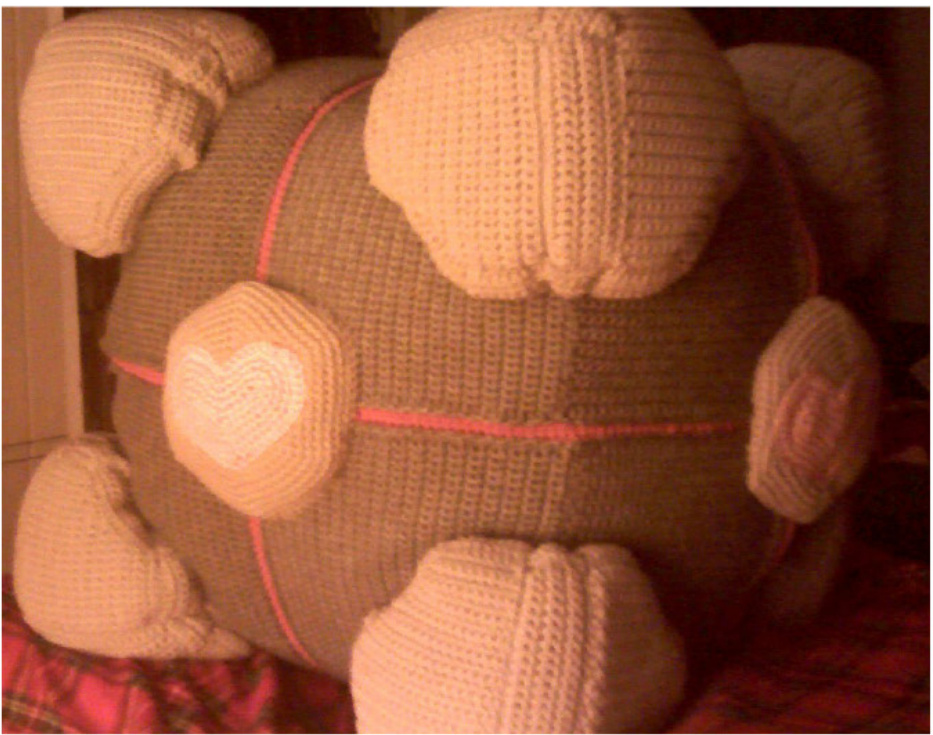
Figure 13: Corners sewn on cube
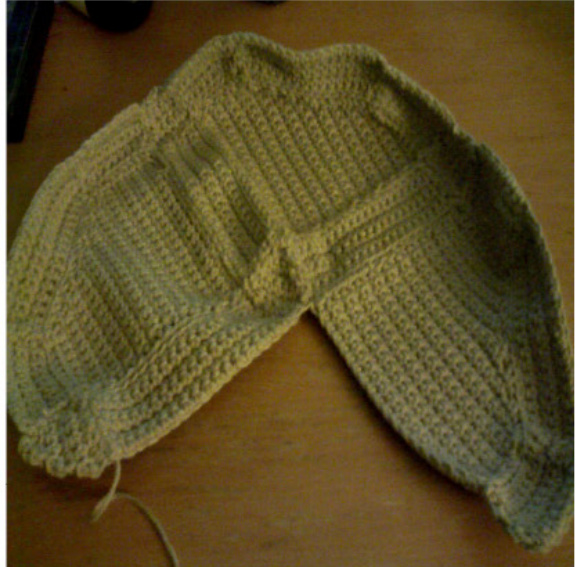
Figure 11: Corner shown flat
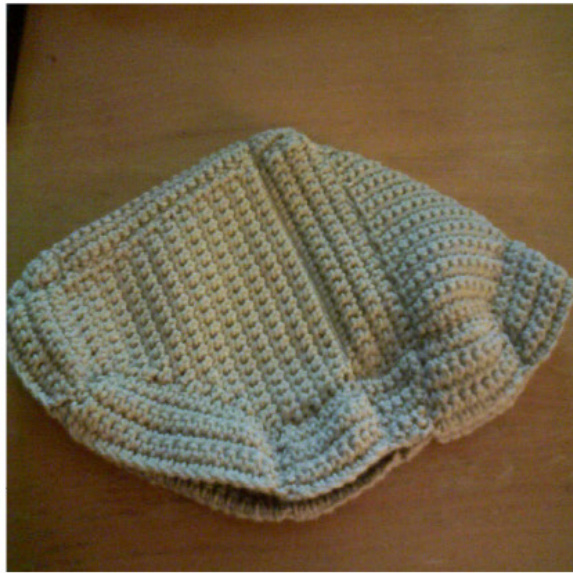
Figure 12: Sewn Corner
Edges:
Step 1: Crochet 24 Rectangles
R0: With Color B, ch 14 sts R1: sc in 3rd ch from hook, sc across, ch 2, turn R2 - R9: sc across, ch 2, turn R10:scacross Finish off and leave a long tail for sewing.
Step 2: Sew rectangles together
1.Place wrong sidesof two rectangles together and whipstitch along chain edge. 2. sc around entire rectangle's edge. Step 3: Sew edge pieces to cube (Figure 14)
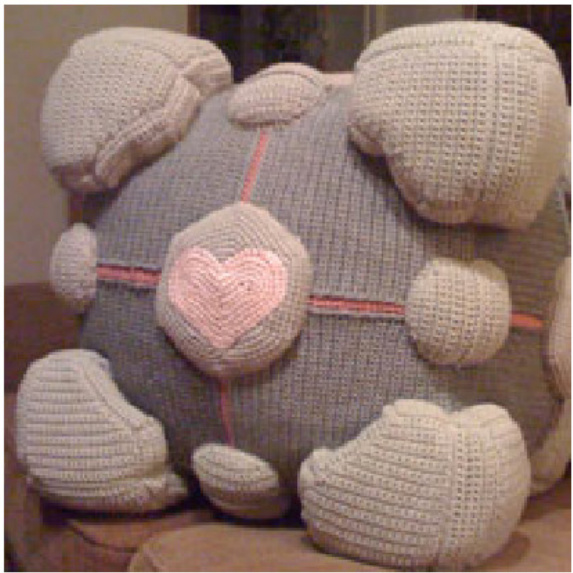
Figure 14: Edges sewn to cube
This was a Triumph!
Congratulations on creating your very own Companion Cube.
You may now have some cake.
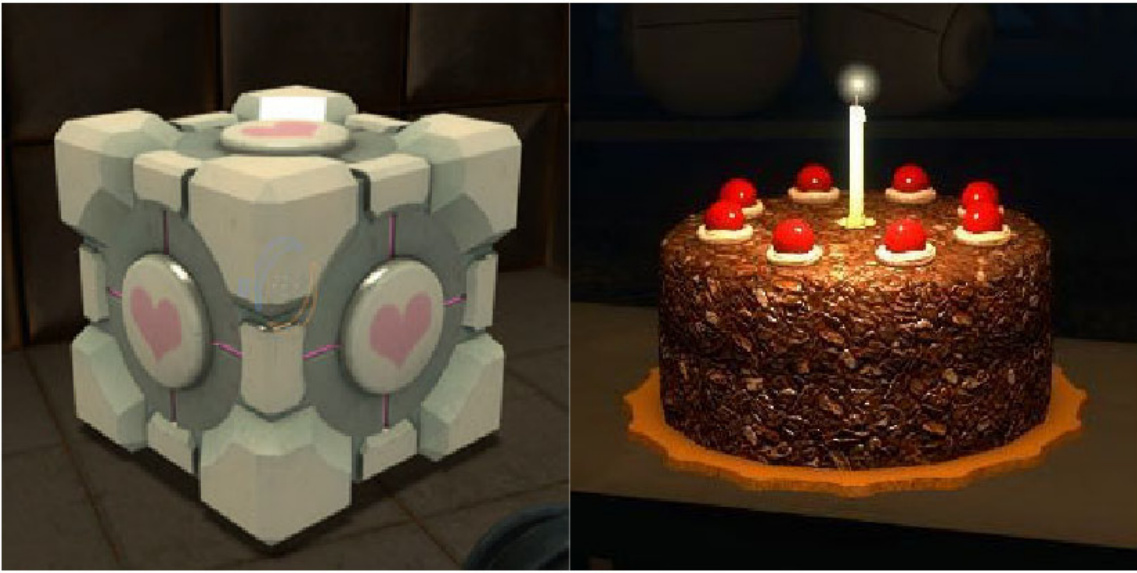
Figure 15: Companion Cube Figure 16: Cake


