Boomerang Sock
A note about crocheted socks: A crocheted does not stretch like a knit sock. This sock has “give", but it will fit close to the foot and should be “eased" on, not pulled and tugged. Sock yarn: I used Heart and Sole, 2 balls 3.5 mm hook stitches to know: chain, single crochet, double crochet, linked double crochet. chain12 sc in second chain from hook next 9 chains. 2 sc in last chain ng up opposite side of chain, sc in each chain until last chain: 2sc in last chain: total of 24 sc.. Mark last sc made 2 sc in next stitch. sc in each of next 10 stitches 2 sc in next stitch Sc in next stitch and mark this stitch ( you will have 2 marked stitches. Move markers up as work progresses, they represent the sides of the Ssock) sc in each stitch until one before marked stitch 2sc in stitch before marked stitch. 2 sc are done in the stitch before and the stitch after the marked stitch. This is creating the "toe" of the sock. This is not going to be a big "toe" section, just a few rows to get the number of stitches needed for the foot. Continue working rounds in sc until section can cover the tops of the toes when slightly stretched. each round will increase by 4 stitches round 1: 24 stitches round 2: 28 stitches round 3: 32 stitches round 4: 36 stitches, and so on. The number of rounds/stitches for each person will vary depending on foot size and yarn weight. This will not change how the sock is made.
Boomerang Sock
Once you've gotten to the number of stitches you need and you are at the first marker, the next stitch will be a double crochet, then each stitch around will be a linked double crochet. Continue in linked double crochets until the foot portion of the top reaches to just before your angle bone: about 2 1/2 to 3 inches from the back of the heel.
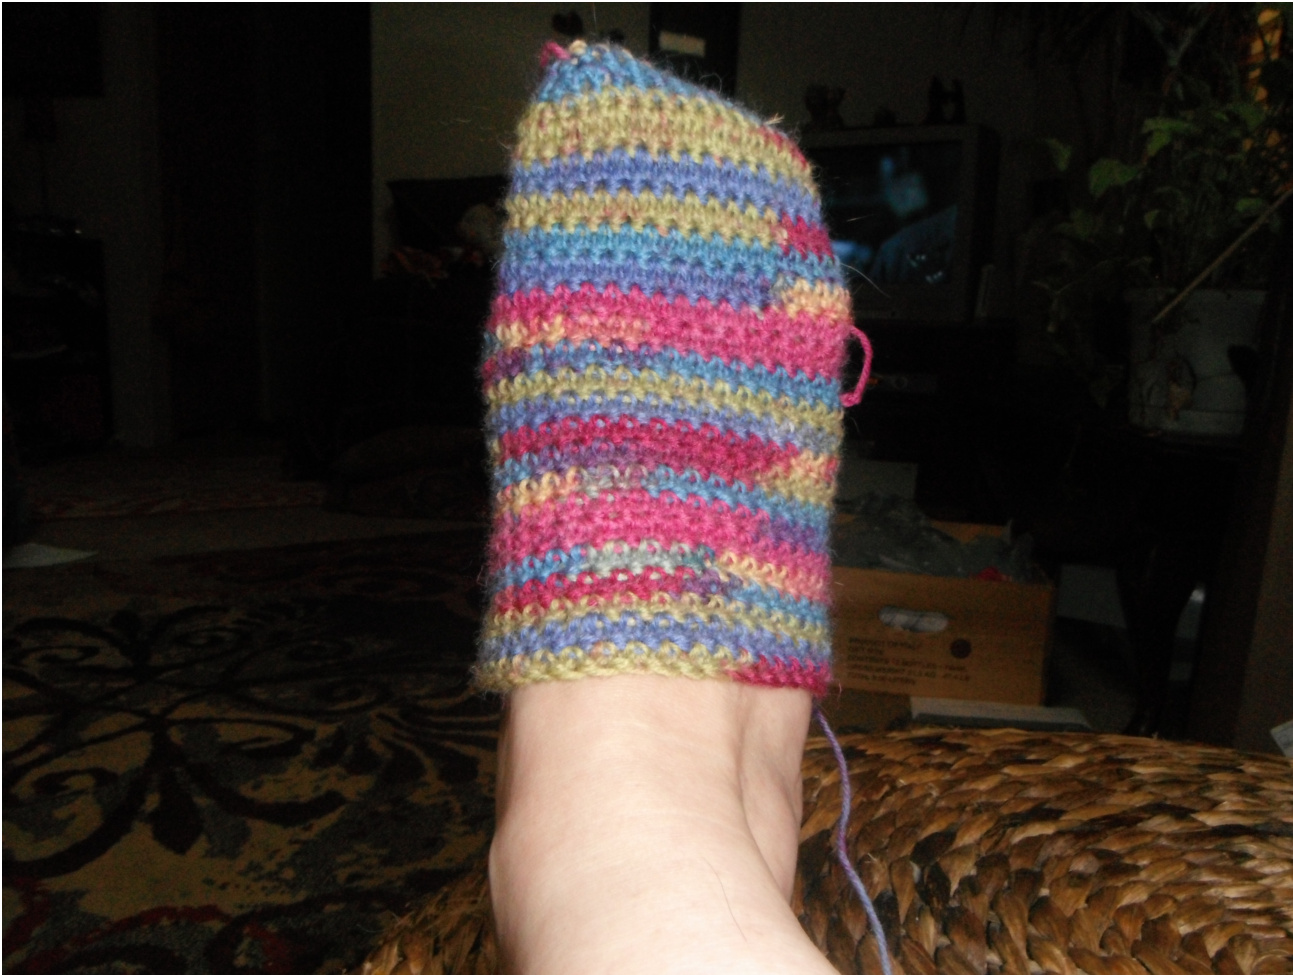
Boomerang Sock

Above photos shows how the foot of the sock should look, and about where it should hit before starting the heel bend.
Boomerang Sock
Shaping Heel: Make sure both sides have markers. If unsure , or if markers have fallen out, lay sock flat and mark the side stitches. Sc across front Dc in next stitch: mark this dc. LDC to next marker. Mark last LDC. Sc in each sc and in marked dc. Dc in nxt stitch( move marker to this stitch) LDC in each stitch making last LDC in stitch before marked stitch. Move marker to last LDC , sc in next stitch and each stitch across front of sock. Sc in marked stitch Dc in next stitch and move marker to this stitch. Repeat the above process, , increasing the number of sc and decreasing the number of DC/LDC until there are6 or 8DC/LDC Do two rounds even: working sc into sc and DC/LDC into DC/LDC To complete the heel bend, the above process is reversed:, decreasing the number of sc while increasing the LDC section. Continue until there are 8 sc at the center front of the sock. Try sock on again, it should now be an ankle height sock. Boomerang Sock
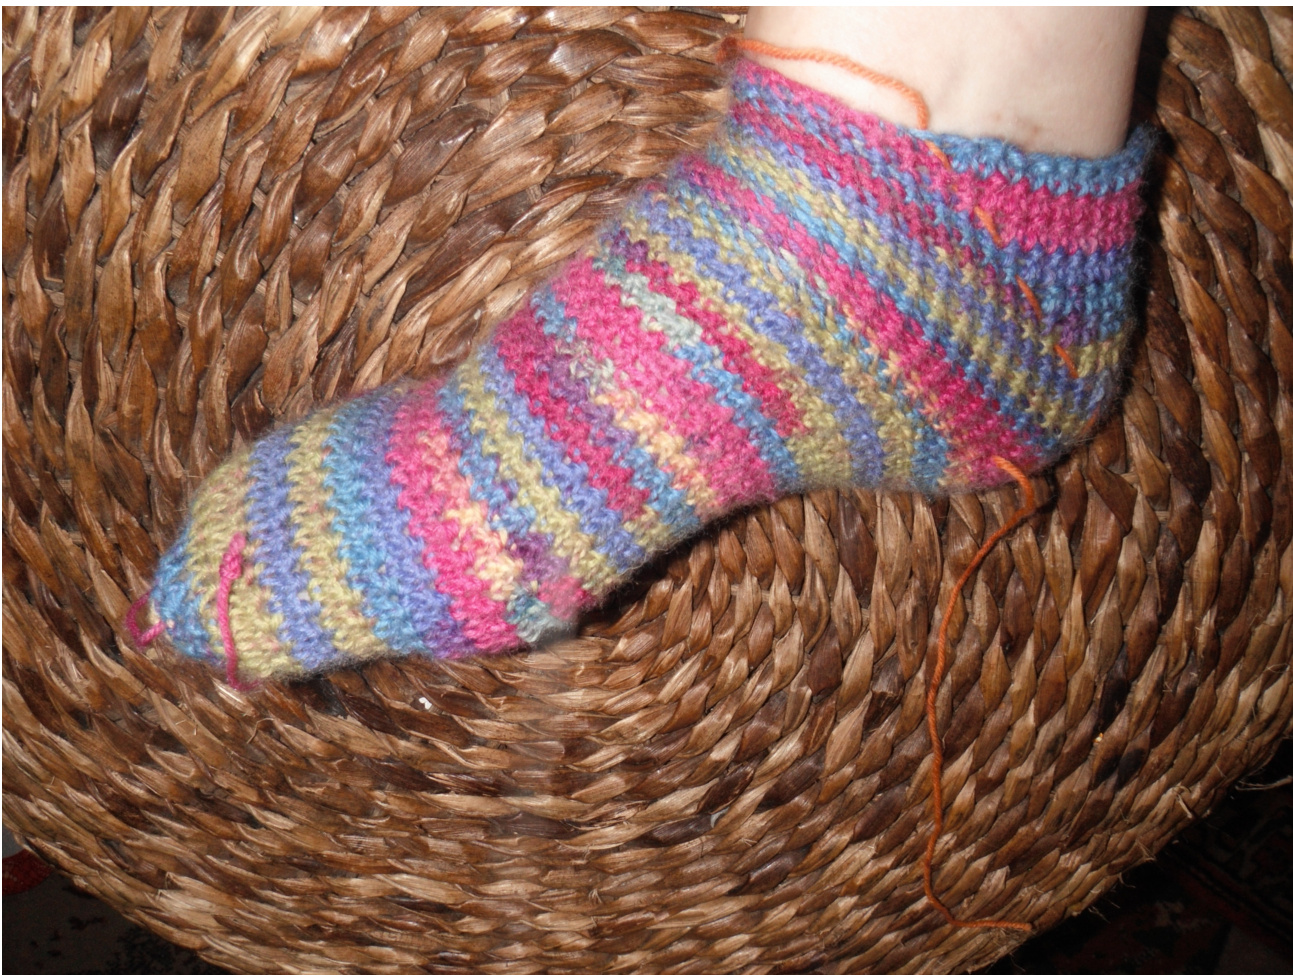
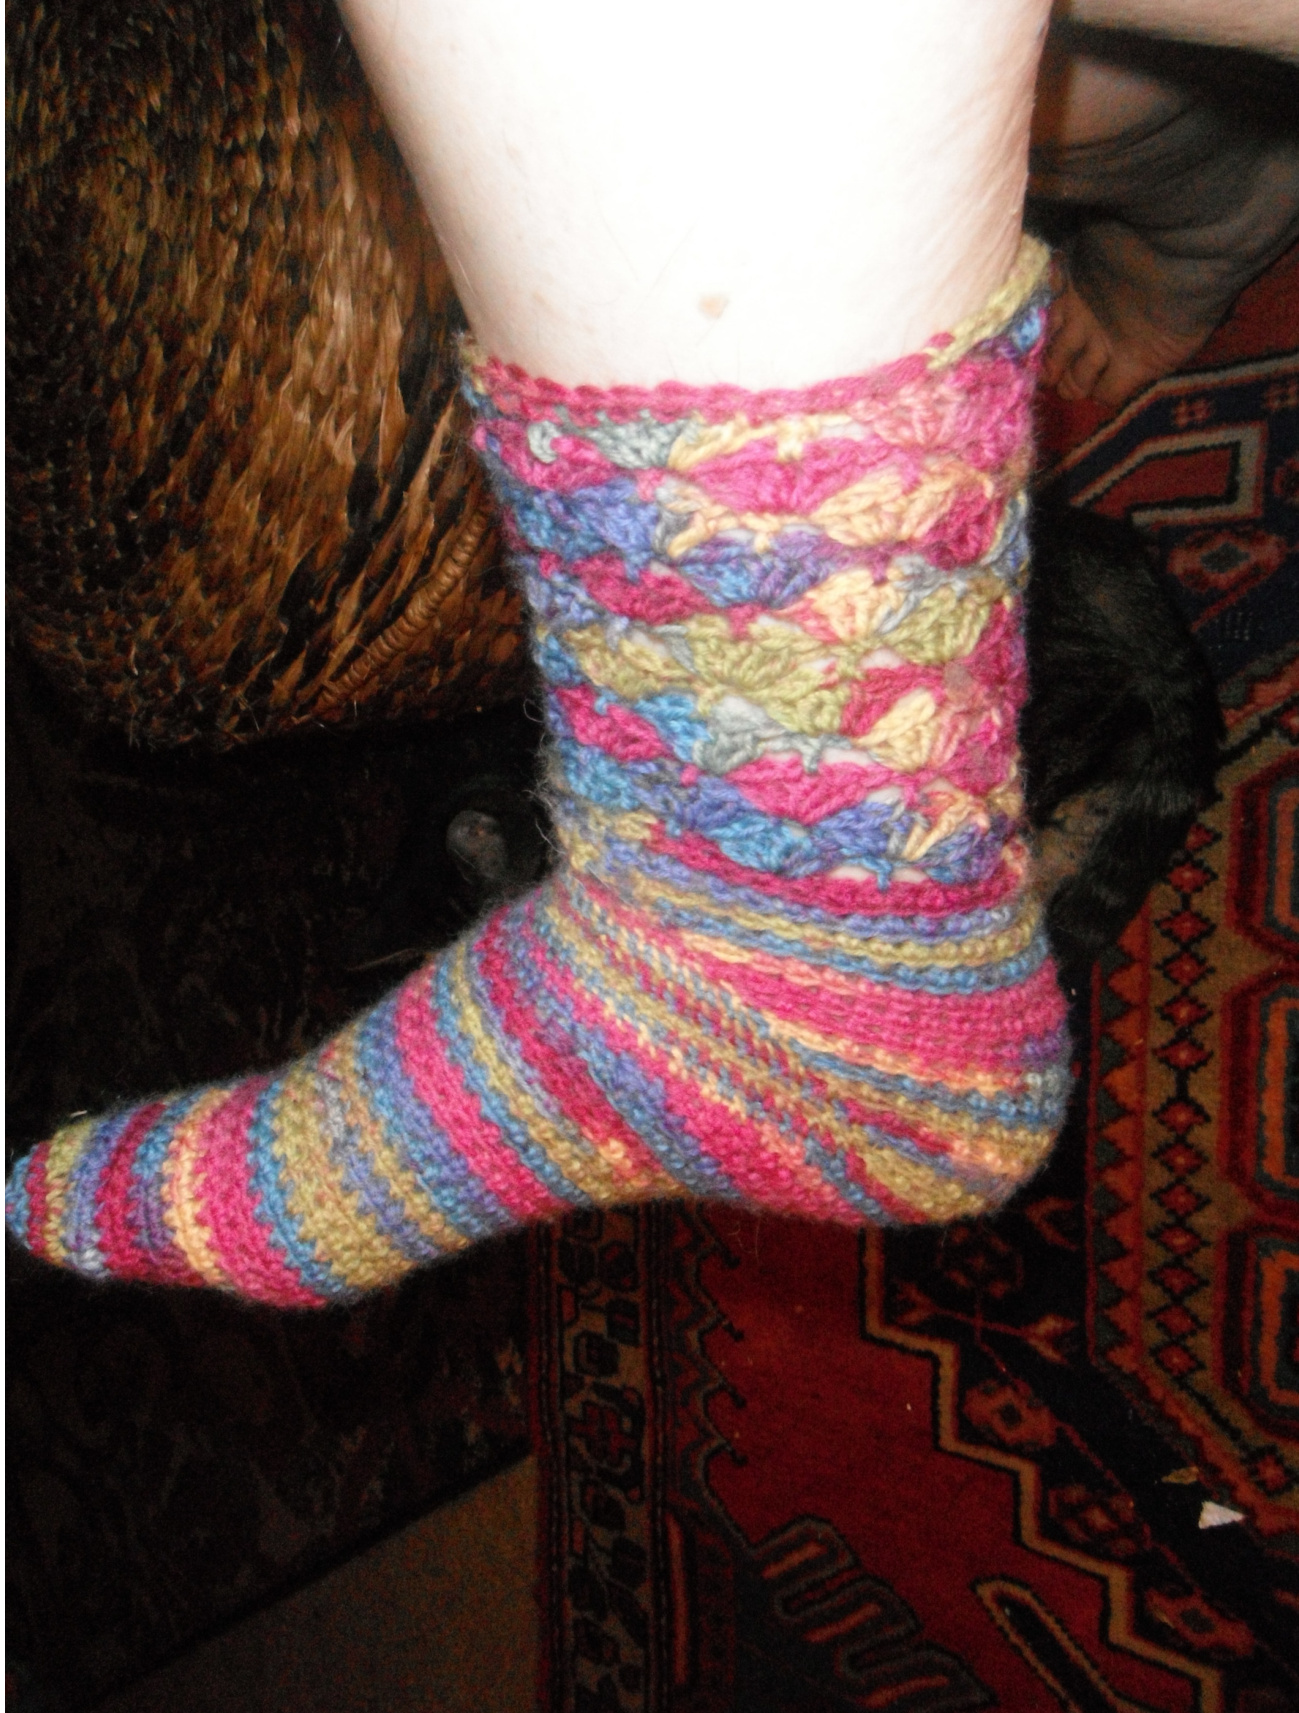
Depending on foot size, you may need to do another row, or two ( above picture shows sock still needing two more rows ) decreasing the number of sc/increasing the LDC. Once sock is ankle height, you can either continue making rounds completely in LDC until the height you desire, or do any stitch pattern you like for the leg/cuff section. Boomerang Sock
Above sock completed in LDC with FP/BP ribbing. Sock on next page completed using a simple shell pattern and then a row of sc around top edge. Boomerang Sock
Boomerang Sock
Obligatory copyright stuf: You may do what you wish with your finished projects: keep them, give them away. Sell them, wave them at raging bulls...you worked hard to make them, You may not distribute the pattern .You may direct others to the download page. If asked, please credit me, either by mundane name or Ravelry handle, with the designing. I won't take credit for your hard work, please don't take credit for mine.


