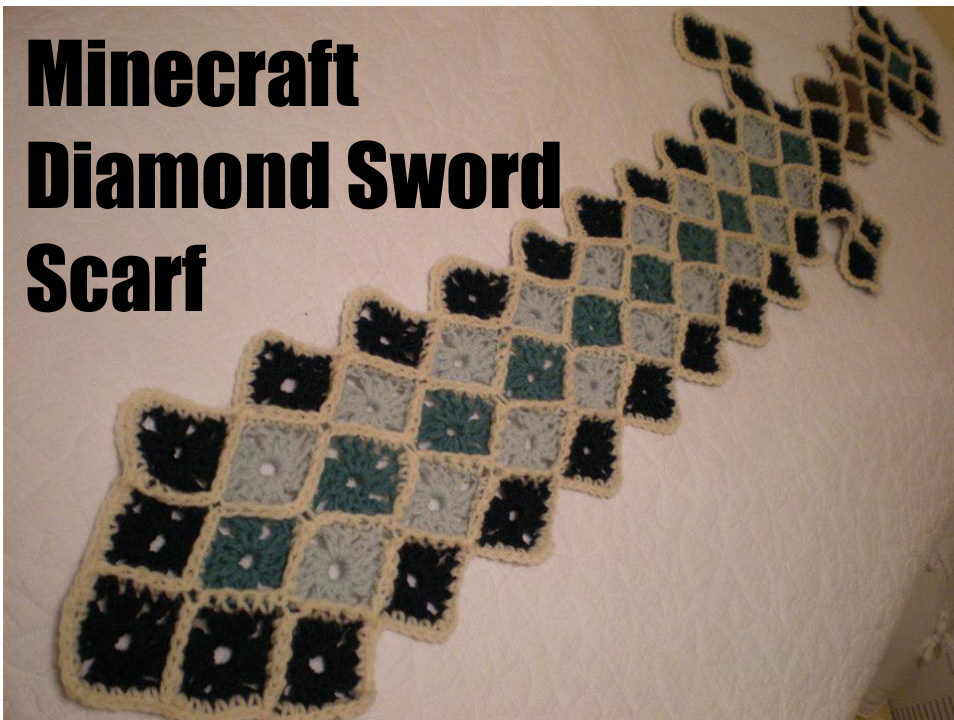
This was a gift for my sister, Erin, who loves Minecraft. It's not a perfect Minecraft sword because I didn't want the sword to be as wide as it was tall.
Yarn requirements
1 ball white/cream worsted weight yarn 1 ball navy worsted weight yarn 1 ball light blue worsted weight yarn 1 ball teal worsted weight yarn Small amount brown worsted weight yarn Small amount light brown worsted weight yarn
Guage
None (I used worsted weight yarn and the recommended hook size on the ball band). If crocheted fairly loosely, the scarf should be lacy and drape nicely (see photo below). Make small granny squares. Foundation: Ch 4 and join with sl st Row 1: Ch 3 (counts as 1"t dc). 2 dc into ring, ch 1, 3 dc, ch 1, 3 dc, ch 1, 3 dc, ch 1, sl st in 3rd st of turning ch. Fasten off. Make the following number of each color squares: Brown - 4 squares Light Brown - 1 square Light blue - 18 squares Teal - 11 squares Navy Blue - 38 squares
2013KateHuffer This pattern is available free of charge for personal use only. If you share the pattern, please include a link back to the source on Ravelry, and please do not sell the pattern or finished items.
Joining
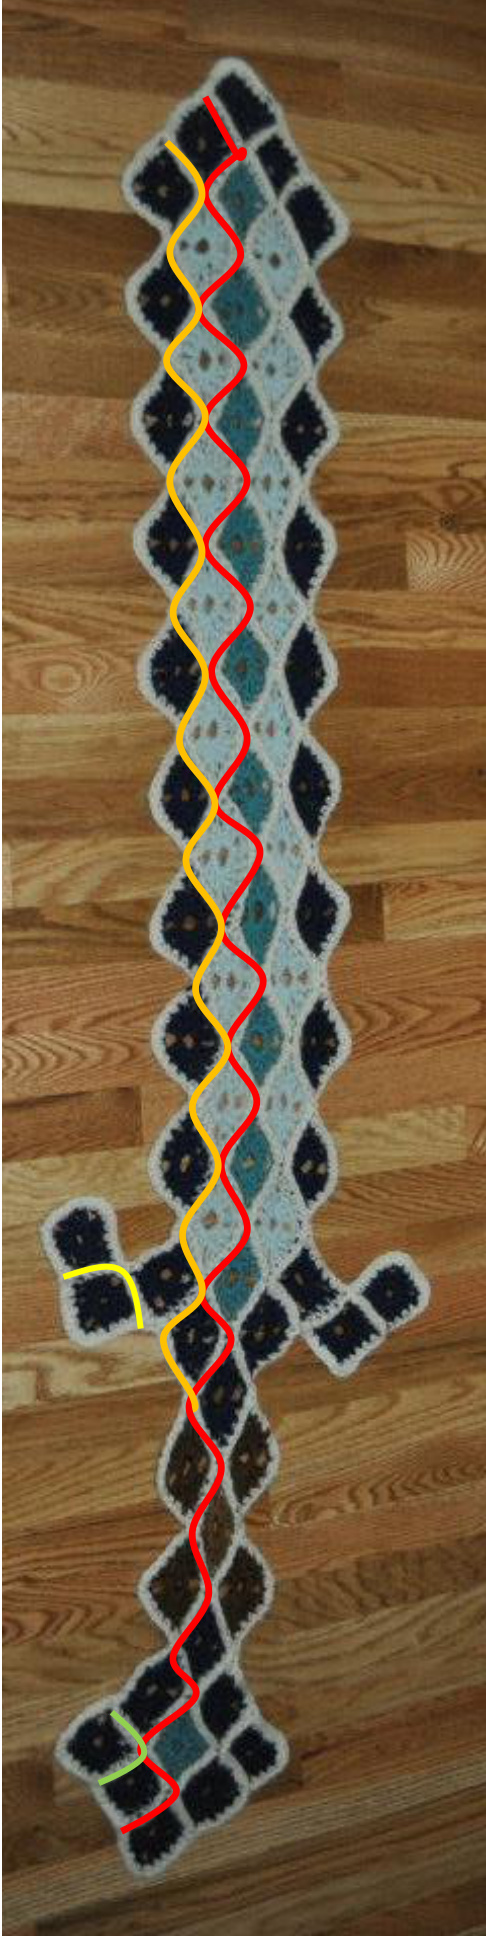
Lay out squares as shown in the pictures so that all squares have right side facing up. Navy - sword outline and pommel outline Light blue - sword blade Teal - sword blade and jewel in pommel Brown and light brown - grip Use white/cream yarn to join squares. Join by working single crochets through front loops ONLY of matching stitches of neighboring granny squares. To minimize the number of ends you need to weave in, join using the zig-zag pattern shown in the picture to the right (only shown in the left half of the scarf). Make the seams in rainbow order, beginning with red, then yellow, then orange, then green. Once all squares have been joined on the right side, turn the scarf over and join using the front loops available on the wrong side. This results in a completely reversible scarf. Finally, single crochet around the outside of the sword to finish the edging. To reduce the number of ends you have to weave in later, use your edging stitches to cover tails.
Finishing
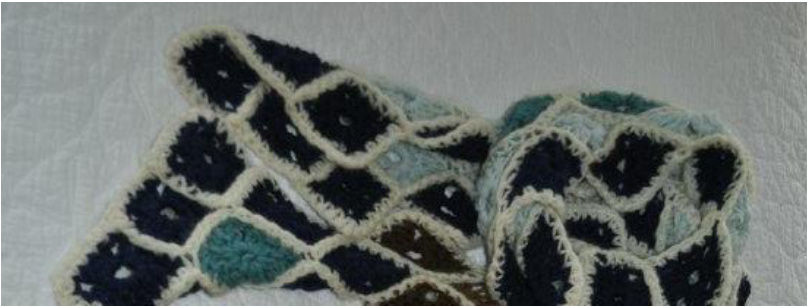
Weave in remaining ends. I wet-blocked my scarf to make the external corners nice and crisp.