Car Slippers (child sizes)
Pattern by: Kimberly Poole CrochetedbyKimberly.weebly.com August 2012
Materials needed:
5.5/1hook 4 small buttons for eyes (OR eyes can be crocheted if you prefer!) Red worsted weight yarn (l prefer Red Heart Super Savers) small amounts of yellow for lightning bolts small amounts of grey for windshields small amounts of black for wheels and trim puff paint or sewable non slip soles for safer bottoms needle to assist in weaving in ends Terms Used: sc: Single crochet sl st: slip stitch ch: chain dc: double crochet hdc: half double crochet f/o: finish object (usually by cutting yarn and weaving in ends)
Gage:
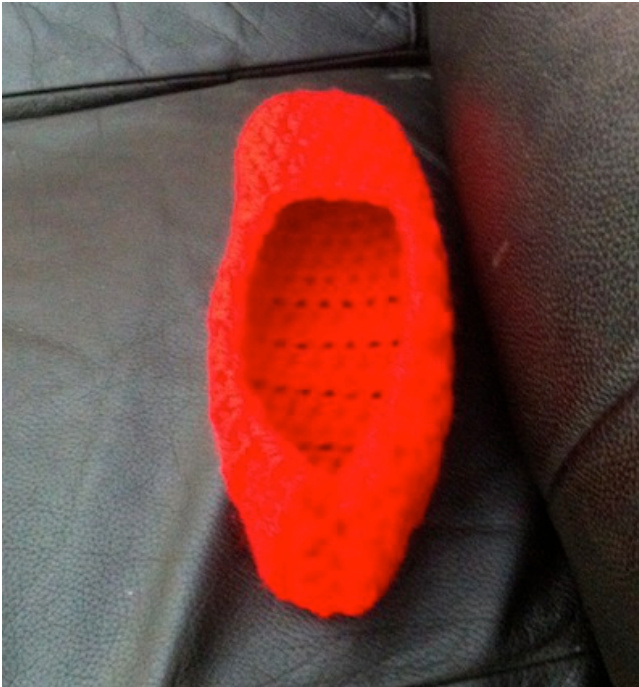
with worsted weight yarn and 5.5mm hook ch10 row 1) dc in 3rd ch from hook, dc in remaining 7 sts (9dc incl the ch 2) Turn row 2) ch 2, dc in next st and remaining 7 sts (9dc) Turn rows 3-4) repeat row 2 work should measure 3 inches across and 2.5 inches up and down. Use a different hook as needed to obtain correct gauge. Small: size 8-10 (5.75-6.5") medium: size 11-13 (6.75-7.5") large: size 1-3 ( 7.75-8.5") Slipper Pattern (make 2):
Smal/Medium
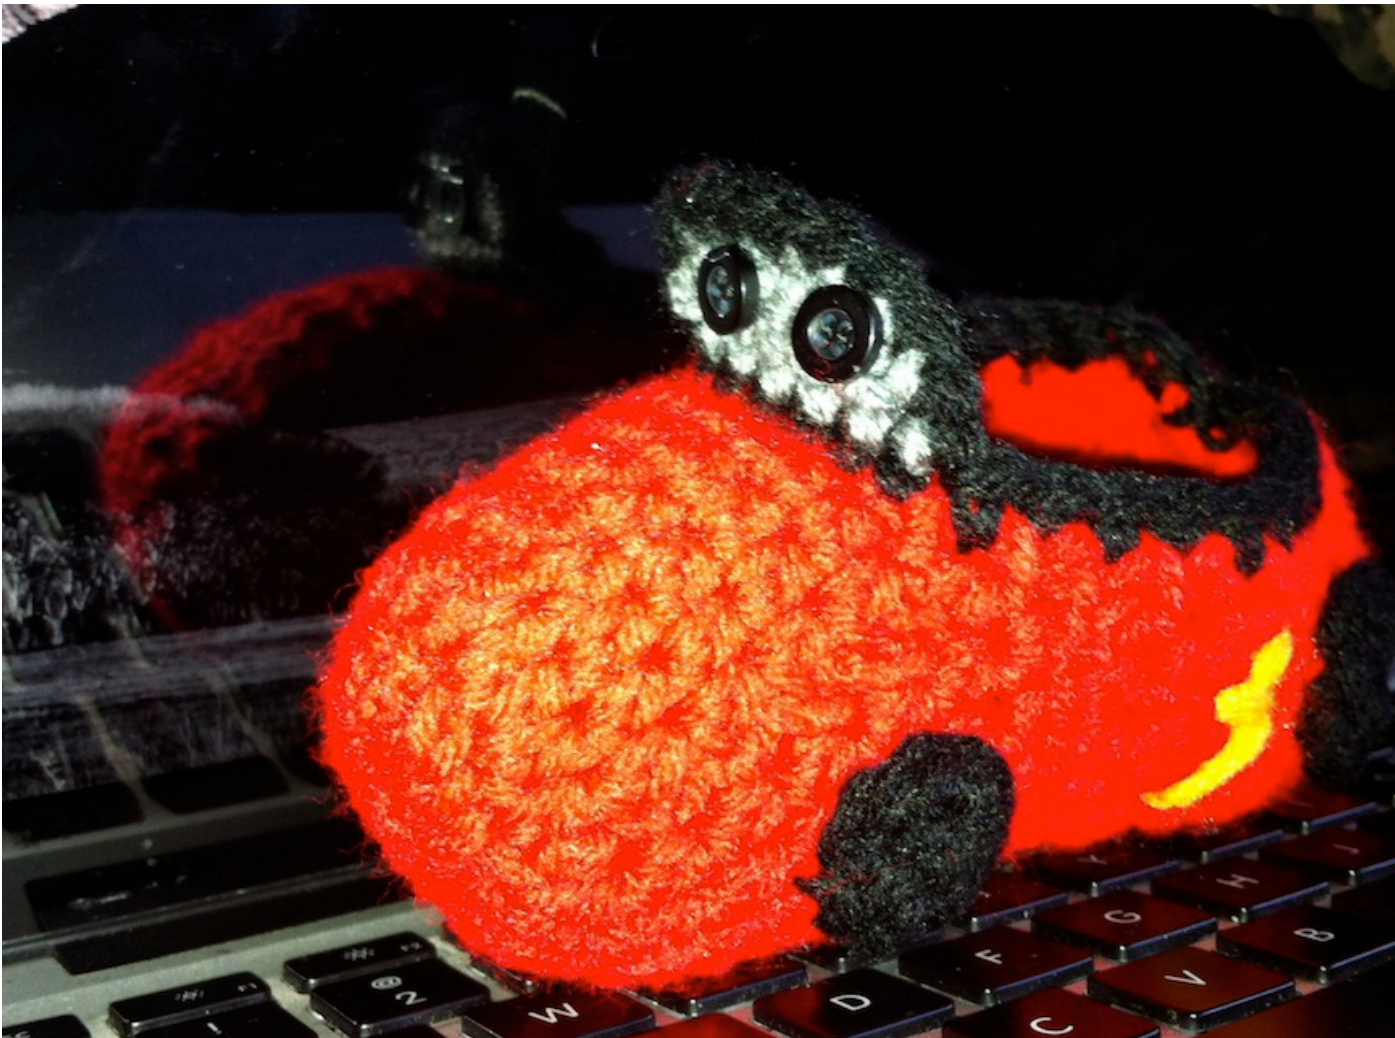
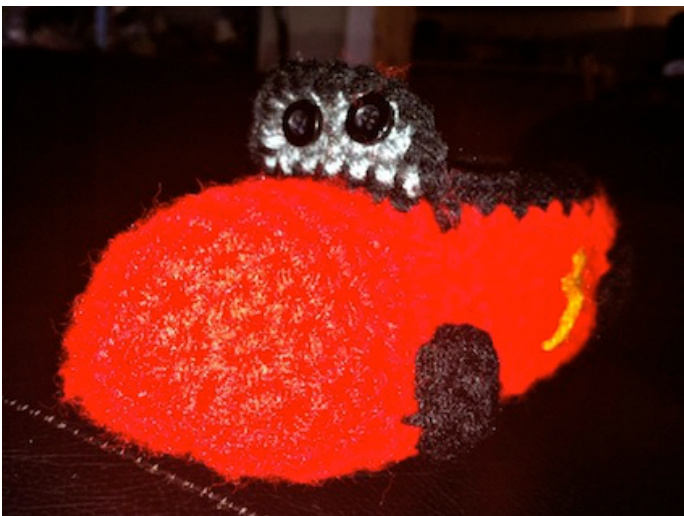
ch3 1) dc 11 into 3rd ch from hook, sl st to top of beg ch(12 dc) 2) ch 2 (counts as first st throughout pattern!), hdc in same st, 2hdc in each stitch in round, sl st to top beg chain (24hdc) 3) ch 2, hdc in next st and in each stitch in round, sl st to top of beg chain (24hdc) 4-6) repeat row 3 7) sl st in first 7 sts, ch 2, hdc in next 18 sts \*\*Yes you are to overlap 2 of your sl sts\*\*. (19hdc) TURN WORK You may with to add a stitch marker on your first unworked stitch to help you later when placing your windshield! 8) ch2, hdc in next 18 sts (19hdc) The gap you have made with 5 sts unworked is for the top of the slipper. TURN WORK 9) ch 2, hdc in each remaining 18 sts, (19hdc) turning at end of each row

Repeat Row 9 until your work measures between 5.75 and 6,25" for small size and between 6.75 and 7.25 for medium. This is measuring from the toe to the end of your last row worked. Then move on to your final row. Final Row) ch2, hdc 2 sts together, hdc in next 6 sts, hdc 2 together, hdc in next 6 sts, hdc last 2 sts together (16 Sts)
Large Follow pattern rows 1 and 2 as above 3) ch 2, hdc in same st, hdc in remaining stitches in round, sl st to beg chain (25hdc) 4) ch 2, hdc in next st and in each remaining stitch in round, sl st to beg chain (25hdc) 5-7) repeat row 4 8) sl st in first 9 sts, ch 2, hdc in next 19sts \*\*yes you are overlapping 3 of your sl stitches in row\*\* (20hdc) TURN WORK You may with to add a stitch marker on your first unworked stitch to help you later when placing your windshield! 9) ch2, hdc in next 19 sts (20hdc) The gap you have made with 6 sts unworked is for the top of the slipper. TURN WORK 10) ch2, hdc in each remaining 19 sts (20hdc) turning at end of each row Repeat row 10 until your work measures between 7.75-8.25" from toe to end of your last row worked. Then moveontoyourfinal row. Final Row) ch2, hdc 2 sts together, hdc in next 6 sts, hdc 2 sts together, hdc in next 7 sts, hdc last 2 sts together (17 sts)
ALL SIZES
turn your slipper inside out to make it easier to seam up the back of the slipper. Just slip stitch or whip stitch the 2 halves together to make the back. F/o and weave in your ends. Then turn your work right side out. sc around the entire top in black yarn Windshield (On each slipper): written for small/medium slippers with large changes in the brackets attach grey yarn in the first stitch on the right of the 5 (6) "missed" stitches. sc in the 7(8) stitches across the front of the slipper (the 5(6) missed plus one on each side). turn work, ch 1 and sc in next 6(8) sts turn work, ch 1 and sc in next 6(8) sts sc around windshield in black yarn.
Wheels (make 8):
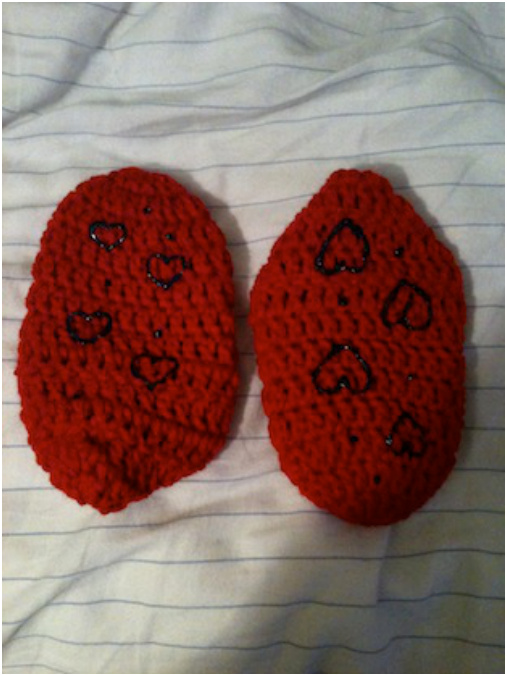
ch 2 sc 5 times in 2nd chain from hook, sl st to top of first sc made (5sc) ch 2, sc in same st, 2sc in each rem. st, sl st to beg chain (10sc) f/o and leave tails long enough for sewing onto car Sew your wheels onto the sides of the slippers near the sole. You may wish to leave the bottom part of the wheel (say 1/5th of the wheel) un sewn as this way the wheels will not round down underneath the slipper as much. Sew your buttons on the front of the windshield for eyes embroider lightning bolts on outside of each slipper make puff paint dots or designs on bottom of each slipper and allow to dry for safer non slip bottoms. Or you can purchase some slip grip material at your local craft store and sew it directly onto the sole.
\*\*le distayiyttwhwh add a link to my work CrochetedbyKimberly.weebly.com :) Thank you!\*\*\*


