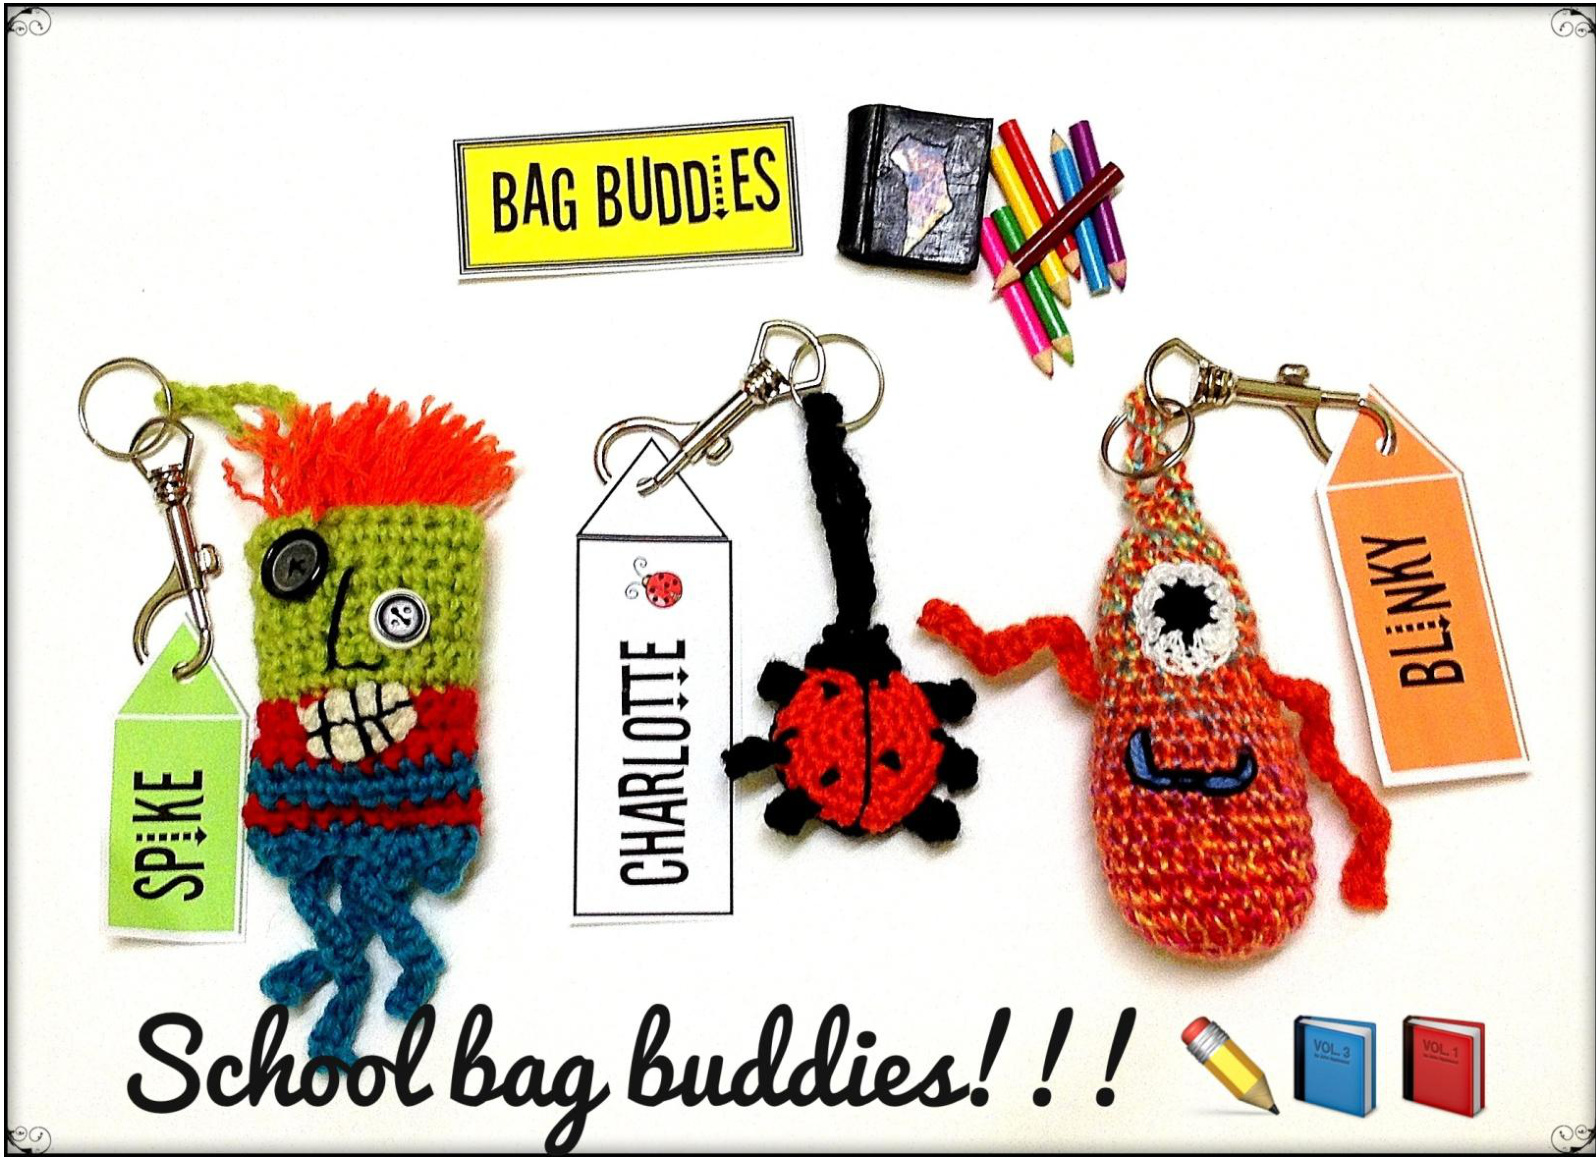
School Bag Buddies - this is a stash buster.
(Everyone will want one!) There's nothing like a buddy to take to school, especially if you're feeling a bit shy or it's a new school. Ask your child to choose a buddy that suits them best, let them select their own colours from your stash. Make it over night! It's that easy! Only basic skills are needed.
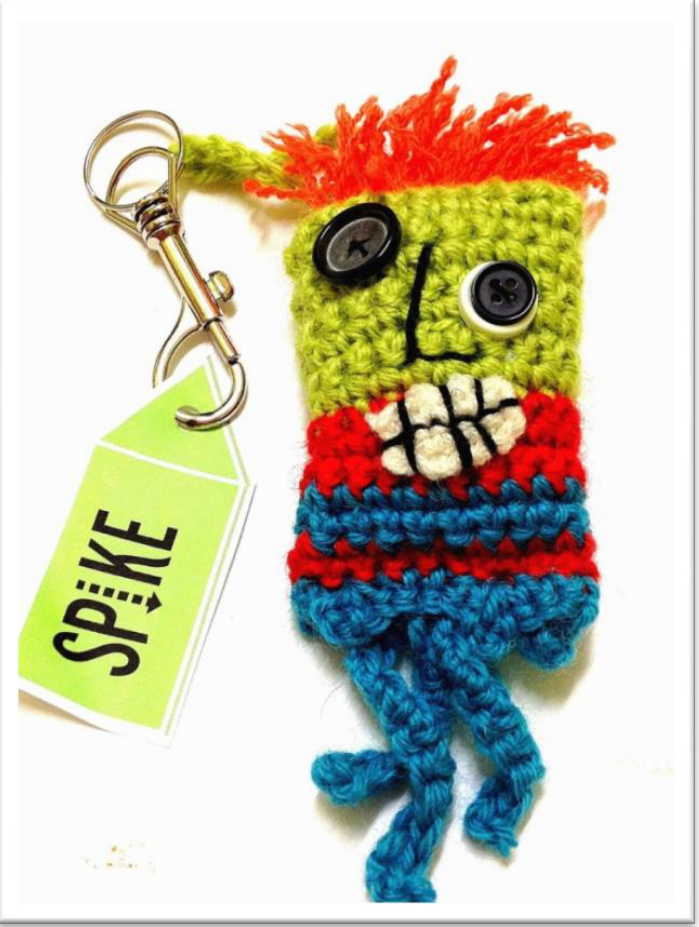
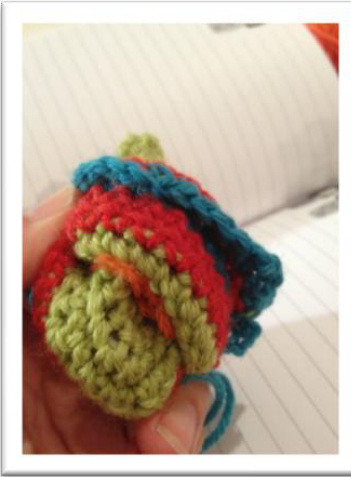
Spike
This buddy is made as a rectangle and stitched along the top and sides after it's done.
FACTS
\*Small amounts of turquoise, red, green and orange (or colours of yourchoice) \*Small amount of white and black \*silver clip to attach to bag \*Tapestry needle \* 4mm crochet hook \*Three buttons Finished size: 15cm from top of spiky hair to bottom of curly foot
METHOD (Spike)
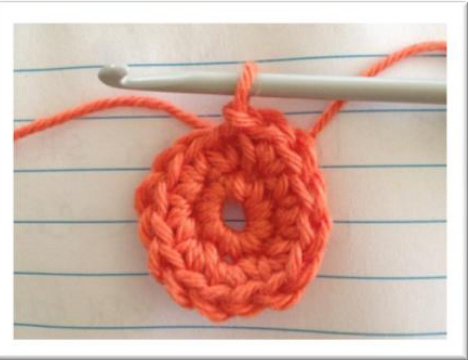
With turquoise yarn, ch 23sts, turn. 1. Dc in second chain from hook. \*Dc in the next 3sts, 3ch, dc in same place as last dc. (This creates a tiny picot on the bottom Repeat from \*across until last stitch. Dc in last stitch, ch1, turn. (Do not cut off turquoise yarn) 2 & 3. Dc across row, ch1, turn (change back to Turquoise on the ch1 turn, do not cut red yarn) 4 & 5. (turquoise) Dc across row, ch1, turn. Change back to red to Red 6-8. Repeat row 2. Bring in green in the last stitch on the row, cut off the red. 9-14. (green) Continue repeating row 2. Fasten off.
LEGS
Legs are stitched as two long foundation chains with 30ch for one, 25ch for the other. Turn at the end of each foundation ch, dc into the second chain from the hook and dc along length of leg. Fasten off. (These will be inserted into the base before backstitching the bottom together.)
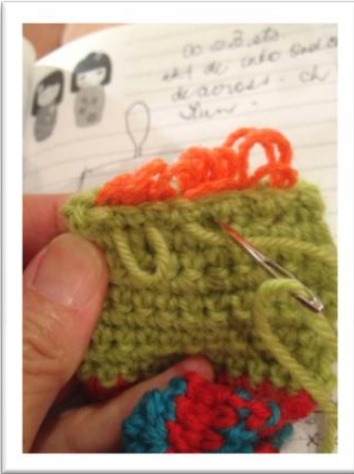
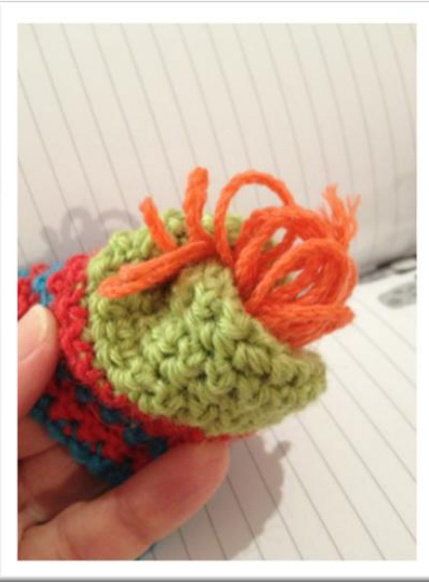
HAIR and stitching the body
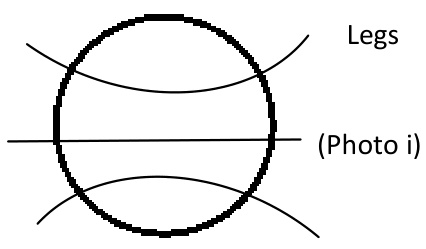
Wrap hair yarn around three fingers for 2 inches (5cm). (photo(i) Slide offcarefully. Set aside
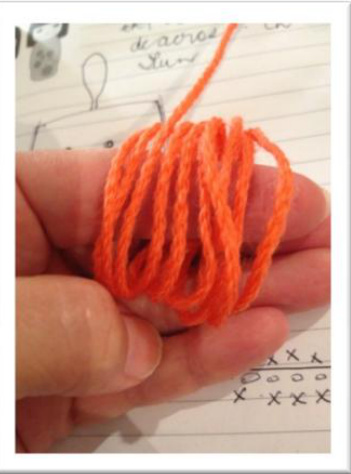
Wrap hair (photo i)
Put wrong sides together Photo (ii)
Turn right side out Photo (iii)
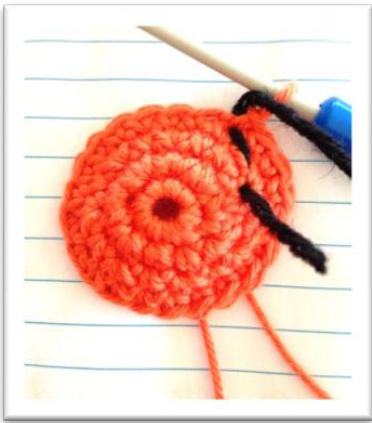
Place wrong sides together with the hair tucked down inside ( leave just a small amount poking out on the wrong side - photo i) into the top of the head, back stitch across the top of head then stitch down the sides only. Turn right sides out through the bottom. (photo ii) Place bottom opening together, insert legs into base and topstitch using a backstitch to secure opening closed and to secure legs inside body. Cut hair on the fold. Tease it out by unravelling it.
FACE (Spike)
EYES - Stitch buttons on using sewing machine thread. MOUTH -_white Ch8, turn, dc in second chain from hook. 1. Dc across row, ch 1, turn 2. Dc across row. Fasten off. Leave a long tail to stitch mouth to face. Once attached, use black yarn to backstitch teeth
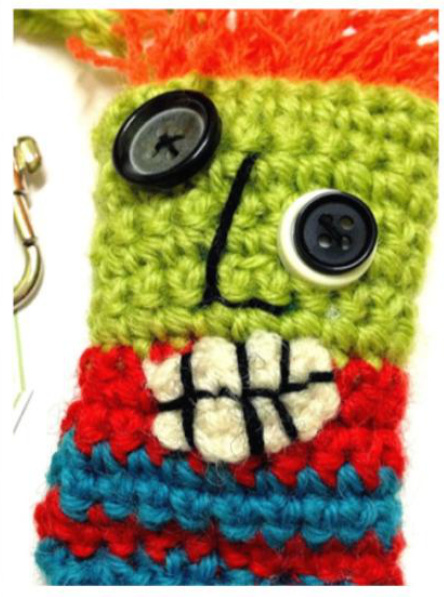
in place. Use the same black yarn to make two stitches to create nose. Lose the yarn inside the head and cut off.
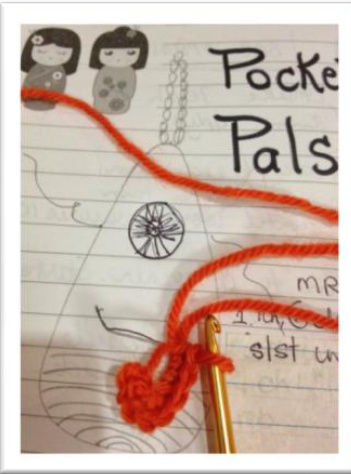
Hanger
Ch 50 sts. Dc in second ch from hook. Dc all along. Attach to top of head securely. Hook silver clip through hanger and attach to your bag! :-)
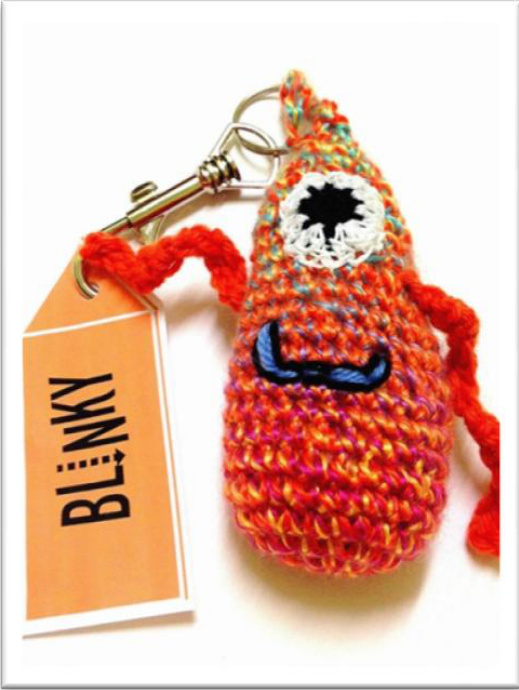
Blinky the beandrop
\*Variegated 8ply yarn - body. Blue for mouth. \* 4mm crochet hook \*Small amount each of black and white perle cotton or 4ply if desired (eyes) \*Tapestryneedle \*Silver clip to attach to bag Finished size: 12cm
Blinky is made in spirals.
METHOD
Make the arms separately.
Magic ring. 1. Dc 6 into ring, slst to first dc. (Place marker on the last stitch of each round) 2. 2dc in each dc (12sts) 3. \*Dc in first stitch, 2dc in next stitch. Repeat from \* around 4. \*Dc in first 2 dc of previous row 2dc in next stitch. Repeat from \* around. 5-9. Dc all round in a spiral pattern, placing marker at last stitch ofeachround 10. \*Dc in first 2 dc, dc2tog. Repeat from \* all round. 11. \*Dc in next dc, dc2tog. Repeat from \* all round 12. \* Dc2tog all round 13. Dc2tog all round. Pull up the remaining stitches to close the opening and chain 50 stitches. Turn, dc in second ch from hook, dc all the way back to Blinky's head. Secure the thread in the head and fasten off. You have your hanger ready to go!!
EYE - Magic Ring in black
1. Dc 6 into ring, slst to first dc. Change to white on the slip stitch. 2. 2dc in each dc (12sts). Slst into the first dc. Fasten off.
MOUTH
Backstitch a blue mouth and outline in black. Add the arms by attaching yarn to the side of the body, chaining 30 ( or as many chain as desired), turn and dc into the 2nd ch from the hook. Chain all the way back to the body, secure the tail and fasten off.
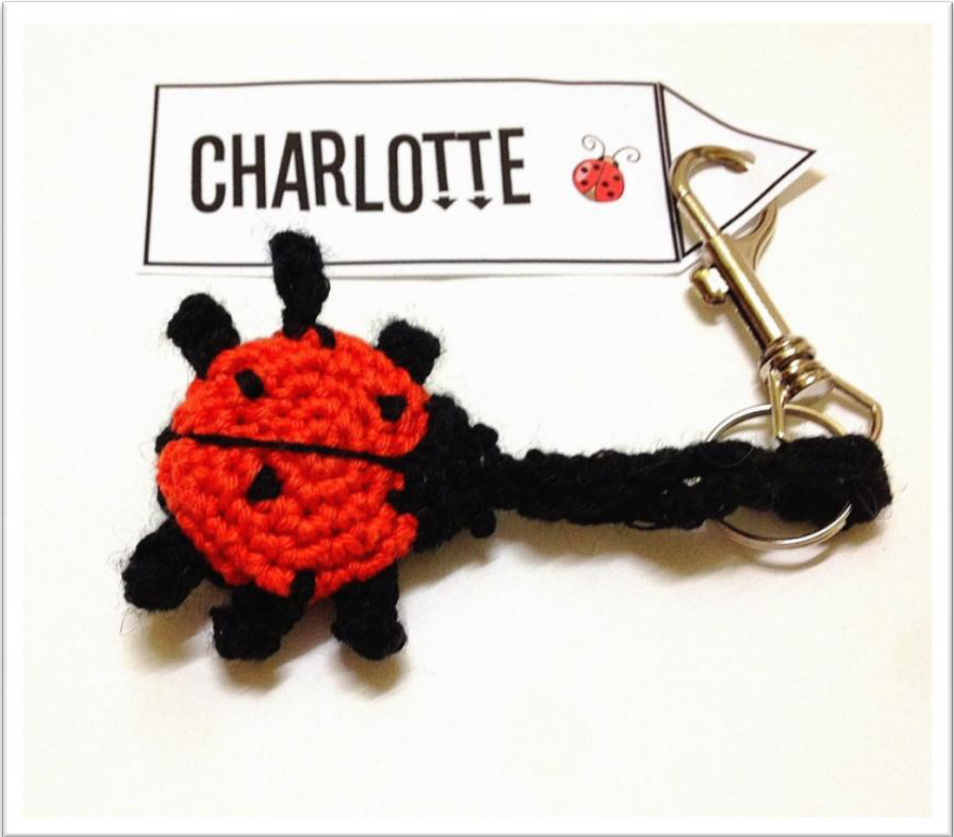
Charlotte the ladybird
Did you know that a group of ladybirds is called 'a loveliness of ladybirds' ? think that's just perfect! Charlotte is such a sweet beetle. Make your own collection of loveliness! madein FACT Finished size - 5.5cm long, 6cm wide thespiralformat \*4ply yarn, black, red/orange/yellow \* 3mm hook \*Tapestry needle \* Silver clip to attach to bag
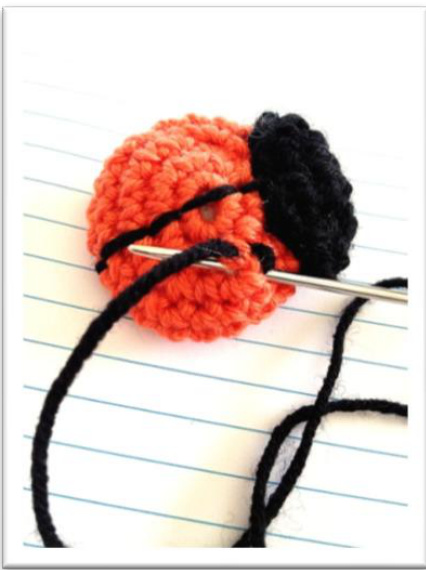
UPPERBODY
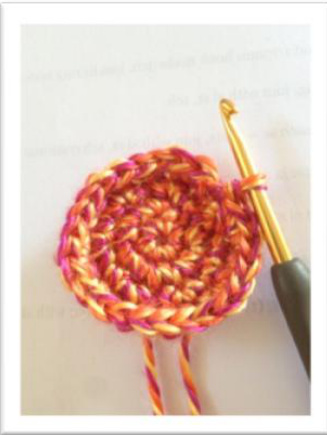
1. Dc 6 into ring, slst to first dc. (Place marker on the last stitch of each round) 2. 2dc in each dc (12sts) (Photo i) 3. \*Dc in first stitch, 2dc in next stitch. Repeat from \* around. (18sts) 4. \*Dc in first 2 dc of previous row 2dc in next stitch. Repeat from \* around. (24st) 5, 6. Dc all round.Fasten off.
LOWER BODY in black
Repeat for body ending on row 5. Do not break yarn. You will use this to stitch the base to the body using a tapestry needle. Upper body made
Place a marker at the end of each round
LEGS Legs are stitched as 3 long foundation chains of 18 ch each. Ch 18, turn at the end of each foundation ch, dc into the second chain from the hook and dc along length of leg. Fasten off. (These will be inserted from side to side, inside the two body sections before stitching together around the side. NOTE: Lay legs across the inside of the body before stitching the bodies together with the WRONG sides together
Head cap (photo ii)
(Attach head cap once Charlotte has been stitched together.)
Black yarn
Magic ring, dc6, slst into the first dc. 1. 2dc in each dc, slst into the first dc. (12sts) Fasten off. Leave a long tail to stitch the head onto the body using small anchor stitches, securing the head cap through top and bottom, and to make the eyes. (Photo i)
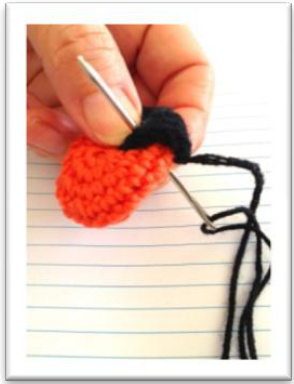
Photo (i) attaching head cap to body Spine and spots(left-use backstitchesforboth) EYES: Once head cap is attached, make two French knots to make eyes in black. Sink the thread into the body and cut off.
Spots - make the spots and the spine-line with black yarn and your tapestry needle. Backstitch is used for the spine and the spots.
Hanger
Ch 50 sts. Dc in second ch from hook. Dc all along. Attach to top of head securely.Attach silver lock.
Fly, fly ladybird.
There! Buddies made and ready to hang on your bag! Happy buddy day! Lu (Please link back to my designs on Ravelry (ludouglasdesigns) or wildaboutyarn.blogspot.com.au if you use them. You may make any to sell or to givetofriends.)


