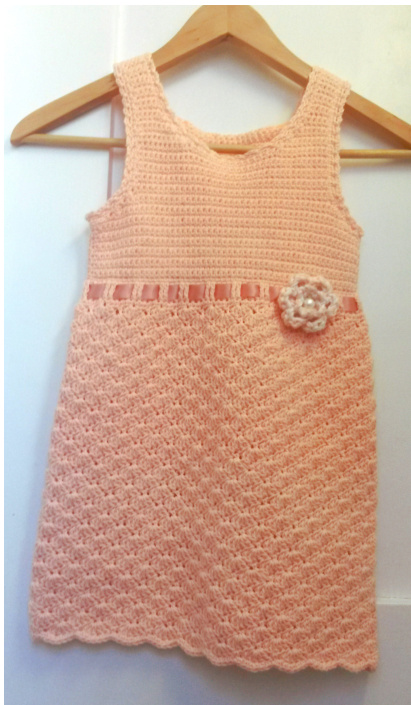
Anita Dress (1 - 3 T)
Thank you for buying this pattern. Here it is. Happy crocheting!!! We start the body first (front and back yoke) from waist to the shoulders. Then turn the body upside down, put a ribbon row, an increasing row and the dress pattern.
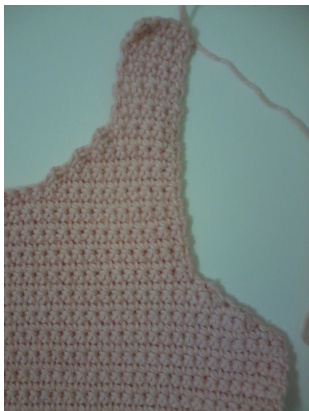
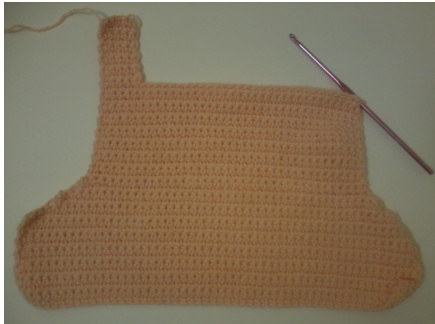
Front Yoke: rl: ch 48 r2: sc in the 2"d ch from the hook, sc across the row r3 -10: ch 1, turn, sc across the row (For 3T add 4 more rows) r11 (armhole): turn, sl st in next 2 sts, sc until the last 2 sts (leave 2 sts unwork), turn r12 - 13: skip next st, sc until the 2nd last st (leave the last st unwork), turn (For 3T repeat r12-13 one more time) r14 - 17: ch 1, sc across the row, turn r18: ch 1, sc in next 7 st, turn r19: skip next st, sc in next 6 sts, ch 1 and turn r20: sc in next 5 sts, turn r21: (no ch 1) sc in next 5 sts, ch 1 and turn r22 - 34: sc in next 4 sts, ch 1 and turn (For 3T repeat r22 only for 4 times) Leave 5'' and cut the yarn Turn your work and now work on the other armhole. Put a yarn in the 1"t st and follow r22 (sl st in next 2 sts...) to r34
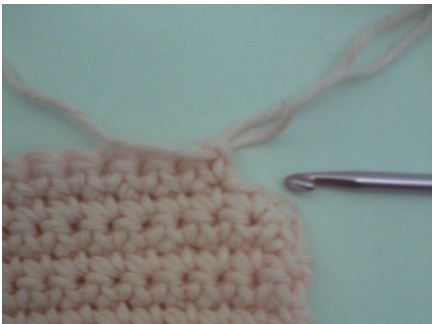
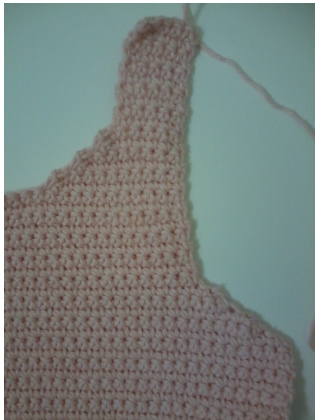
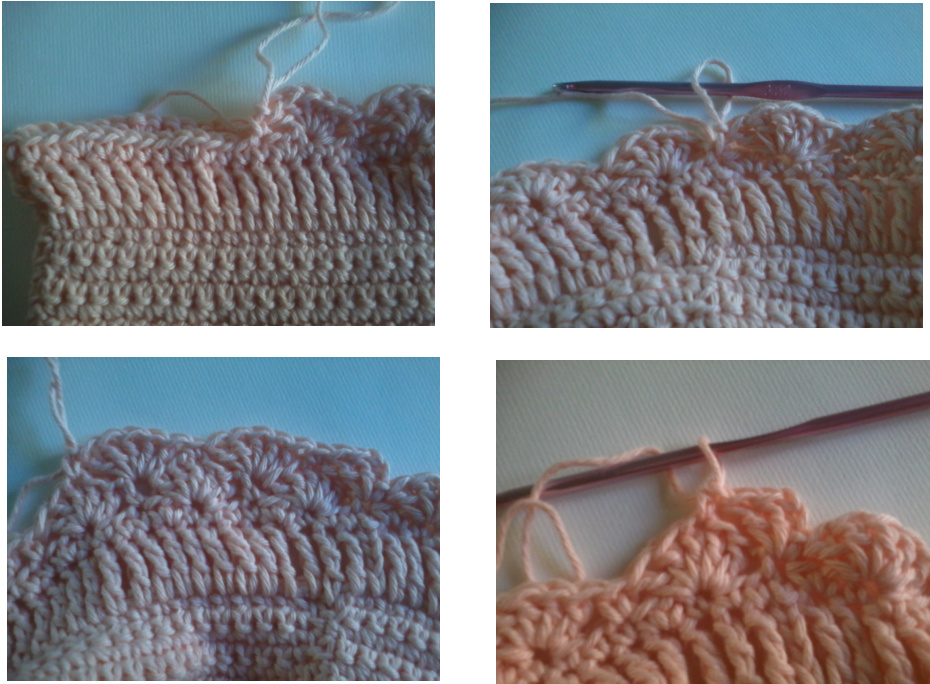
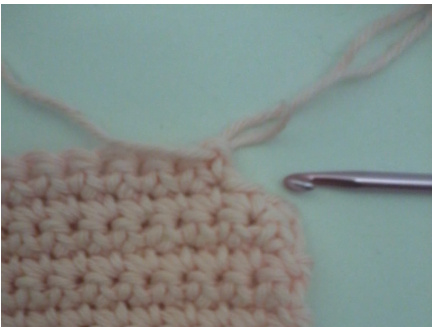
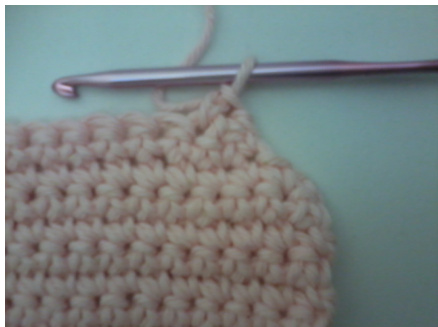
R15: sc until the 3rd last st, leave2 sts unwork
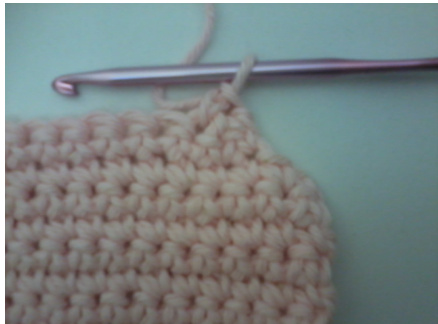
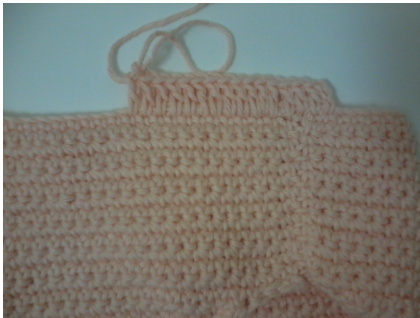
It should be like this after skip a st and made a sc R16: Skip a st, sc where the hook is pointed Copyright H.Y. Schultschik, 2014, all rights reserved
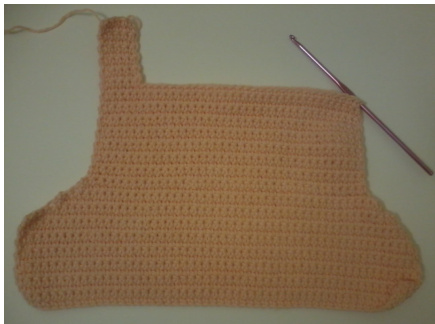
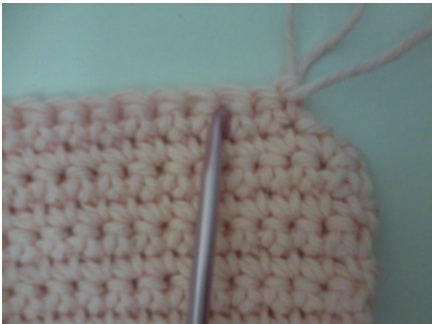
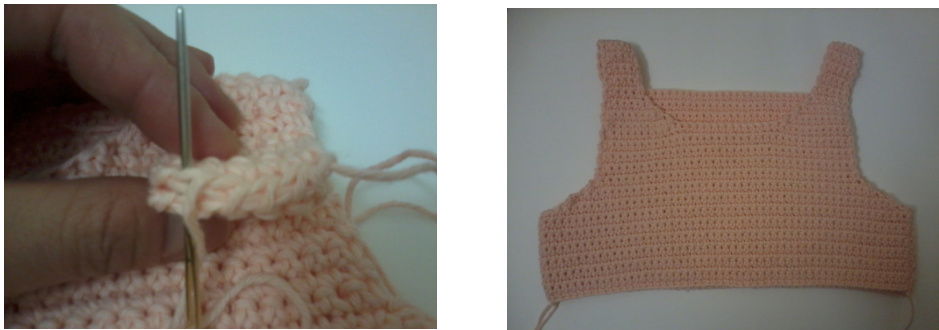
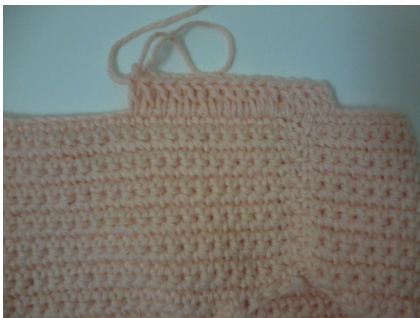
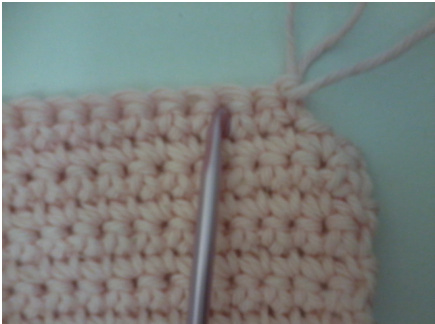
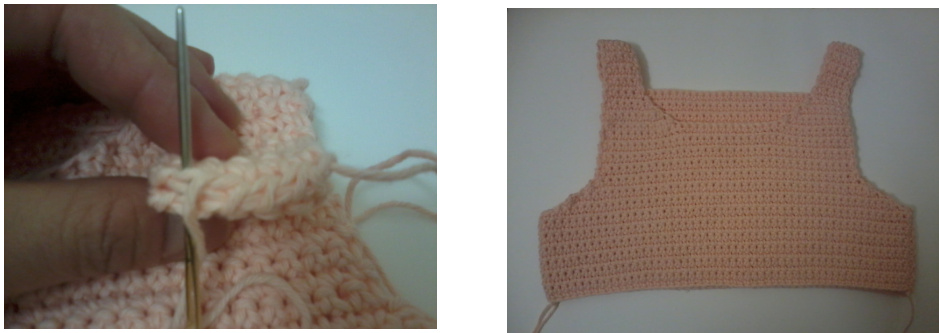
The hook is showing where to start another should stripe BackYoke: r1: ch 48 r2: sc in the 2nd ch from the hook, sc across the row r3 - 10: ch 1, turn, sc across the row (For 3T add 4 more rows) r11 (armhole): turn, sl st in the next 2 sts, sc until the last 2 sts (leave 2 sts unwork), turn r12 - 13: skip the next st, sc until the last st (leave the last st unwork), turn (For 3T repeat r12-13 one more time) r14 - 21: ch 1, sc across the row, turn r22 - 34: ch 1, sc in next 4 sts, turn (For 3T repeat r22 only for 4 times) Leave 5' and cut the yarn d now work on the other shoulder. Repeat r22 - 34 from Back Yok Assemble theFront andBackYoke: Put the front and back yoke together, right side to right side, sew the both side of the shoulders and on both side of the yoke. After it is done, turn the yoke inside out (wrong side to wrong side) and upside down.
Copyright H.Y. Schultschik, 2014, all rights reserved Ribbon row: (Please check the size of the ribbon to decide to make a row of dc or tr) Attach the yarn to the side of the yoke, ch 4, tr across the row and join with sl st. You should probably have 96 sts.
Dress:
rl (increased row): ch 1, (increase sts by using sc until 120 sts) sc in next 2 sts, \*2 sc in next sts, 3 sc in next 3 sts\*, repeat from \* to \* and join with sl st r2: ch 1, \*skip 2 ch, 5 dc in next st (shell stitch), skip 2 ch, sc in next st\*, repeat from \* to \* and join with sl st. r3: ch 3, 2 dc in the same st of ch 3, \*sc in the middle of previous shell st, 5 dc in the previous sc\*, repeat from \* to \* to the end, 2 dc in the same st of the beginning of ch 3 (to finish the shell st). R4: ch 1, \*5dc in previous sc, sc in the middle of the shell st\*, repeat from \* to \* and join with sl st. Repeat r3 and r4 until desire length. Last row of the dress: Basically sc arcross the row, but put 2 sc above the middle of shell and sl st above sc.
Copyright H.Y. Schultschik, 2014, all rights reserved After the dress is finished, put ribbon. I want the ribbon show more so I put ribbon over 3 tr and under 2 tr. Puffy Flower: 4.5 mm hook (You can change the size of the hook to adjust the size of the flower) I used 2 colours of yarn to crochet together. rl: ch 4, join with sl st r2: ch 3, 5 dc in ring, sl st to join r3: sl st in next st \*dc, 3 tr, dc (back loop only), sl st in next st\* r4: sl st in front loop, \*ch 4, sl st in next loop\*, sl st to join cut and leave a long tail to sew on the dress. DONE, YEAH!!!!
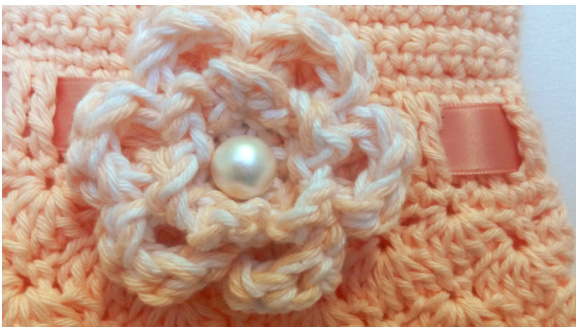
For the decoration of the flower, you could put a pearl, button or even leave it as it is. Thanks again for buying this pattern. I will go on to design and create more beautiful dress for the beautiful girls.
Vintage dress with puffy flower (4 - 6 T)
We start the body first (front and back yoke) from waist to the shoulders. Then turn the body upside down, put a ribbon row, an increasing row and the dress pattern. Front Yoke: rl: ch 55 r2: sc in the 2"d ch from the hook, sc across the row r3 - 14: ch 1, turn, sc across the row r15 (armhole): turn, sl st in next 2 sts, sc until the last 2 sts (leave 2 sts unwork), turn r16 - 19: skip next st, sc until the 2"d last st (leave the last st unwork), turn r20 - 28: ch 1, sc across the row, turn r29: ch 1, sc in next 11 st, turn r30: skip next st, sc in next 10 sts, ch 1 and turn r31: sc in next 9 sts, turn r32: skip next st, sc in next 8 sts, ch 1 and turn r33: sc in next 7 sts, turn r34: skip next st, sc in next 6 sts, ch 1 and turn r35 - 44: sc in next 5 sts, ch 1 and turn Leave 5" and cut the yarn

Turn your work and now work on the other armhole. Put a yarn in the 1st st and follow r15 (sl st in next 2 sts...) to r44
R15: sc until the 3rd last st, leave2 sts unwork
It should be like this after skip a st and made a sc R16: Skip a st, sc where the hook is pointed @ Copyright H.Y. Schultschik, 2014, all rights reserved
The hook is showing where to start another should stripe Back Yoke: rl: ch 55 r2: sc in the 2nd ch from the hook, sc across the row r3 - 14: ch 1, turn, sc across the row r15 (armhole): turn, sl st in the next 2 sts, sc until the last 2 sts (leave 2 sts unwork), turn r16 - 19: skip the next st, sc until the last st (leave the last st unwork), turn r20 - 34: ch 1, sc across the row, turn r35 - 44: ch 1, sc in next 5 sts, turn Leave 5” and cut the yarn Turn your work and now work on the other shoulder. Repeat r35 - 44 from Back Yoke. Assemble the Front and Back Yoke: Put the front and back yoke together, right side to right side, sew the both side of the shoulders and on both side of the yoke. After it is done, turn the yoke inside out (wrong side to wrong side) and upside down.
Ribbon row: (Please check the size of the ribbon to decide to make a row of dc or tr) Attach the yarn to the side of the yoke, ch 4, tr across the row and join with sl st. You should probably have 110 sts. Copyright H.Y. Schultschik, 2014, all rights reserved
Dress: rl (increased row): ch 1, (increase sts by using sc until 132 sts) sc in next 3 sts, \*2 sc in next sts, 4 sc in next sts\*, repeat from \* to \* and join with sl st r2: ch 1, \*skip 2 ch, 5 dc in next st (shell stitch), skip 2 ch, sc in next st\*, repeat from \* to \* and join with sl st. r3: ch 3, 2 dc in the same st of ch 3, \*sc in the middle of previous shell st, 5 dc in the previous sc\*, repeat from \* to \* to the end, 2 dc in the same st of the beginning of ch 3 (to finish the shell st). R4: ch 1, \*5dc in previous sc, sc in the middle of the shell st\*, repeat from \* to \* and join with sl st. Repeat r3 and r4 until desire length. Last row of the dress: Basically sc arcross the row, but put 2 sc above the middle of shell and sl st above sc.

Armholes and Neckline: Copyright H.Y. Schultschik, 2014, all rights reserved rl: sc across the row, join with sl st r2: \*ch 3, skip next ch, sl st in next st\*, repeat from \* to \*, join with sl st After the dress is finished, put ribbon. I want the ribbon show more so I put ribbon over 3 tr and under 2 tr. Puffy Flower: 4.5 mm hook (You can change the size of the hook to adjust the size of the flower) I used 2 colours of yarn to crochet together. rl: ch 4, join with sl st r2: ch 3, 5 dc in ring, sl st to join r3: sl st in next st \*dc, 3 tr, dc (back loop only), sl st in next st\* r4: sl st in front loop, \*ch 4, sl st in next loop\*, sl st to join cut and leave a long tail to sew on the dress. DONE, YEAH!!!!

For the decoration of the flower, you could put a pearl, button or even leave it as it is. Thanks again for buying this pattern. I will go on to design and create more beautiful dress for the beautiful girls.


