Things to have: 1 skein Noro Kureyon Or Silk Garden Sock Yarn US E or F crochet hook (are you tight or loose? you make the call)
Things to know:
(please note these are Us terms) · FSC = foundation single crochet ·SC = single crochet · CH = chain stitch · Sl = slip stitch
THE STORYBEHIND THE SCARF
This is the scarf that snuck up and blindsided me. I saw a version of Lucy Neatby's Spindrift that my LYS owner had worked up back when Noro sock yarn was brand spankin' new and fellin love. At the time, I had been knitting for approximately 2 days and my newish to kniting head could just not contemplate tackling such a project without possibly starting my neurons on fire. However, 1 knew I could crochet it in a snap. Strengths are strengths and let's face it, crochet is built for ease of openwork. Blissfully forgetting what I came in for in the first place, I happily trotted home with the Noro and started the research. A bit of time spent in the edging section of my ancient Harmony Guide, Volume 7 confirmed my hunches. A simple 2 row repeat would handle things nicely, though the floating ends would take some tinkering. About 30 minutes later I was humming away, improv-ing the pattern as I went. Luckily for you, I took notes. (Fair warning given, I am an abysmal pattern writer. I like words. Slap me if this is confusing and I will try to clarify.) Here they are:

Fsc a multiple of 10 stitches + 2. (it's your scarf, make it as long as you like) [For those that need to know, my scarf is worked in colorway 95, has 49 wavelets and a base of 492 'stitches and is about 6ish feet long without being blocked. But again, you do what you like.]

Row 1: (making the holes) Ch 1, sc 2, \*ch 7, skip 7 stitches, sc 3. Repeat from \* until 2 sts remain unworked. Sc 2, ch 1, turn. Row 2: Sc in each st. (ln the holes, to avoid obscuring the color in the row below which would happen if you worked into the chain space itself, you need to work into one loop only of each ch st. This is a bit odd in this instance as you are working at the “back" of the chain. Essentially you work into the “top" leg of the ch.)
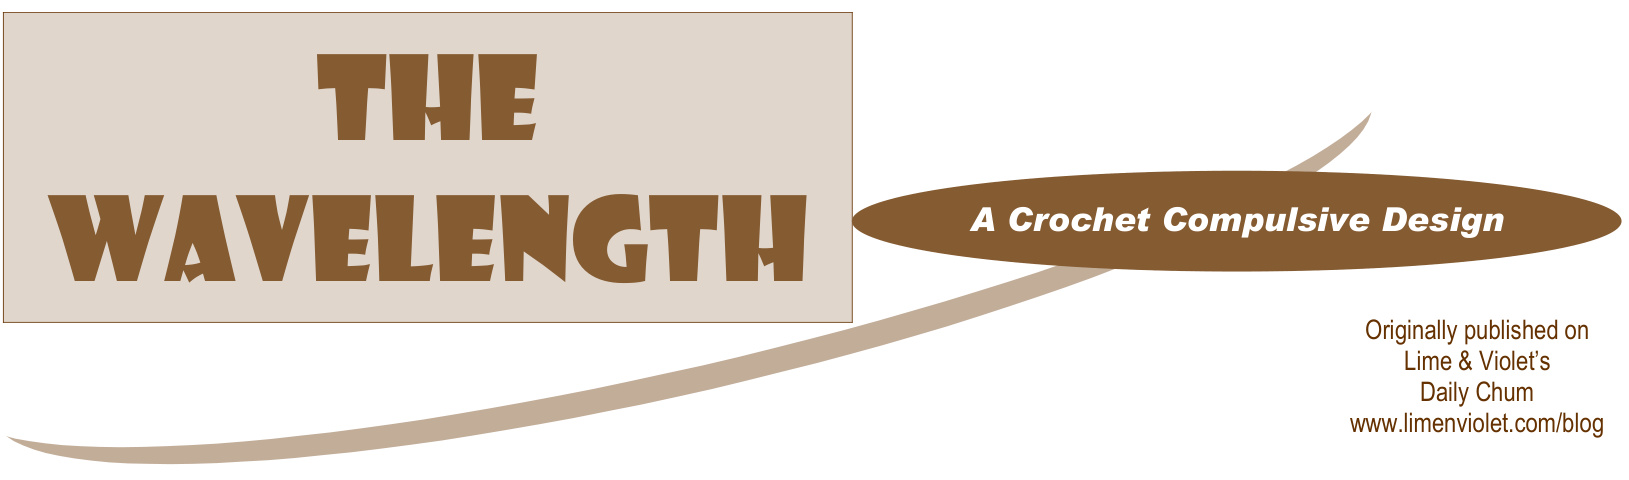
The Wavelength
THE FIDDLY BIT
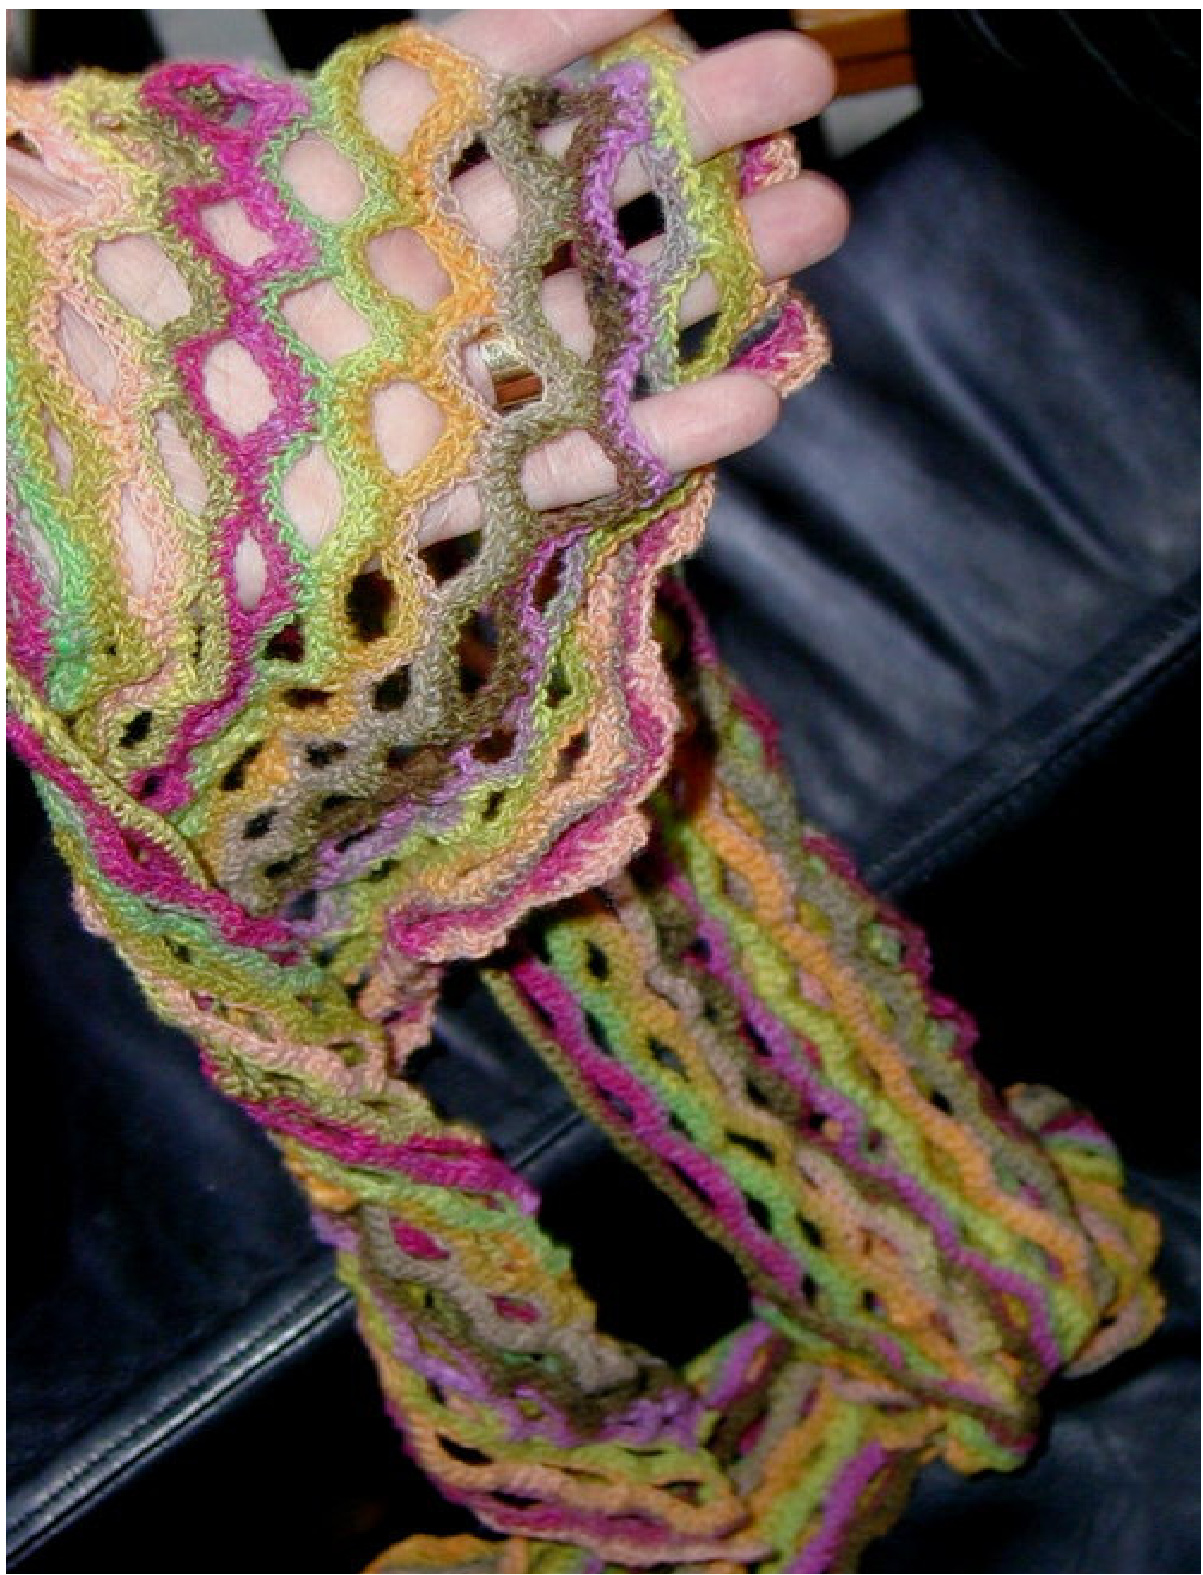
There is a bit of trickery involved in getting pretty open ends like this:
So Row 3 goes: Turn. Slip 4. (this brings you to the top of an arch where a series of 3 sc will be) Sc 1. Turn. Ch in the top of the sc you just made. Ch 5. (making a free standing partial arch back to the end) Turn. Slip 5. (the last one should be in the top of that lone sc yet again) Sc 2 next to the single you made before all the confusing turning business. Continue as in Row 1: \*ch 7, sc 3, repeat from \*. After the last set of 3 sc, ch 5 to end. Turn. (one of those ch is your turning chain.) [OK, I told you this was the fiddly bit. It's not at all hard, just a bugger to visualize. Let me explain in a bit less short hand to see if it helps those having trouble. See if this makes sense to you: OK, you've just finished doing a big long row of nothing but single crochet. You're at the low point of a wave, right? You're ready to start back across making all the arches. The problem being that the row above you needs to start with a partial arch that hangs out into space right? And you can't do that from your position at the low point of the wave. So you slip stitch back up to the crest of the wave, where you work your first single crochet (of the three that inhabit the crests of all the waves). Then you TURN to work backward, toward the end you just left, chaining that partial arch. You slip stitch back down it and resume the arch making row. You work some extra slip stitches coming and going into that lone single crochet at the top of the wave just to position the yarn better.] Row 4: Starting in the second ch from the hook, sc in each st. (see Row 2) Lather, rinse, repeat. (Just kidding! But that is all there is to it. Keep going. Run out of yarn. Tie Off. Block vigorously. Veeeeery vigorously.)
A Crochet Compulsive Design

I find myself using liberal amounts of yarn to wend my way through my day-to-day as executive director of a 3 child, 2 dog household. In my world, design is usually off the cuff, undocumented and quickly gifted away. Have begun trying to remedy that by actually writing down what I do while I do it, then sharing it. You'll find functional pieces with clean lines and a simple, bold aesthetic. Enjoy. Find me on Ravelry as crochetcompulsiv crochetcompulsive@gmail.com crochetcompulsive.blogspot.com
JUST.CROCHET.

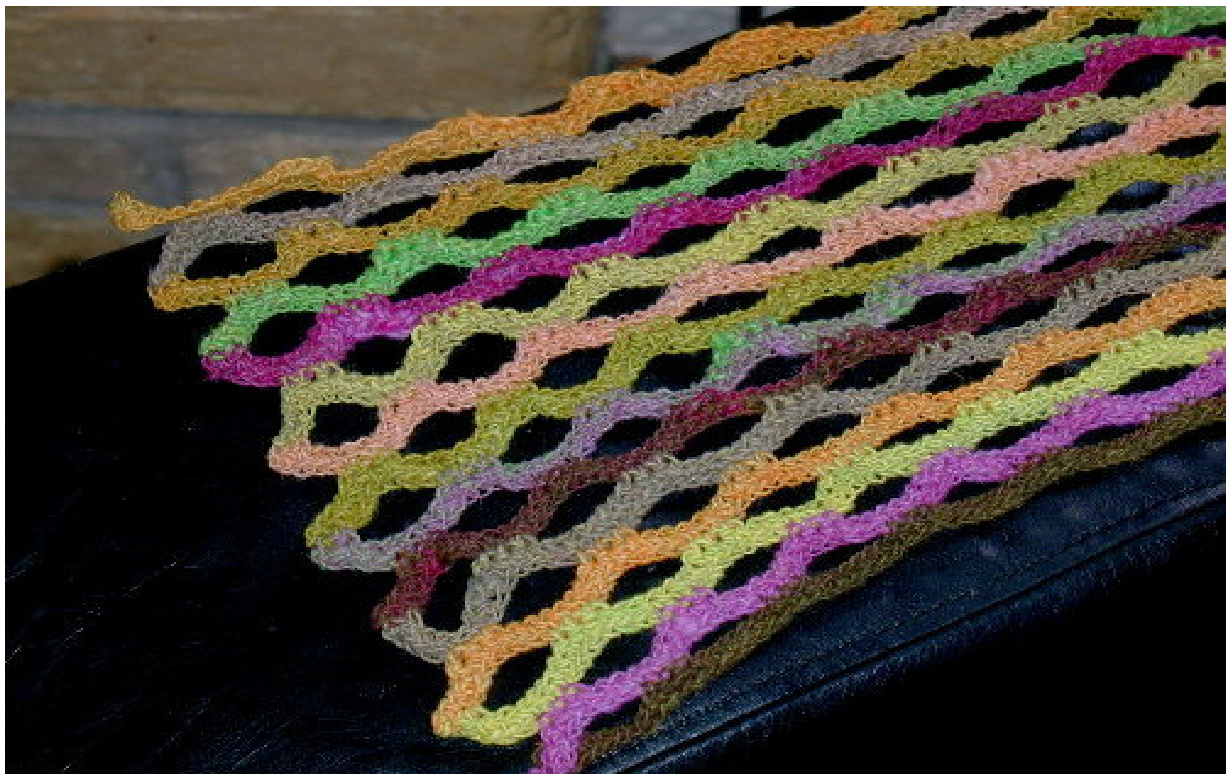
So that be it. Get your flow on. Go until you run out of yarn. Wet block it to within an inch of it's life It's really not as quirky as it seems. If you look at the close-up whilst following along, you shall indeed get it. At least I hope you shall. Cause I think you'll like it. I do.


