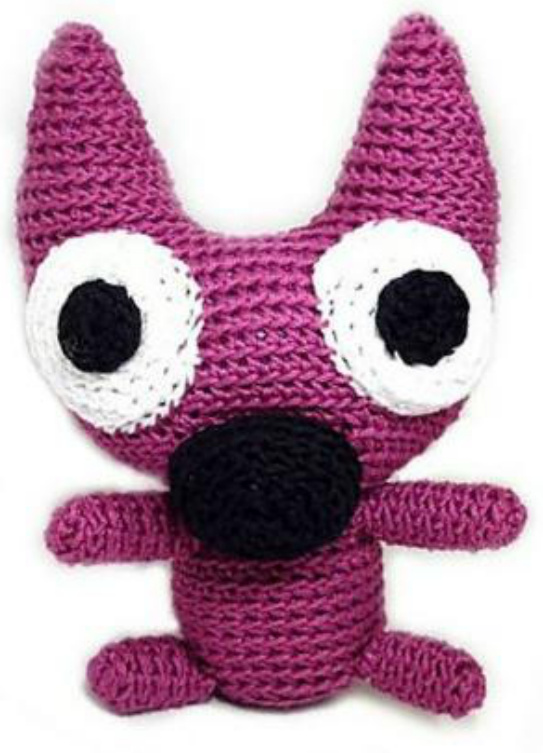
HOOPS by Hallmark
An Amination pattern
Before you start
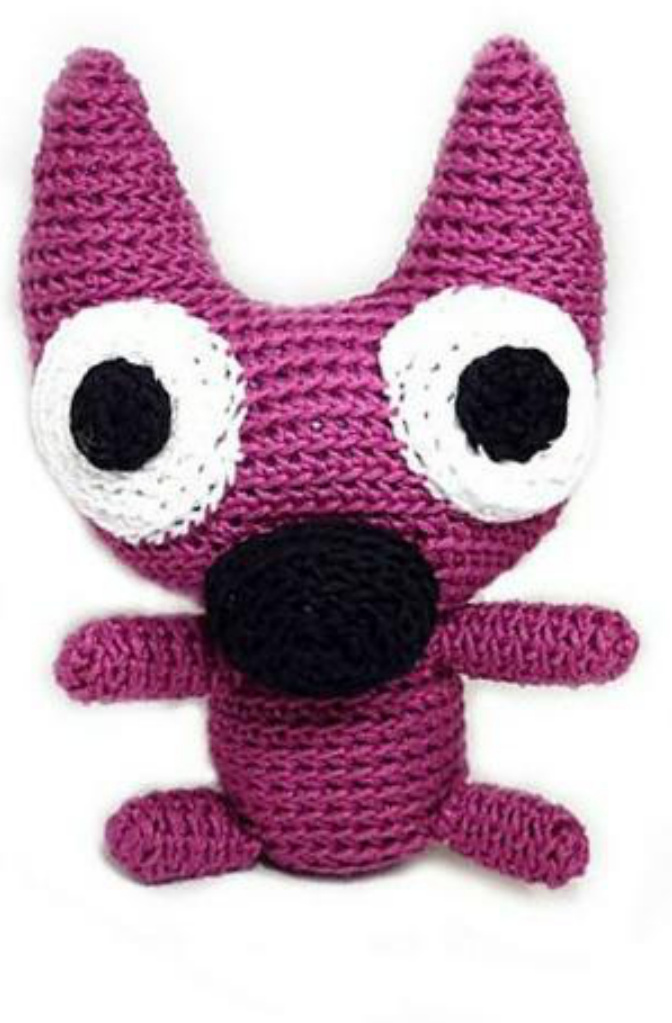
This pattern contains the necessary instructions to crochet Hoops from the Hallmark series Hoops & Yoyo. Gauge is not important in this project. You can have items of different sizes by using hooks and/or yarns of different size and weight. This pattern refers to crocheting on theback loops. You'll be instructed to crochet all individual pieces and then assembly head and body.

This crochet pattern is based on the Hallmark 'Hoops & Yoyo' series and is meant for personal, non commercial, use only! Now, are you ready to jump through Hoops?
Material list
170m (185 yards) DK or worsted weight (8-10ply) yarn in PURPLE or PINK 18m (20 yards) DK or worsted weight (8-10ply) yarn in BLACK 10m (11 yards) DK or worsted weight (8-10ply) yarn in WHITE 4-5 handfuls of polyester stuffing
You will also need
4.0-5.0mm crochet hook Tapestry needle Stitch marker Scissors
Skills required
This is an intermediate-level pattern. In order to crochet Hoops, you'll need to know how to: Start your piece with a magic ring or sloppy slip knot Single crochet (increase and decrease) Slip stitch Double crochet Half double crochet Finish off your piece with tail Attach (sew) pieces together
One video, a thousand photos!
This pattern does not include crochet instructions or photo tutorials for the basic skills required. In case you do not feel confident, I recommend watching (as many times as you feel like!) some of the numerous video-tutorials that are available on the internet. Don't know where to begin? Check out this helpful tutorial links by FreshStitches and AdrialysHC! http://www.freshstitches.com/crochet-video-tutorial-help/ http://adrialyshc.blogspot.gr/p/video-tutorials.html of course, feel free to ask me about anything you may need (carfisl1 on Ravelry)!
Abbreviations
Sc2tog: single crochet 2 stitches together (decrease) Rnd: round St: stitch(es) Ch: chain Sc: single crochet Sl: slip stitch Dc: double crochet .Hdc: half double crochet Sc twice next st: increase
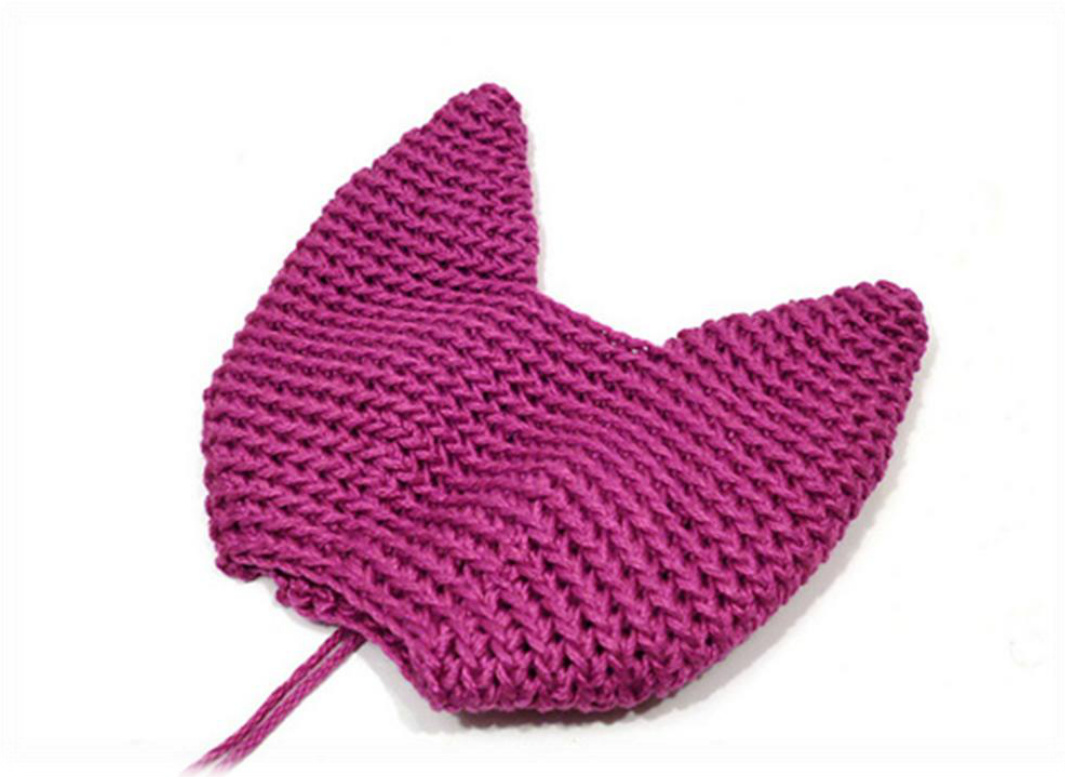
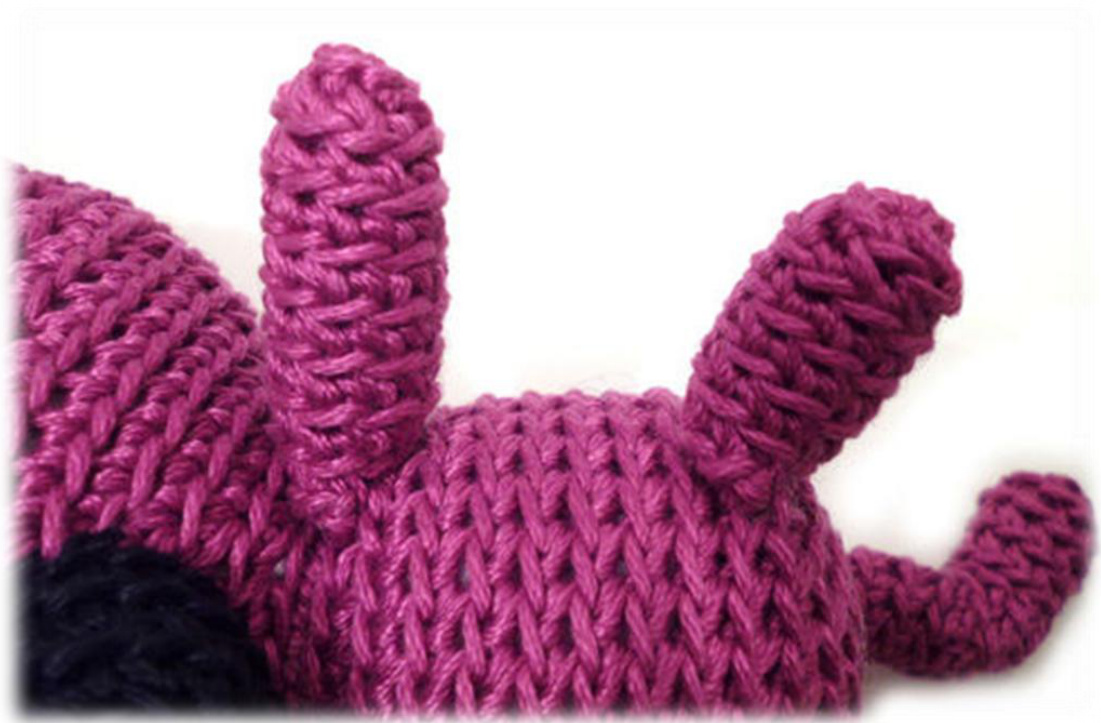
Ears
Make two pieces, in PURPLE yarn Ch 2 Rnd 1. sc 6 in 2nd chain from hook (6 st) Rnd 2. sc each st (6 st) Rnd 3. [sc twice next st] \* 6 times (12 st) Rnd 4-5. sc each st (12 st) Rnd 6. [sc twice next st, sc next st] \* 6 times (18 st) Rnd 7-8. sc each st (18 st) Rnd 9. [sc twice next st, sc next 2 st] \* 6 times (24 st) Rnd 10-11. sc each st (24 st) For ear N.1, fasten off with tail, you'll use it to close the gap on the top of the head, as shown in the picture below
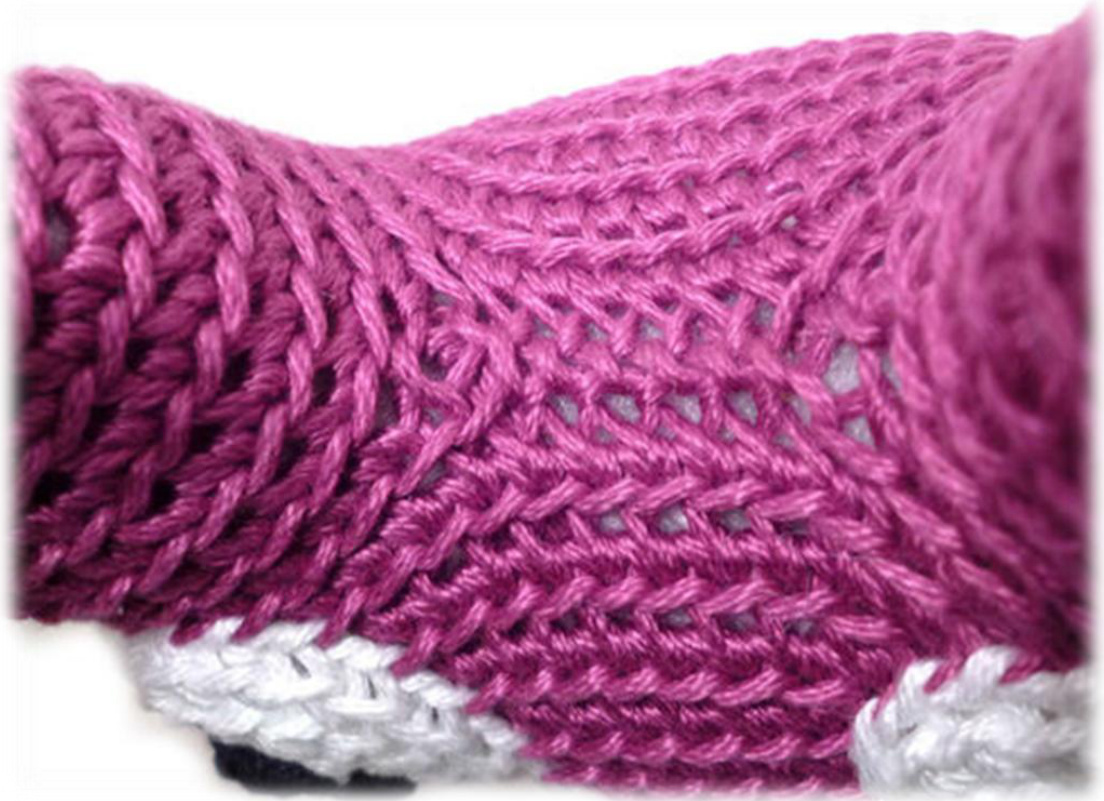
For ear N.2, continue as follows: Rnd 12. sc each st of ear N.2, ch 6, connect with ear N.1 by sc each st of ear N.1, ch 6 (60 St) \*\*See Round 12 step bystep, indicated by red yarn, in this sample

Now resume crocheting
Head
Rnd 13-21. sc each st (60 st) Rnd 22. [sc2tog, sc next 8 st] \* 6 times (54 st) Rnd 23. [sc2tog, sc next 7 st] \* 6 times (48 st) Rnd 24. [sc2tog, sc next 6 st] \* 6 times (42 st) Rnd 25. [sc2tog, sc next 5 st] \* 6 times (36 st) Rnd 26. [sc2tog, sc next 4 st] \* 6 times (30 st) Rnd 27. [sc2tog, sc next 3 st] \* 6 times (24 st) Fasten off with long tail; you'll use it to attach the head to the body
Eye circles
Make two, in WHITE yarn Ch 2 Rnd 1. sc 6 in 2nd chain from hook (6 st) Rnd 2. [sc twice next st] \* 6 times (12 st) Rnd 3. [sc twice next st, sc next st] \* 6 times (18 st) Rnd 4. [sc twice next st, sc next 2 st] \* 6 times (24 st) Fasten off with tail; you'll use it to attach the eye circles to the head
Eyes
Make two, in BLACK yarn Ch 2 Rnd 1. dc 8 in 2nd chain from hook (8 st) Fasten off with tail; you'll use it to attach the eyes onto the eye circles
Snout
Crochet in BLACK yarn Ch 2 Rnd 1. sc 6 in 2nd chain from hook (6 st) Rnd 2. [sc twice next st] \* 6 times (12 st) Rnd 3. [sc twice next st, sc next st] \* 6 times (18 st) Rnd 4. [sc twice next st, sc next 2 st] \* 6 times (24 st) Rnd 5-6. sc each st (24 st) Fasten off with tail; you'll use it to attach the snout to the head
Body
Crochet in PURPLE yarn Ch 2 Rnd 1. sc 6 in 2nd chain from hook (6 st) Rnd 2. [sc twice next st] \* 6 times (12 st) Rnd 3. [sc twice next st, sc next st] \* 6 times (18 st) Rnd 4. [sc twice next st, sc next 2 st] \* 6 times (24 st) Rnd 5. [sc twice next st, sc next 3 st] \* 6 times (30 st) Rnd 6-13. sc each st (30 st) Rnd 14. [sc2tog, sc next 3 st] \* 6 times (24 st) Fasten off
Arms
Make two pieces, in PURPLE yarn Ch 2 Rnd 1. sc 6 in 2nd chain from hook (6 st) Rnd 2. [sc twice next st, sc next st] \* 3 times (9 st) Rnd 3-8. sc each st (9 st) Fasten off with tail; you'll use it to attach the arms to the body
Legs
Make two pieces, in PURPLE yarn Ch 2 Rnd 1. sc 6 in 2nd chain from hook (6 st) Rnd 2. [sc twice next st, sc next st] \* 3 times (9 st) Rnd 3-6. sc each st (9 st) Fasten off with tail; you'll use it to attach the legs to the body
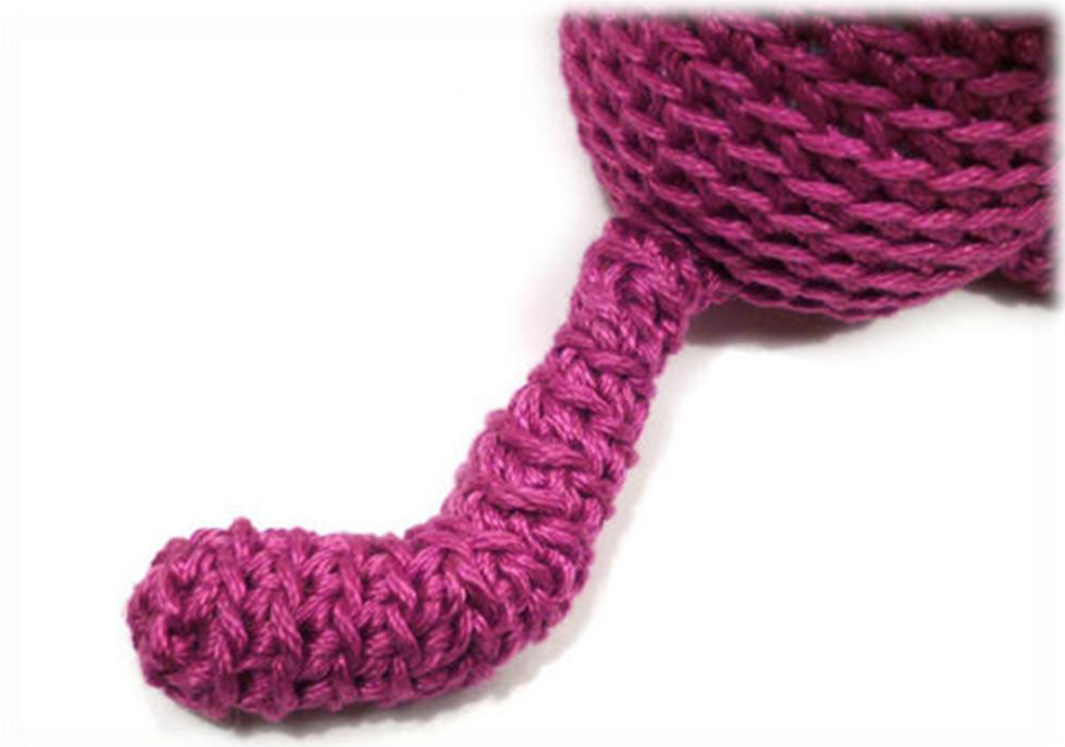
Tail
Crochet in PURPLE yarn Ch 2 Rnd 1. sc 6 in 2nd chain from hook (6 st) Rnd 2. [sc twice next st, sc next st] \* 3 times (9 st) Rnd 3-5. sc each st (9 st) Rnd 6-7. sl in next 4st, hdc in next 5st (9 st) Rnd 8. sc each st (9 st) Slightly stuff the tail Rnd 9. [sc2tog, sc next st] \* 3 times (6 st) Rnd 10. hdc in next 3st, sl in next 3st (6 st) Rnd 11. sc each st (6 st) Fasten off with tail; you'll use it to attach the tail to the body Now, you've got all your parts ready to be assembled!
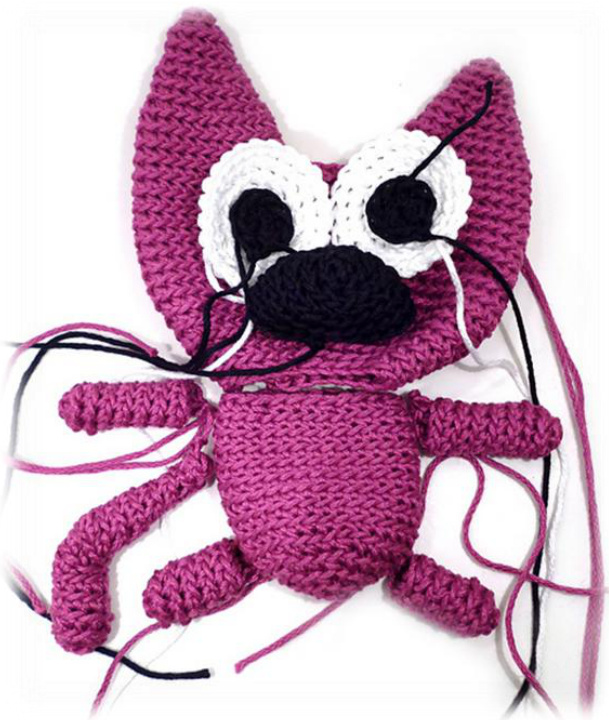
Head assembly
In this step you'll attach the eyes, eye circles and snout. You'll attach the eyes on the eye circles and on the head.
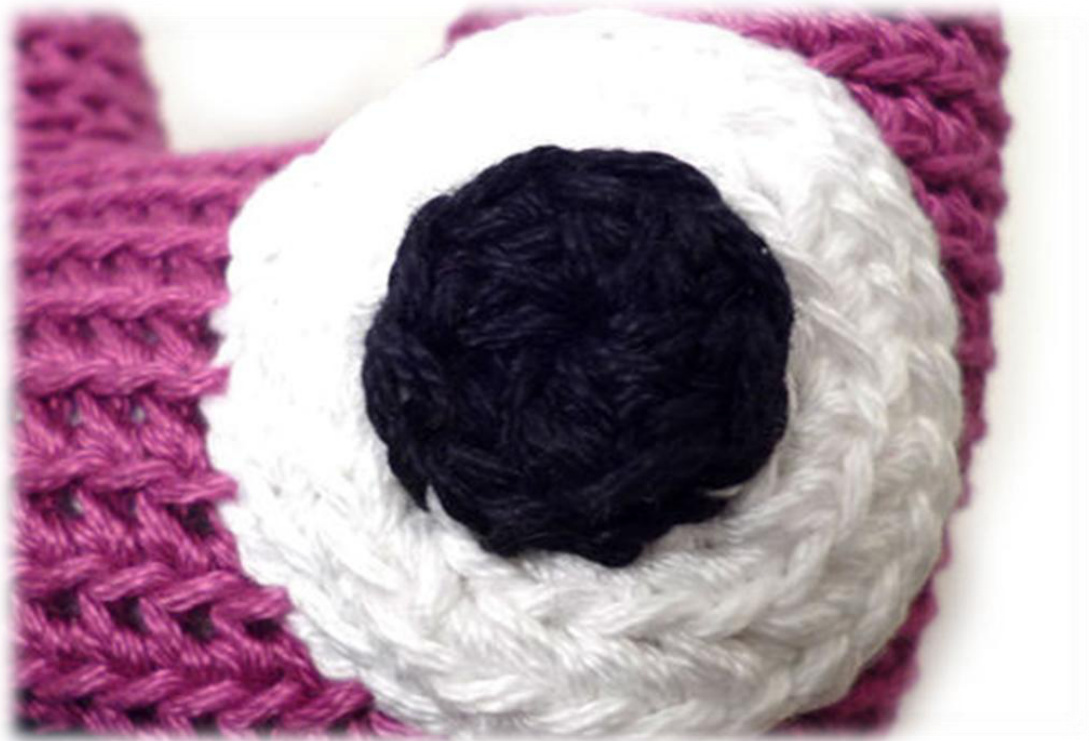
I positioned mine right below the ears. Then, you need to stuff the snout and attach it right in the middle, below the eyes. Stuff the head.

Body assembly
In this step you'll attach the arms, legs and tail. I attached the arms in rows 13-14 (last row) of the body and the legs in rows 5-6.
Then, you need to attach the tail in the same rows as the legs, positioning it at the back inbetween them.
Stuff body. Sew head and body together.
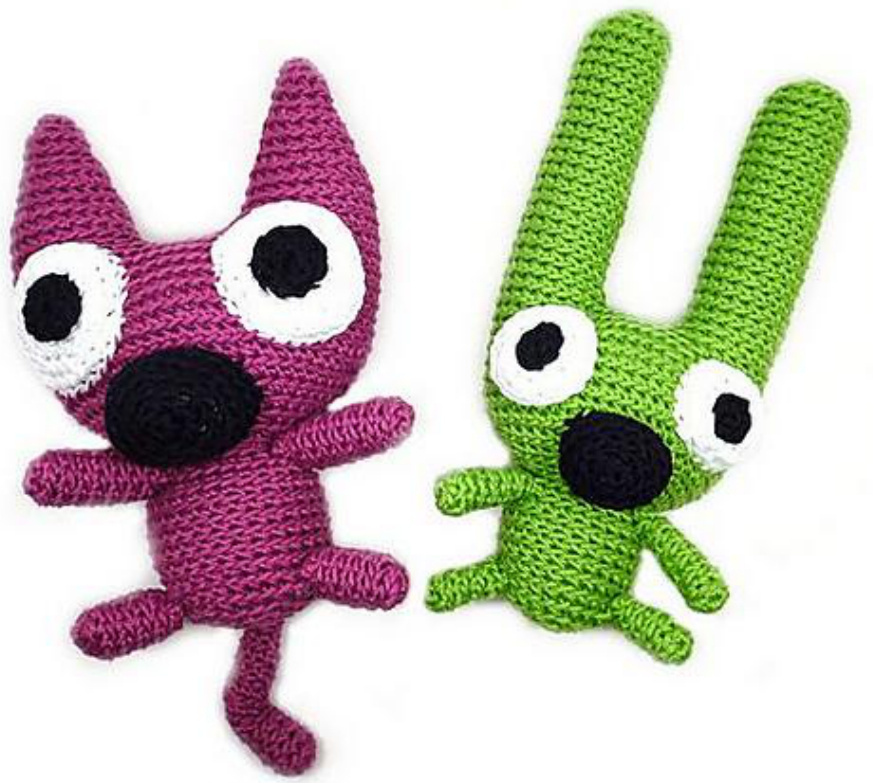
And now you are done! Come and share your Hoops on Ravelry!
And don't forget his buddy, Yoyo!
Pattern available for free on Ravelry!
http://www.ravelry.com/patterns/library/yoyo-by-hallmark


