ZomBunny Pattern
Abbrevations
st: stitch ch: chain sc: single crochet slst: slip stitch inc: increase (2 sc in next st) dec: decrease by working 2 sc together (sc2tog)
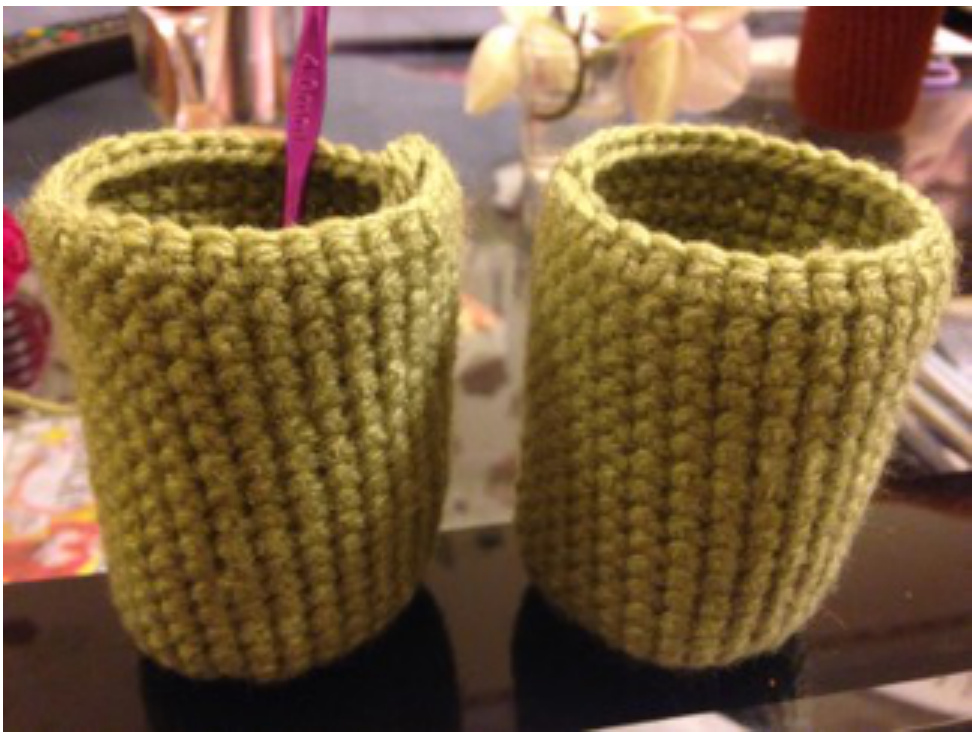
Legs (2x)
R1: 8 sc in a magic ring (8) R2: 8 inc (16) R3: 16 inc (32) R4: 32 sc in back loops of the stitches R5-R19: 32 SC (32) The first leg fasten off with a long tail Crochet the second leg and no fastening off
Body
Continuing the second leg: R1: 10 ch, slst to the last st of first leg, slst to the st on the right of this chain row We're going to crochet around this chain row counterclockwise R2: 10 sc, slst to the second leg, 3 ch, slst to the same leg on the other side of this row, 10 sc, slst to the first leg, 3 ch, slst to the same leg on the other side of this row R3: 10 sc, slst to the second leg, 5 ch, slst to the same leg on the other side of this row, 10 sc, slst to the first leg, 5 ch, slst to the same leg on the other side of this row We have the base of the body now attached to both legs. From now on we will crochet around this base and also the legs. In the following row there will be 4 dec stitches. All of them are joining a stitch from the body row and a stitch from one of the legs. These dec stitches will make the legs firm and our zombunny will stand steady on his legs. R4: 26 sc (leg), dec, 8 sc (body), dec, 25 sc (leg), dec, 8 sc (body), dec (70 It's a good spot to mark now. From now on it will be a little bit boring, we'll crochet the same number of single crochets for a while. R5-R23: 70 SC (70) R24: 10 sc, inc, sc, inc, sc, inc, 30 sc, inc, sc, inc, sc, inc, 20 sc (76) R25-R37: 76 sC (76) The number of rounds above (R5-R23 and R25-R37) can be freely changed if you want a little bit taller or shorter zombunny. Stuff the body at this point. Put some weight to the bottom of both foots, I used tea candles (without the fuse). R38: 5 sc, dec, 6 sc, dec, 6 sc, dec, 20 sc, dec, 6 sc, dec, 6 sc, dec, 15 sc (70) R39: 5 sc, dec, 5 sc, dec, 5 sc, dec, 19 sc, dec, 5 sc, dec, 5 sc, dec, 14 sc (64) R40: 5 sc, dec, 4 sc, dec, 4 sc, dec, 18 sc, dec, 4 sc, dec, 4 sc, dec, 13 sc (58) R41: 5 sc, dec, 3 sc, dec, 3 sc, dec, 17 sc, dec, 3 sc, dec, 3 sc, dec, 12 sc (52) R42: 5 sc, dec, 2 sc, dec, 2 sc, dec, 16 sc, dec, 2 sc, dec, 2 sc, dec, 11 sc (46) R43: 5 sc, dec, 1 sc, dec, 1 sc, dec, 15 sc, dec, 1 sc, dec, 1 sc, dec, 10 sc (40) R44: 5 sc, 3 dec, 14 sc, 3 dec, 9 sc (34) maining part of the body and sew the hole using the outer loops of the stitche
Full ear
R1: 6 sc in a magic ring (6) R2: (1 sc, 1 inc) repeat 3 times (9) R3: (2 sc, 1 inc) repeat 3 times (12) R4: (2 sc, 1 inc) repeat 4 times (16) R5: (3 sc, 1 inc) repeat 4 times (20) R6-R16: 20 SC (20) R17: (8 sc, dec) repeat 2 times (18) R18-R20: 18 sC (18) R21: (7 sc, dec) repeat 2 times (16) R22-R24: 16 sC (16) R25: (6 sc, dec) repeat 2 times (14) R26-R28: 14 SC (14) Fasten off and leave a long tail for sewing. Fold the bottom part into half and sew the inner stitches together. Sew the ear to the body using the outer stitches, where the ear was folded.
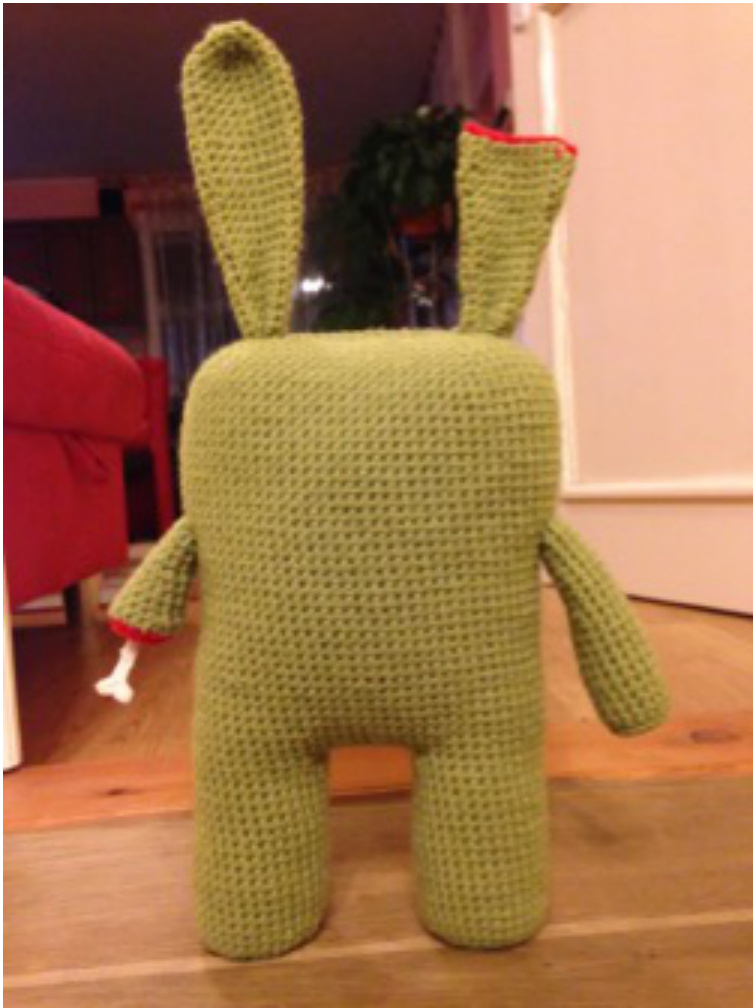
Bitten ear
Start with red yarn: R1: 10 ch R2: 1 ch, 10 st into each ch, 10 st into each ch backwards Continue with green yarn: R3-R6: 20 SC (20) R7: (8 sc, dec) repeat 2 times (18) R8-R10: 18 SC (18) R11: (7 sc, dec) repeat 2 times (16) R12-R14: 16 sC (16) R15: (6 sc, dec) repeat 2 times (14) R16-R18: 14 SC (14) Fasten off and leave a long tail for sewing. Fold the bottom part into half and sew the inner stitches together. Sew the ear to the body using the outer stitches, where the ear was folded.
Full arm
R1: 8 sc in a magic ring (8) R2: 8 inc (16) R3: 16 sc in back loop (16) R4-R12: 16 sC (16) R13: (6 sc, dec) repeat 2 times (14) R14-R16: 14 sC (14) R17: (5 sc, dec) repeat 2 times (12) R18-R20: 12 sC (12) R21: 6 sc (half round) (6) Fasten off with long tail for sewing. Stuff the arm and sew to the body.
Half arm
Start with red yarn: R1: 8 sc in a magic ring (8) R2: 8 inc (16) R3: 16 sc in back loop (16) Continue with green yarn: R4: 16 sC (16) R5: (6 sc, dec) repeat 2 times (14) R6-R8: 14 SC (14) R9: (5 sc, dec) repeat 2 times (12) R10-R12: 12 sC (12) R13: 6 sc (half round) (6) Fasten off with long tail for sewing. Shape a bone from a pipe cleaner and push it through the starter magic ring. Stuff the arm and sew to the body.
Eye on body
R1: 8 sc in a magic ring (8) R2: (1 sc, inc) repeat 4 times (12) R3: (2 sc, inc) repeat 4 times (16) R4: (3 sc, inc) repeat 4 times (20) R5: 20 SC (20) Fasten off and leave a long tail for sewing. Sew to the body and stuff it meanwhile. Create a pupill for the eye (8 sc in a magic ring with black yarn leaving a long tail for sewing) and sew it to the eye. Sew some red yarn to form blood vessels growing out from pupills.
Eyeball hanging out from the body
R1: 8 sc in a magic ring (8) R2: (1 sc, inc) repeat 4 times (12) R3: (2 sc, inc) repeat 4 times (16) R4: (3 sc, inc) repeat 4 times (20) R5-R6: 20 SC (20) R7: (3 sc, dec) repeat 4 times (16) R8: (2 sc, dec) repeat 4 times (12) Stuff the eye at this point. R9: (1 sc, dec) repeat 4 times (8) R10: 4 dec (4) Create a pupillfor the eye (8 sc in a magic ring with black yarn leaving a long tail for sewing) and sew it to the eye. Sew some red yarn to form blood vessels growing out from pupills. Sew some red yarn to the back side of eyeball leaving to hang the uncut yarn out (we will continue to crochet it). Sew the yarn to form nerves growing out from a central point. Take the yarn hanging out from the eyeball and crochet 6-8 chains from it. Depenging how long nerve you need to hold the eyeball. Sew the chain row to the body the same way you sewed to the eye (growing out from a central point).
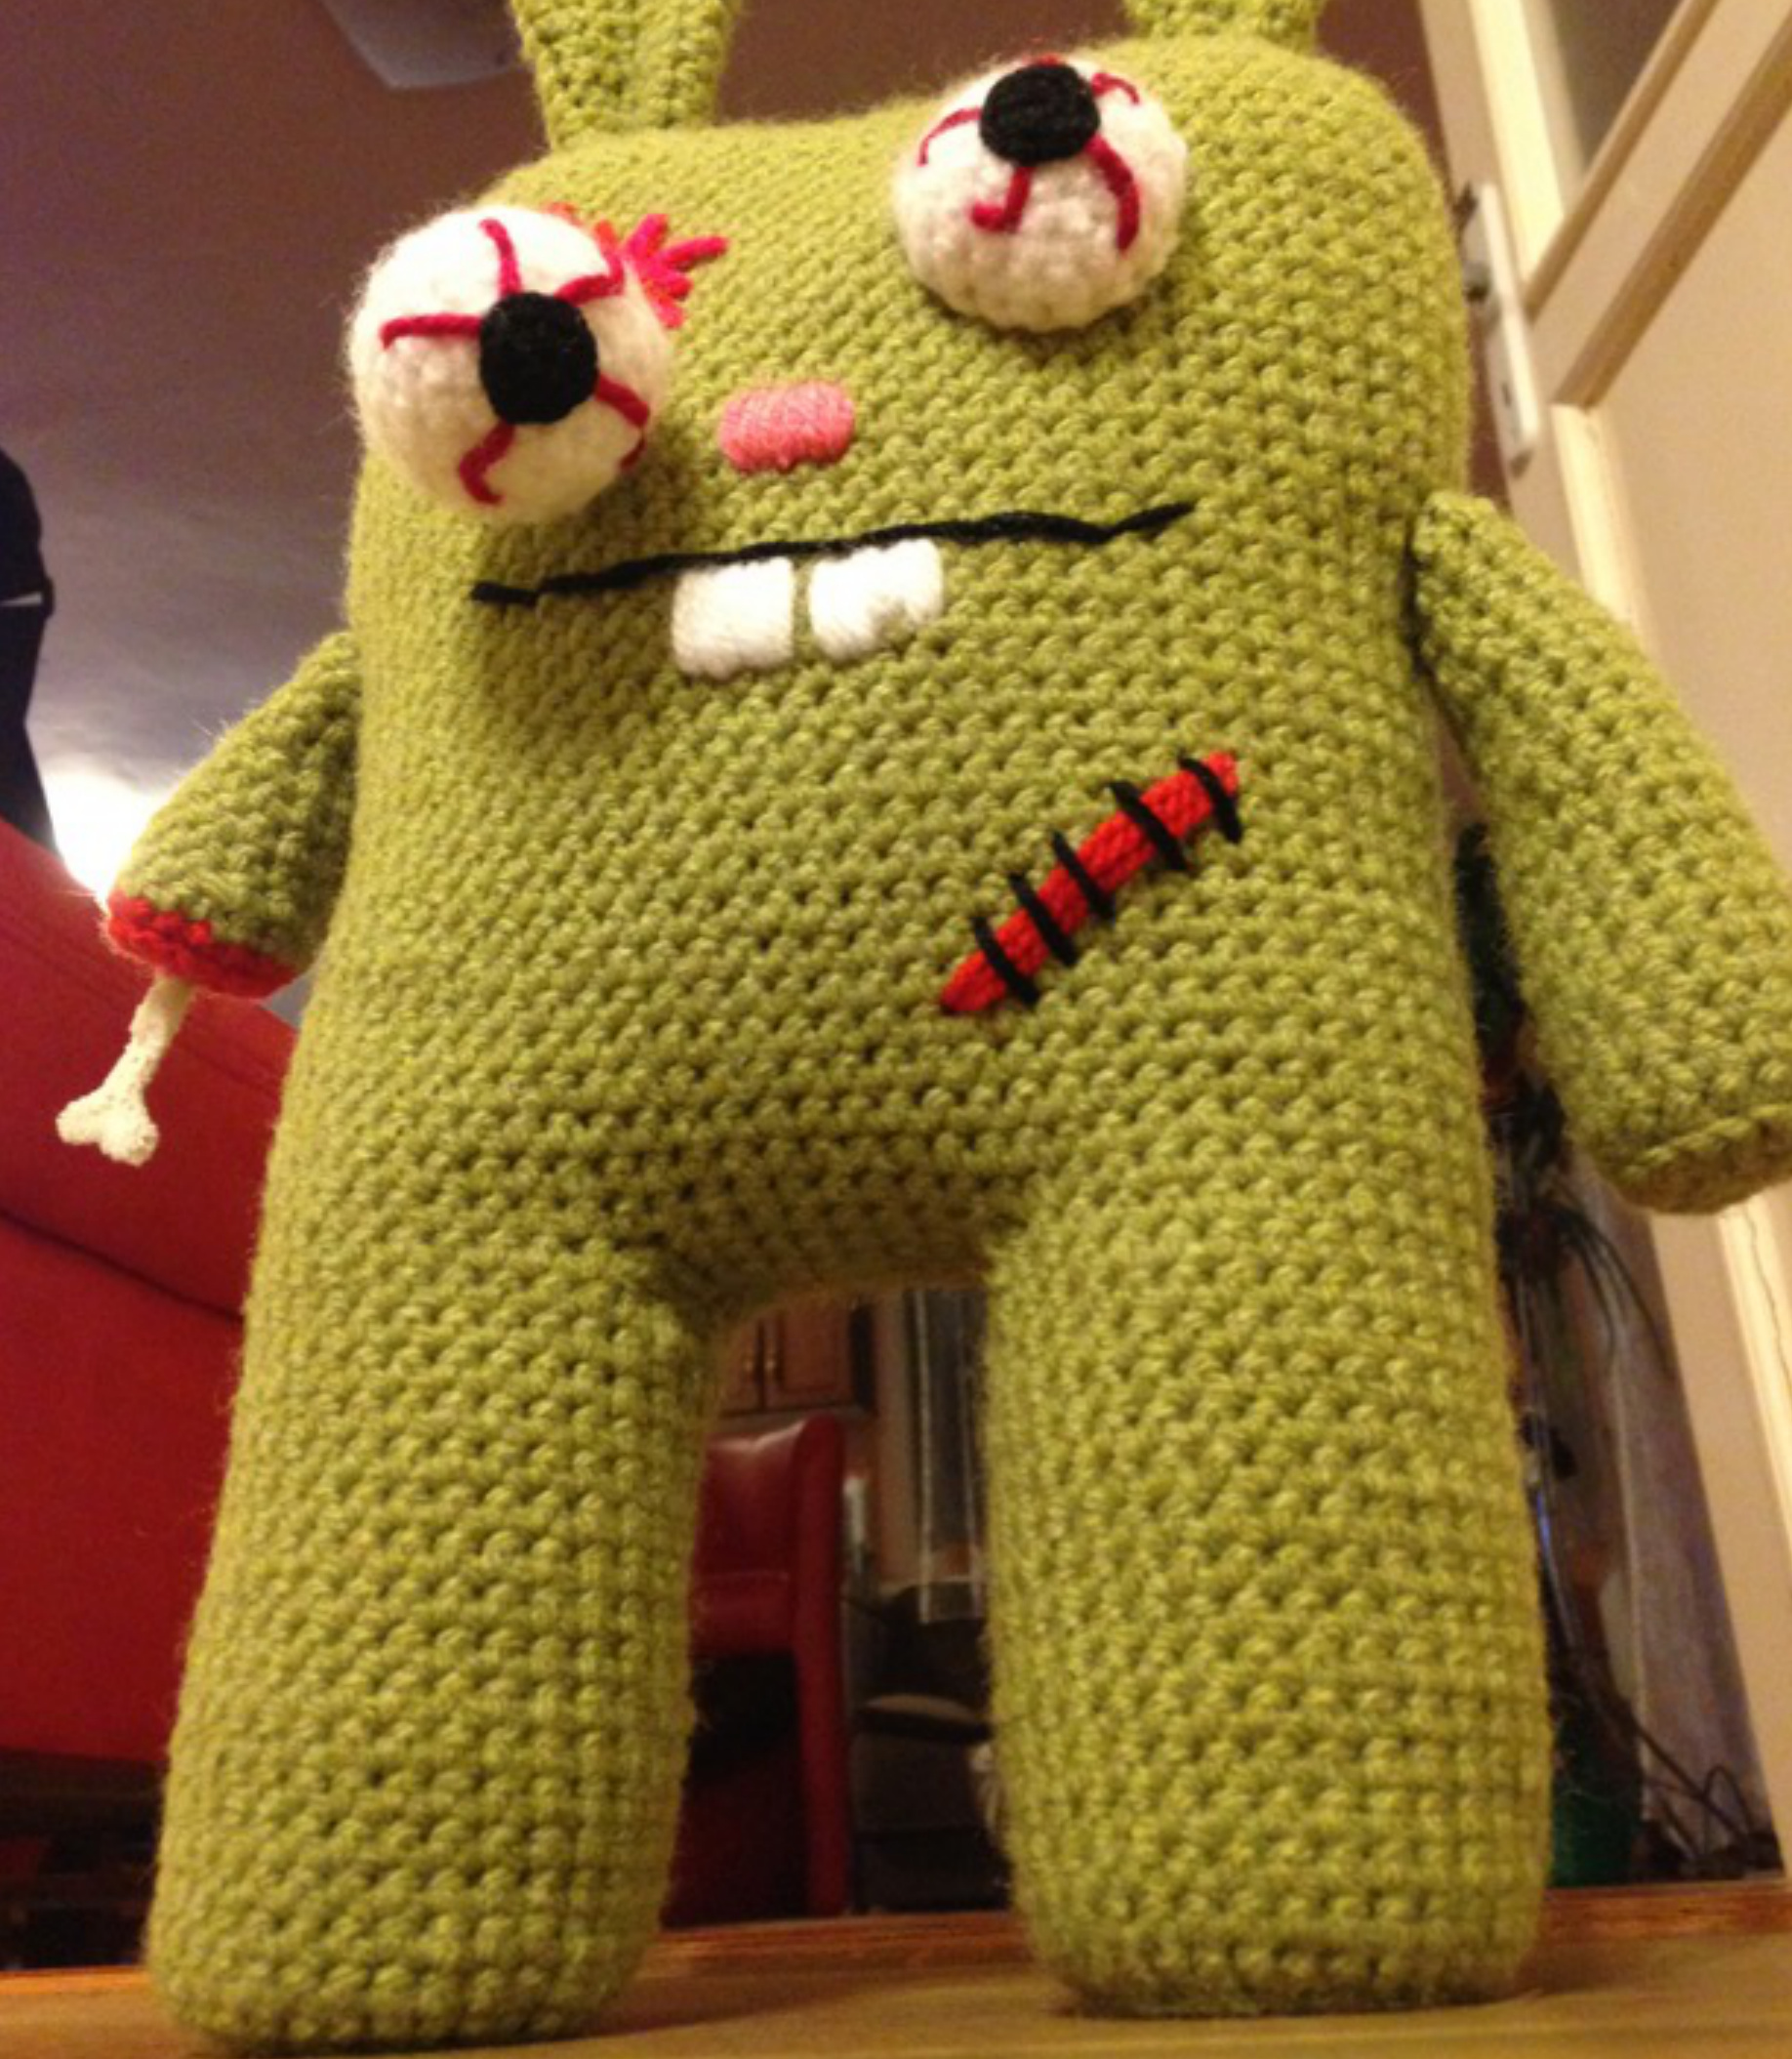
Face
The face is very simple. The eyes are already on the body, we need a nose and a mouth. The nose is sewed from pink yarn between R24 and R26 with a width of 3 stitches. Teeth are sewed from white yarn between R18 and R21 (width of 3 stitches). I left out a small part from the second tooth, so it looks like if it was broken. The mouth is sewed from black yarn covering the width of the eyes. Make sure it goes slightly up at the both ends, so the zombunny will smile on you :) There's one more thing: every zombie have a scar somewhere! Our zombunny got one above his left leg. Use red yarn for the scar and black for the pins.


