Baby Rose
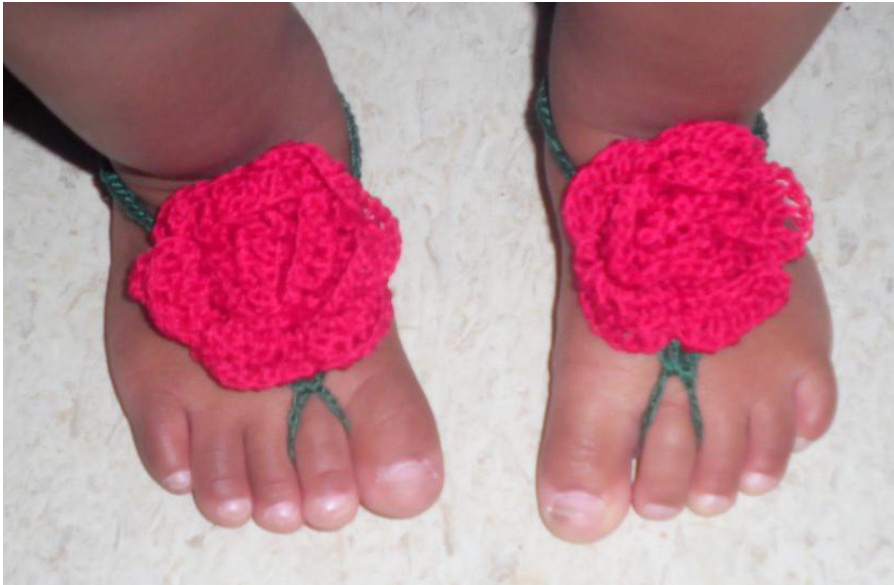
Barefoot sandals for the little Rose in your life. Materials: Size 10 crochet thread: Green for base and leaves (Forest Green was used in photo.) Approx 15-20 yds Color of choice for rose (Victory Red was used in photo.) Approx 32 yds Size B (2.25mm) aluminum crochet hook or the equivalent steel hook is size 2. Stitches Used: Chain = ch Sl st = slip stitch Sc = single crochet Hdc = half double crochet Dc = double crochet Pattern fits from 3-9 months (For size 12-18 months chain 71 for the ties. All other instructions stay the same.)
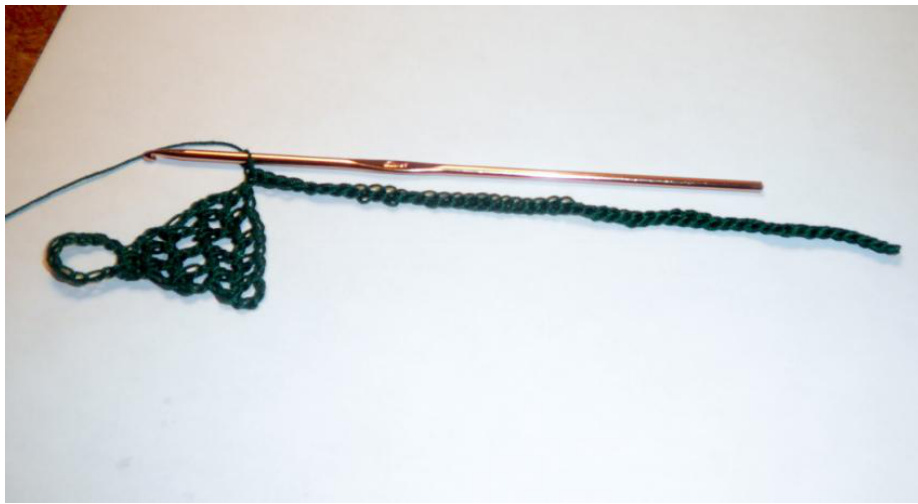
Sandal base:
With green: Chain 12, this is going to be the toe loop. (Now is the time to adjust the size if needed.) If the size is good, join with sl st into first chain. Ch 3, turn. Row 1: Hdc, ch1, hdc into toe loop. Ch3, turn. Row 2: Hdc, ch1 in first ch1 space. Hdc, ch1, hdc, in ch3 space. Ch3, turn. Row 3: Hdc, ch1 in first ch1 space. Hdc, ch1 in next ch1 space, Hdc, ch1, hdc, in last ch3 space. Ch3, turn. Row 4: Hdc, ch1 in first ch1 space and each ch1 space to last ch3 space. Hdc, ch1, hdc, in last ch3 space. Ch3, turn. Copyright 2013 by Stephanie Haberman Please do not distribute copies of this pattern. You may make items for sale or raffle from it but I ask that you do not copy the pattern and give it away or call it your own. Thank you. Row 5: Repeat Row 4, but do not turn.
Ties and edging.
At end of Row 5, chain 51. Now working back down the chain, skip the first chain space and sl st back to the sandal base. (50 sl st)
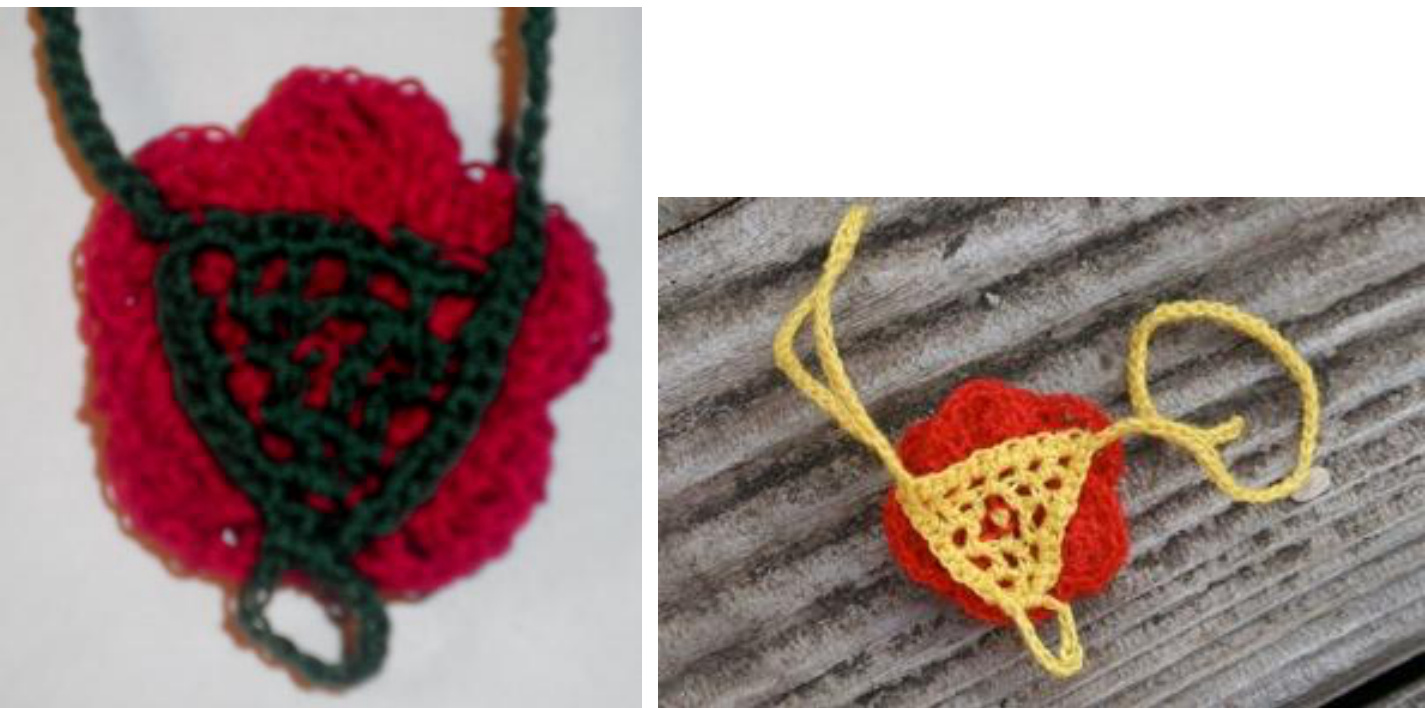
When you complete the last sl st you will begin working down the side of the base towards the toe loop: 2sc into the first open chain space, 2sc into each open space down to first row, 2sc over the hdc at the end of the row, 1sc over the hdc in the middle, and 2sc over the hdc on the other side of the row, which will start you back up the opposite side. Now, working away from the toe loop and up the opposite side, make 2sc into each open space until you come back up to the top of the base. Photo on left.
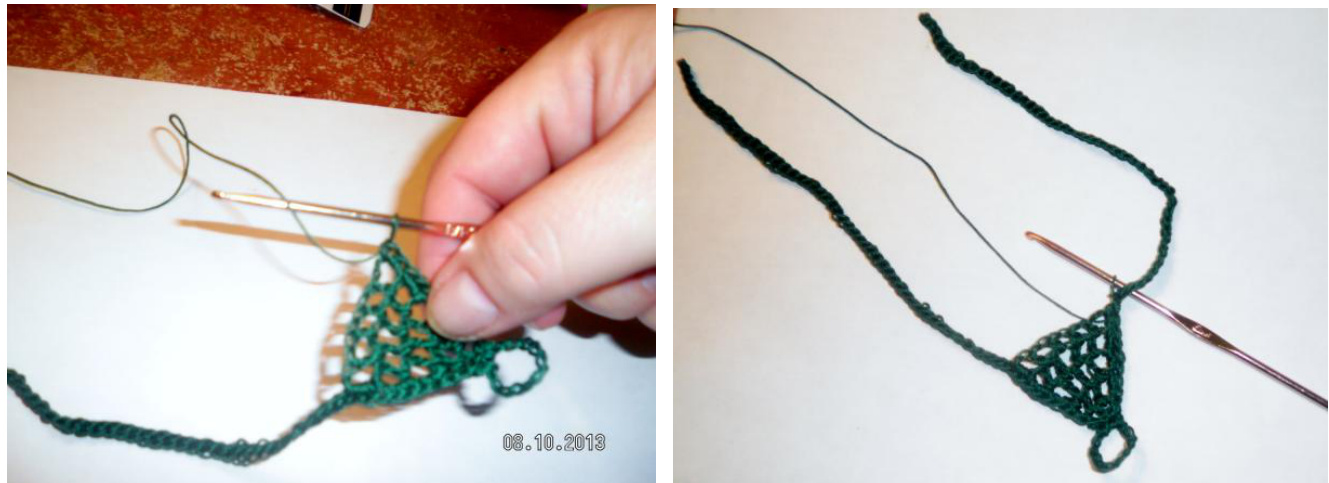
Ch51, turn. Now working back down the chain, skip the first chain space and sl st back to the sandal base. (50 sl st) Photo on right. Work 2sc in each ch1 space across the top, until you are back to the base of the first tie. Sl St into the base and finish off. Weave in ends.
Copyright 2013 by Stephanie Haberman
Please do not distribute copies of this pattern. You may make items for sale or raffle from it but I ask that you do not copy the pattern and give it away or call it your own. Thank you.
Rose:
With flower color, chain 66. Row 1: Work 6dc in 3rd chain from hook, \* skip next chain, sc in next, skip next chain, 6dc in next, repeat from \* to end of chain ending sc in last chain. Ch1, turn. (16 petals) Row 2: (Dc in 1s dc, \*ch1, dc in next dc, repeat from \* 5 more times, sl st in sc,) repeat to end of row, ending with dc in last dc. Finish off leaving 10 - 12 inches for sewing.
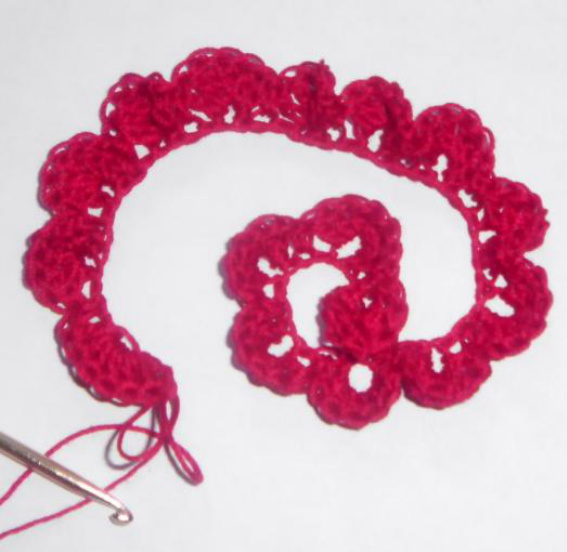
After Row 1.
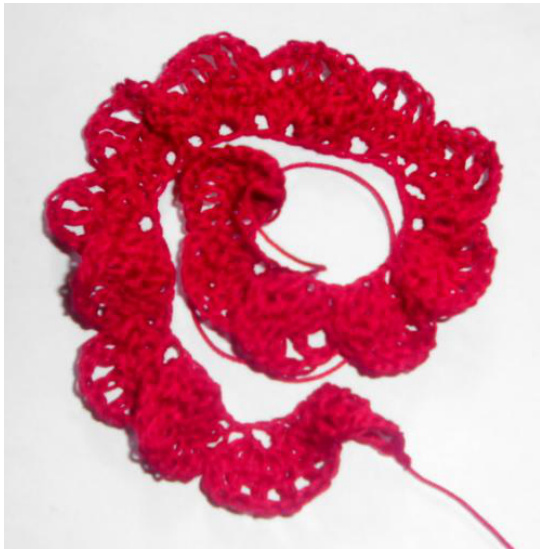
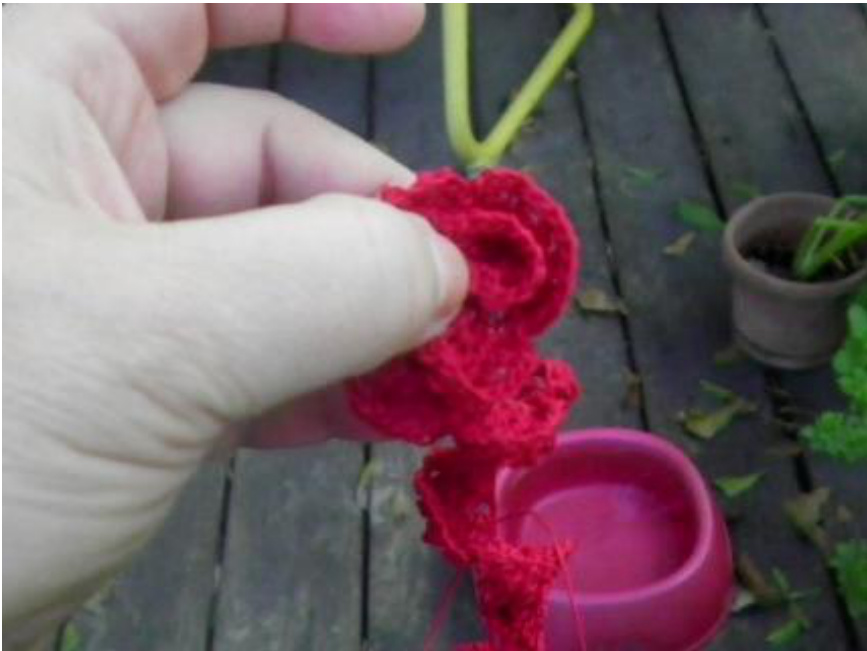
After row 2. It will be a little kinky, that is good. Beginning with the end farthest from the working yarn, roll the petals into a rose shape. It's best to roll rather loosely. I like to pinch the center of the rose tightly to hold it together and then roll the remainder of the crocheted petals as loosely as possible to create a pleasing rose.
Copyright 2013 by Stephanie Haberman Please do not distribute copies of this pattern. You may make items for sale or raffle from it but I ask that you do not copy the pattern and give it away or call it your own. Thank you.

Completed Rose. (Photo donated by Knittingyards) Thread the long tail through a yarn needle and use it to stitch the base of the rose in place to keep it from unfolding. Once that is done, attach the rose to the sandal base, taking care to make it secure by tacking the outer and center area of the rose.
(Photo by Knittingyards) Weave in loose ends. Tada! All ready to wear.
Copyright 2013 by Stephanie Haberman
Please do not distribute copies of this pattern. You may make items for sale or raffle from it but I ask that you do not copy the pattern and give it away or call it your own. Thank you.
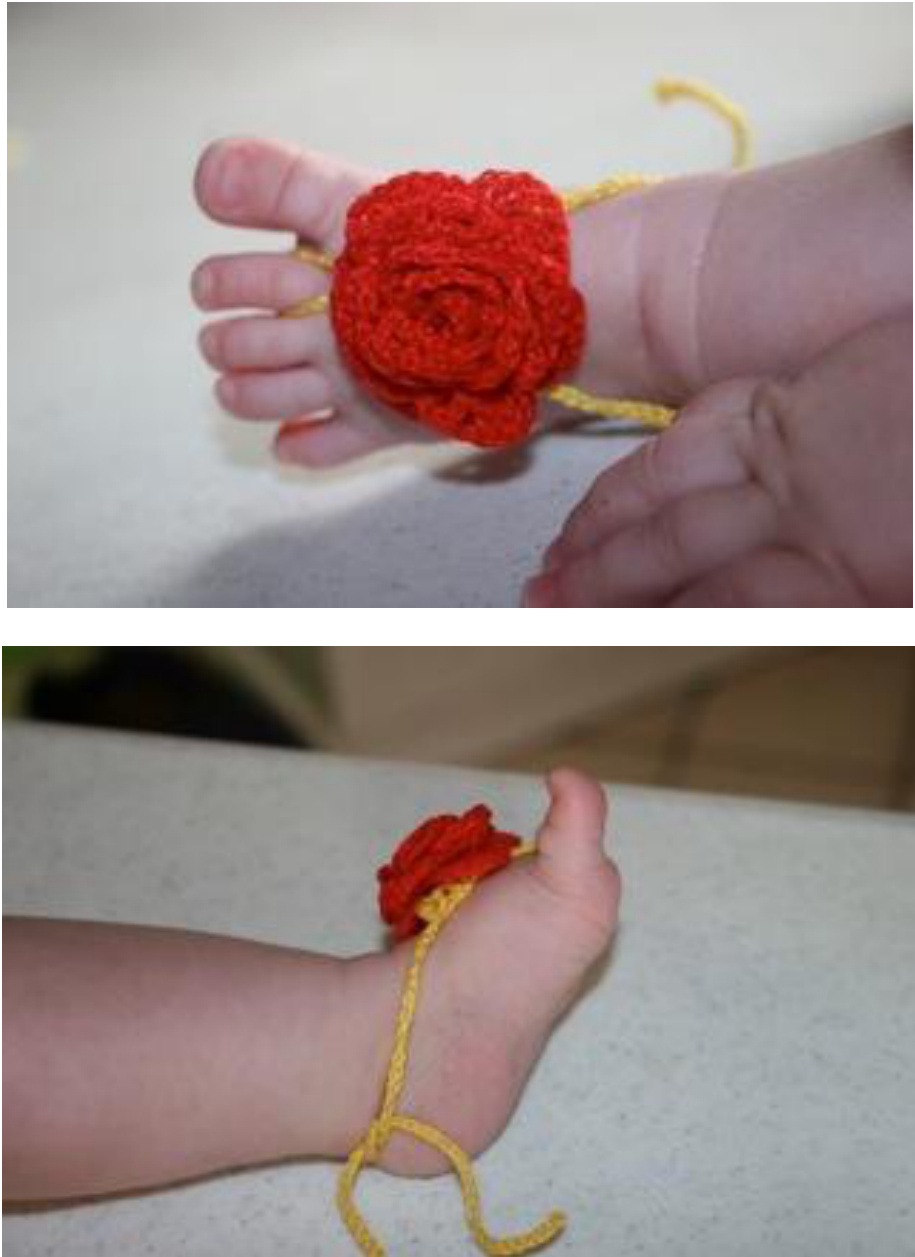
Photos by Knittingyards I owe a huge debt of gratitude to my pattern tester Cindy from Dallas, also known by Knittingyards. She not only patiently scrutinized my pattern for inconsistencies but was willing to make suggestions for better explanations of some of the steps. The finished pattern would not be near as easy to understand without her. Not only that, she has graciously offered photos of her work in process and has allowed me to use them. (Aren't these just adorable on her little girl?) able to get much clearer shots and for her help and generosity I am truly thankfu Follow her here: RavelryID: cinhad Blog: http://knittingyards.wordpress.com


